Split-screen video used to be a post-production trick reserved for people with serious editing chops and a licensed copy of Premiere Pro. Today, AI tools handle the heavy lifting so anyone can produce polished dual-panel content in minutes, right from a browser tab. Whether you want a side-by-side comparison, a before-and-after reveal, or a reaction video layout, the format is now completely within reach, no timeline scrubbing or keyframe knowledge required.
What Split-Screen Video Actually Does
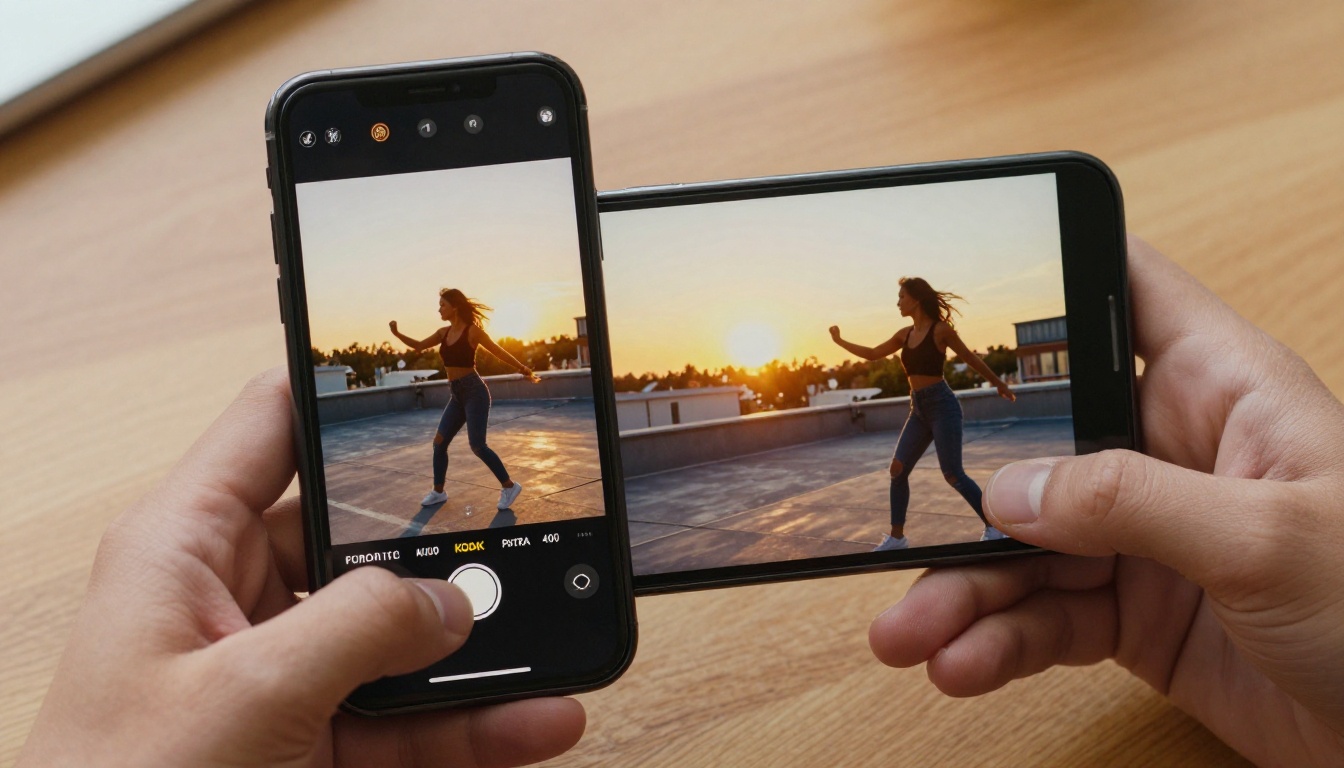
At its core, a split-screen video places two (or more) video clips inside the same frame, playing simultaneously. The viewer sees both at once. That simple mechanic opens up a surprising range of storytelling possibilities.
Side-by-Side vs. Stacked Panels
The two dominant layouts are horizontal (left panel / right panel) and vertical (top panel / bottom panel). Horizontal split works best for direct comparisons where the subject is the same in both clips. Vertical stacking tends to work for contrasting themes, like urban versus rural, or fast versus slow.
Most AI tools default to the 50/50 horizontal split because it reads instantly on any screen, including mobile. Some platforms let you adjust the divider position to give one clip more real estate than the other, which is useful when one side is visually busier.
The Invisible Vertical Line
A strong split-screen video uses visual rhyming: the composition in each panel mirrors or intentionally contrasts the other. When a runner in the left panel leans forward at the same angle as a swimmer in the right panel, your brain connects them. That connection is what makes the format so sticky on social media.
💡 Pro tip: Shoot or select footage where the subjects appear at roughly the same position in the frame. The psychological payoff of matching compositions is significant.
Why AI Changed Everything Here
Traditional split-screen editing required you to place two clips on separate tracks, manually resize and reposition each one, sync the timelines, render, and export. That process could take thirty minutes for a thirty-second clip.
What Manual Editing Used to Take
Here is what the old workflow looked like:
| Task | Time Required | Skill Level |
|---|
| Import and organize clips | 10 min | Beginner |
| Resize clips to fit panels | 15 min | Intermediate |
| Sync audio/timelines | 20 min | Intermediate |
| Color match between panels | 30 min | Advanced |
| Export in correct format | 10 min | Beginner |
| Total | ~85 min | Mixed |
With an AI-powered tool, the same output takes under five minutes. You upload two clips, select a layout, and the tool handles positioning, timing, and export automatically.
No Timeline, No Keyframes
The real shift is cognitive, not just time-based. When you remove the need to think about tracks and keyframes, you stop worrying about how to make the video and start focusing on what you want to say. That creative freedom changes the kind of content people actually make.
Small creators who were intimidated by video software are now producing daily split-screen content for fitness, cooking, language learning, and travel. The format was always powerful. AI just removed the barrier.
How to Use Split Screen Video on PicassoIA
PicassoIA has a dedicated tool called Split Screen Video built specifically for this format. It takes two video files and combines them into a single side-by-side output with no manual resizing needed.
Step 1: Prepare Your Clips
Before uploading, make sure both clips are roughly the same length. If they are not, use the Trim Video tool to cut them down to your desired duration. This saves time and ensures both panels end at the same moment, which is important for comparisons.
For best results, aim for clips between 5 and 30 seconds. Shorter clips work well for social media, while longer clips suit tutorials and documentation.
Step 2: Upload and Set the Layout
- Go to Split Screen Video on PicassoIA
- Upload your first clip (left panel or top panel)
- Upload your second clip (right panel or bottom panel)
- Select your orientation: horizontal or vertical split
- Set the output resolution (1080p recommended for social platforms)
- Click Generate
The AI processes both clips simultaneously, aligns their timelines to the same start point, and renders the composite output. There is no manual positioning required.
Step 3: Polish and Export
Once the split-screen render is complete, you have several options for finishing touches:
💡 Pro tip: Adding a simple text label to each panel ("Before" / "After", "Morning" / "Evening", "Mine" / "Theirs") dramatically increases viewer comprehension and watch time.
Not all split-screen videos are created for the same purpose. Here are the formats that consistently perform well across platforms.
Before and After
This is the most universally understood split-screen format. One side shows the starting state, the other shows the result. It works for:
- Fitness: body transformation, posture correction, form improvement
- Home improvement: renovation reveals, cleaning results, decor changes
- Skincare and beauty: treatment results, makeup comparisons
- Design work: draft versus final, raw versus edited photos
The before-and-after format works because it tells a story in two frames. Viewers do not need any context, the contrast does all the explaining.
Reaction Videos
Reaction content places the original clip on one side and the person watching it on the other. This format has become a dominant content type on short-form platforms because it creates an emotional proxy. The viewer watches someone else react and mirrors that emotion.

To produce reaction content, record your own reaction video first, then use Split Screen Video to combine it with the original clip.
Travel and Location Comparisons
Placing two locations side by side, same time of day, same type of shot, is a reliable hook for travel content. A beach in Thailand next to a beach in Spain. A market in Morocco next to one in Vietnam. The visual conversation between two places draws the eye and holds it.
For this format, the symmetry of composition matters more than in other types. Shoot your travel footage with the split-screen layout in mind, keeping subjects centered and horizons level.
Sports and Performance Analysis
Coaches, athletes, and sports content creators use split-screen to compare technique. Two serves in tennis, two golf swings, two starts off the block. Placing them side by side makes differences visible that would be invisible in a single-angle view.
If you are working with raw footage that needs cutting to the right moments, use Video Split to isolate the specific action clips before combining them.
💡 Pro tip: For sports analysis content, slow-motion clips on both panels are extremely effective. If your original footage is regular speed, the AI video enhancement tools on PicassoIA can help with frame interpolation.
The Split Screen Video tool becomes significantly more powerful when combined with the rest of PicassoIA's video editing suite.
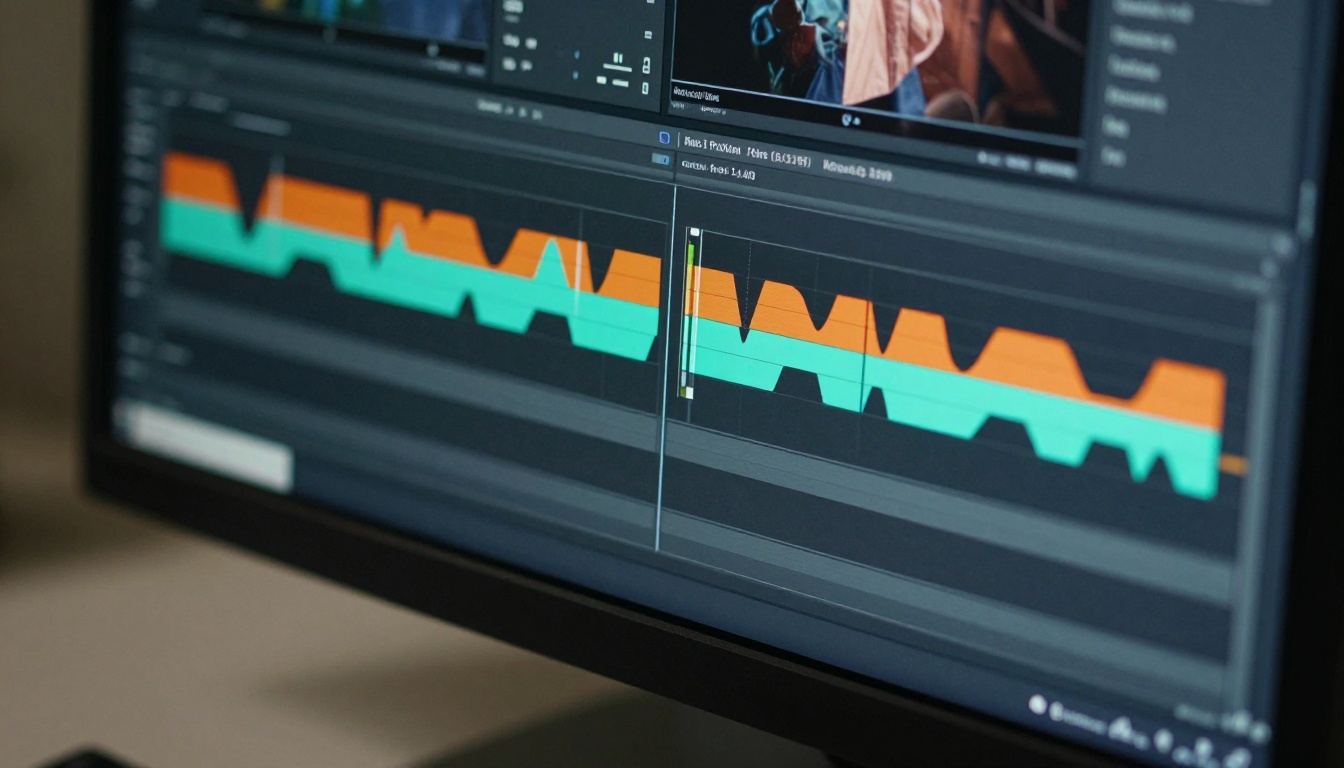
Generate One Side with AI
You do not have to use two pre-existing clips. You can generate one side of your split-screen using a text-to-video model. Tools like Kling v3 Video or Wan 2.7 T2V can produce a photorealistic clip from a text prompt, which you then pair with real footage on the other side.
This opens up creative possibilities that simply did not exist before:
- Real training footage paired with an AI-generated ideal form demonstration
- Actual product footage next to an AI-generated lifestyle scene
- Documentary-style footage alongside AI-generated historical recreation
Clean the Background First
If your source footage has a cluttered or inconsistent background, Video Remove Background can strip it out before you create the split-screen. This is particularly useful for reaction videos where a clean background on both panels looks far more professional.
Restyle a Panel
The Gen 4 Aleph tool lets you restyle any video by changing its visual aesthetic through text instructions. You could take a single piece of footage, create two visual variations of it, then place them side by side for an artistic comparison.
| Workflow | Tools Needed |
|---|
| Before/After fitness | Trim Video + Split Screen Video + Autocaption |
| AI vs. Real comparison | Kling v3 Video + Split Screen Video |
| Reaction video | Video Remove Background + Split Screen Video |
| Sports analysis | Video Split + Split Screen Video + Video Increase Resolution |
| Artistic restyle | Gen 4 Aleph + Split Screen Video |
Real Results: What You Can Make Today
The split-screen format is not a niche trick. It is one of the most versatile production tools available to independent creators right now.
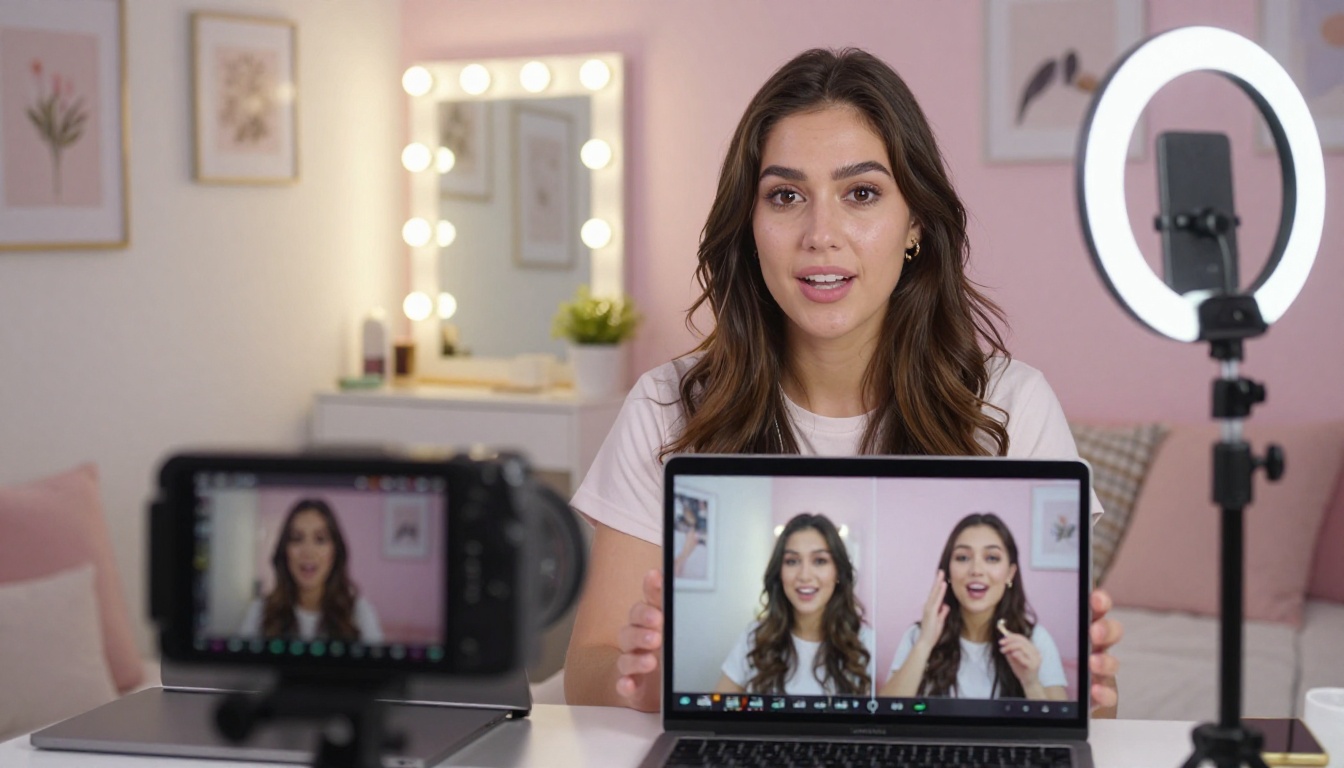
For Social Media Creators
Short-form platforms reward content that communicates instantly. A split-screen video delivers two pieces of information in the same time a single clip delivers one. That efficiency shows up in watch time data.
Creators who post regular before-and-after content, whether fitness, cooking, art, or any transformation-based niche, consistently see higher share rates on split-screen posts compared to single-angle clips. The format invites viewers to look closely and form an opinion, which drives comments.
For Brands and Marketers
Product comparison videos are a staple of e-commerce marketing. Placing your product next to a competitor (or next to the problem your product solves) in a side-by-side format communicates value propositions faster than any amount of copy.
The Reframe Video tool is worth pairing here: after creating your split-screen output in 16:9 landscape, you can reframe it to 9:16 vertical for Stories and Reels without manually re-editing.
For Educators and Tutorial Creators
Step-by-step tutorials often benefit from showing the wrong way next to the right way simultaneously. Cooking instructors, language teachers, and coding educators all use this technique. Seeing both approaches at once eliminates ambiguity in a way that sequential clips cannot.
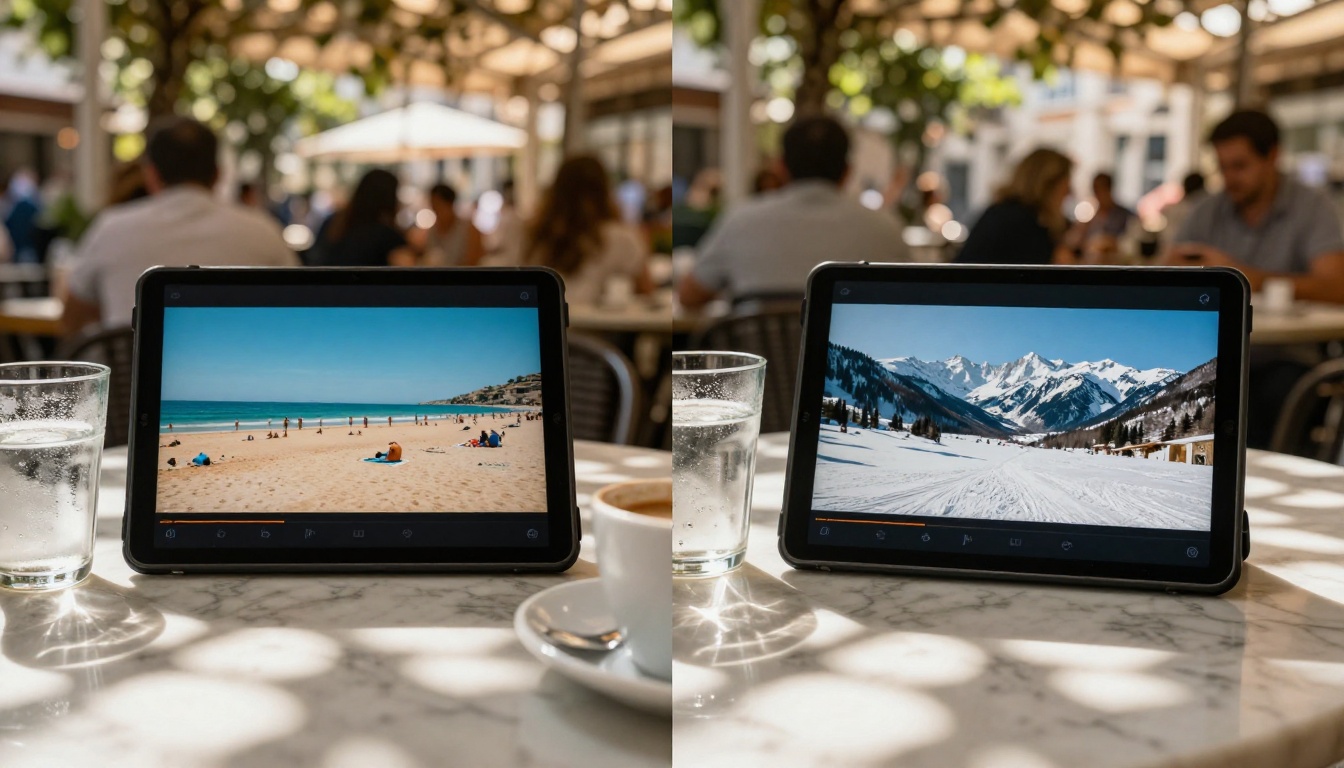
💡 Pro tip: For educational split-screen content, add captions to both panels using Autocaption. Labeled panels help viewers follow complex comparisons without rewinding.
The Numbers That Matter
Here is a practical reference for split-screen video specs across major platforms:
| Platform | Recommended Ratio | Ideal Duration | Max File Size |
|---|
| Instagram Reels | 9:16 | 15-30 sec | 4GB |
| TikTok | 9:16 | 15-60 sec | 287MB |
| YouTube Shorts | 9:16 | Up to 60 sec | 256GB |
| LinkedIn | 16:9 | 30-90 sec | 5GB |
| Twitter/X | 16:9 or 1:1 | 15-30 sec | 512MB |
For most of these, you will produce your split-screen output in 16:9 first, then use Reframe Video to adapt it to 9:16 for vertical platforms.
Your First Split-Screen Video Starts Here
There is no better time to start than right now, with footage you already have on your phone or hard drive.
Pick two clips that share a subject or a contrast. Upload them to Split Screen Video on PicassoIA. Thirty seconds later, you have a finished, shareable video that would have taken a traditional editor the better part of an hour.
From there, the platform's full video editing suite is right there waiting. Trim, merge, reframe, caption, upscale, remove backgrounds, generate new footage from text, and restyle existing clips, all without leaving the browser.
The split-screen format is one of those tools that seems simple until you start using it seriously. Once you do, it shows up everywhere in your content strategy because it works, on every platform, for every audience, for every topic where showing two things at once is more powerful than showing one.
Start with what you have. The split-screen does the rest.


