Cutting an object out of a photo used to be one of the most tedious tasks in any photo editor's workflow. Hours with the pen tool in Photoshop, careful edge refinement, fighting with the lasso around curly hair or wispy fur, and still ending up with jagged edges that screamed "bad cutout." AI has completely rewritten that workflow. Today, you can cut out any object from a photo in seconds, with cleaner edges than most manual work ever produced.
Why Manual Cutouts Are Dead
For decades, precise photo cutouts required either professional retouching skills or serious patience. The pen tool in Photoshop was the gold standard, but it demanded time and precision most people simply don't have. Even experienced editors would spend 30 to 60 minutes on a single complex subject. For a product shoot with 100 items, that math is brutal.
The Old Workflow Was Brutal
Getting a clean cutout manually meant:
- Tracing every edge with anchor points
- Refining the selection mask pixel by pixel
- Fighting with hair, fur, and fine textures
- Going back repeatedly to fix fringing and halos
- Exporting, checking, then re-editing again
That process made sense when no better option existed. It doesn't make sense anymore.
What AI Changed
Modern AI cutout tools use deep learning models trained on millions of images. They don't trace edges. They recognize what they're looking at. They can distinguish a person from a background in a fraction of a second, identify the boundary between a product and its surroundings, and handle the hardest cases like windswept hair or transparent objects with remarkable accuracy.
The shift from manual to AI-powered cutouts isn't just about speed. It's about consistency. The results are reproducible, scalable, and available to anyone with a browser and a photo to upload.
How AI Actually Cuts Out Objects
What's happening under the hood helps you use these tools more effectively and know when to trust the output versus when to manually refine.
Segmentation, Not Selection
Traditional tools work by selection: you define a boundary, and the software fills inside it. AI works by segmentation: the model analyzes every pixel and classifies it as "subject" or "background." This distinction matters because segmentation handles fuzzy, ambiguous edges naturally. The model calculates the probability that each pixel belongs to the subject, creating soft, natural transitions at the edges without hard boundary lines.
This is why AI-generated cutouts often look more natural than manual pen tool work. The edges breathe. They have the subtle semi-transparency that real object boundaries have in photos.
Why Hair Is Hard (and Why AI Handles It)
Hair has been the benchmark test for cutout quality since the Photoshop era. Fine strands against complex backgrounds create hundreds of thousands of semi-transparent edge pixels. A pen tool can't follow each strand. An AI model can, because it has absorbed the visual pattern of hair from millions of training examples and knows to preserve those semi-transparent pixels at the boundary.
💡 Pro tip: AI cutout models perform best when there is clear tonal contrast between the subject and background. A person against a solid wall gives cleaner results than a person against a busy, high-detail scene.
The same principle applies to fur, fabric fringes, plant leaves, mesh textures, and any subject with fine detail at its edges.
Where AI Photo Cutouts Make Real Impact
The technology is impressive on its own, but the real value shows up in specific workflows where manual retouching was the biggest bottleneck.
Product Photography at Scale
E-commerce teams cut out thousands of product images every week. Shoes, bags, electronics, clothing, furniture. Every product on a white background was once a manual retouching job. With AI cutout tools, a photographer can shoot on any plain backdrop and have clean white-background images ready in minutes, not days.
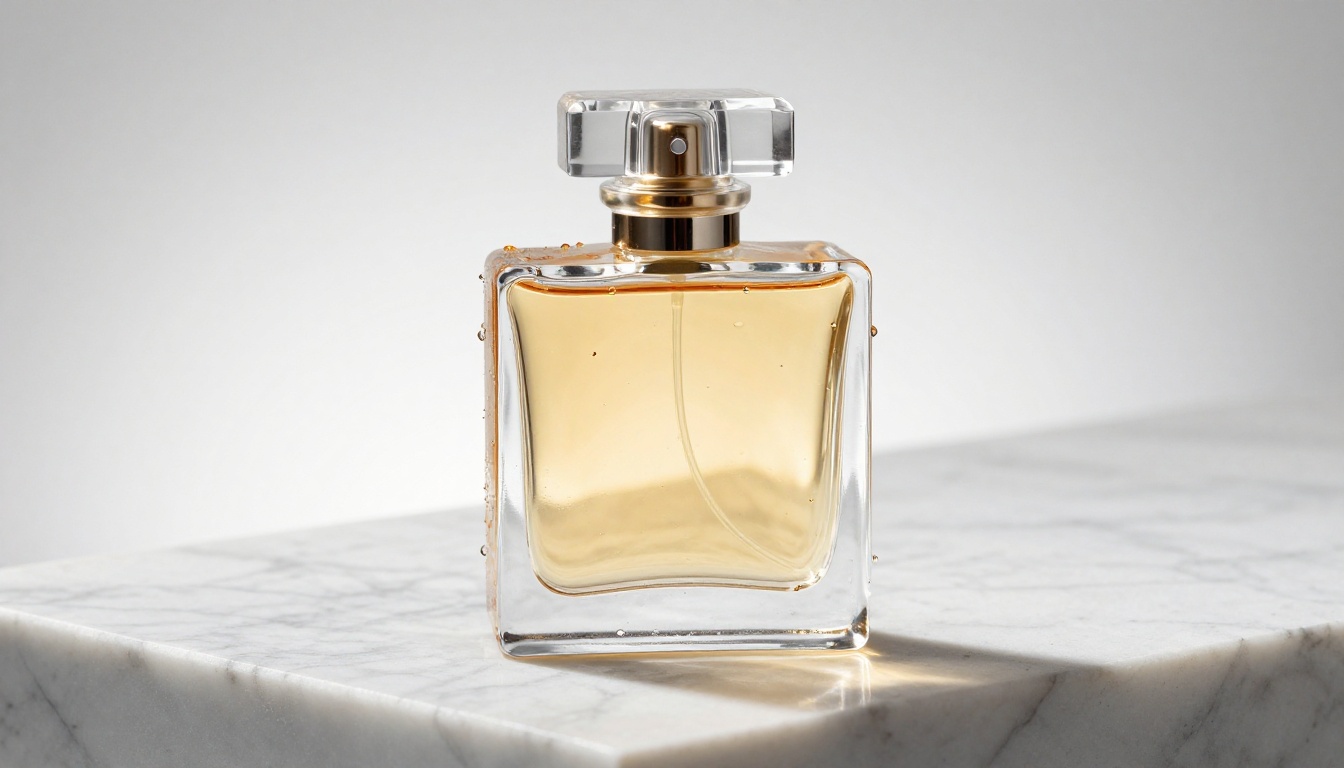
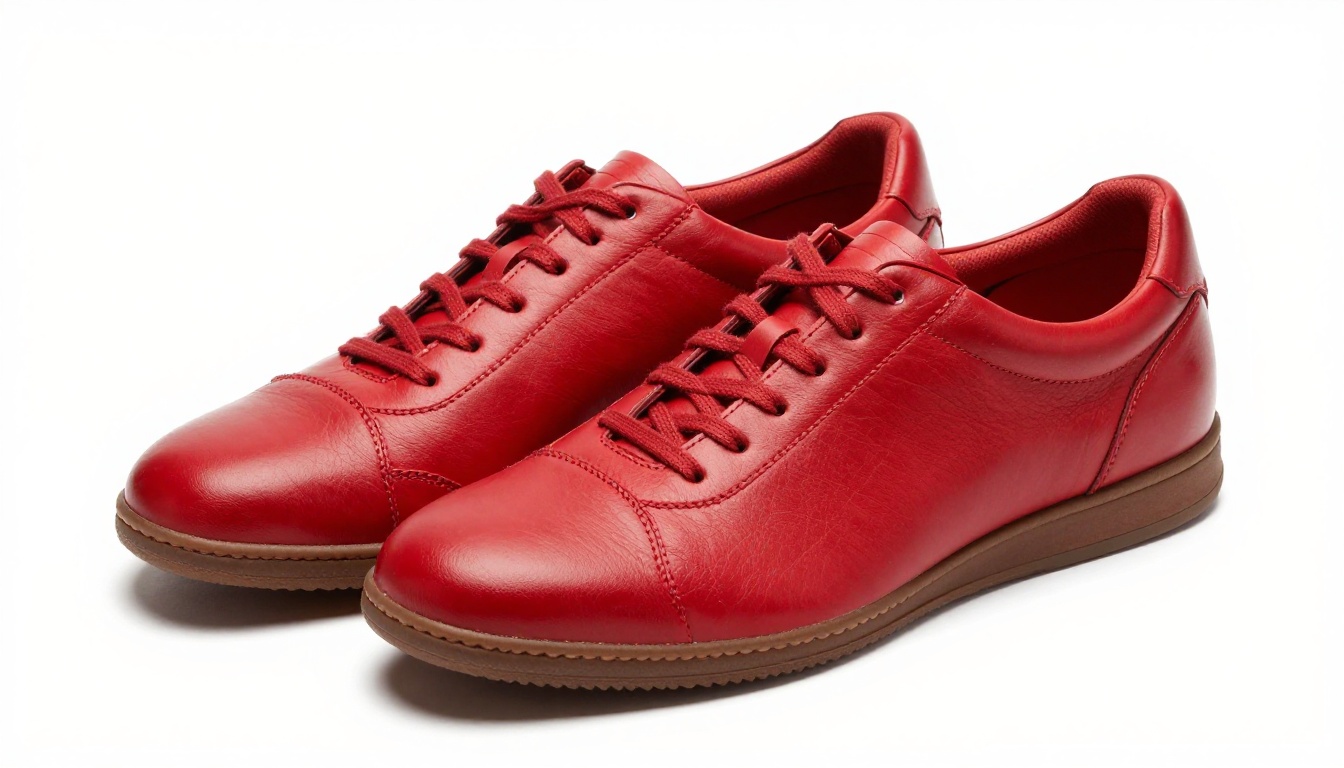
The efficiency gain for a catalog of 500 products is enormous. What once needed a full retouching team can now be handled by one person using AI batch processing. Platforms like Amazon, Shopify, and Etsy require consistent white backgrounds across all product listings. AI cutout tools make that requirement trivial to meet.
Portrait and Headshot Editing
Photographers delivering headshots for LinkedIn, press kits, or websites need clean backgrounds. Clients don't want to wait a week for retouching. AI cutout makes same-day delivery practical.
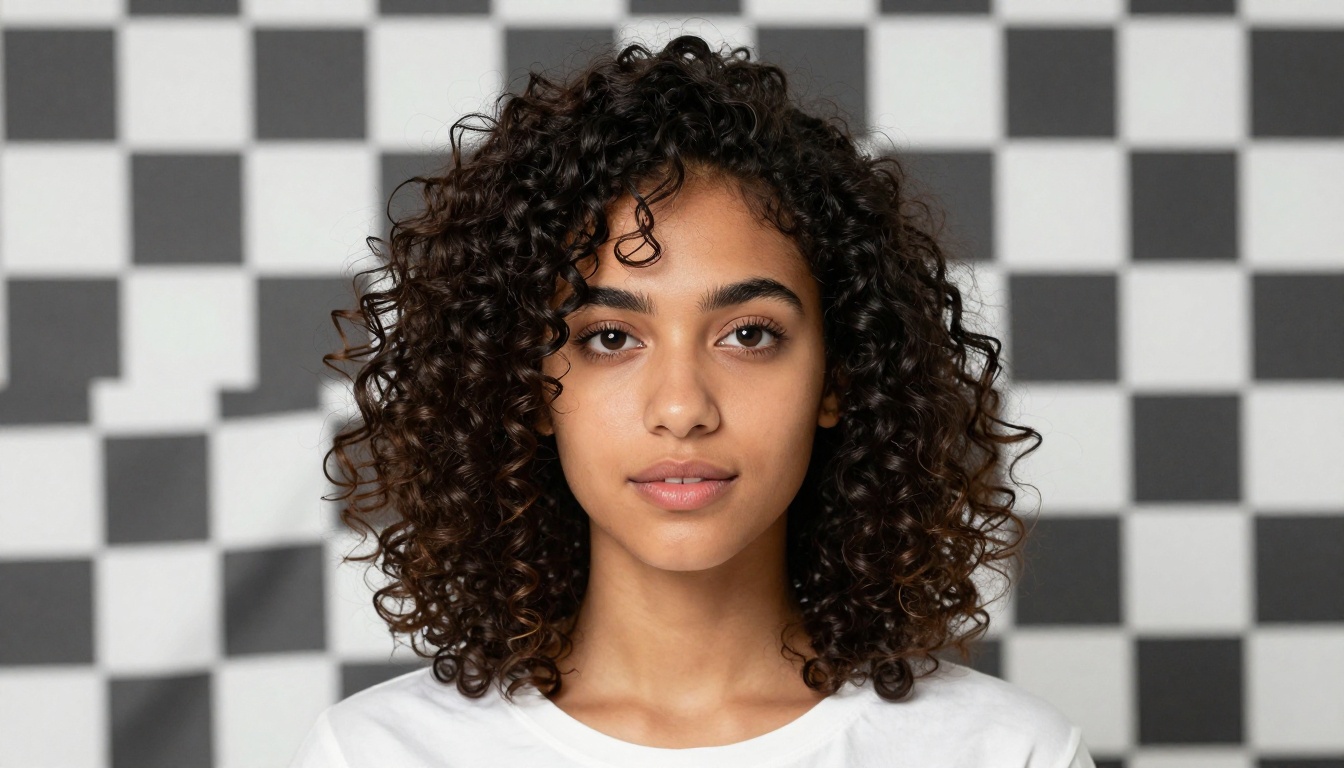
More importantly, it handles the hard cases. Curly hair against windows, flyaway strands in outdoor portraits, the fine edge where a blazer meets a blurred background. These are the shots that used to require specialized retouching skill and careful work in Photoshop's Select and Mask workspace.
Social Media and Content Creation
Content creators need to swap backgrounds constantly. Travel photos get placed into new scenes. Products float in lifestyle environments they were never photographed in. Portraits appear on branded backgrounds for reels and posts. All of that requires clean cutouts, and AI makes it fast enough to keep up with daily content calendars.

💡 For creators: Batch processing multiple images with AI cutout tools means you can prep a week's worth of visual content in an afternoon. What used to take a full day of editing shrinks to an hour or less.
Food and Interior Photography
Both categories deal with objects that have complex edges: plates with irregular shapes, sofas with cushion fringes, chairs with spindle legs, bowls of soup with rising steam. Traditional cutout work on these was particularly time-consuming. AI handles the shape complexity without needing human direction.
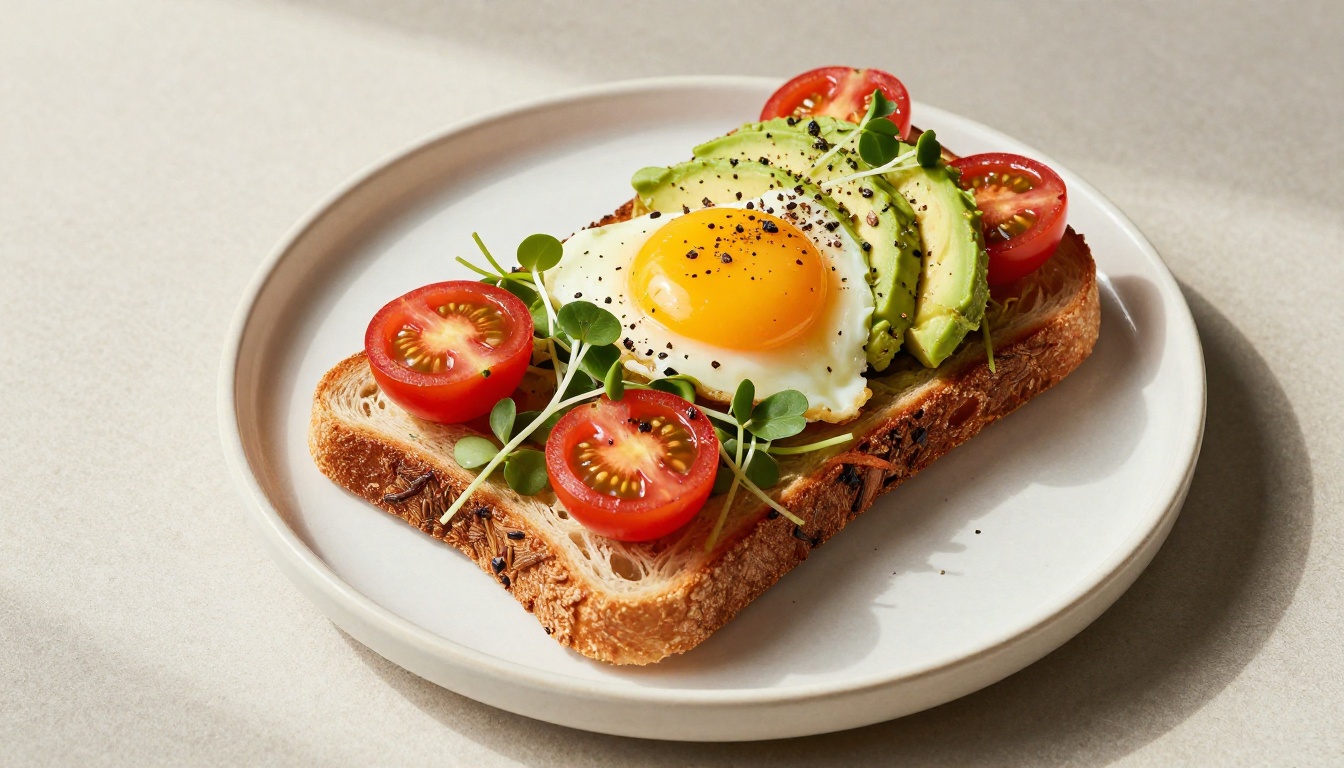

Interior design brands photographing furniture for catalogs can now isolate each piece without manual editing. Food delivery apps that need thousands of dish images on clean backgrounds can process them all through AI in hours.
How to Cut Out Objects on PicassoIA
PicassoIA includes a dedicated Remove Background model built on the Bria AI foundation, one of the most accurate background removal systems available today. The process is straightforward.
Step 1: Upload Your Photo
Go to the Remove Background tool on PicassoIA and upload your image. The tool accepts JPG, PNG, and WebP files. For best results, use photos where the subject has reasonable contrast against the background.
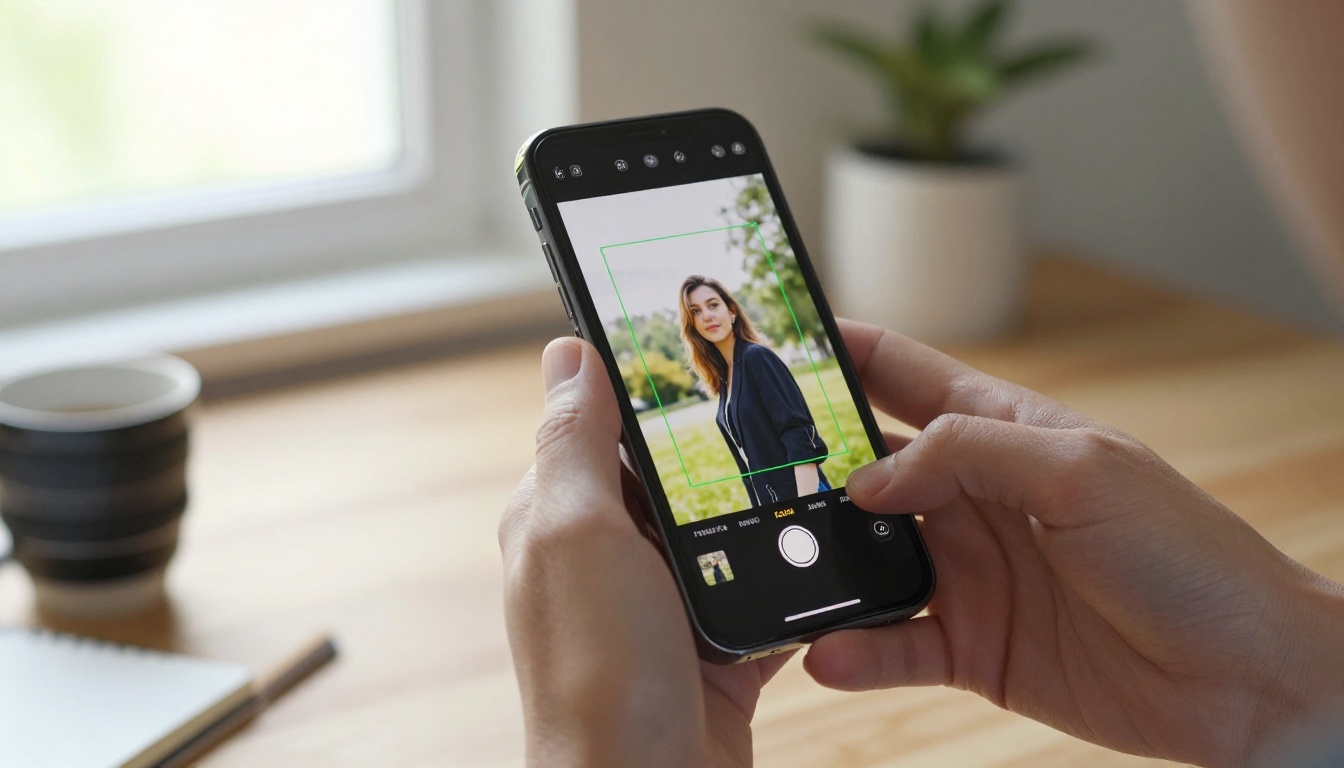
What to upload:
- Product photos on any background
- Portraits and headshots
- Objects: shoes, bags, electronics, furniture
- Food and drink photography
- Fashion and clothing shots
No special file preparation is needed. The tool works directly on your original image.
Step 2: Let the AI Process
The Remove Background model processes the image and isolates the subject automatically. No selection tools, no tracing, no manual input required. The AI identifies the primary subject and removes everything else, outputting a PNG with a transparent background.
Processing takes a few seconds for most images. The model generates clean edges around complex subjects, including hair, fur, fabric fringes, and fine product detail.
Step 3: Download and Use
Download the PNG with transparent background. The file is ready for:
- Placing on a new background in any image editor
- Using directly in design tools like Figma, Canva, or Photoshop
- Uploading to e-commerce platforms that require white or transparent backgrounds
- Adding to video compositions or motion graphics projects
💡 Format note: Always save cutouts as PNG to preserve the transparency layer. Saving as JPG will fill the transparent area with white or black and destroy the cutout entirely.
Getting Better Results from AI Cutouts
The tool does most of the work, but a few habits consistently improve output quality across different types of subjects.
Photos That Work Best
| Factor | Good for AI Cutouts | Harder for AI Cutouts |
|---|
| Background | Plain, solid color | Busy, complex patterns |
| Contrast | Clear subject/background separation | Similar colors or tones |
| Lighting | Even, clear subject | Strong shadows crossing edges |
| Resolution | High resolution (1MP+) | Heavily compressed, blurry |
| Subject | Clear, well-defined shape | Semi-transparent, reflective glass |
Common Mistakes to Avoid
Shooting on patterned backgrounds: Even if AI can handle it, clean plain backdrops give the model less ambiguity to resolve, producing crisper edge quality with less post-processing needed.
Using heavily compressed images: JPEG compression creates artifacts at edges that confuse segmentation models. Use the original file from your camera or phone when possible, not a screenshot or downloaded web image.
Expecting perfect results on glass and reflections: Semi-transparent objects like wine glasses, acrylic boxes, or clear plastic packaging are genuinely difficult for any AI model. Results will vary and may need manual refinement in those specific areas.
Ignoring shadow handling: AI cutout tools remove the background but typically don't handle ground shadows. If you need a natural-looking composite, plan to add a shadow layer manually or use an AI tool that handles shadow generation as a separate step.
Beyond Backgrounds: More Ways to Use AI Editing
Cutting out objects is the most common use, but it fits into a much broader AI editing workflow with a lot of creative possibility.
Object Removal and Inpainting
Once you have a clean cutout and a transparent background, you can place the subject into any scene. Combined with AI inpainting tools, you can also remove specific objects from photos entirely: remove a photobomber, clear a cluttered background, erase a distracting element from an otherwise perfect shot. These tools work on the same pixel-classification principle as background removal but in reverse.
Super Resolution After Cutouts
If you're cutting out a subject from a lower-resolution photo and need to use it at large sizes, AI upscaling can increase the resolution of both the original and the final cutout. Running a subject through a super resolution model after extraction preserves edge quality at larger output sizes, which matters a lot when placing small product shots into full-page catalog layouts.
Fashion and Glamour Photography
For fashion, swimwear, and lifestyle photography, clean cutouts open up a wide range of composite possibilities. A model photographed in a studio can be placed on a beach, a rooftop, or a white seamless in the same session. Clean edge quality around clothing textures and hair is what makes the composite convincing.
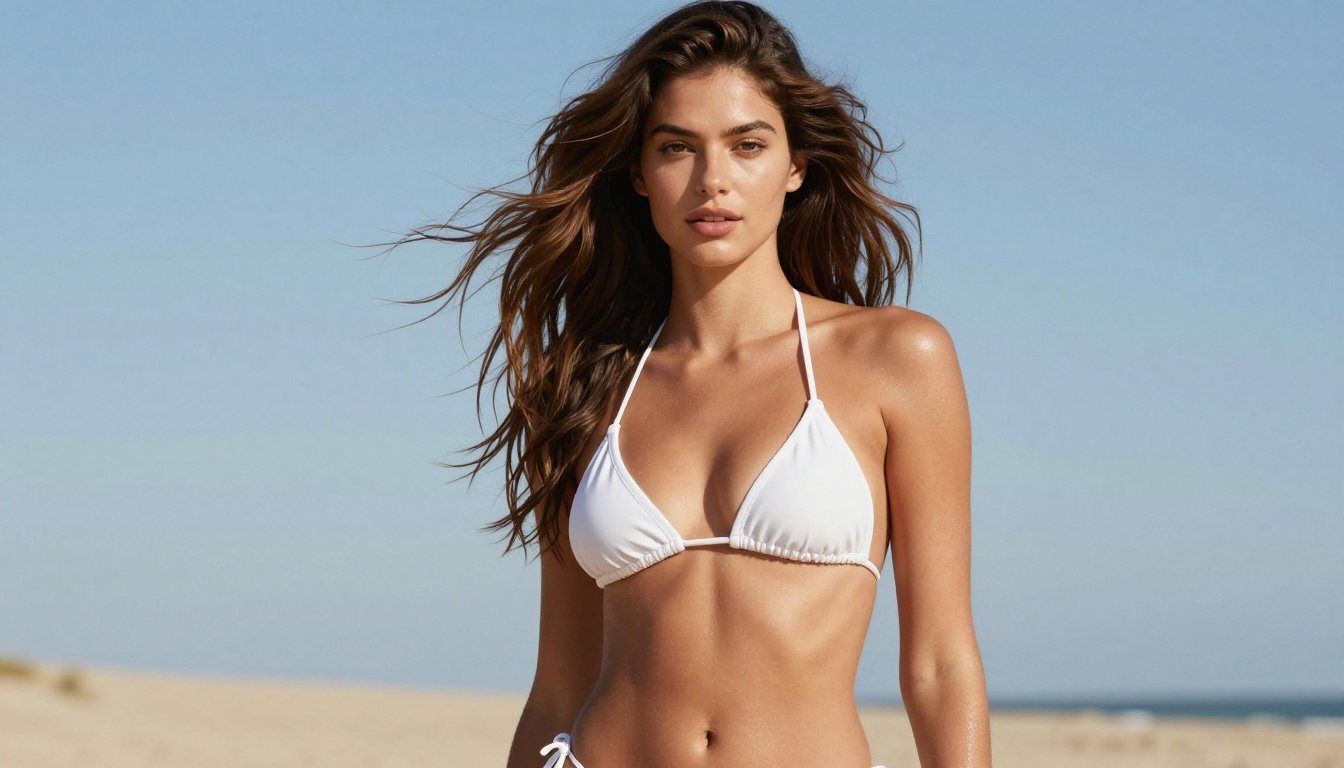
The Remove Background model handles fashion subjects well, particularly when hair and clothing edges are crisp in the original photo. Shoot at high resolution and in good light, and the AI will handle the rest.
Professional Equipment Photography
Camera gear, audio equipment, and tech products for reviews, catalogs, or rental platforms all need consistent white or transparent backgrounds. AI cutout makes that possible without a dedicated retouching team.
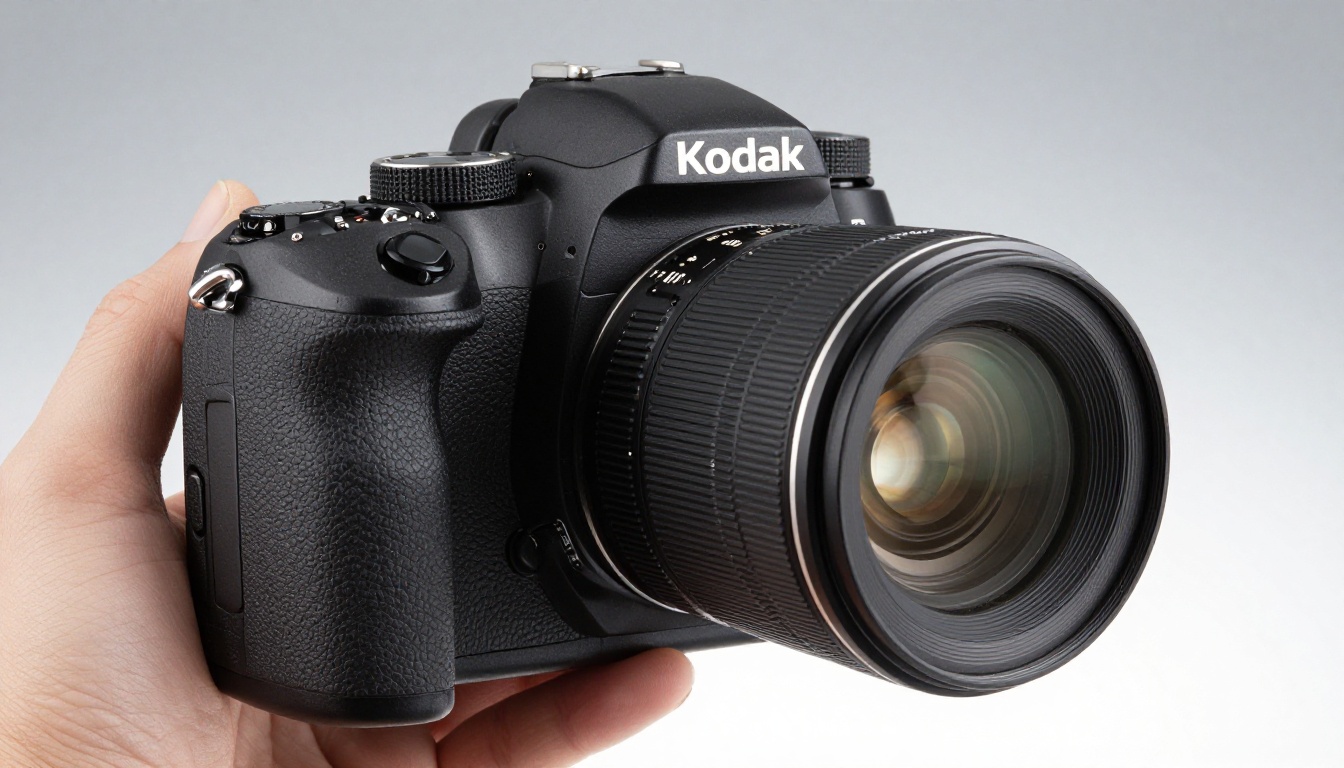
Small details like rubber grip texture, metal knurling, and cable connectors all retain their definition in a well-processed AI cutout. The AI doesn't blur or lose fine surface texture the way aggressive manual selections sometimes do.
Not all background removal tools perform the same. Here's what actually matters when comparing options:
| Feature | Why It Matters |
|---|
| Edge quality on hair and fur | The hardest real-world test of model accuracy |
| Handling of fine detail | Fabric texture, stitching, plant stems |
| Semi-transparency support | Lace, sheer fabric, glass elements |
| Processing speed | Critical for batch workflows |
| Output format options | Transparent PNG is non-negotiable |
| API availability | Automation and integration capability |
The bria/remove-background model on PicassoIA performs well across all of these dimensions, particularly on fine hair detail and product edge quality. It's built on a commercial-grade AI foundation designed for high-volume image processing.
Try It on Your Own Photos
The only way to really see what AI photo cutout can do is to run your own images through it. A product shot that took 40 minutes to retouch manually often comes out cleaner in 5 seconds with AI. A portrait that needed specialist hair masking work looks natural and clean without any manual intervention.
Start with the Remove Background tool on PicassoIA and upload one of your more challenging photos: something with hair, or a product on a busy background, or clothing with fine texture at the edges. See the output. Compare it to what you'd get spending an hour with manual selection tools.
The quality gap between AI-powered cutouts and manual work has nearly closed for most subjects. For speed and scale, AI has already won. Whether you're processing product photos for an online store, preparing portraits for headshot delivery, or building composite images for social media, AI cutout tools deliver professional retouching quality at a fraction of the time.
PicassoIA brings this together with dozens of other AI image tools in one platform. After cutting out your subject, you can upscale it with super resolution, place it into a new scene using inpainting, or run it through image restoration if the original had noise or blur. The workflow that once required multiple specialized applications and hours of manual work now fits into a single session on one platform.


