Scanned documents are notorious for coming out wrong. The text blurs. The lines pixelate. The contrast flattens everything into a muddy grey wash. If you have spent time scanning contracts, receipts, or handwritten notes only to end up with a file that nobody can read properly, you are not alone, and the problem is not your scanner.
The real issue is resolution, noise, and compression working against each other at the same time. The good news is that AI now handles all three in seconds, no software installation, no professional equipment, and no technical knowledge required. This article walks through exactly how that process works, which tools do it best, and how to run it yourself today using free models online.
Why Scanned Documents Look So Bad
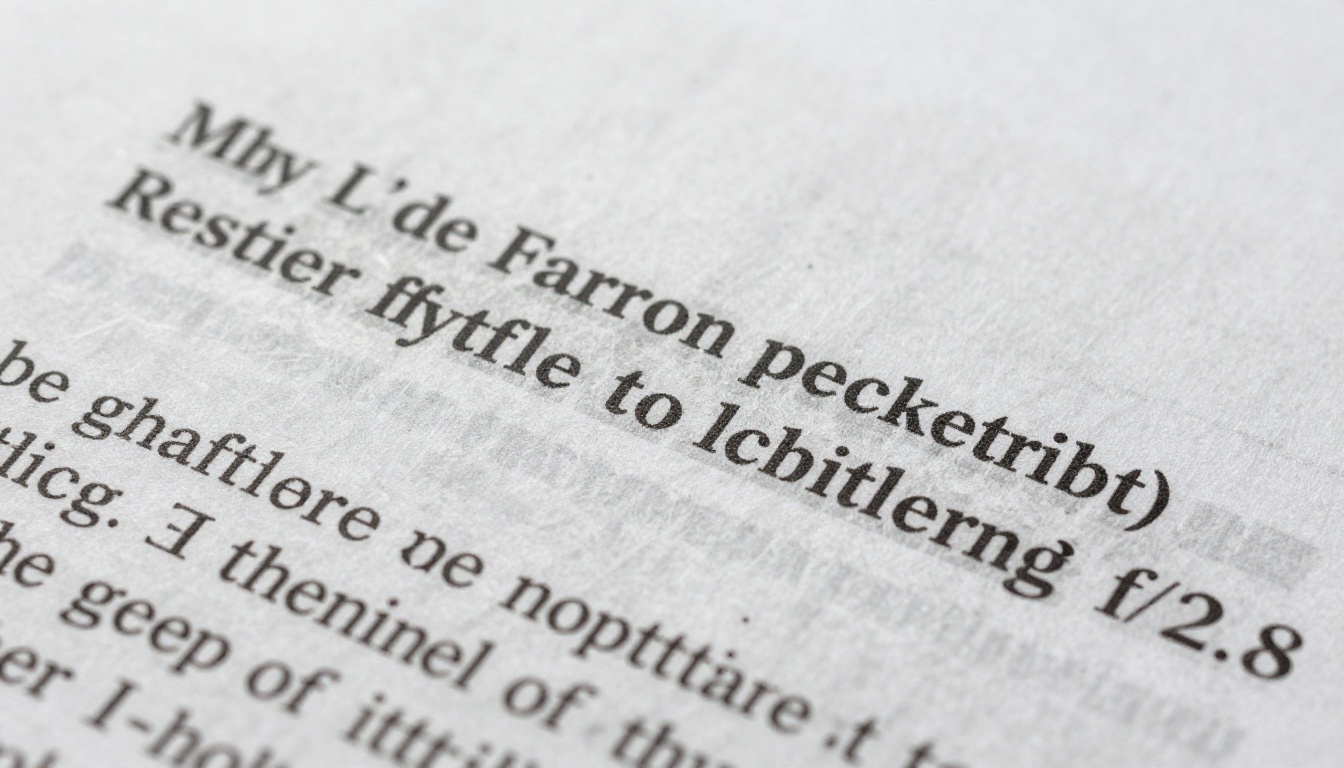
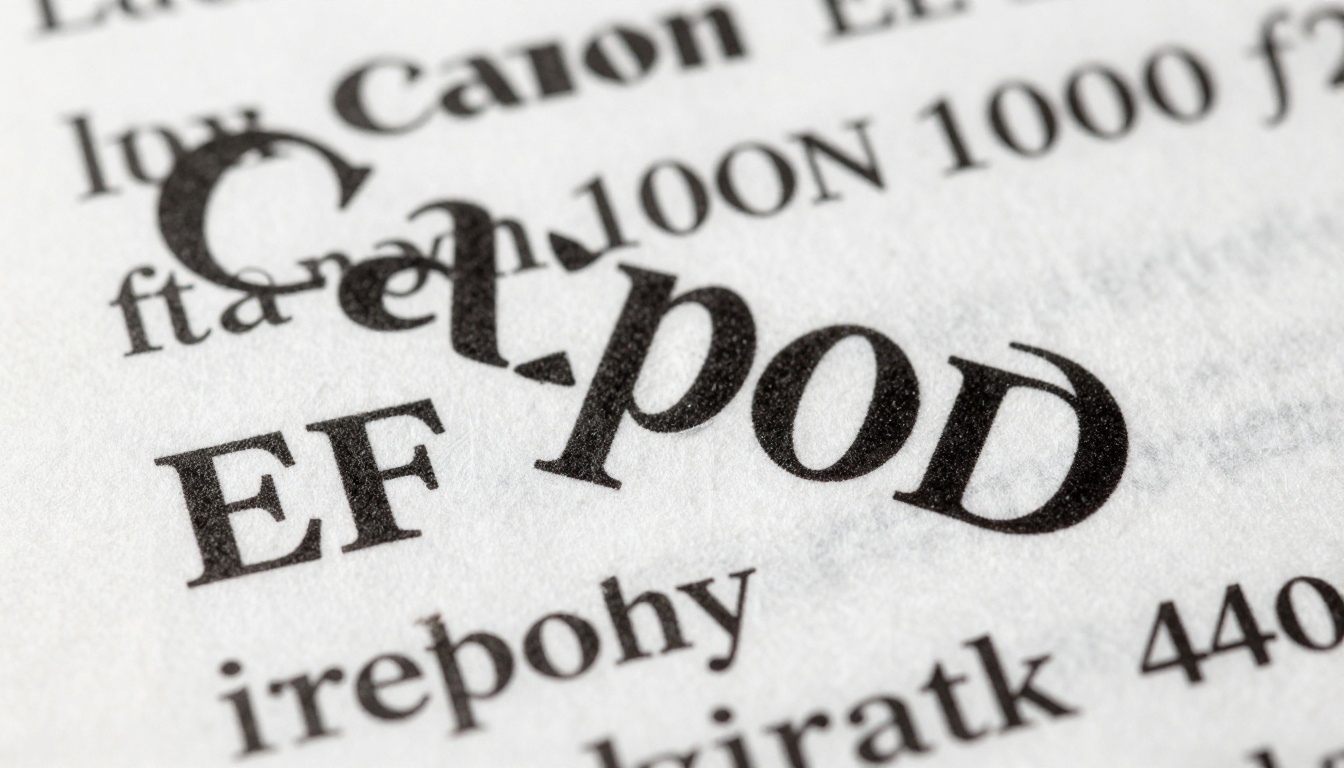
When a scanner captures a physical page, it converts light reflected off the paper into digital pixels. At low DPI settings (dots per inch), there simply are not enough pixels to represent each character cleanly. A letter printed at 600 DPI and scanned at 150 DPI loses around 75% of its original detail, which means edges become jagged, thin lines disappear, and small text turns into blobs.
The problem compounds when the original document is already degraded. Old paper yellows. Ink fades. Fold marks create shadows that a scanner reads as grey smears across the text. Even a clean document scanned at proper 300 DPI can still carry unwanted grain and color noise from the scanner sensor itself.
The Main Culprits Behind Blurry Scans
- Low DPI settings: Most home scanners default to 150-200 DPI. Professional archiving needs 300-600 DPI minimum.
- Scanner noise: Cheap sensors introduce random pixel-level noise, especially in shadows and midtones.
- JPEG compression: Saving the scan as a heavily compressed JPEG destroys fine detail that was captured correctly.
- Original condition: Aged, folded, or water-stained documents carry pre-existing damage that no scanner setting can fix.
What DPI Actually Means for Your Files
DPI measures how many pixels fit into one inch of the scanned image. A 300 DPI scan of an A4 page produces a 2480 x 3508 pixel image. That sounds large, but when you zoom in to read fine print or a dense table, it still pixelates fast. AI resolution scaling takes that same file and interpolates new pixel data, filling in what the scanner missed, so the final image holds up at 4x or 6x enlargement.
What AI Actually Does to a Blurry Scan
AI-powered image processing does not simply stretch pixels, which is what basic resampling tools do, creating that classic "zoom and blur" effect. Instead, trained neural networks have seen millions of high-resolution and low-resolution image pairs. They have learned what a sharp letter looks like, what a clean horizontal rule looks like, and what a background noise pattern looks like versus actual ink.
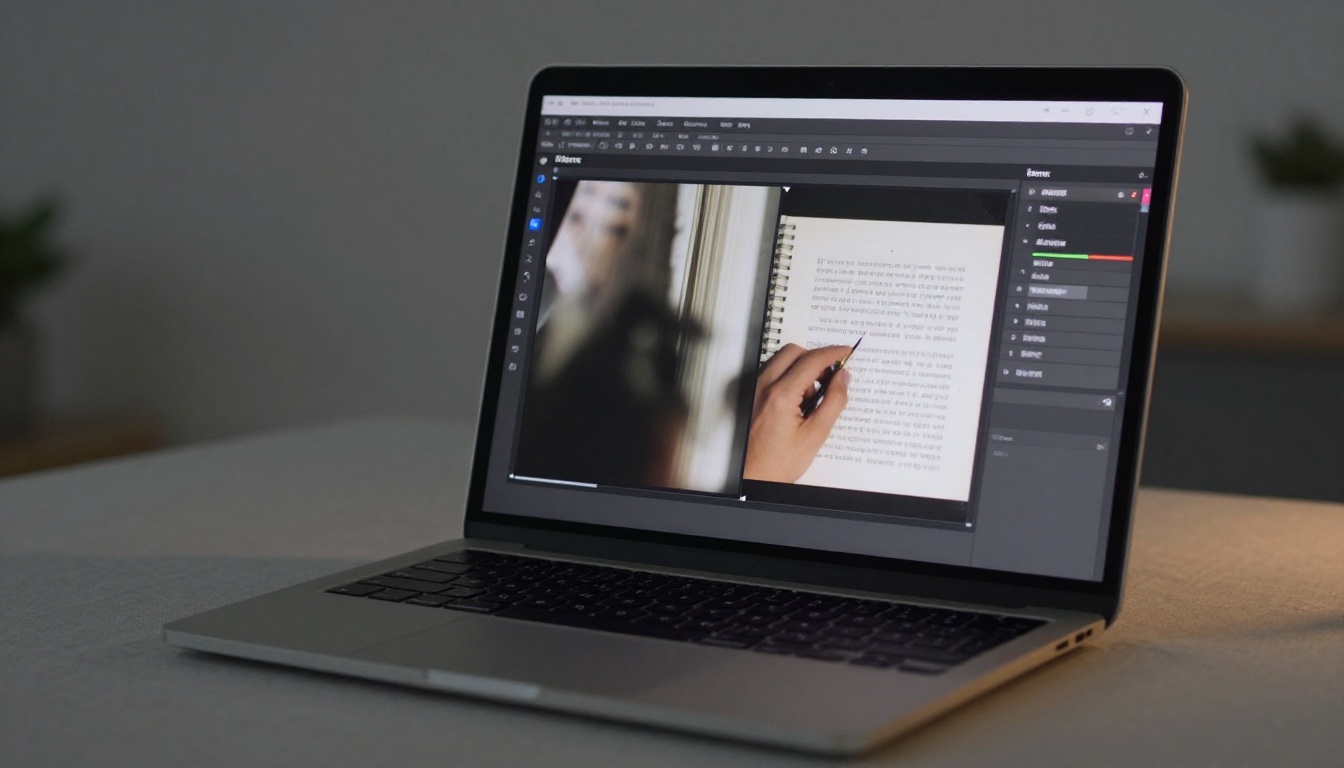
When you upload a scanned document, the model analyzes each region of the image and predicts what the high-fidelity version should contain. It fills in missing pixel information, sharpens edges where letters meet the page, and removes random noise while preserving real ink marks.
Noise Removal vs. Sharpening
These are two different operations that people often confuse:
| Operation | What It Does | When to Use It |
|---|
| Noise Removal | Eliminates random pixel variation (grain, scanner static) | Old scans, poor sensor quality |
| Sharpening | Increases edge contrast between text and background | Soft, blurry, or slightly out-of-focus scans |
| Super-Resolution | Increases pixel count using AI prediction | Low-DPI scans that need enlargement |
Most good AI tools run all three in a single pass.
Resolution Scaling: More Than Just Zooming In
Standard bicubic scaling, the kind built into any image editor, works by averaging existing pixel colors to fill in new ones. The result is a larger image that is equally blurry. AI super-resolution is different. The model adds new detail rather than averaging it. That is why a document processed with Real ESRGAN or Clarity Pro Upscaler looks sharper at 4x than the original did at 1x.
Not every upscaler handles documents equally well. Photo-focused models sometimes over-smooth text, treating letter edges as noise to be removed. The models below are specifically strong at preserving text clarity, line work, and fine detail.

Clarity Pro Upscaler
Clarity Pro Upscaler from Philz1337x is one of the strongest options for photorealistic upscaling. It runs a tile-based processing approach, breaking your document into small sections and processing each one independently before reassembling the final image. This means fine text in one corner gets as much attention as a signature in another.
It handles JPEG artifact removal well, which matters when your scan was saved at low quality. You will typically see results at 2x or 4x native resolution with noticeably cleaner edges throughout the document.
Real ESRGAN
Real ESRGAN is a widely used open-source model from NightmareAI. It was trained specifically on real-world degraded images, including scanned and photographed documents, making it unusually good at restoring files that came from physical sources rather than digital originals. It produces 4x upscaled output and handles noise removal in the same pass.
Topaz Image Upscale
Image Upscale by Topaz Labs goes up to 6x enlargement, the highest of any model in this category. For very small documents or heavily cropped sections of a scan, that extra scaling range can make the difference between an unreadable signature and a clear one. The model prioritizes sharpness over smoothness, which is exactly what text-heavy documents need.
Other Strong Options
For fast processing, P Image Upscale delivers sharp results in under one second, useful when you have a batch of documents to process. Bria Increase Resolution and Google Upscaler both offer reliable 4x output and work well on mixed documents containing both text and images.
💡 For portrait-heavy documents with signatures or ID photos, Crystal Upscaler specifically targets facial and fine detail preservation alongside text clarity.
How to Use Clarity Pro Upscaler on PicassoIA
PicassoIA makes all of these models available directly in your browser, no account required to test, and no software to install. Here is how to run your first scan improvement in under two minutes.
Step 1: Upload Your Scanned Document
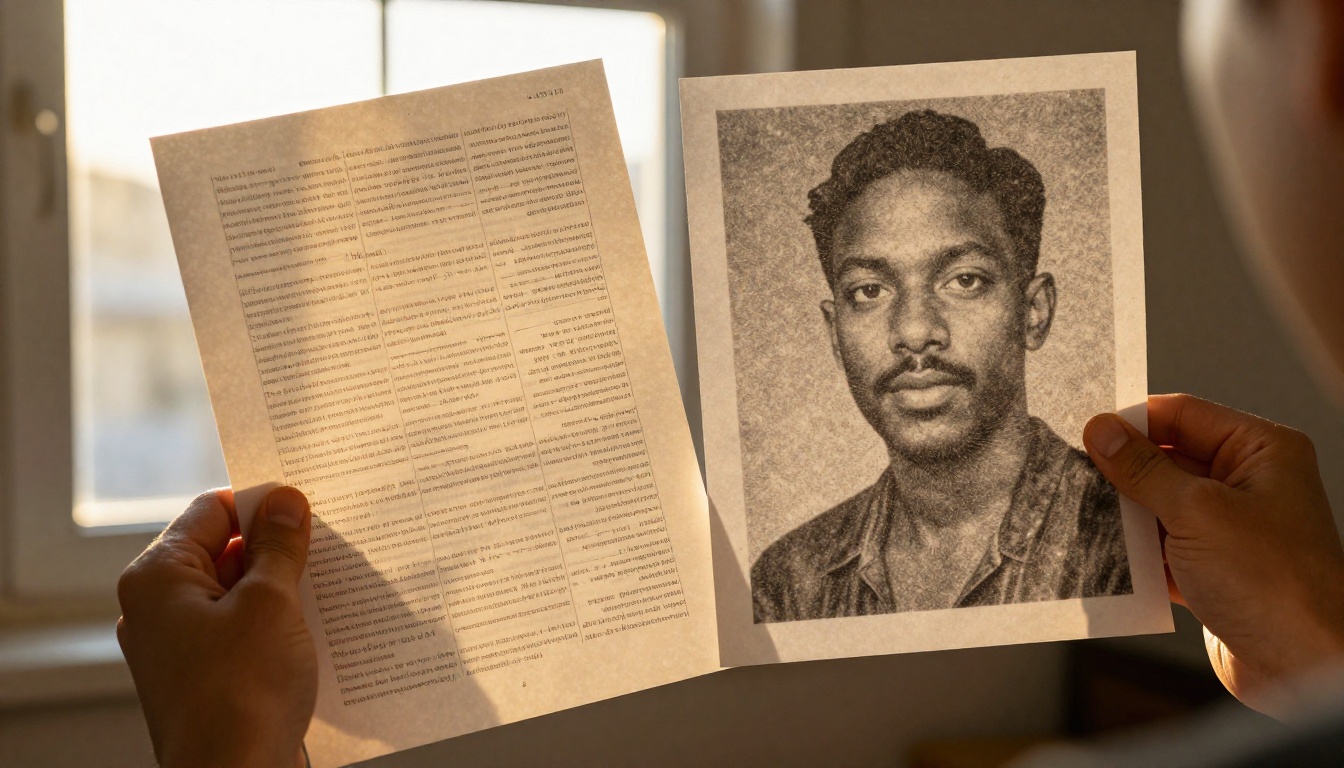
Go to the Clarity Pro Upscaler page on PicassoIA. Click the upload area and select your scanned file. JPEG, PNG, and TIFF formats all work. If your file is a multi-page PDF, export the pages you need as individual images first, as the model processes one image at a time.
💡 For best results, start with the highest-quality scan you have. If you scanned at 150 DPI, rescan at 300 DPI before uploading if possible. The AI does more with a better starting point.
Step 2: Choose Your Upscale Factor
Clarity Pro Upscaler offers 2x and 4x scaling options. For a standard A4 document that you want to read comfortably on screen, 2x is usually enough. For archiving old documents where you want to preserve every fiber and ink stroke, 4x captures more reconstructed detail.
The model also includes a sharpness parameter. For heavily blurred scans, increase sharpness to 60-70%. For documents with only mild grain, keep it at 40-50% to avoid over-sharpening edges.
Step 3: Download the Result
Processing takes 10-30 seconds depending on file size. When done, click the download button and save the result as a PNG for maximum quality. Avoid saving as JPEG again if the document will be processed further or printed, since each JPEG save adds another layer of compression loss.
Compare the output against your original at 100% zoom. You should see noticeably cleaner letter edges, reduced background noise, and better contrast between text and paper.
Real Results: Document Types That Benefit Most
Not all scanned documents respond the same way to AI processing. Some categories see dramatic differences.
Legal Contracts and Forms
Standard contract pages with dense 10-12pt body text are where AI upscalers perform best. The clean grid-like structure of printed text is exactly what these models were trained to restore. Running a poorly scanned contract through Real ESRGAN typically makes every paragraph readable that was previously a grey blur.
Handwritten Notes and Letters
Handwriting is harder. Unlike printed fonts, handwritten characters vary in stroke width, pressure, and angle. AI models sometimes over-smooth handwriting, softening the pressure variations that make a signature look natural.
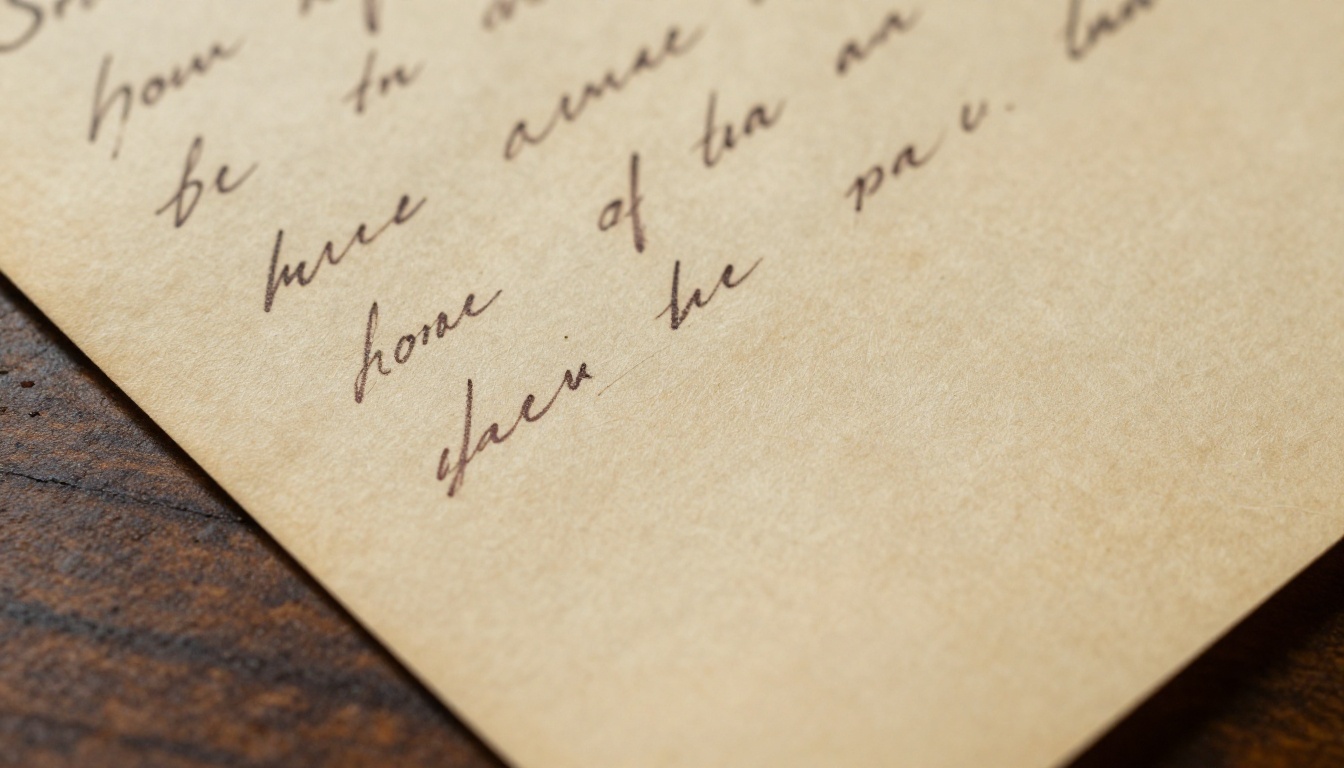
For handwritten documents, Clarity Pro Upscaler with lower sharpening tends to produce the best results. It recovers detail without flattening the organic quality of the original handwriting. For purely legibility purposes, Real ESRGAN is more aggressive and makes text easier to read, even if the hand-drawn quality softens slightly.
Old Receipts and Invoices
Thermal paper receipts fade over time and often scan with very low contrast. The combination of pale ink on off-white paper makes them particularly difficult. For these, increasing the upscale factor to 4x and using Topaz Image Upscale with its higher ceiling tends to pull out faded text that basic upscalers miss entirely.
3 Common Mistakes That Ruin Your Results
Even with the right tools, these errors will set you back.
1. Starting with a JPEG that is already heavily compressed
If your original scan was saved at 50% JPEG quality, it already contains significant block artifacts. Running it through an upscaler amplifies those artifacts rather than removing them. Always scan to TIFF or PNG first, then convert to JPEG only at the very end if you need a smaller file.
2. Over-sharpening text on a clean scan
A document that was scanned at 300 DPI and has no major noise problems does not need aggressive sharpening. Pushing sharpness above 70% on an already-decent scan creates haloing around letter edges, where a dark ring forms at the text-paper boundary. It looks artificially processed and actually makes the document harder to read.
3. Assuming AI can fix physically damaged originals
AI upscaling recovers lost digital resolution. It cannot recreate ink that was never there. If your original document has missing sections from water damage, tears, or chemical deterioration, the model will reconstruct plausible-looking content in those areas, but it will not be accurate. For legally significant documents, always note which portions of the original were damaged before processing.
Other AI Features Worth Using
Once your scan is sharp and clean, a few other tools on PicassoIA extend what you can do with it.
Background Removal for Stamps and Signatures
Many scanned forms include official stamps or wet-ink signatures that need to be extracted and placed on other documents. The Background Removal tool isolates the stamp or signature element cleanly from the page background, producing a transparent PNG you can reuse. This is particularly useful for notarized documents or official seals.
More Models Worth Trying
If your documents contain images alongside text, like a scanned report with photographs, Recraft Crisp Upscale handles mixed content well. For digitized books or magazines with both column text and printed images, Bria Increase Resolution provides consistent results across the full page without prioritizing one content type over the other.
💡 Batch processing tip: If you have a stack of documents to process, prepare them all as numbered PNG files first. This makes it faster to upload, process, and download in sequence without losing track of which output matches which input.
Try It for Yourself
Every model mentioned in this article is available right now on PicassoIA, free to test in your browser. Grab the worst-quality scan you have, the one you gave up on, and upload it to Clarity Pro Upscaler or Real ESRGAN. The results take under a minute and you will see immediately what AI processing actually does to a real document.
From there, try the other super-resolution models to compare how each handles your specific content type. Different documents respond differently, and finding the right tool for your use case takes only a few minutes of testing. PicassoIA puts every model side by side so you can run comparisons without committing to any single option.
Your documents do not have to stay blurry.


