Making your own custom stickers used to mean hiring a designer, wrestling with Photoshop, or settling for generic clip art. Not anymore. AI tools have completely changed what's possible, and now anyone with a smartphone photo can produce professional-quality stickers in minutes.
Whether you want to turn your pet into a die-cut sticker, print your travel memories on vinyl, or build a whole sticker pack from your selfies, this article walks you through the full process. No design background required.
Why Photo Stickers Are Having a Moment
Stickers are everywhere. On water bottles, laptops, journals, helmets, and phone cases. Custom photo stickers hit differently because they're personal. They carry memory, personality, and story in a format you can stick on anything.
The challenge has always been the technical barrier. Getting a photo print-ready for stickers means:
- Removing the background cleanly
- Upscaling the image to at least 300 DPI for crisp print output
- Exporting in the right format (PNG with transparency)
- Adding a white outline or bleed margin so the sticker edge prints clean
AI now handles all of that in seconds. What used to take hours in Photoshop now takes a few clicks and a short wait.
What Types of Photos Work Best
Not every photo makes a great sticker. Choosing the right image before starting the process saves a lot of time.
Best candidates:
- Portraits with a single clear subject (person, pet, object)
- Photos with good contrast between subject and background
- Shots taken in decent lighting, not blurry or heavily shadowed
- Images where the subject isn't tangled with complex backgrounds like dense foliage
Photos to avoid:
- Group shots where subjects overlap at the edges
- Motion-blurred images
- Very dark or underexposed photos
- Low-resolution screenshots from social media
Resolution: The Number That Matters
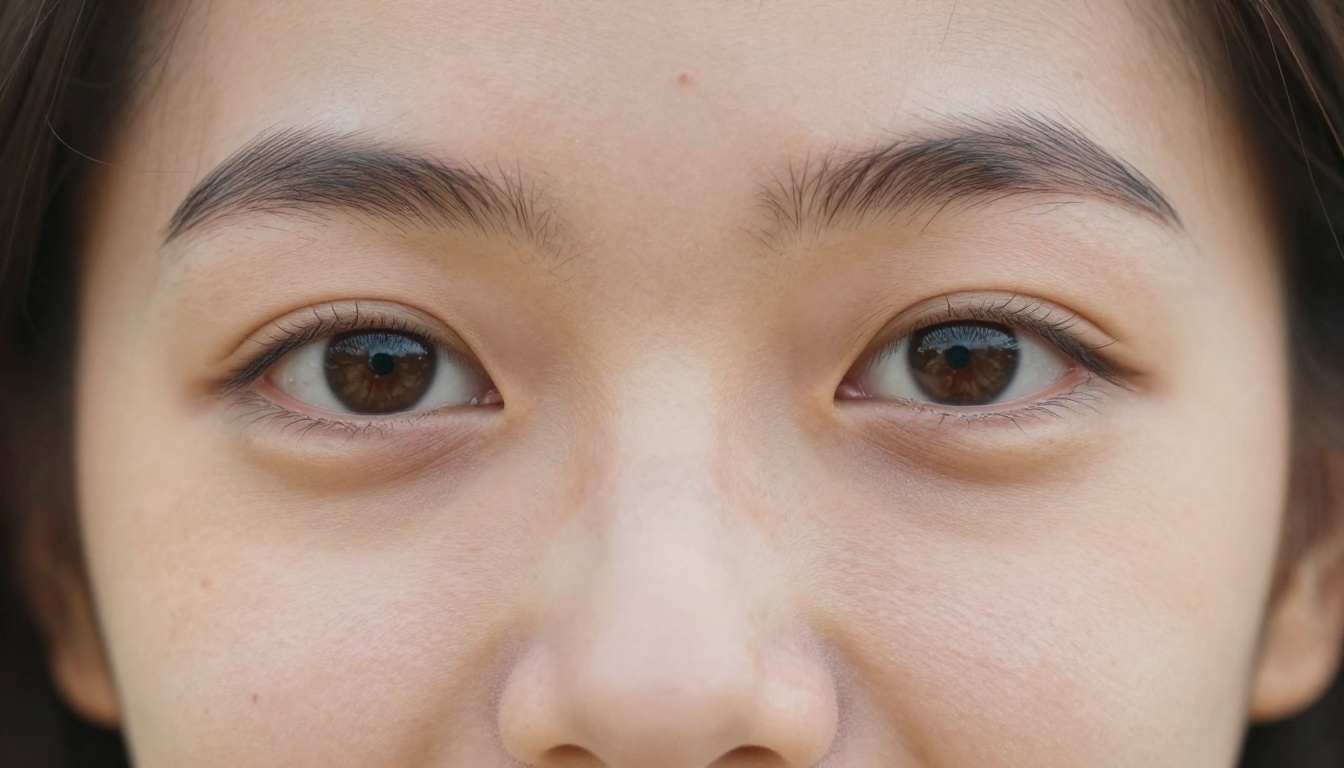
The minimum resolution for print-quality stickers is 300 DPI (dots per inch) at the final sticker size. A photo that looks sharp on a phone screen at 72 DPI can come out blurry and pixelated when printed at 3 inches wide.
Here's a quick reference table:
| Sticker Size | Minimum Pixel Dimensions |
|---|
| 2 x 2 inches | 600 x 600 px |
| 3 x 3 inches | 900 x 900 px |
| 4 x 6 inches | 1200 x 1800 px |
| Full sheet 8.5 x 11 | 2550 x 3300 px |
If your photo falls short of these dimensions, AI upscaling adds real detail rather than just stretching pixels.
Removing the Background from Your Photo
This is the most critical step. A sticker with a messy background cutout looks amateur instantly. AI background removal has gotten remarkably precise, but knowing what to look for in results makes a difference.
How AI Cutout Tools Work
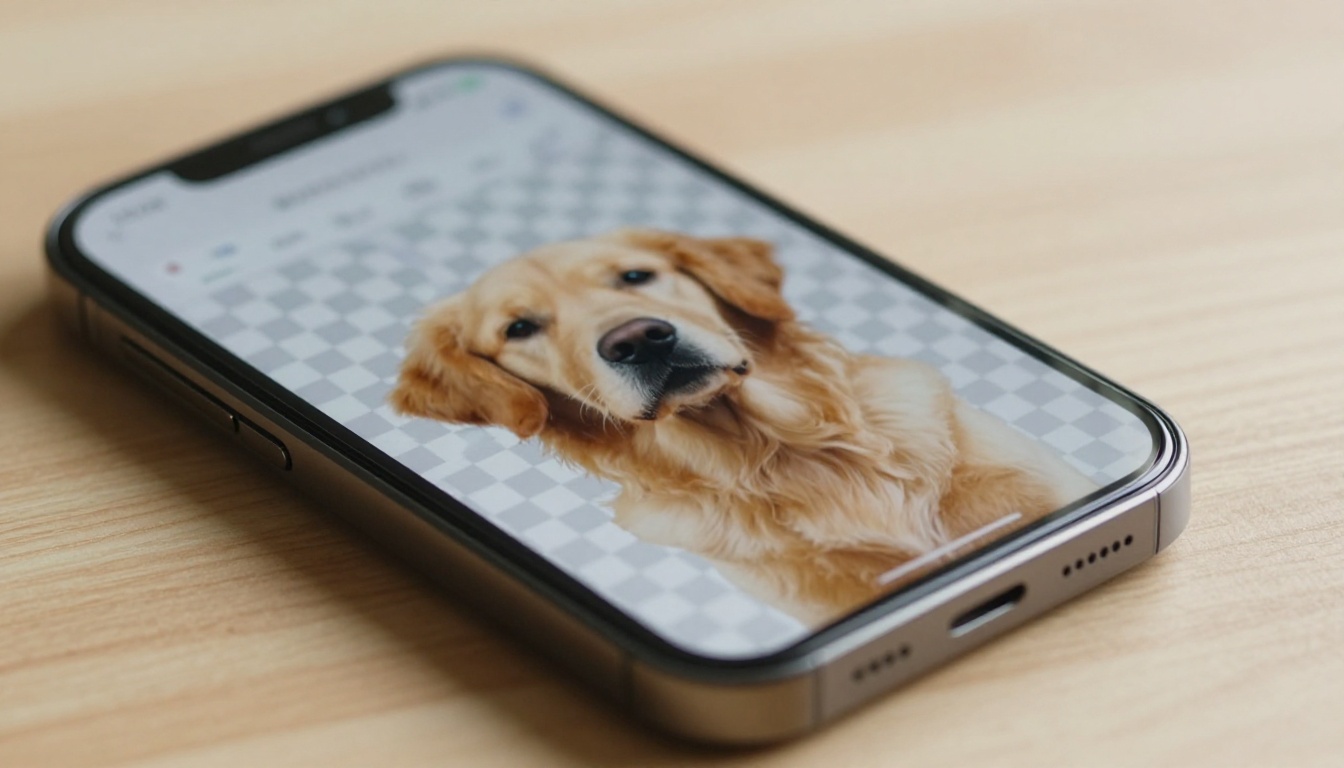
Modern AI background removal uses semantic segmentation. The model distinguishes foreground subjects (people, animals, objects) from backgrounds by analyzing millions of training images. It draws a pixel-level boundary and removes everything outside the subject.
The result is a PNG file with a transparent background, which is exactly what a sticker needs.
Tip: After removing the background, zoom in to 200% and check the edges carefully. Stray pixels around hair or fur are easy to miss at normal zoom and will show up on the printed sticker.
Edge Quality: What to Look For
A strong AI cutout handles:
- Fine hair and fur without leaving a color fringe from the original background
- Semi-transparent objects like glasses or sheer fabric
- Complex silhouettes like fingers or animal paws
- Smooth curves on faces and bodies without jagged stair-step edges
Poor cutout results usually come from photos with low contrast at the subject edges, such as a blonde subject photographed against a light beige wall.
How to Remove Backgrounds on PicassoIA
PicassoIA's Remove Background tool handles this step fast. Here's the exact process:
Step 1: Upload Your Photo
Go to the Remove Background model on PicassoIA. Upload your photo directly from your device. The model accepts JPG and PNG files up to several megabytes in size.
Step 2: Run the Model
Click Generate and wait a few seconds. The AI processes the image and returns a PNG with a transparent background. No settings to configure, no sliders to adjust.
Step 3: Download the PNG
Download the resulting file. It will be a .png with a transparent checkerboard background visible in most image viewers. This file is your sticker base.
Step 4: Review the Edges
Open the file in any image viewer that supports transparency. If the edges look clean, you're ready for upscaling. If there are rough patches around hair or complex areas, you can:
- Crop the photo closer to your subject before re-running
- Try with better source lighting in the original shot
- Use the result as-is if the rough area is minor and will be covered by the sticker border
Tip: Photos taken outdoors in natural light consistently produce the cleanest cutouts because contrast between subject and background is naturally higher.
Upscaling Your Photo for Print Quality
Once your background is removed, the next priority is resolution. Most phone photos are fine for digital use but need a boost for physical printing.
Why AI Upscaling Is Different from Resizing
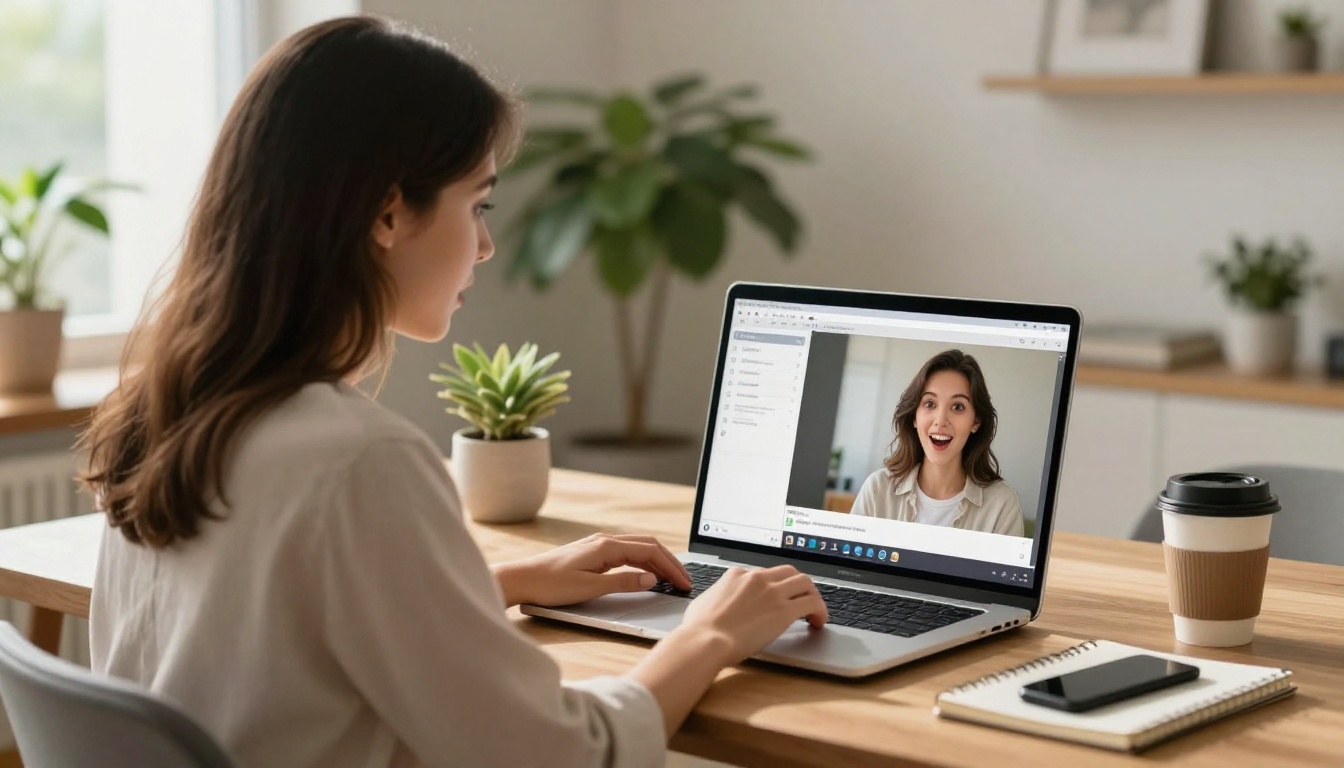
Standard image resizing in any basic editor just stretches existing pixels. You get bigger pixels, not more detail. The image blurs.
AI upscaling uses a generative model to synthesize realistic detail that fits the image. It analyzes existing texture, skin, fur, fabric, or architecture and generates plausible high-frequency detail at the larger size. The result holds up under close inspection in a way that regular resizing never does.
Which Upscaling Model to Use
PicassoIA offers several upscaling tools depending on your photo type:
For portrait stickers, Clarity Pro Upscaler or Image Upscale by Topaz produce the sharpest, most natural-looking skin texture. For pet photos, Real ESRGAN handles fur detail exceptionally well.
Upscaling Step by Step
- Upload your background-removed PNG to your chosen upscaling model on PicassoIA
- Select the upscale factor. Start with 2x for typical phone photos
- Download the result
- Check the file dimensions in your image viewer. They should now be at least 2x the original
- If you're still below 300 DPI at your target sticker size, run it through upscaling again at 2x
Photographing Subjects for the Best Sticker Results
The process starts before any AI tool is involved. Getting a strong source photo dramatically reduces the editing work needed afterward.
Shooting Tips for Clean Cutouts
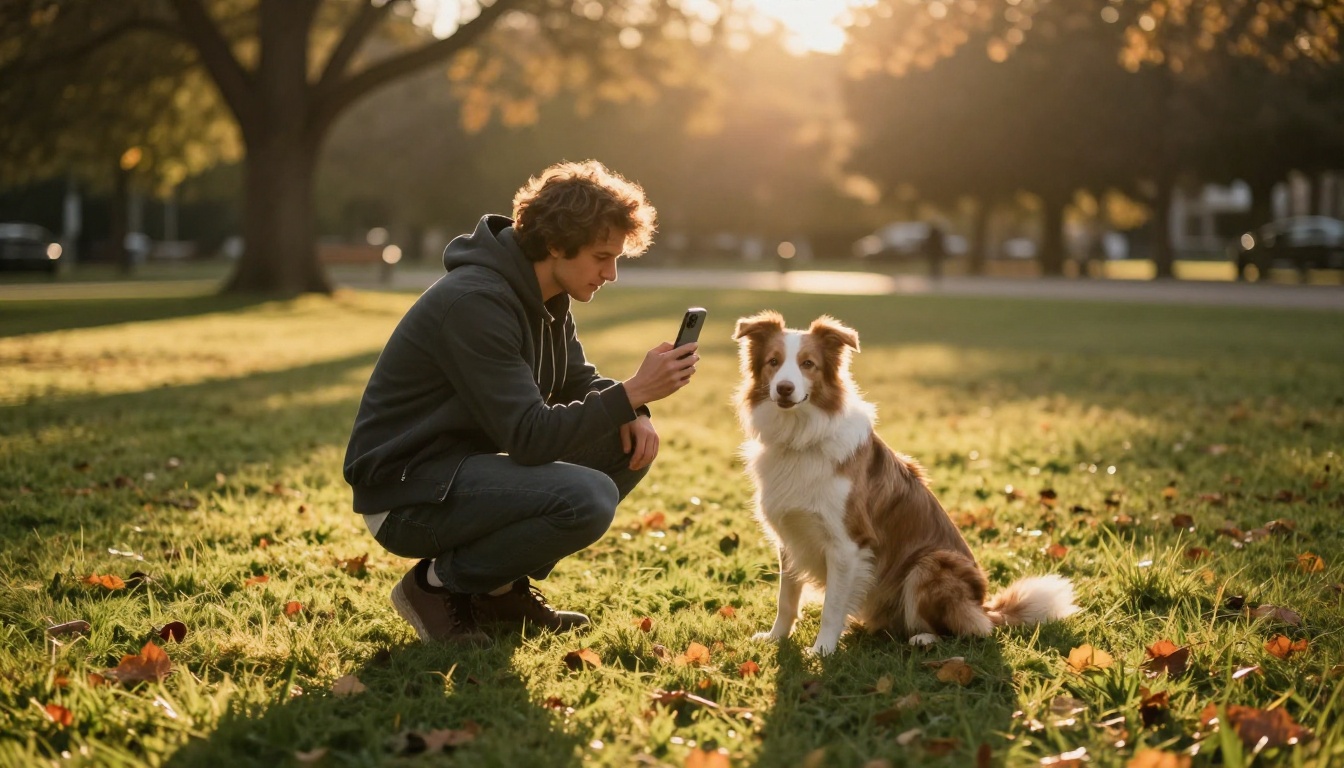
Background choice matters more than most people realize. A subject standing against a plain wall, clear sky, or single-color background gives AI removal tools the cleanest edges. Busy backgrounds with pattern or texture that matches the subject color are where cutout tools struggle most.
Lighting from the front creates even illumination across the subject with minimal strong shadows that bleed into the background. Side lighting or backlit subjects create zones where the subject and background merge in luminosity, making clean separation harder.
Zoom in on your subject. The subject should fill most of the frame. Lots of empty background is wasted resolution and gives the AI more area to cut, increasing the chance of errors at complex edges.
The Best Photo Types for Sticker Packs
- Pets: Shot at their eye level, in natural light, with a simple background
- Portraits: Slight zoom, simple background, front-lit
- Objects: Product-style shots on a flat surface or against a neutral wall
- Couples or kids: Closer framing, avoid overlapping hair between subjects
- Landmarks: Isolated architectural features work better than wide establishing shots
After You Have a Clean PNG
You've removed the background and upscaled the image. Now you have a high-resolution, transparent PNG. Here's what comes next.
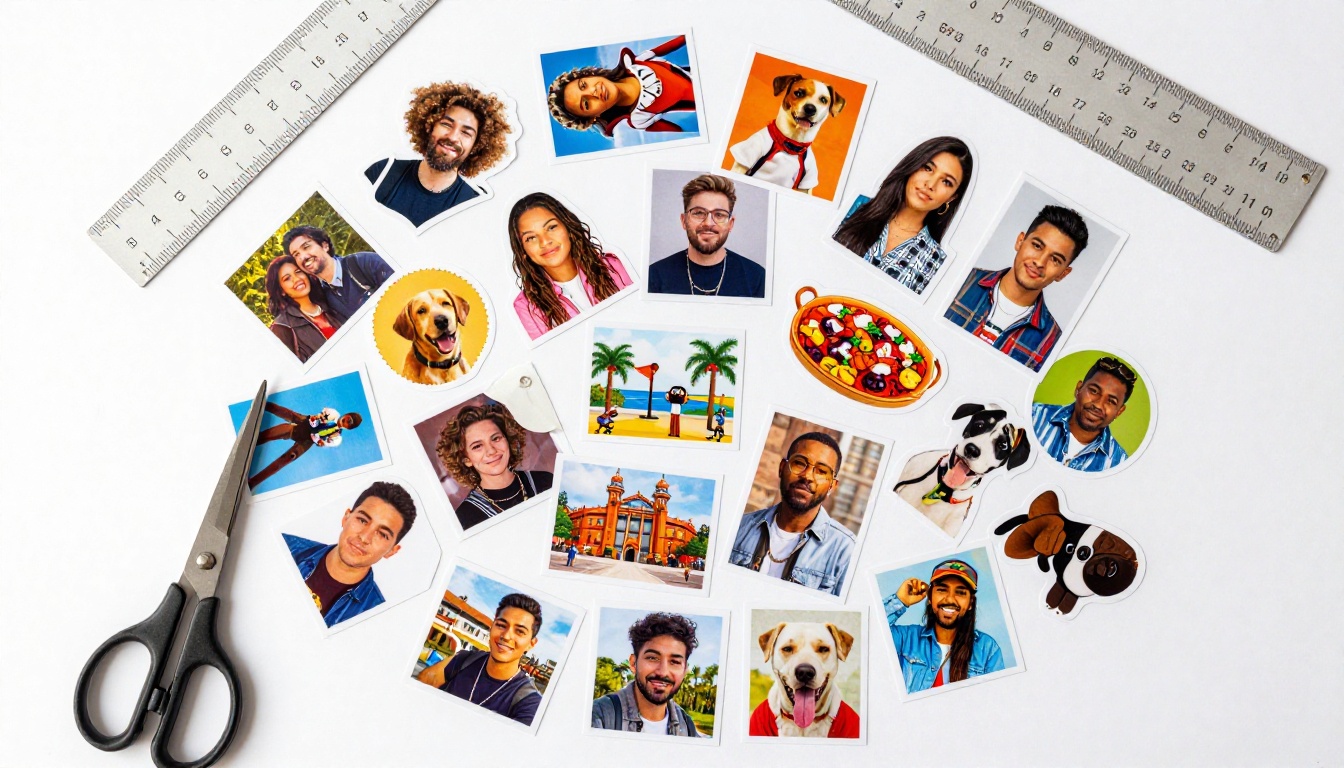
Adding a White Border
Most stickers have a white border (called a stroke or outline) around the subject. It serves two purposes: it adds visual definition and creates a clean cut line for die-cut sticker printing services.
You can add this in:
- Canva (free): Upload your PNG, add a border effect to the image layer
- Adobe Express (free tier): Use the "Border" effect under image options
- Photoshop: Add a Stroke layer style to the subject layer with white fill
The typical border width for small stickers is 3-5% of the image width. For a 1000px image, that's a 30-50px white stroke.
Choosing a Format for Your Sticker Service
Different sticker printing services accept different file formats:
| Service Type | Best Format |
|---|
| Die-cut sticker printers | PNG with transparency |
| Kiss-cut sheets | PDF or PNG |
| Digital sticker packs (WhatsApp) | WebP or PNG under 512KB |
| iMessage sticker packs | PNG at 300 x 300 px minimum |
Tip: For physical stickers, always order a small test batch (10-20 stickers) before ordering hundreds. Color calibration between your screen and a print shop can shift hues slightly.
5 Creative Sticker Ideas from Your Photos
Not sure what to turn into stickers? These ideas consistently produce the best results and the most reactions from people who see them.
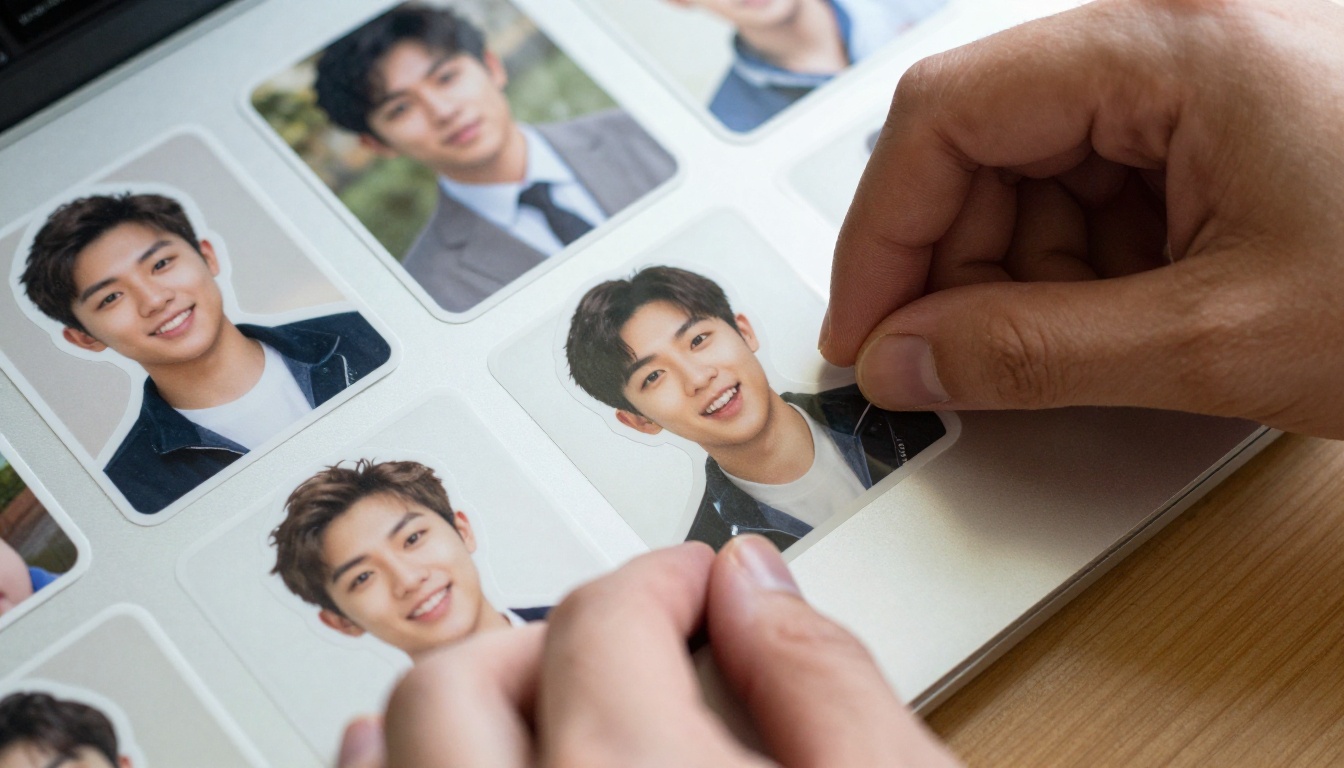
1. Your Pet's Face
Pet portrait stickers are consistently the most shared and requested. A clean head shot of a dog, cat, rabbit, or bird processed through Remove Background becomes an instant crowd-pleaser. Add a white border and you have something people will put on their water bottles within seconds of seeing it.
2. Travel Landmark Moments
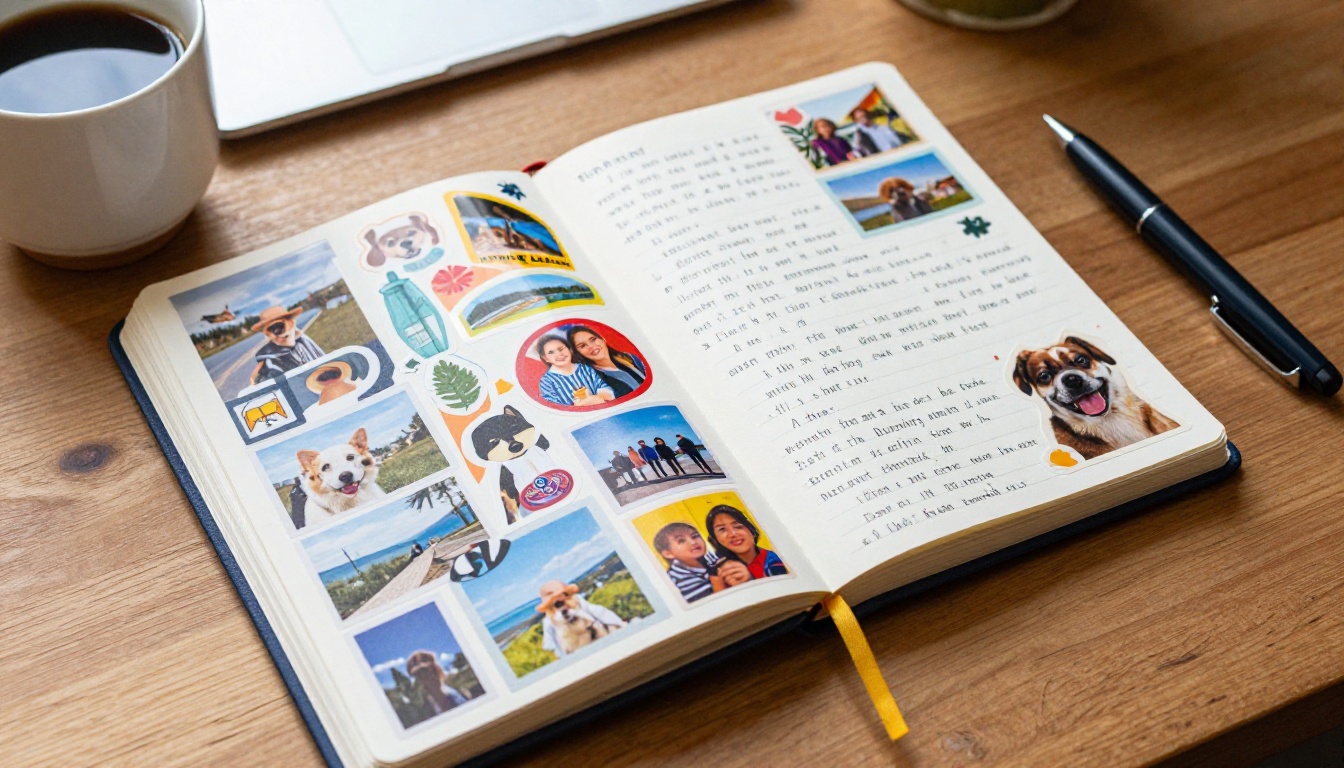
A photo of you standing in front of a recognizable location, background removed so it's just you against transparent, gives you a personal travel sticker that's uniquely yours. Stack several from different trips in a sticker book for a visual travel journal.
3. Family Milestone Portraits
Wedding photos, graduation shots, baby's first year: turning these into stickers creates a physical memory that's more permanent than a photo on a phone. Print them on vinyl for water resistance and longevity.
4. Product or Food Photos
If you sell anything online, sticker packs from your product photos make great low-cost marketing inserts. A clean product on a transparent background, upscaled with P Image Upscale and bordered, is a professional-looking sticker for pennies each.
5. Your Own Face as Emoji
Take 6-8 photos of yourself with different expressions (happy, surprised, thinking, laughing), process each through background removal, and build your own personal emoji sticker pack for messaging apps. Sent to friends, they land very differently than any stock emoji ever could.
Printing and Using Your Stickers
Physical Sticker Printing Options
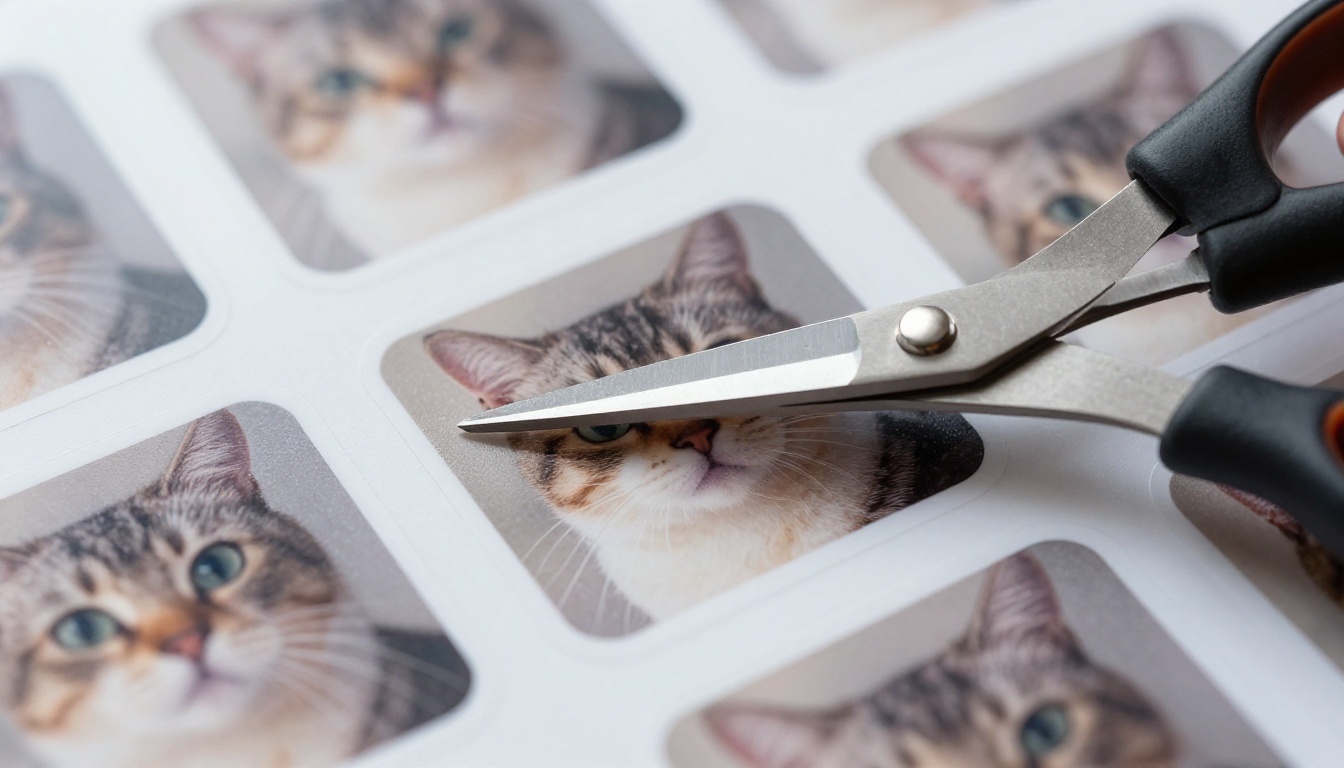
Once you have your print-ready PNGs, several services print individual stickers or full sheets:
- Sticker Mule: High quality, fast shipping, minimum quantity packs
- Redbubble: Upload and sell your designs as well as order personal copies
- StickerYou: Excellent die-cut quality, ships globally
- Printify or Printful: Good for business orders of 50 or more with consistent color matching
The standard recommendation for die-cut photo stickers is glossy vinyl for durability. It's waterproof, scratch resistant, and makes colors pop. Matte works well if you prefer a more understated result.
Digital Stickers for Messaging Apps
Physical printing is just one option. Digital sticker packs are equally popular:
- WhatsApp: 30 stickers per pack, WebP format under 512KB each, 512 x 512 px
- Telegram: PNG or WebP, 512 x 512 px on the longest side
- iMessage: PNG at 300 x 300 px minimum, pack up to 24 stickers
AI upscaling helps here too. Starting with a high-res source means you can resize down without losing clarity at the small digital sticker dimensions.
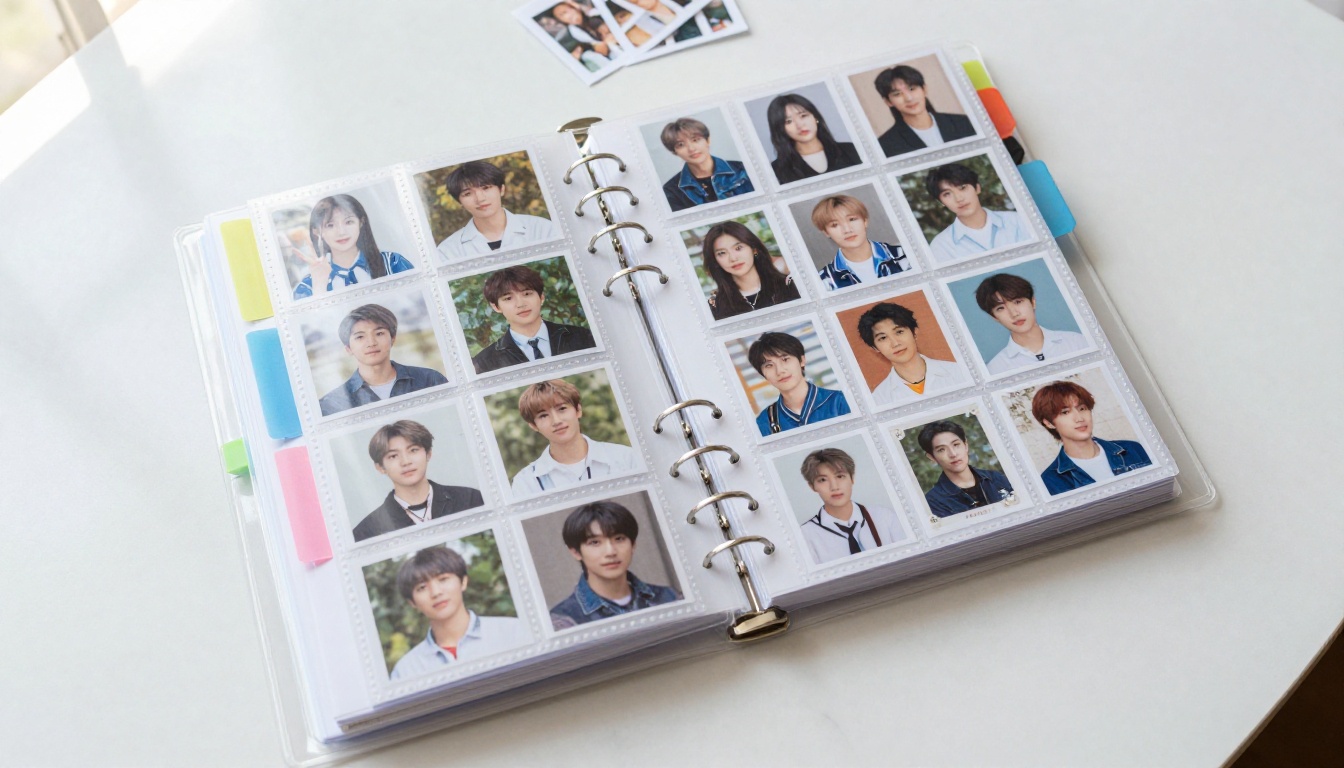
Make Your First Sticker Right Now
Everything you need is already on PicassoIA. The process takes under five minutes once you have a photo in hand:
- Pick a photo from your phone or camera roll
- Run it through Remove Background for a clean transparent cutout
- Upscale with Clarity Pro Upscaler or Image Upscale by Topaz to hit print-ready resolution
- Download your PNG and add a white border in Canva or Adobe Express
- Send it to a sticker printer or package it into a digital sticker pack
The tools exist. Your photos exist. The only thing left is running them through the process and seeing what comes out the other side. Most people are genuinely surprised at how sharp and professional the final stickers look.
Start with a pet or a face you know well so you can judge the cutout quality immediately. Once you've done it once, you'll find yourself building sticker packs from every photo shoot, every trip, every moment worth keeping on a surface that doesn't get put in a folder and forgotten.
PicassoIA's AI models handle every technical step so you can stay focused on which photos matter most to you.


