Getting a product photo with a clean white background used to mean booking a studio, setting up lights, and spending hours in post-production. Now, AI collapses that process into a few clicks. Whether you are selling on Amazon, Shopify, or Etsy, this article walks you through exactly how to make white background product photos with AI, without any equipment, without a design degree, and without paying a photographer.
Why White Backgrounds Sell More Products
There is a reason almost every major retailer requires white background product images. It is not arbitrary. It is psychological.
What Buyers See Before They Buy
When a shopper lands on a product listing, their brain processes the image before it reads a single word. A cluttered or colored background competes for attention. A white background removes all distractions and forces the eye directly onto the product. That is exactly what converts browsers into buyers.
Amazon's own guidelines require the main product image to have a pure white background (RGB 255, 255, 255). Walmart, Target, and most major platforms follow the same standard. Breaking this rule does not just look unprofessional. It can get your listing suppressed entirely.
The Platform Rules You Cannot Ignore
| Platform | Background Requirement | Consequence |
|---|
| Amazon | Pure white RGB 255,255,255 | Listing suppression |
| Walmart Marketplace | White or off-white | Removed from search |
| Etsy | White strongly preferred | Lower search ranking |
| Google Shopping | Clean, solid background | Lower ad quality score |
💡 Research from Shopify shows that product pages with clean isolated product images convert up to 30% better than pages using only lifestyle photography.
Why Small Sellers Get Left Behind
The problem for independent sellers is cost. Professional studio photography starts at $50 per product and climbs fast when you factor in retouching, file delivery, and reshoots. For a seller with 50 SKUs, that is $2,500 before a single sale. AI eliminates that barrier entirely.
The Old Way vs. the AI Way
Before AI, the workflow for a white background product photo looked like this: rent a studio, photograph the product, pay a retoucher, wait several business days for delivery. Then repeat for every new product.
Studio Costs That Add Up Fast
A typical studio session runs $150 to $300 per hour. Add a skilled retoucher at $20 per image, and a product line of 20 items costs roughly $700 to $1,000 before you sell anything. For physical products with seasonal updates, that cost repeats every quarter.
What AI Changes About This Process
AI-powered background removal models analyze every pixel of your image, identify the product boundary at a sub-pixel level, and replace the background with pure white in seconds. There is no scheduling, no waiting, no invoice. The same result that once required a professional studio now comes from a smartphone photo and two minutes of your time.
How AI Background Removal Actually Works
The technology behind modern AI background removal is more sophisticated than it looks from the outside.
The Segmentation Model Under the Hood
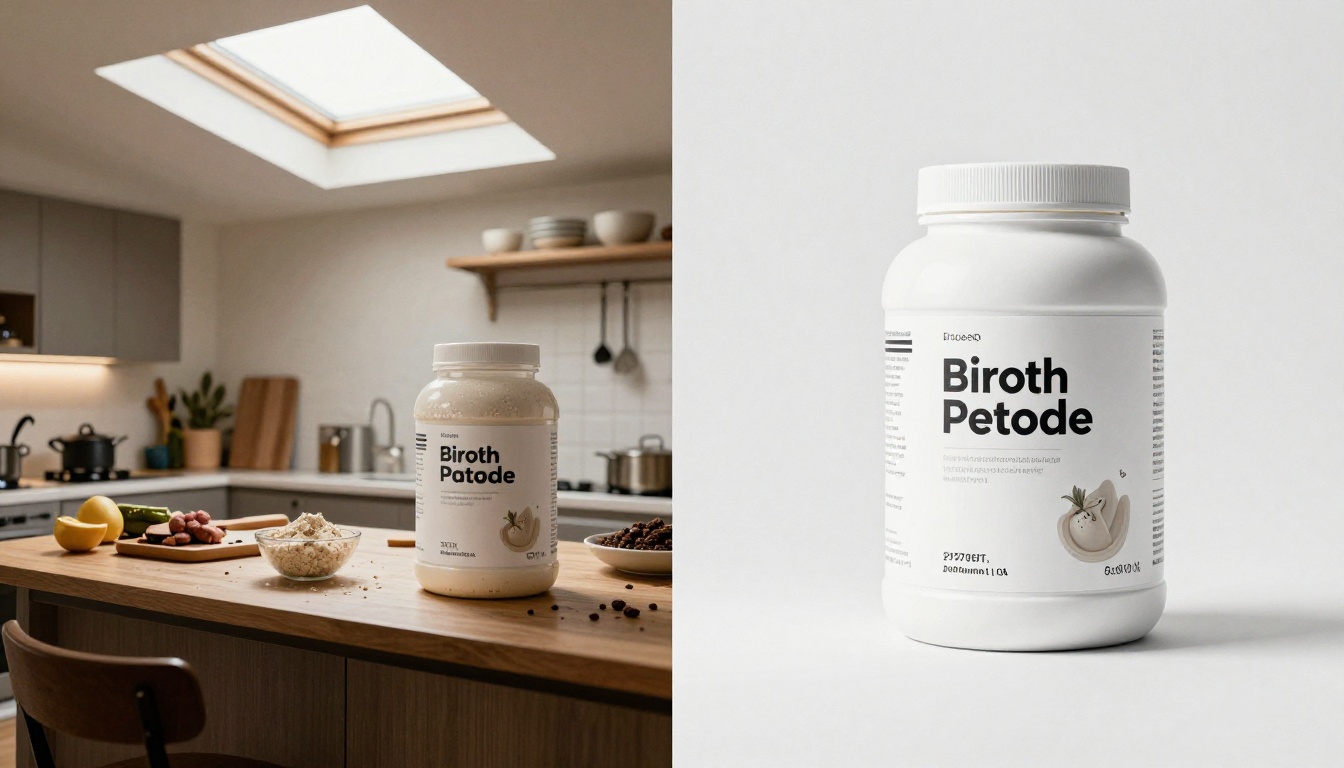
State-of-the-art background removal uses semantic segmentation, a computer vision approach where the AI assigns a category to every single pixel in the image. The model has been trained on millions of product photos and learns to recognize that a perfume bottle in front of a kitchen wall is "product" while the wall is "background," even when the colors are similar and the edges are complex.
The Remove Background model on PicassoIA is built by Bria AI, a company focused on commercial visual intelligence. It is specifically trained on e-commerce product imagery, which makes it significantly more accurate on the exact type of photos that sellers take every day.
What It Handles Better Than Manual Editing
- Hair and fur textures: Individual strands processed without fringing or halos
- Glass and transparent bottles: Preserves internal liquid color while removing the background
- Jewelry and small hardware: Micro-detail edge precision at chain links and clasps
- Mesh and knit fabrics: Open weaves cut cleanly without filling in the gaps
- Reflective surfaces: Chrome, mirrors, and high-gloss plastic handled without color bleeding
💡 For the cleanest AI cuts, photograph your product against a consistent single-tone background. Even a plain gray wall or a sheet of colored card gives the model clear boundary information to work with.
Glass Products: A Special Note
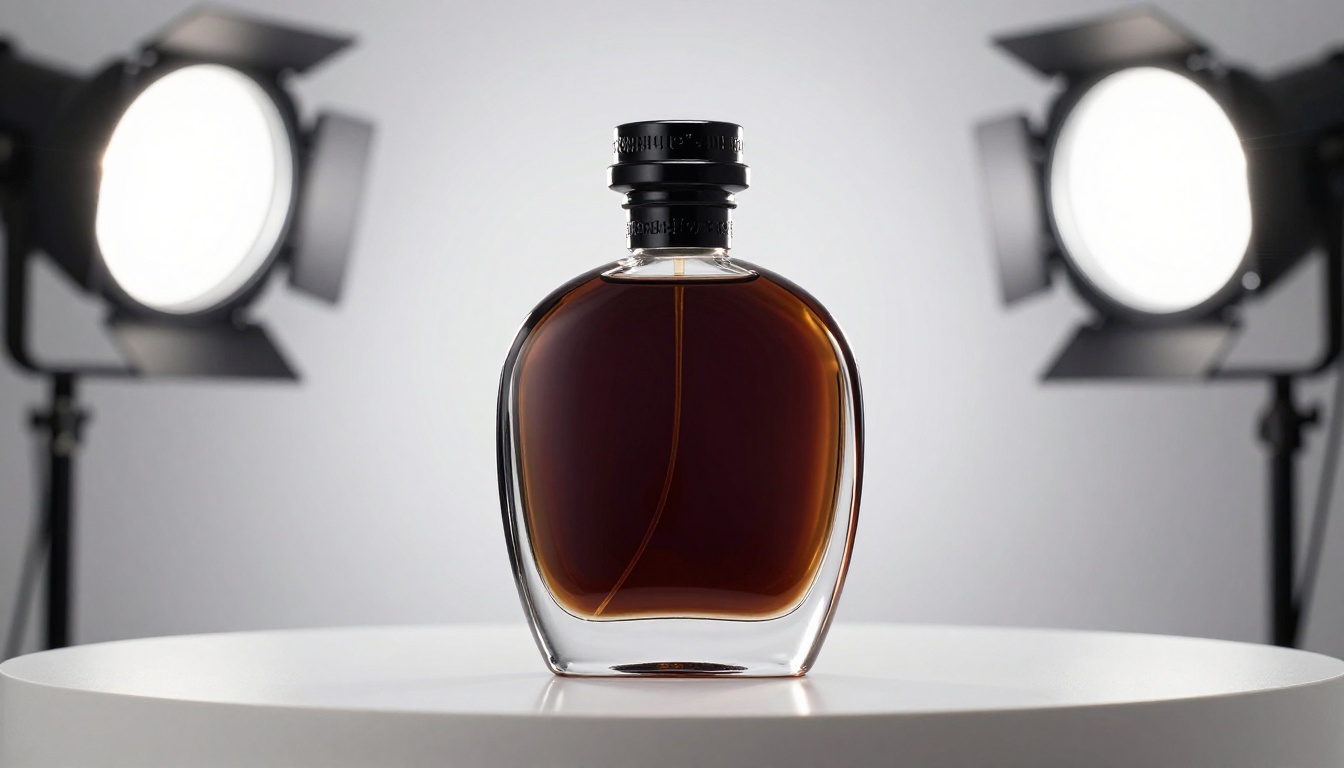
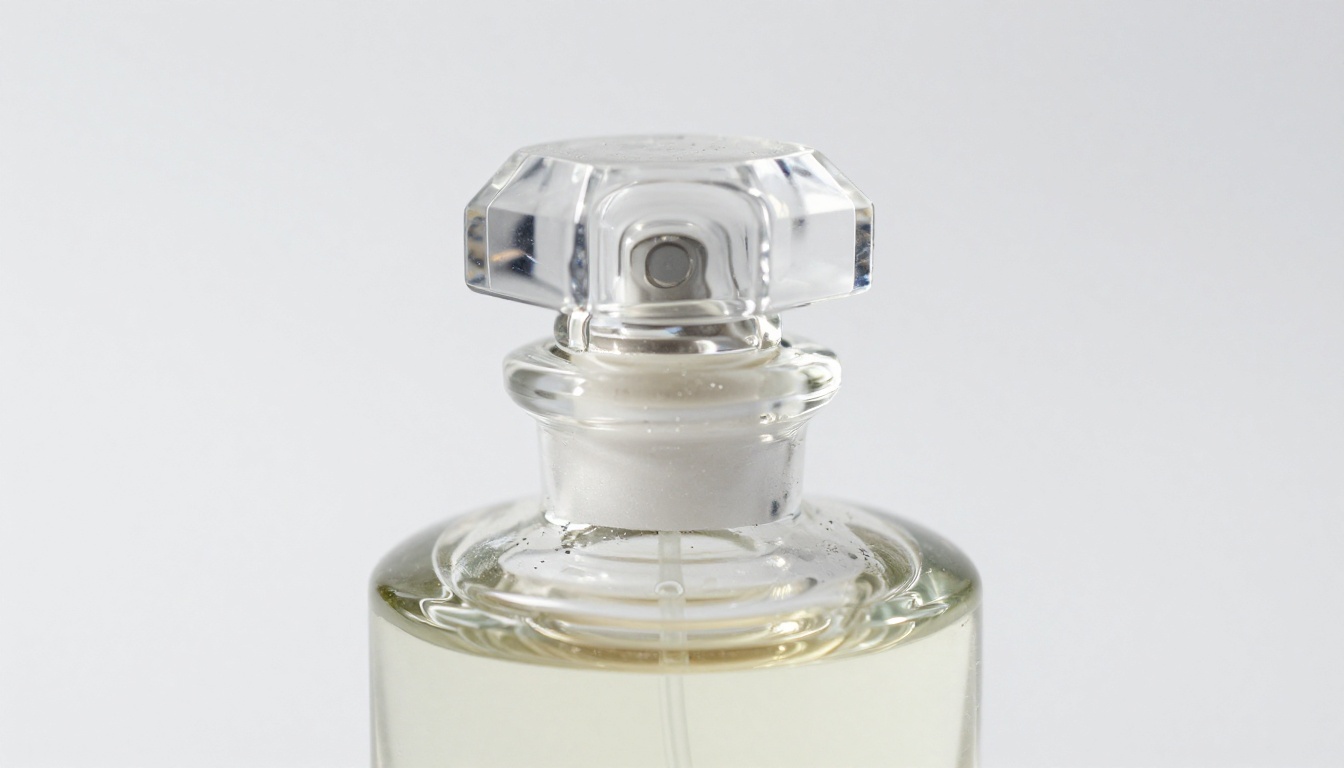
Transparent glass is one of the hardest challenges for any background removal tool. Early systems would either preserve too much background color through the glass or fill transparent areas with solid white. Modern segmentation models like the one powering the Remove Background model preserve the internal optical properties of glass while removing the external background. The result looks like a product shot in an actual studio.
How to Make White Background Product Photos with AI: Step-by-Step
Here is the exact process for turning any product photo into a clean white background image.
Step 1: Photograph Your Product
You do not need professional gear. A modern smartphone camera and a well-lit room are sufficient. The critical factors are:
- Even lighting: Avoid direct harsh sunlight that creates deep one-sided shadows
- Stable framing: Use a tripod or prop your phone against a firm surface
- Tight composition: Fill the frame with your product rather than leaving large empty margins
- Contrasting backdrop: Shoot against a background color that differs from your product color
If your product has reflective surfaces like glass, chrome, or glossy packaging, position it near a large window with diffused natural light. That gives the AI model clean material boundaries to work with.
Step 2: Remove the Background with AI
Navigate to the Remove Background model on PicassoIA. Upload your product photo. The model processes it automatically with no parameter adjustment required. Within seconds you receive a clean cutout of your product with a transparent background.
At this stage, examine the edges carefully. Zoom into corners, thin straps, logos, and areas where the product color is close to the background color. For most standard products the output is production-ready immediately.
Step 3: Place on a White Canvas
Once you have the transparent cutout, place it on a white (RGB 255, 255, 255) canvas. Set the background color to pure white and export the final image. Most platforms accept PNG or high-quality JPEG.
Pay attention to these details:
- Centering: Position the product with equal padding on all four sides
- Shadow: Add a subtle drop shadow to ground the product visually
- Aspect ratio: Most marketplaces require a 1:1 square crop for the main product image
Step 4: Upscale for High-Resolution Listings
Smartphone photos are often lower resolution than what major platforms want for zoom-in product detail. After placing your product on a white background, run the result through a super-resolution AI model.
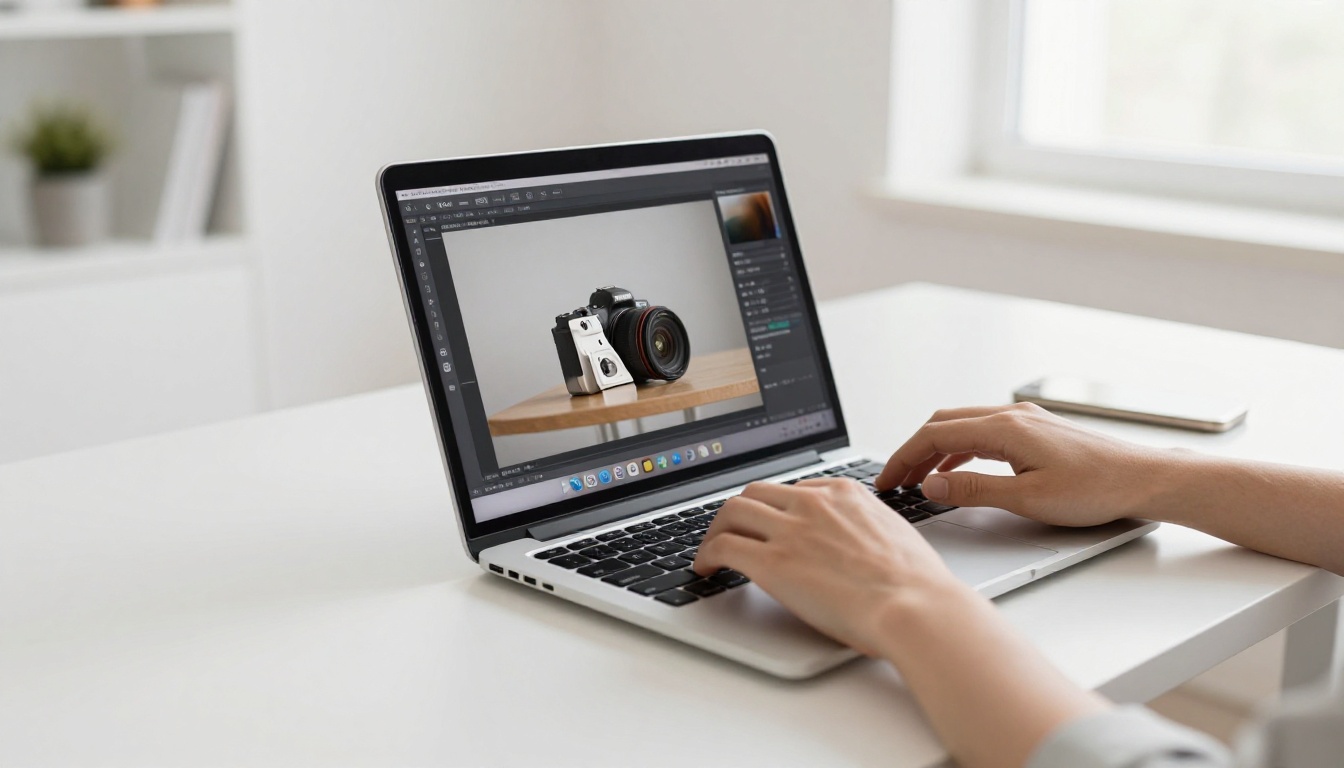
Clarity Pro Upscaler by philz1337x adds genuine detail at 4x magnification rather than simply stretching pixels. For maximum sharpness on fine product details like label text, stitching, or surface texture, Image Upscale by Topaz Labs pushes up to 6x with industry-leading clarity. For a fast one-click result, Increase Resolution by Bria delivers clean 4x output without over-sharpening edges.
Getting the Shadows Right
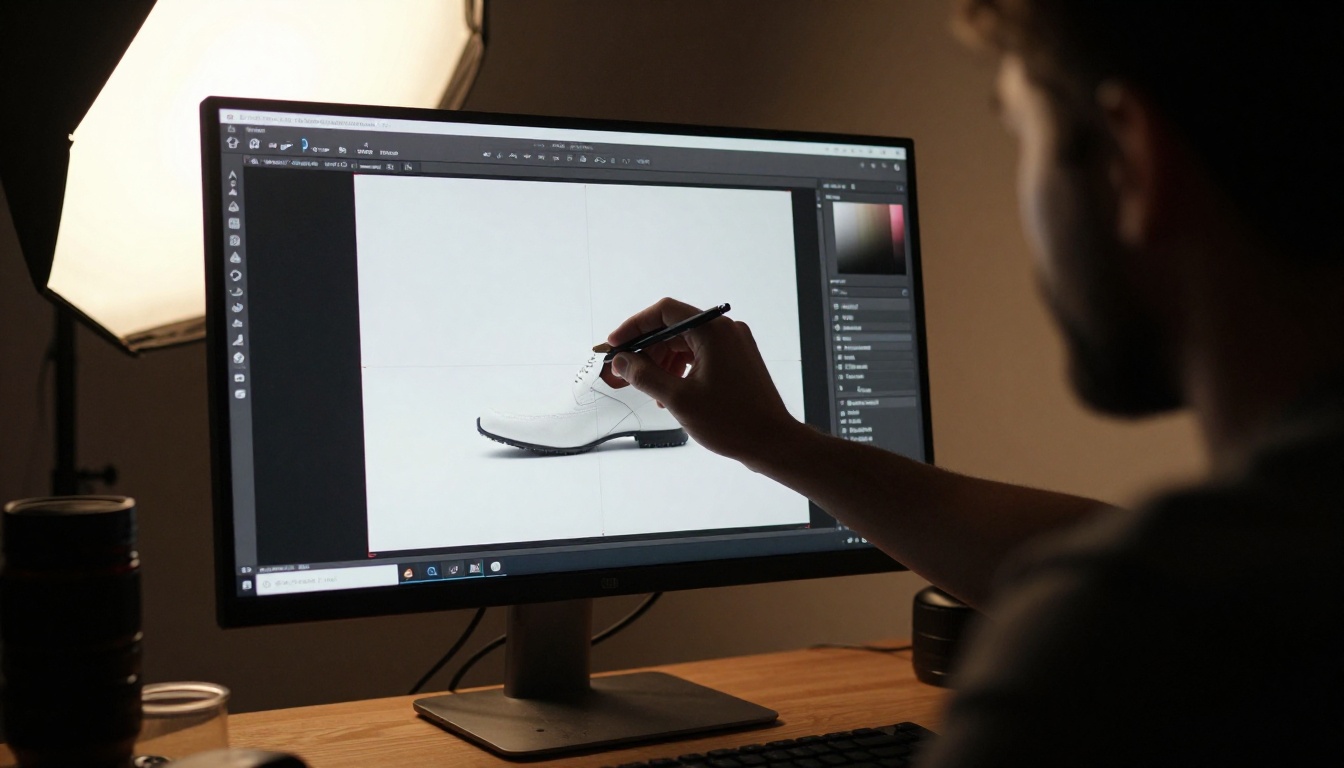
A product floating above a pure white void looks fake. Real products sit on surfaces and cast shadows. The right shadow treatment is what separates professional-looking product photos from amateur cutouts.
Drop Shadows vs. Natural Shadows
Drop shadows are digitally added after the cutout. They sit directly below the product at a consistent angle and opacity. They are straightforward to apply in any photo editor and work well for apparel, accessories, and packaged goods.
Natural shadows are captured at the moment of photography. When you shoot your product in soft natural light before removing the background, the AI model can preserve the original soft shadow during the cutout process. This gives the final image a more grounded, realistic appearance that reads as premium.
💡 For hard products like bottles, electronics, and jewelry, a natural soft shadow captured in the original photo reads as more high-end than a digitally-added drop shadow.
When to Keep Reflections
For products photographed on white acrylic or glass surfaces, there is often a clean mirror reflection beneath the product. If the reflection is symmetrical and clean, keep it. It adds a sense of luxury without extra editing work. The Remove Background model handles surface reflections intelligently and preserves them naturally during the cutout process.
Product Type Playbook
Not all products photograph the same way. Here is how the AI workflow applies across the most common seller categories.
Clothing and Apparel
Flat lay photography is the most efficient method for apparel. Lay the garment flat on a surface, photograph from directly above, and let the AI remove the background. Hoodies, t-shirts, and denim all work well with this approach. For items with intricate embroidery, mesh panels, or lace trim, the Remove Background model handles fine fabric textures far better than any manual selection tool.
Cosmetics and Skincare
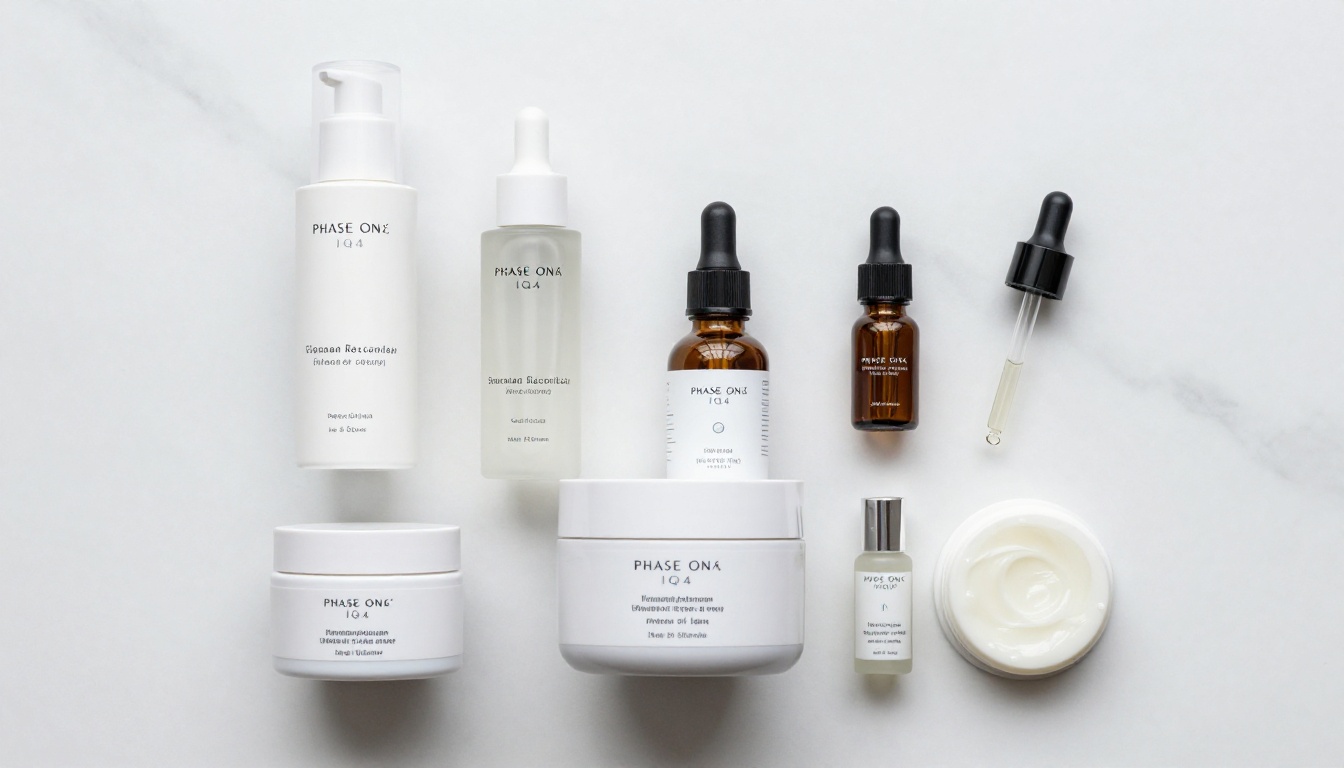
Skincare products are frequently photographed in lifestyle contexts with marble counters or bathroom vanities. For white background marketplace listings, the AI removes all environmental context and leaves just the bottle or jar with full label detail. Because skincare products often feature transparent or semi-transparent liquids visible through glass packaging, precise edge handling is critical, and the Bria model delivers on both.
Electronics and Tech Gadgets
Electronics require precise edge cutting around ports, buttons, and cable openings. They also frequently have glossy screens that catch strong reflections. The most effective approach is to photograph electronics against a medium gray background rather than white. White product edges on a white backdrop lose definition. Gray gives the segmentation model a clear contrast boundary to work with, and the AI cuts cleanly around every detail.
Jewelry and Small Accessories
Fine jewelry is the most demanding category because of thin chains, tiny clasps, and transparent gemstones. Photograph against a dark velvet surface for maximum AI accuracy at the edges. After removing the background and placing the cutout on white, apply Clarity Pro Upscaler to reveal metal texture and gemstone facets at their full resolution.
3 Common Mistakes and How to Fix Them
1. The Background Reads as Gray Instead of White
This is the single most common issue sellers encounter. Even after removing the background and setting it to white, the exported image looks slightly gray on certain screens. The cause is almost always the canvas not being set to true RGB 255, 255, 255. Many editing interfaces default to an off-white that appears neutral on their own display but registers as gray on Amazon's pure-white listing environment. Always verify your canvas color value numerically before exporting.
2. Halos Around the Product Edges
Halos appear when the original background color bleeds slightly into the product edge during the AI cutout. This color contamination is called fringing. The fastest fix is running the image through a second pass of the Remove Background model, which will clean up residual artifacts from the first pass. Alternatively, running the result through Recraft Crisp Upscale can sharpen the edges while reducing fringing at the same time.
3. Product Looks Flat and Weightless
Removing the background removes all environmental depth cues. Without a shadow or surface reflection, the product appears to float and looks digitally altered. Add a very subtle drop shadow at 10 to 15% opacity with a soft edge radius directly below the product. That single adjustment gives the image ground contact and visual credibility immediately.

Your Products Are Ready
The difference between a product photo that converts and one that gets scrolled past is often just the background. A clean white background is the commercial standard across every major marketplace, and with AI it is a standard any seller can meet in minutes rather than days.
If you have products sitting without professional photos, start with one right now. Take a photo on your phone, upload it to Remove Background on PicassoIA, and see the result in real time. Then push it through Image Upscale by Topaz Labs for a resolution that holds up on any screen size at any zoom level. The full workflow takes under five minutes from raw photo to marketplace-ready file.
Your competitors with bigger budgets had an advantage here. They do not anymore.