Every photograph tells a story, but a blurry one barely whispers. Whether it is an old family portrait scanned from a faded album, a smartphone shot taken in low light, or a social media image saved at the wrong resolution, blurry photos have a way of burying moments that deserved to be remembered clearly. The good news: AI has fundamentally changed what is possible. You can now make blurry pictures sharp again with AI in seconds, no Photoshop expertise required, no expensive hardware, no photography degree.
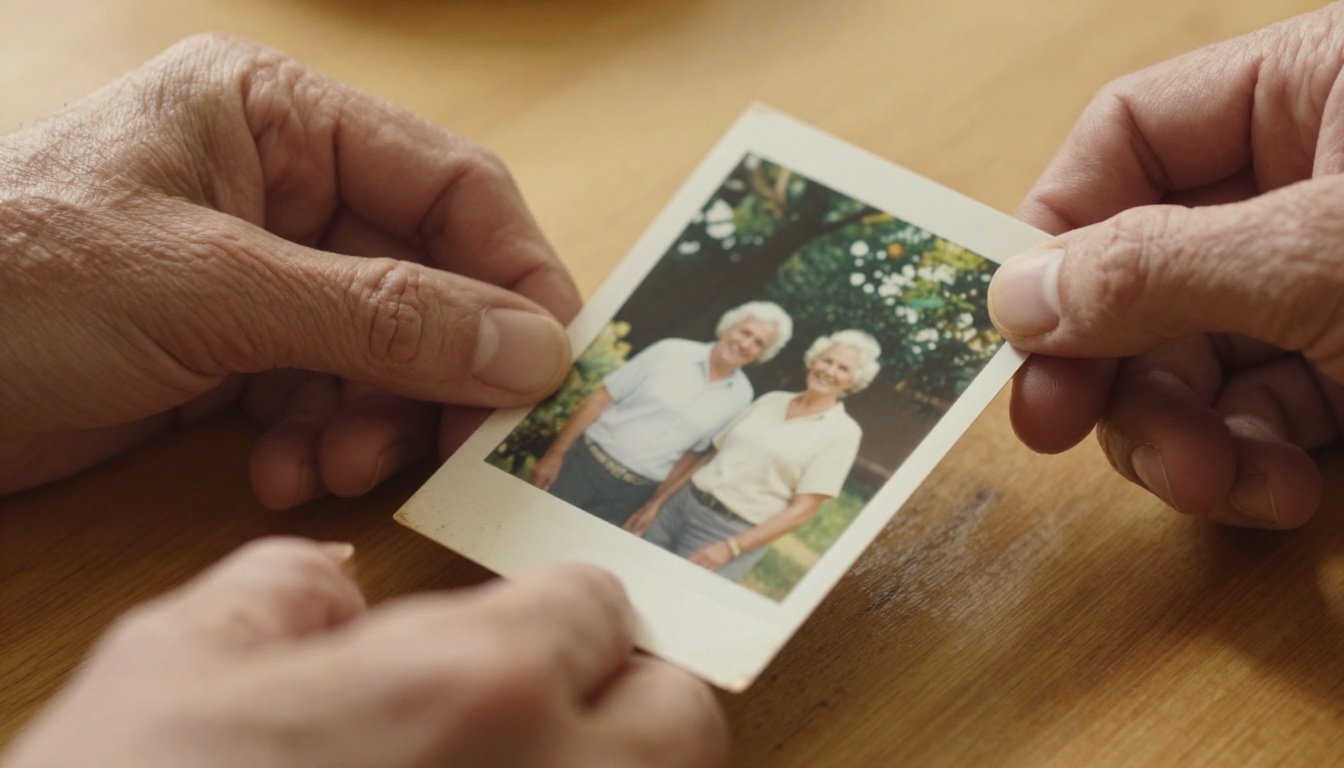
Why Blurry Photos Are Now Fixable
There was a time when a blurry photograph was a lost cause. Pixel data that was never captured simply could not be invented. That logic held firmly in 2015. It does not hold today.
What Neural Networks Actually Do
Modern AI sharpening tools are not just sharpening edges the way a classic unsharp mask filter does. They are inferring missing detail. The neural networks behind these tools have been trained on hundreds of millions of image pairs: blurry input, sharp output. The model learns what a human face should look like at high resolution given a soft, low-quality input.
The result is something that would have been considered impossible a decade ago: an AI that can reconstruct plausible, photorealistic detail in a photo it has never seen before. Skin texture, hair strands, fabric weave, foliage, architectural detail: all of it can be restored or extrapolated in a way that looks completely authentic.
Focus Blur vs. Motion Blur vs. Compression
Not all blur is the same, and understanding what type you are dealing with sets realistic expectations:
| Blur Type | Cause | AI Fix Effectiveness |
|---|
| Focus blur | Camera out of focus | Very High |
| Motion blur | Subject or camera moving | Moderate |
| Compression artifacts | JPEG over-compression | Very High |
| Low-light noise | High ISO, insufficient light | High |
| Age and print degradation | Old photos, physical damage | High |
AI upscaling models excel at focus blur, compression artifacts, and age degradation. Motion blur is the hardest to fix, but even there, modern models produce a visible improvement.
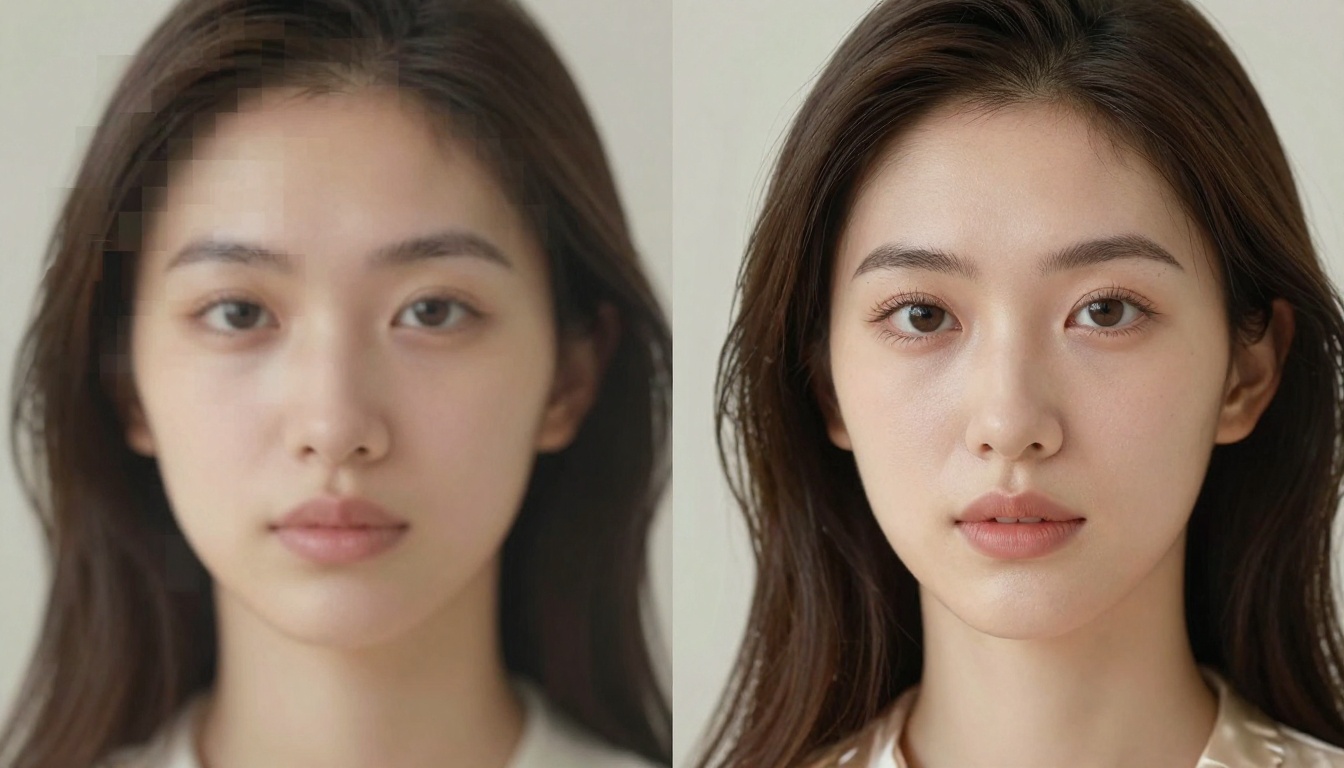
The Real Cost of Low-Resolution Images
A blurry photo is not just an aesthetic problem. It is a practical one.
A photographer delivering soft, blurry event shots loses clients and credibility. A product seller using low-resolution images loses sales. A family digitizing old film photos in poor condition loses irreplaceable memories. A content creator uploading compressed images loses authority.
Resolution matters far more than most people realize. A thumbnail looks fine at 150 pixels wide. The same image displayed as a banner or printed at 8x10 inches becomes a disaster. AI upscaling solves this by multiplying resolution by 2x, 4x, or even 6x, while simultaneously reducing blur and noise.
What 4x Upscaling Actually Means
If you have a 500x500 pixel photo and apply a 4x upscaler, you get a 2000x2000 pixel output. But the real difference is not just the increased pixel count. The AI fills in the new pixels with plausible, detailed content, not the blurry interpolated mush that older bicubic algorithms produce. The result looks genuinely sharper, not just bigger.
💡 Worth knowing: AI upscalers do not simply stretch pixels. They predict what the missing detail should look like based on patterns learned from millions of real photographs. That is why the output looks so much more convincing than traditional resizing.
The Best AI Models for Sharp Photos
There is no single "best" model for every situation. The right choice depends on your photo type, your desired output, and how much restoration you need. Here are the top performers available right now on PicassoIA.
For Portraits and Faces
When sharpening faces, accuracy of skin texture and eye detail is everything. Too much sharpening creates an uncanny, over-processed look. Too little and you could have just used a basic filter.
- Clarity Pro Upscaler by philz1337x: Built specifically for photorealistic detail recovery. It preserves natural skin texture while restoring fine details like eyelashes and individual pores. The first choice for portrait photography.
- Crystal Upscaler by philz1337x: Tuned specifically for portraits with an emphasis on skin clarity and facial reconstruction. Ideal for old scanned photographs where the face is the primary subject and every detail matters.
- P Image Upscale by prunaai: Speed-optimized without sacrificing output quality. When you need sharp results in under a second, this is the model to reach for.
For Landscapes and Architecture
Landscapes and architectural photography have different requirements. You want edge sharpness and texture detail in foliage, stone, water, and sky, without over-processing that creates a painted or artificial look.
- Google Upscaler: Backed by Google AI research, this model delivers clean 4x upscaling with strong geometric accuracy. Architectural photos and cityscapes look particularly crisp and well-defined.
- Recraft Crisp Upscale by Recraft AI: Produces clean, artifact-free output with excellent edge definition. Perfect for product photography, real estate images, and any photo where clean lines matter more than organic texture.
For Old and Damaged Photos
Restoring old photos is one of the most emotionally significant use cases for AI sharpening. The photos are irreplaceable. The degradation is extensive. These models handle the full range of damage.
- Real ESRGAN by nightmareai: The community gold standard for photo restoration. Trained specifically on degraded real-world photos including noise, blur, compression, and physical print artifacts. Handles mixed damage types better than most.
- Increase Resolution by Bria: Offers clean 4x scaling with strong noise reduction built in. Particularly effective for scanned prints where noise and blur appear simultaneously in the same image.
- Image Upscale by Topaz Labs: The professional standard. Topaz Labs pioneered AI-based photo upscaling and their model goes up to 6x resolution with class-leading detail recovery. When output quality is non-negotiable, this is the answer.
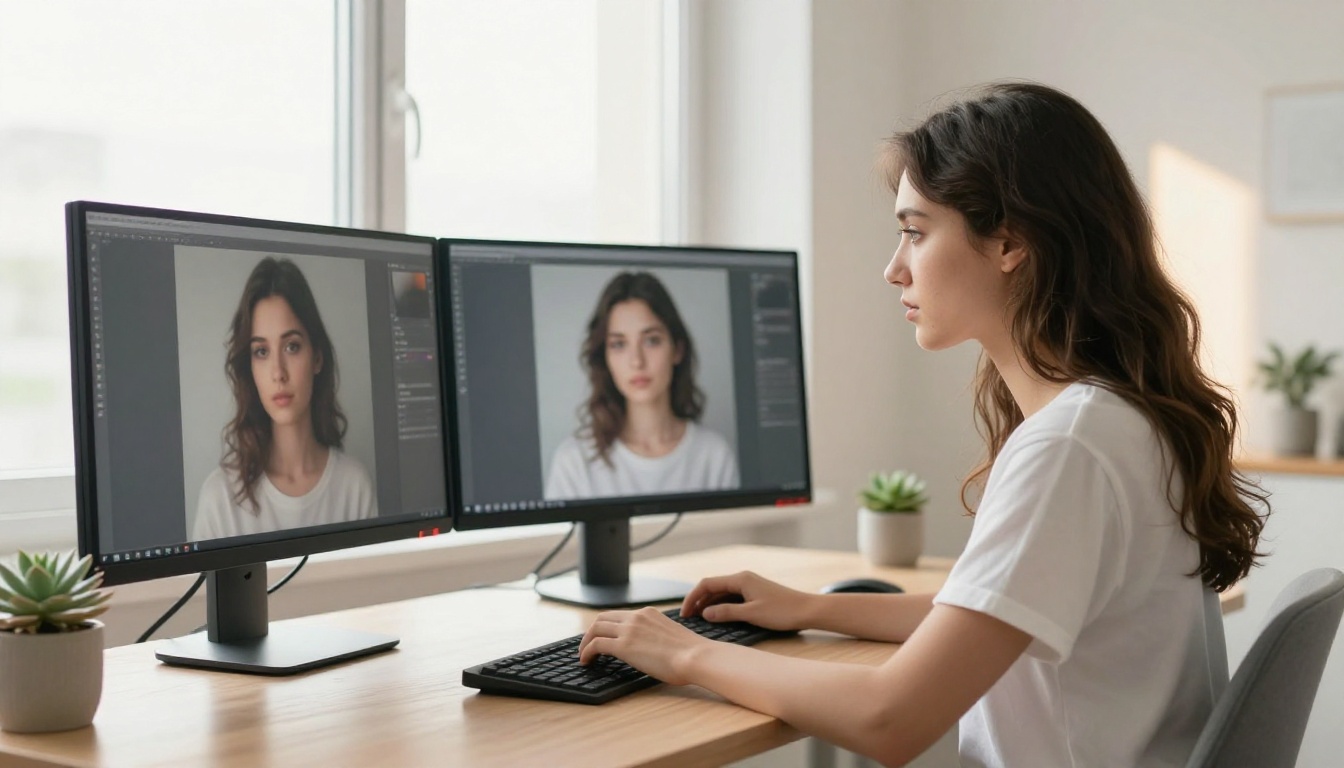
How to Make Blurry Pictures Sharp on PicassoIA
PicassoIA gives you direct access to all of these models without installing any software. Here is exactly how to use them.
Step 1: Upload Your Photo
Navigate to the Super Resolution section of PicassoIA and select the model you want to use. Click the upload area or drag your photo directly onto the interface. Supported formats include JPG, PNG, and WebP.
💡 Tip: If your photo is already very large (above 4MB), consider resizing it slightly before uploading. Most models perform best on inputs under 2000px on the longest side. Oversized inputs slow down processing without improving results.
Step 2: Pick the Right Model
Use this as a quick reference guide for matching your photo type to the right tool:
Step 3: Set Your Scale Factor
Most models offer 2x or 4x scaling. Image Upscale by Topaz Labs goes up to 6x. For most use cases:
- 2x is sufficient for web display and social media
- 4x is recommended for printing up to A3 size
- 6x is for professional print, large-format output, or archival quality
💡 Tip: Start with 2x and check the result at 100% zoom first. Running 4x on a photo that is already reasonably sharp can over-process fine textures and create an artificial, over-sharpened appearance.
Step 4: Download and Use
Once processing completes, your sharpened image appears in the output area. Download it at full resolution. The file is immediately ready for print, social media, client delivery, or any other use.
All 9 Models Compared Side by Side
Here is a detailed breakdown for choosing between every model available in the super-resolution category:
5 Mistakes That Kill Your Results
1. Starting With Too Small a File
If your source image is 100x100 pixels, no AI can fully reconstruct it. AI upscaling works with existing pixel information. The less data it has, the more it must invent, and invented detail has limits.
The practical rule: Images below 300px on the shortest side will show visible artifacts regardless of the model used. For best results, start with at least 500px on the shortest side.
2. Running a Sharp Photo Through the Model Again
Running an already-sharp photo through an upscaler a second time is a common mistake. It creates halos around edges, overly pronounced pores in portraits, and a plasticky, synthetic appearance. If your first pass looks good, stop there.
3. Saving in the Wrong Format
After AI sharpening, save your output as PNG if you need to preserve it without further quality loss. JPEG compression will re-introduce the very artifacts you just removed. Export as JPEG at 90%+ quality only at the final output stage.
4. Using the Wrong Model for the Subject
Using a landscape-optimized model on a portrait will sharpen all the wrong things. It might crisp up the background at the expense of natural skin texture. Always match the model to your content type using the comparison table above.
5. Expecting Miracles From Severe Motion Blur
AI sharpening is exceptional at focus blur, noise, and compression artifacts. Severe motion blur across an entire frame is harder to fix. Improvements are visible and often significant, but the more motion was in the original shot, the harder the recovery.
Beyond Sharpening: Other Fixes AI Can Handle
Once you have a sharp photo, you may notice other issues worth addressing. PicassoIA handles those too.
Remove Distracting Backgrounds
Background removal isolates your subject in a single step. Perfect for portraits, product shots, and any image where the background competes with the main subject for attention. No manual selection required.
Fix Colors and Faded Tones
AI image restoration addresses not just blur but also color cast, faded tones, and flat lighting in old photographs. A scanned print with a yellowish tint or desaturated palette can be color-corrected while simultaneously being sharpened, saving multiple editing steps.
Expand the Frame
Outpainting lets you expand the canvas of any image beyond its original borders. If you have a beautifully sharpened portrait but the framing is too tight, outpainting adds believable content around the edges. It works particularly well after upscaling because the AI has more existing detail to reference when generating new content.
Replace or Remove Elements
Inpainting lets you remove or replace specific elements within a photo: a distracting object in the background, an unwanted figure, or a blemish on an otherwise perfect shot. Combined with sharpening, the result is a fully polished, print-ready image built entirely from your original.
Surprising Use Cases Worth Knowing
Some of the most striking results come from unexpected applications:
- Old film negatives scanned at home: Consumer flatbed scanners capture significantly less detail than professional drum scanners. AI upscaling closes much of that gap, recovering grain structure and fine detail in portraits and landscapes alike.
- Social media screenshots: Images shared on major platforms are compressed aggressively on upload. A screenshot of an Instagram or Facebook image is typically 50-70% worse than the original. AI upscaling recovers most of that lost quality in one pass.
- Product images for e-commerce: A photo shot on a phone at 12MP but compressed to thumbnail size for a catalog listing can be restored and upscaled to full print quality without a reshoot. A significant cost saving for high-volume sellers.
- Security and surveillance stills: Low-resolution camera stills benefit significantly from AI upscaling, especially for identifying objects, license plates, or text in forensic or investigative contexts.
- Old event photography: Wedding, graduation, and event photos from the early 2000s were often shot on early digital cameras with 2-4 megapixel sensors. Those images are precious but technically limited. AI upscaling brings them up to modern quality standards.
💡 Pro tip: Always test two or three models on the same image before committing to a final export. Results vary by content type, and a quick comparison takes under a minute on PicassoIA.
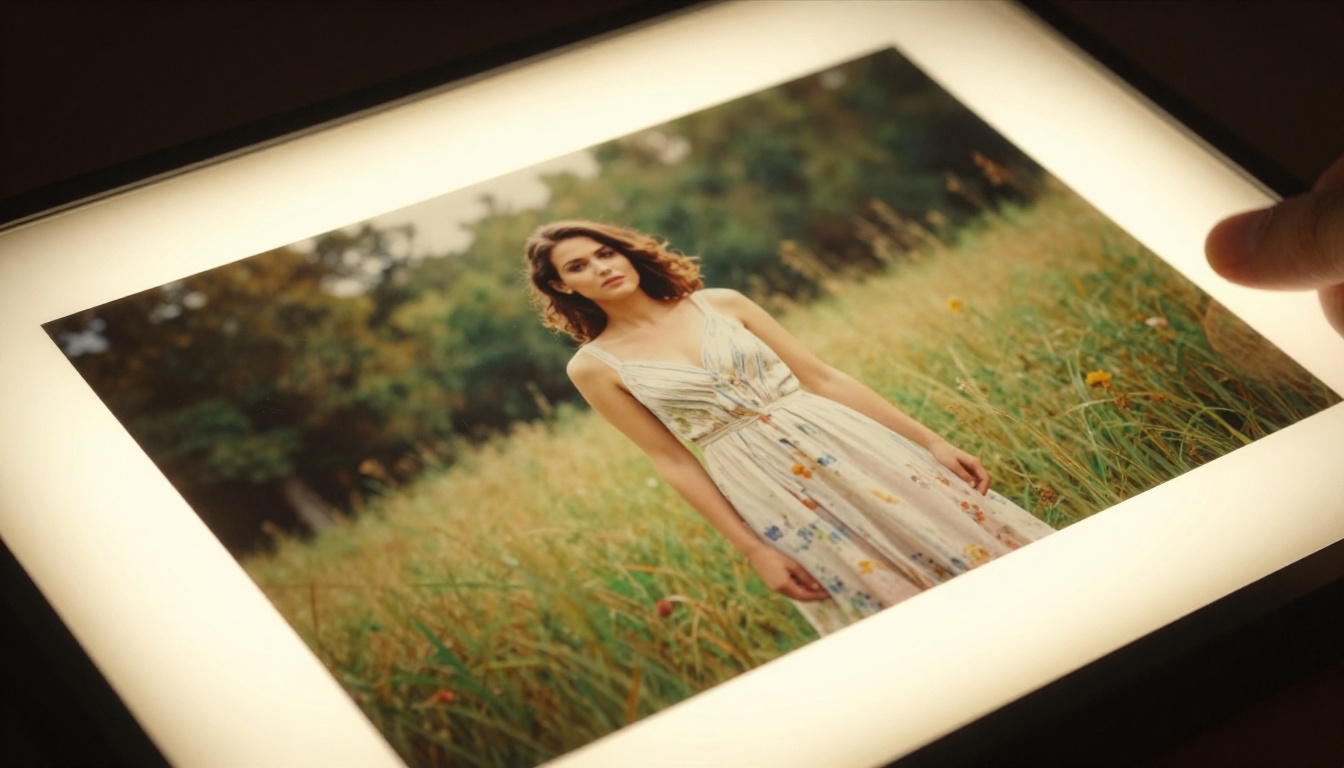
A Workflow That Always Delivers
A repeatable process produces the most consistent, professional results. Here is the workflow that works across all photo types:
- Start with the best source file you have. Even a heavily compressed JPEG is better than a screenshot of a JPEG.
- Run noise reduction first if the image has significant grain or JPEG artifacts. A cleaner input gives the upscaler more accurate data to work with and reduces the chance of the model amplifying noise instead of sharpening detail.
- Apply upscaling at the appropriate scale. Match the scale factor to your output destination, not just the largest available option.
- Check the result at 100% zoom. Look at face details, text, edge transitions, and fine textures. If something looks over-processed, try a different model or a lower scale factor.
- Export in the right format. PNG for archiving, JPEG at 90%+ for web use, TIFF for professional print workflows.
This process applies whether you are restoring a 50-year-old family photo or sharpening a product image for an online store. The logic is consistent. The models are the same. The results are predictable.
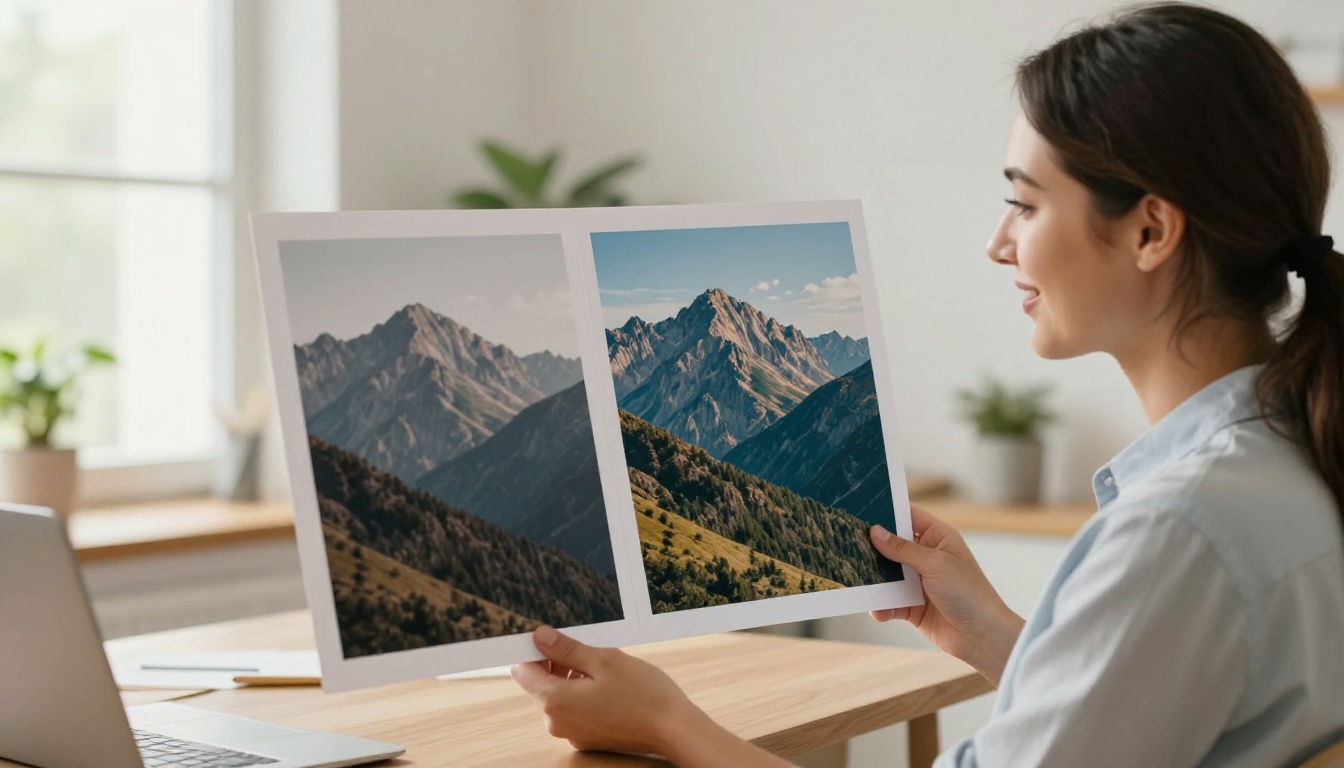
Give It a Try
Blurry photos do not have to stay blurry. Every image you restore is a story brought back into focus, a product shot made ready for retail, a family memory rescued from a dusty album. The models are built, trained, and ready to use right now.
Pick the blurriest photo you have, the one you assumed was gone forever, and run it through Clarity Pro Upscaler or Real ESRGAN on PicassoIA. Compare the output to the original. The difference is rarely subtle.
Nine specialized super-resolution models are available on PicassoIA right now, from the speed of P Image Upscale to the professional precision of Image Upscale by Topaz Labs. Start with the photo that bothers you most. See what AI can do with it.


