Your profile picture is doing a lot of work. Before anyone reads your bio, your name, or your credentials, they see your face. On LinkedIn, on Instagram, on dating apps, on Slack, that tiny circular image either builds trust or loses it in under a second. Most people upload whatever is convenient and move on. That is a mistake.
AI has changed what is possible here. You do not need a professional photographer, a studio, or even great lighting. With the right tools, a casual photo can become the kind of portrait that makes people stop scrolling. This article covers exactly how that works, which AI models produce the best results for profile photos, and how to use them step by step.
Why Your Profile Picture Actually Matters
First Impressions Happen in Milliseconds
Research from Princeton puts it at 100 milliseconds. That is how long it takes for someone to form a first impression from a photo. Competence, trustworthiness, and attractiveness are all being evaluated before a single word is read. For professional contexts especially, that snap judgment can influence whether someone reads your message, accepts your connection request, or clicks your profile.
The Platform Problem
Each platform has a different context for your photo. What works on Instagram does not necessarily work on LinkedIn. A photo that performs well on a dating app might feel too casual for a business networking context. Here is a breakdown:
| Platform | What Works | What Fails |
|---|
| LinkedIn | Clean background, professional attire, direct gaze | Casual party photos, heavy filters |
| Instagram | Creative, personal, on-brand | Stiff, overly corporate shots |
| Dating Apps | Warm, approachable, natural light | Passport-style headshots |
| Twitter/X | Clear face, personality visible | Logos or obscure images |
Why Generic Photos Miss the Mark
Most selfies have three common problems: flat lighting, distracting backgrounds, and compositions that were never designed with portrait principles in mind. A photo taken in bad overhead lighting flattens your face. A cluttered background pulls attention away from you. Poor framing makes the photo feel accidental rather than intentional.
AI models trained on millions of professional portraits have learned what works. They know how to simulate softbox lighting, clean backgrounds, appropriate focal lengths, and skin tones that look natural instead of washed out or over-processed.
What AI Actually Does to Your Photo
From Flat Selfie to Studio Portrait
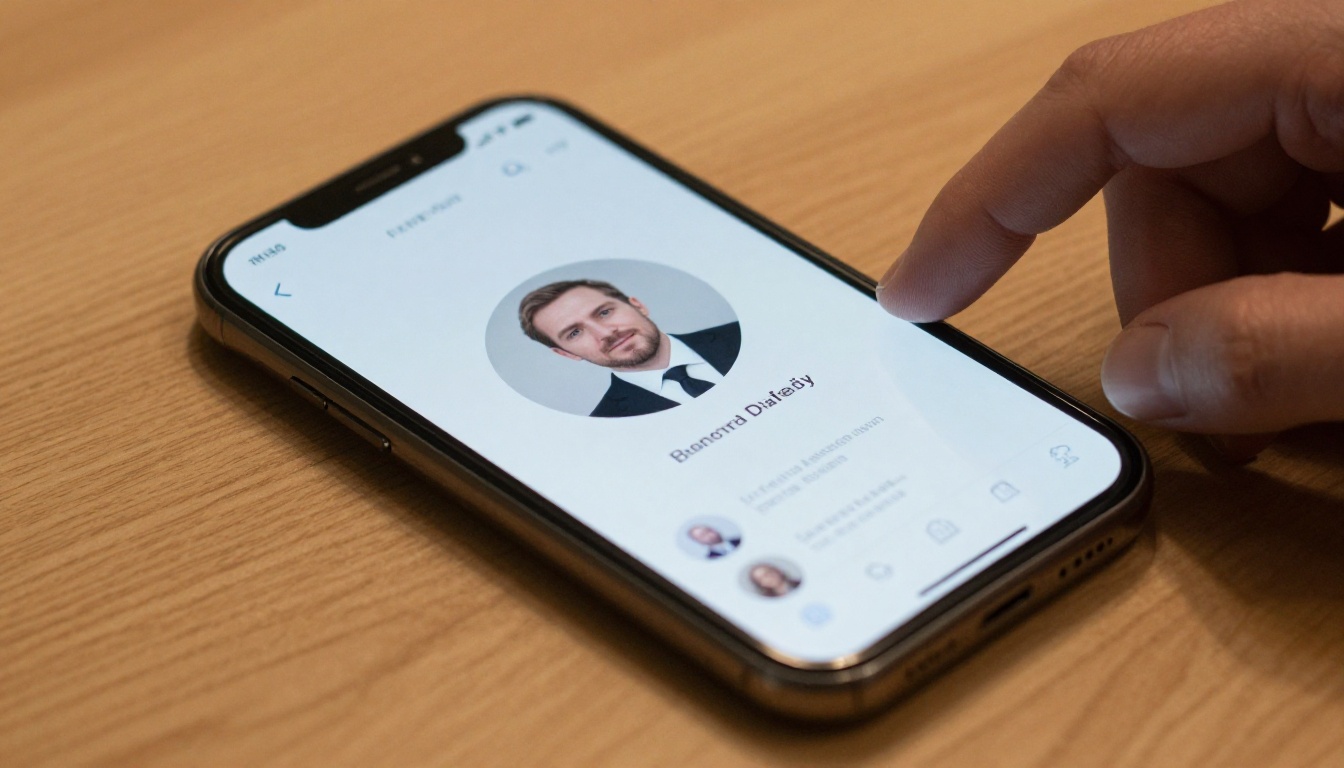
The models used for professional headshots do not just apply a filter. They analyze the existing photo, understand the face structure, and regenerate the image with corrected lighting, improved background separation, and optimized composition. The result looks like it was taken in a professional studio, not because it was edited to look that way, but because the AI reimagined it with those parameters in mind.
Lighting, Skin, and Composition in Seconds
What takes a photographer an entire session to set up, an AI model handles in seconds. Specifically:
- Lighting direction: Soft, directional light that adds depth and dimension to facial features
- Skin rendering: Natural-looking skin with appropriate texture, not the plastic smoothness of over-edited photos
- Background: Clean, professional backdrops that do not distract, or environmental backgrounds that suit the desired aesthetic
- Depth of field: The blurred background effect (bokeh) that separates you from the background the way a good camera lens would
Style Without a Photoshoot
One of the most practical advantages of AI portrait tools is variety. Need a LinkedIn headshot, a casual Instagram photo, and a professional bio photo? A single source image can generate all three in different styles without booking multiple sessions. The Portrait Series model on PicassoIA is built specifically for this: one photo in, multiple styled outputs ready to use across different platforms.
The Best AI Models for Profile Photos
These are the models that consistently produce the best results for profile pictures and professional headshots.
Professional Headshot
The Professional Headshot model is purpose-built for exactly this use case. Upload any photo, describe the style you want, and it outputs a clean, professional portrait with appropriate lighting and background. It handles a wide range of input quality, meaning even a mediocre selfie can become a polished headshot. Built on the Flux Kontext architecture, it maintains facial likeness extremely well while improving every other aspect of the image.

Portrait Series
Portrait Series generates multiple styled portraits from a single photo. Instead of one output, you get a set of variations with different backgrounds, lighting styles, and compositions. This is the model to use when you need options, whether for A/B testing a profile photo or simply wanting to have the right image for multiple platforms.
Face to Many Kontext
Face to Many Kontext takes portrait transformation further. It can style your face across different photographic and artistic contexts while maintaining your likeness. The outputs are more stylized than the Professional Headshot model, making it a better fit for creative profiles or social media contexts where personality matters more than corporate polish.
Realistic Vision v5.1
For generating entirely new portrait images from text prompts rather than uploading a photo, Realistic Vision v5.1 produces some of the most photorealistic results available. The model excels at skin texture, lighting accuracy, and natural facial features. It is the right choice when you have a specific look in mind and want to generate reference images or creative profile photos from scratch.
How to Use Professional Headshot on PicassoIA
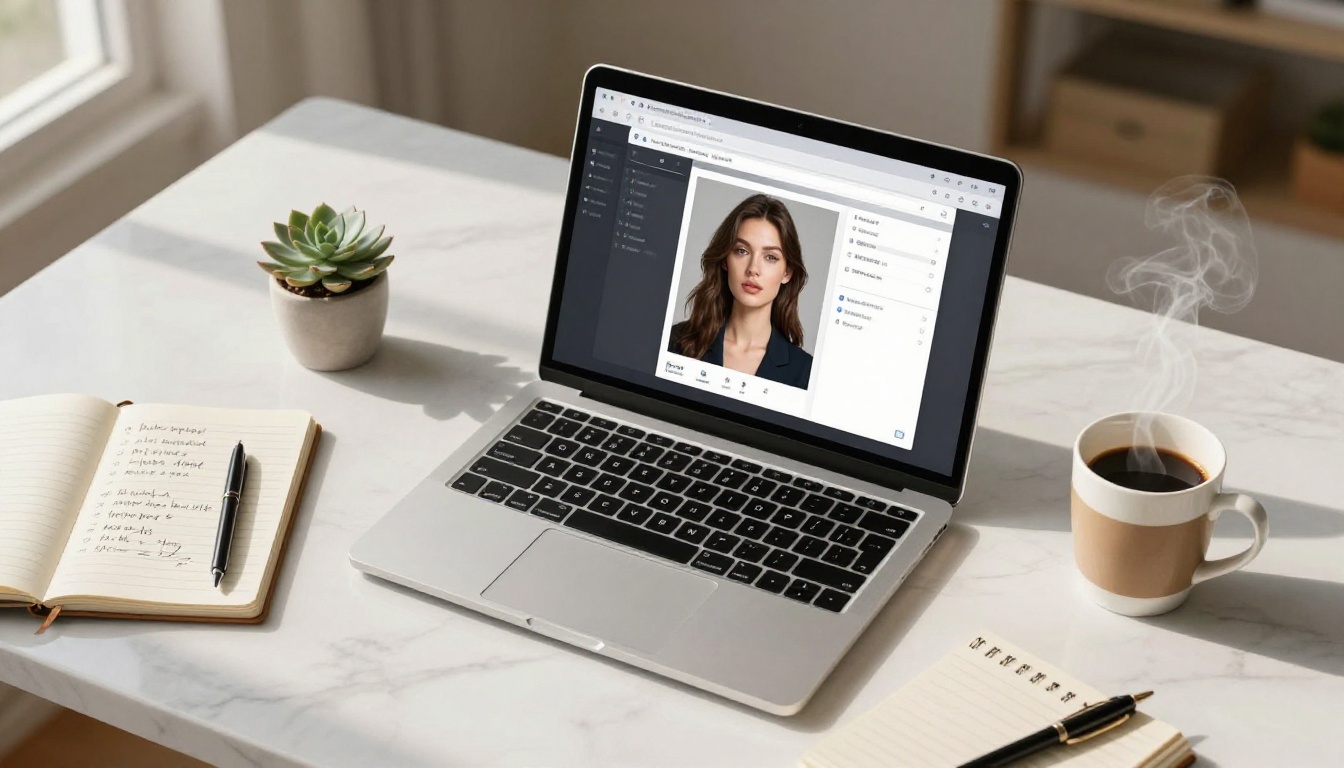
The Professional Headshot model has a straightforward workflow that takes about two minutes from start to finish.
Step 1: Upload Your Photo
Go to the Professional Headshot page on PicassoIA. Click Upload and select your source photo. The model works best with:
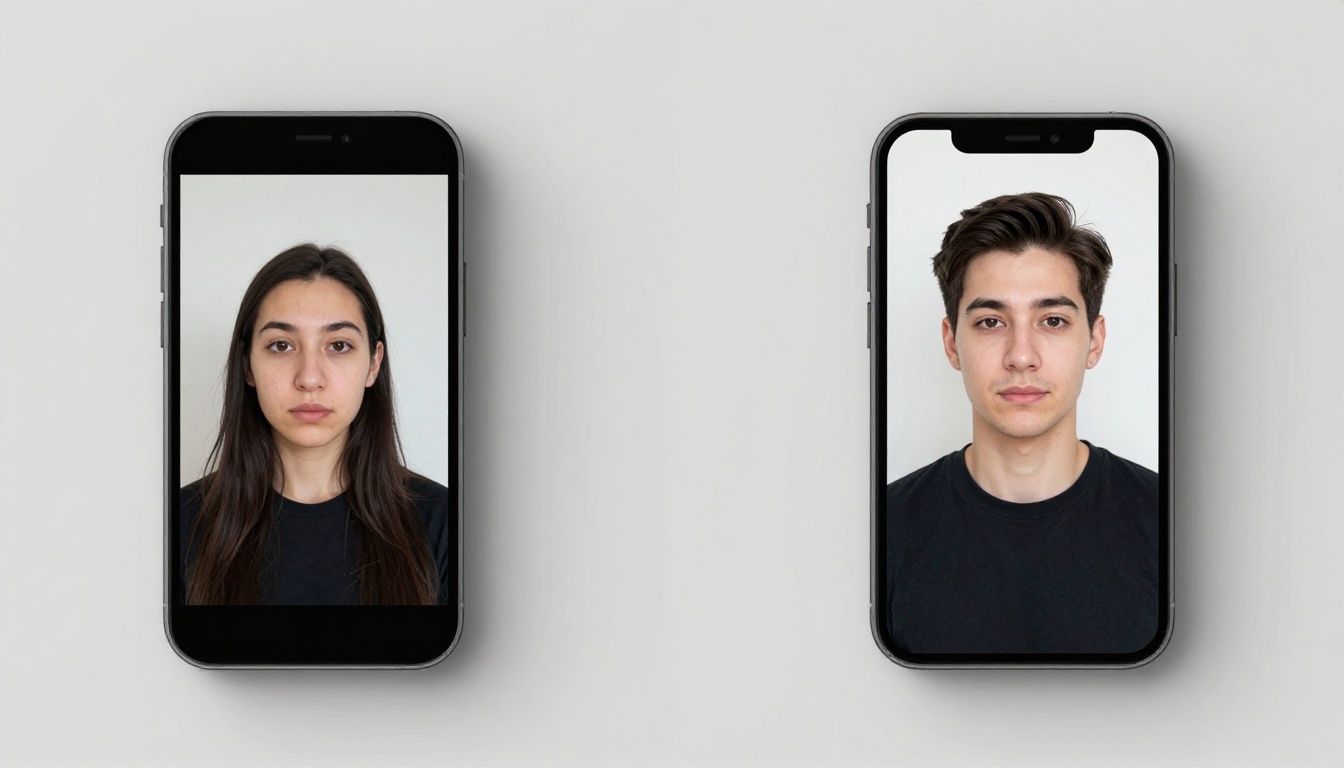
- Photos where your face is clearly visible and facing roughly forward
- Images where the face is not too small in the frame
- Photos with reasonable focus (slightly blurry is fine, heavily blurred will limit results)
- Any lighting condition: the model corrects for poor lighting automatically
💡 Tip: A front-facing photo with your face filling at least 30% of the frame gives the best facial likeness in the output.
Step 2: Set Your Style Parameters
Once your photo is uploaded, describe the style you want in the prompt field. Effective prompt structures for headshots:
- "Professional LinkedIn headshot, clean white background, soft studio lighting, business casual attire"
- "Natural outdoor portrait, warm golden hour light, blurred green background, approachable expression"
- "Corporate headshot, dark navy background, formal suit, direct eye contact"
You can specify the following parameters to sharpen your results:
| Parameter | What to Include | Example |
|---|
| Background | Color or environment | "White studio backdrop" |
| Lighting | Type and mood | "Soft natural window light" |
| Attire | Style level | "Business casual, navy blazer" |
| Expression | Mood | "Confident, slight smile" |
💡 Tip: Be specific about what you want. "Professional headshot" alone works, but adding lighting and background details consistently improves output quality.
Step 3: Generate and Download
Click Generate and wait 20 to 40 seconds. The model produces one output by default. If the result needs adjustments, modify the prompt and regenerate. Download the result in full resolution, ready to upload directly to any platform.
More Models Worth Trying
Flux Kontext Pro for Full Control
Flux Kontext Pro is the underlying architecture that powers several of the portrait-specific tools. Using it directly gives you more control over the generation parameters. It handles both image-to-image and text-to-image workflows, making it versatile for users who want to iterate quickly or experiment with creative portrait styles beyond standard headshots.
Qwen Image Edit Plus LoRA Skin for Retouching
Qwen Image Edit Plus LoRA Skin is specifically trained for skin retouching. If you already have a good headshot but want to refine skin texture, reduce blemishes, or improve skin tone consistency, this model does it with a level of naturalness that generic filters cannot match. The LoRA training means it has been specifically optimized for realistic skin rendering rather than general image editing.
RealVisXL v3.0 Turbo for Speed
When you need fast iteration, RealVisXL v3.0 Turbo delivers photorealistic portrait results in significantly less time than heavier models. The trade-off is slightly less fine detail compared to full-resolution models, but for most profile picture use cases the quality is more than sufficient and the speed advantage is real.
Tips That Actually Work
Lighting Beats Everything Else
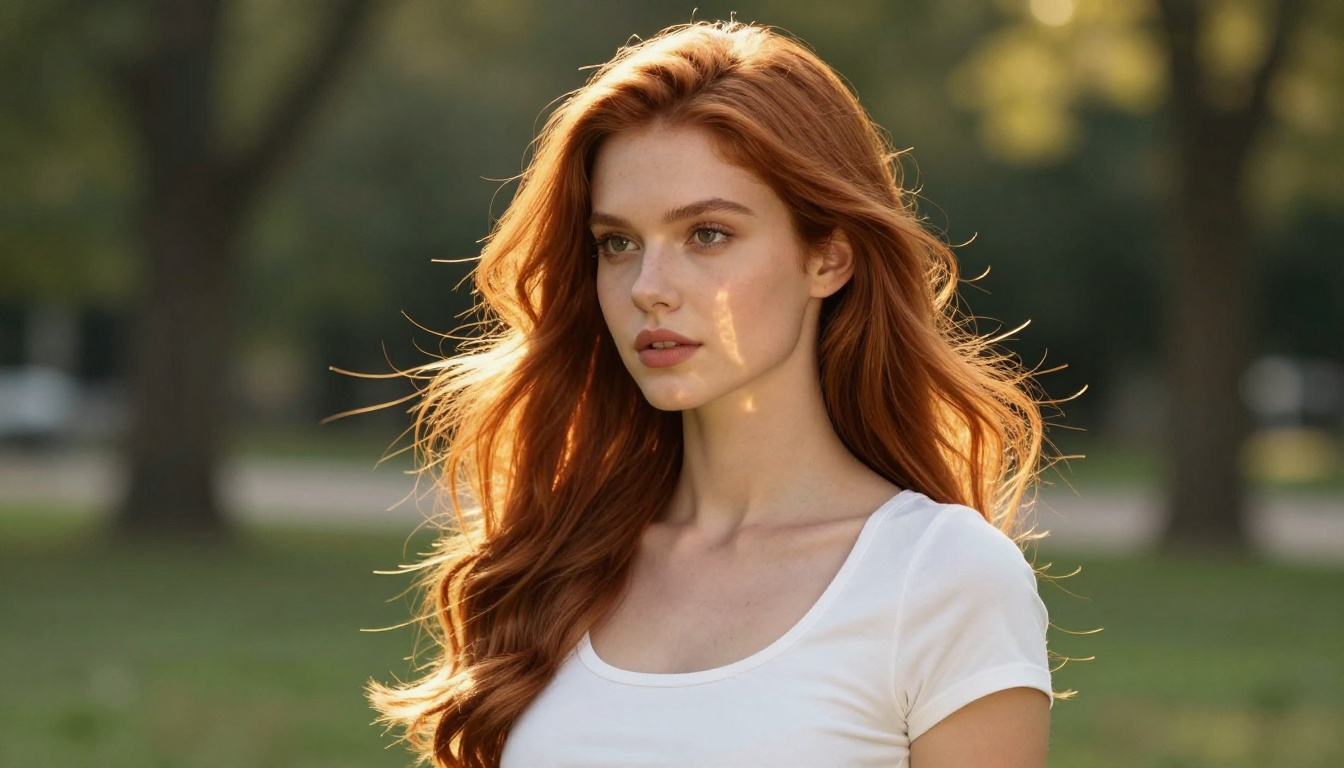
This applies to both your source photo and your prompts. AI models can correct and simulate lighting, but they work better when given a clear starting point. For your source image, window light facing toward you (not behind you) is consistently the best option. It is free, consistent, and flattering.
In your prompts, be specific about the lighting you want:
- "Soft natural window light from the left" produces warm, flattering results
- "Studio softbox at 45 degrees" produces clean, professional outputs
- "Golden hour outdoor light" produces warm, approachable portraits
Avoid using "good lighting" or "bright" as standalone descriptors. They are too vague for the model to act on with precision.
What Background to Choose
The background in your profile photo has more influence than most people realize. Some guidelines:
- Solid colors (white, light gray, navy): Professional, works on any platform, no distraction
- Blurred office or natural environment: Adds context without competing with your face
- Cluttered or complex backgrounds: Avoid, even with bokeh, visual noise costs attention
- Outdoor with greenery: Warm, approachable, works well for personal brands
💡 Tip: If you are unsure which background fits your use case, generate two versions: one clean studio background and one natural environment. Test both.
Writing Prompts That Get Results
The quality of your prompt directly determines the quality of your output. These patterns consistently produce strong results:
- Start with the shot type: "Close-up professional headshot portrait"
- Add subject details: "of a [gender, age range] with [hair description]"
- Specify lighting: "soft natural window light from camera left"
- Add background: "against a clean white studio backdrop"
- Specify lens feel: "85mm f/1.8 depth of field, blurred background"
- Add quality modifiers: "photorealistic, 8K, Kodak Portra 400, film grain"
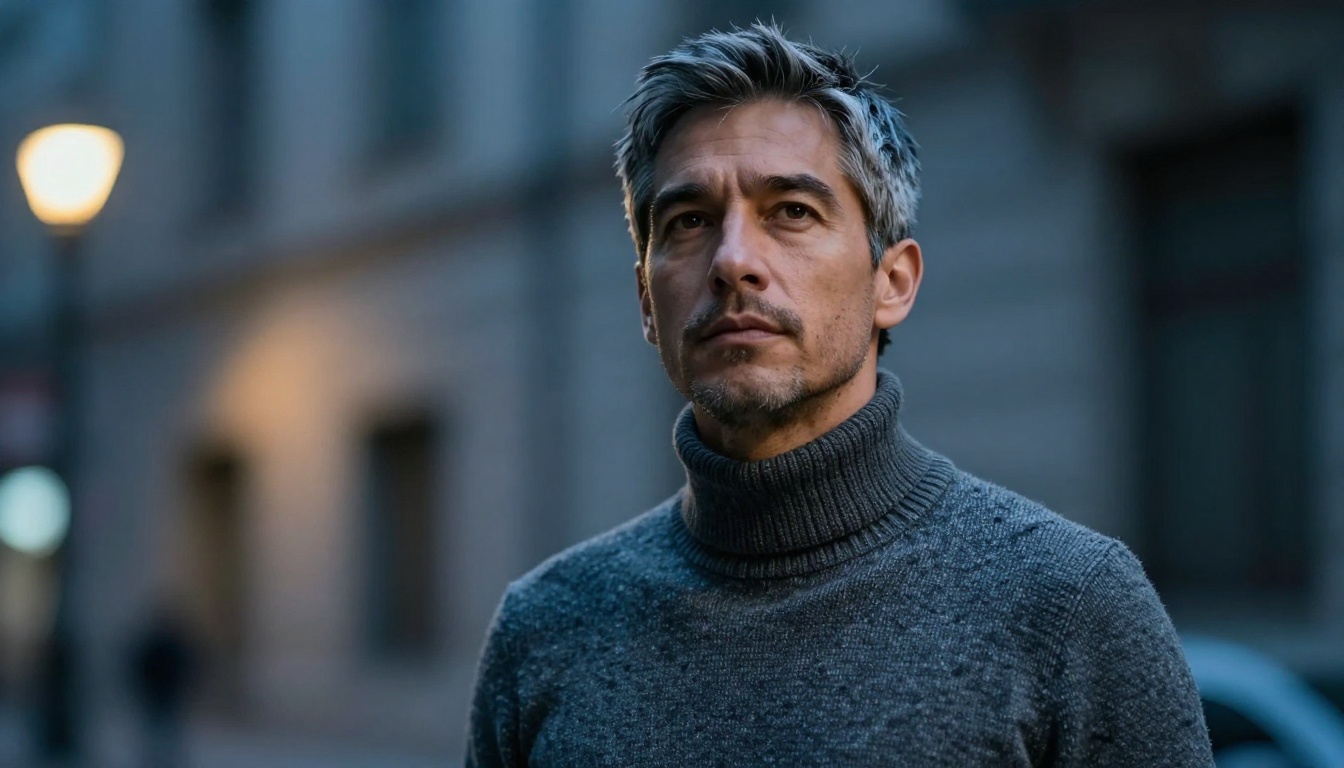
Strong prompt: "Close-up professional headshot of a woman in her 30s wearing a white blouse, soft natural window light from camera left, clean gray studio backdrop, 85mm f/1.8 depth of field, photorealistic 8K"
Weak prompt: "Professional photo of a woman, good lighting, nice background"
What to Expect from Results
The Difference Good Lighting Makes
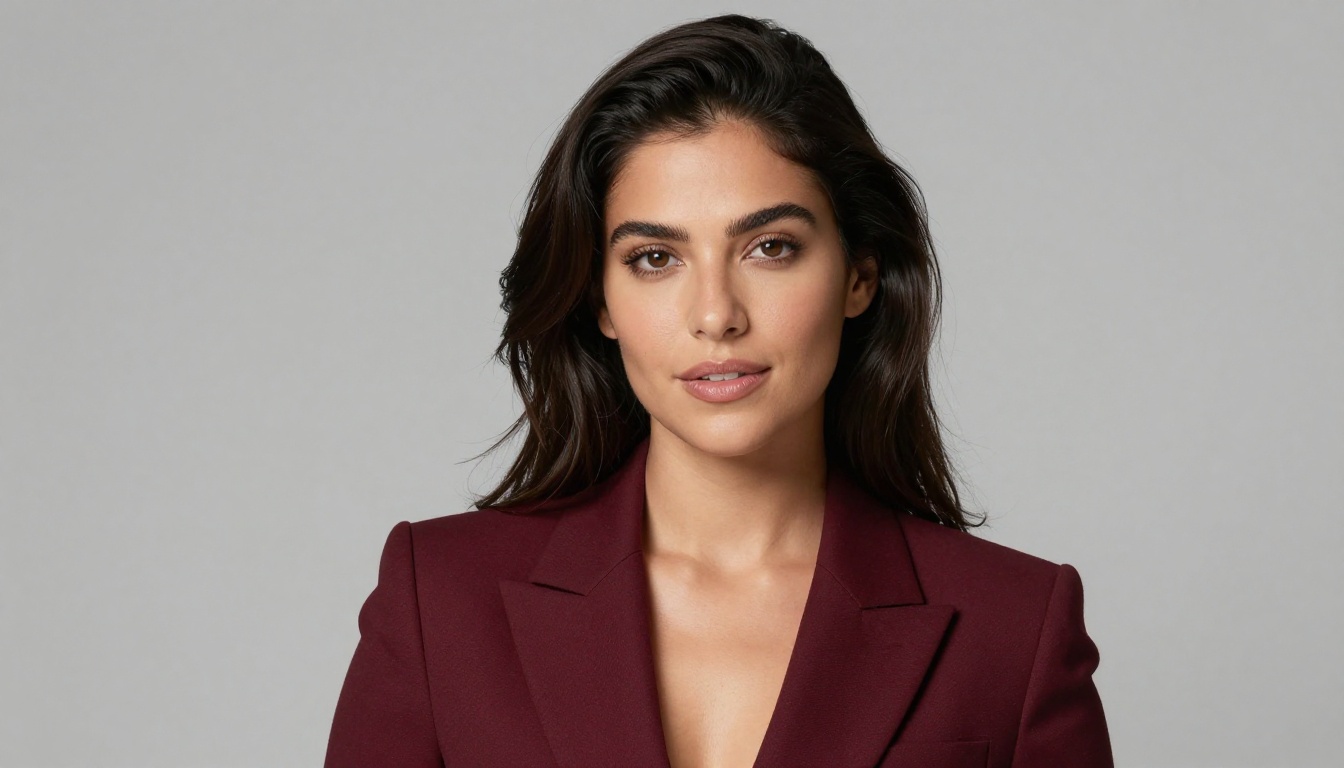
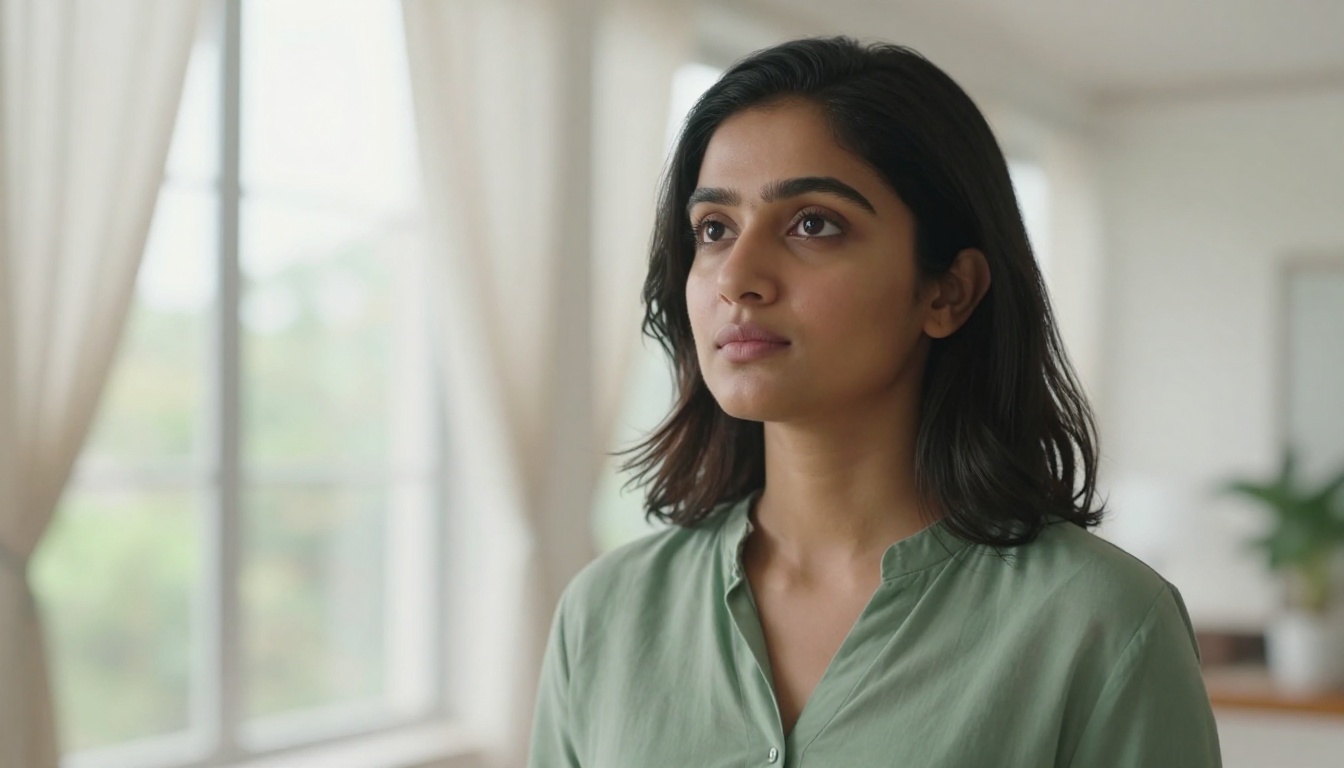
The single biggest visible difference between an amateur and professional portrait is not camera quality or makeup or even location. It is lighting. A well-lit photo shot on a phone looks more professional than a poorly lit photo shot on a high-end camera. AI portrait models understand this, and their primary transformation is almost always a lighting correction.
When you look at your AI-generated headshot, the most noticeable improvement will be in how light falls on your face. Shadows that flatten features get filled in. Harsh overhead light that creates dark under-eye circles gets replaced with directional, flattering light that adds structure and dimension.
Realistic vs. Over-Processed
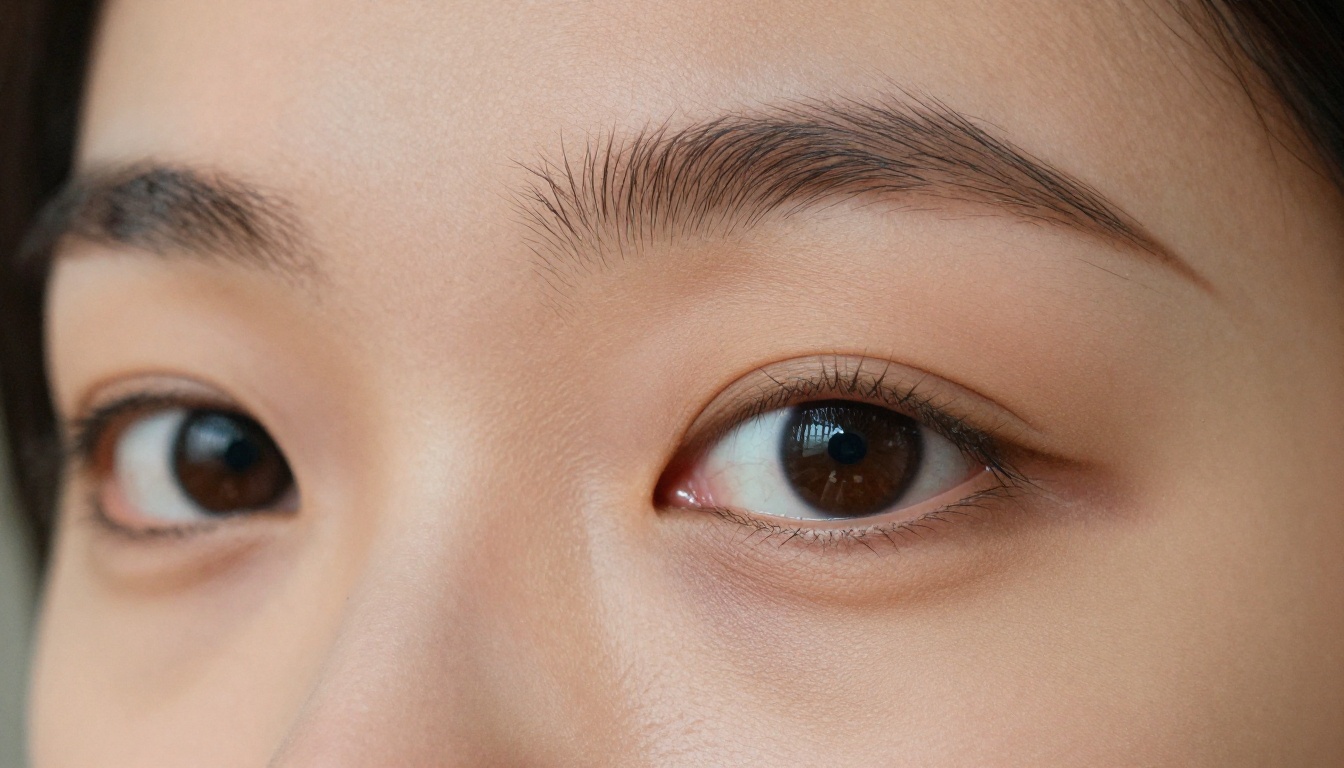
One of the most common mistakes with AI portrait tools is pushing toward hyper-smooth, hyper-sharp outputs that end up looking artificial. The goal is not a photo that looks AI-generated. The goal is a photo that looks like it was taken by a good photographer.
Signs that a photo is over-processed:
- Skin looks waxy or plastic with no visible pore texture
- Eyes are unnaturally sharp compared to the rest of the face
- Hair looks perfectly uniform with no individual strand variation
- Lighting has no shadow or gradient, creating a flat, even look
The Realistic Vision v5.1 and Professional Headshot models both have strong defaults for natural-looking outputs. If you are seeing over-processed results, add descriptors like "natural skin texture", "film grain", and "Kodak Portra 400" to your prompt to pull the output back toward photorealism.
Your Photos Are Ready to Create
Every tool in this article is available directly on PicassoIA. Whether you need a polished LinkedIn headshot in two minutes using the Professional Headshot model, want multiple styled portraits at once with Portrait Series, prefer skin retouching with Qwen Image Edit Plus LoRA Skin, or want to build a portrait from scratch with Realistic Vision v5.1, the platform has the models and the infrastructure to make it happen.
The difference between a profile picture that gets noticed and one that blends in is not luck. It is lighting, composition, and the right tool. All three of those are now accessible, free of scheduling, and available in under a minute.
Open PicassoIA Image and start creating your own professional portrait today.


