Swapping a photo background used to mean hours in Photoshop, a Wacom tablet, and enough patience to last a weekend. Today, AI does the same job in under ten seconds, with better edge detection than most human editors manage by hand. Whether you shoot product photos, portraits, or content for social media, the ability to replace a photo background in seconds with AI has become one of the most practical tools available to anyone with a camera and a deadline.
This piece breaks down exactly how it works, where it delivers the most value, and how you can start getting clean, professional-quality results right now.
How AI Background Replacement Actually Works
Most people assume AI background removal is just a smarter version of the old "magic wand" tool. It is not.
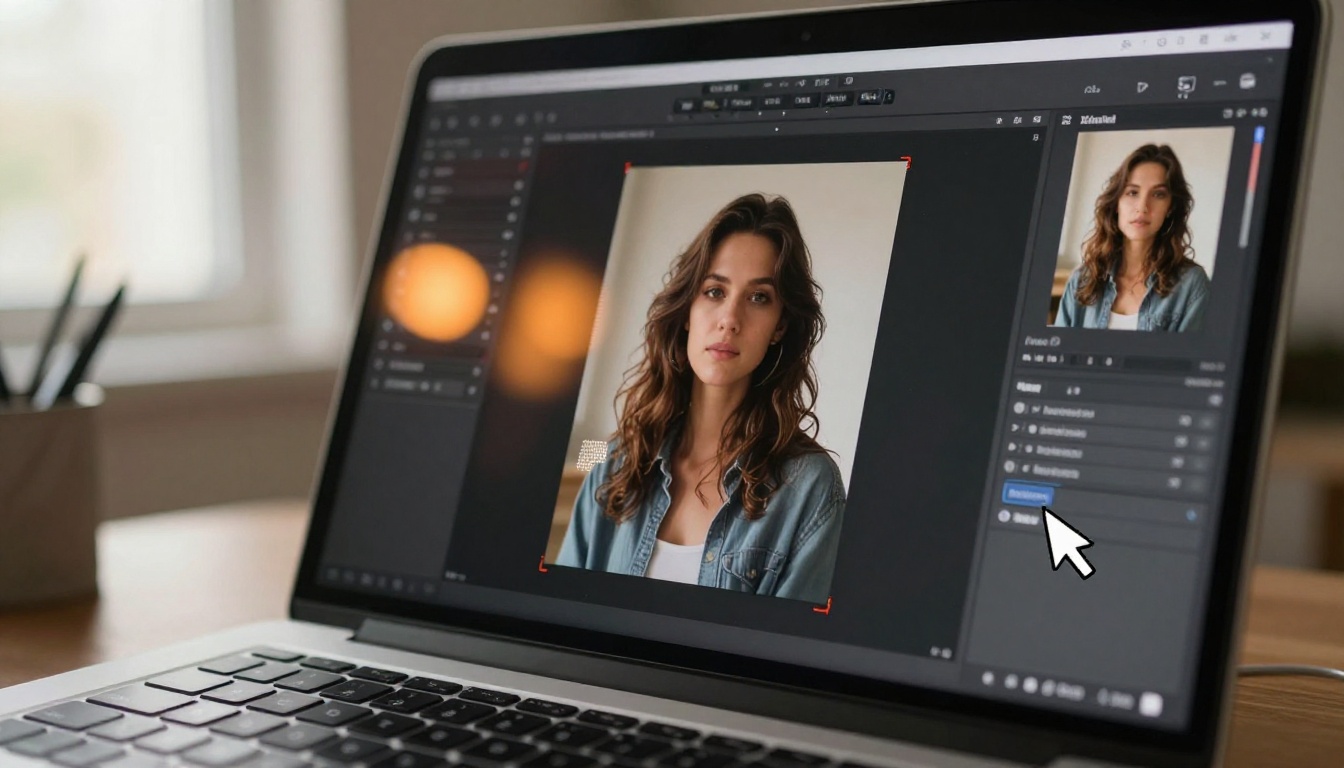
Modern AI background replacement models are trained on millions of images. They do not just detect color contrast. They recognize subjects: human bodies, hair strands, product edges, fabric folds. They separate subjects from contextual backgrounds at a semantic level. The model understands that the wisps of hair blowing in front of a window are part of the subject, not the background behind it.
The Old Way vs. the AI Way
| Method | Time Required | Skill Level | Hair and Fine Detail |
|---|
| Manual Photoshop masking | 30 to 120 minutes | Expert | Difficult |
| Magic Wand and Select & Mask | 10 to 30 minutes | Intermediate | Poor |
| AI background removal | Under 10 seconds | None | Excellent |
The difference is not incremental. It is categorical. A trained Photoshop user working a complex portrait with curly hair might spend an hour refining edges. An AI model handles the same task automatically, often with results that are pixel-for-pixel cleaner.
What Makes AI Cutouts So Precise
The precision comes from semantic segmentation: the AI assigns each pixel a probability score for belonging to the subject versus the background. Models like bria Remove Background are purpose-built for this task, trained on the hardest cases: flyaway hair, transparent fabric, complex product silhouettes, and subjects photographed against busy scenes.
💡 Pro tip: Rim lighting that separates your subject from the background gives the AI clear edge data. Even a simple reflector or side window light positioned behind the subject improves cutout quality significantly.
When You Need to Replace a Background Fast
Background replacement has relevant use cases across nearly every visual discipline. The speed advantage matters most in three scenarios.
Product Photography That Works Anywhere
E-commerce platforms require product images on clean white or neutral backgrounds. Professional studio shoots produce that result by design, but not every product shoot happens in a studio. A founder photographing inventory at home, a brand shooting seasonal products on location, a marketplace seller with a phone and natural light: all of them need the same clean output that a professional studio delivers.
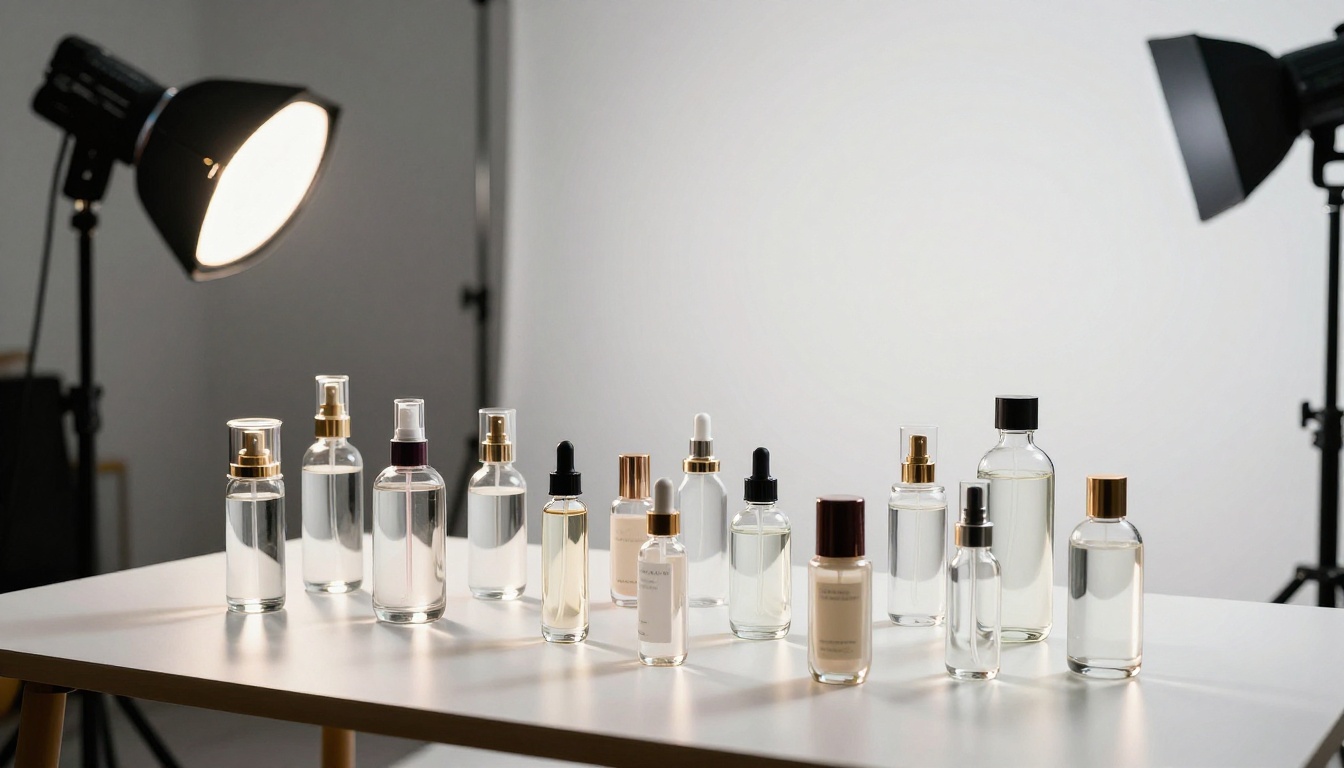
AI background replacement means the shooting location no longer determines the final image quality. You shoot anywhere, strip the background, and drop in a clean white or custom branded surface in seconds. The product looks studio-quality regardless of where it was actually photographed.
Portrait and Headshots at Scale
LinkedIn profiles, company team pages, press kits, speaker bios: all of them call for a clean, consistent background behind every face. When a team spans five time zones, getting everyone into the same studio is not realistic.
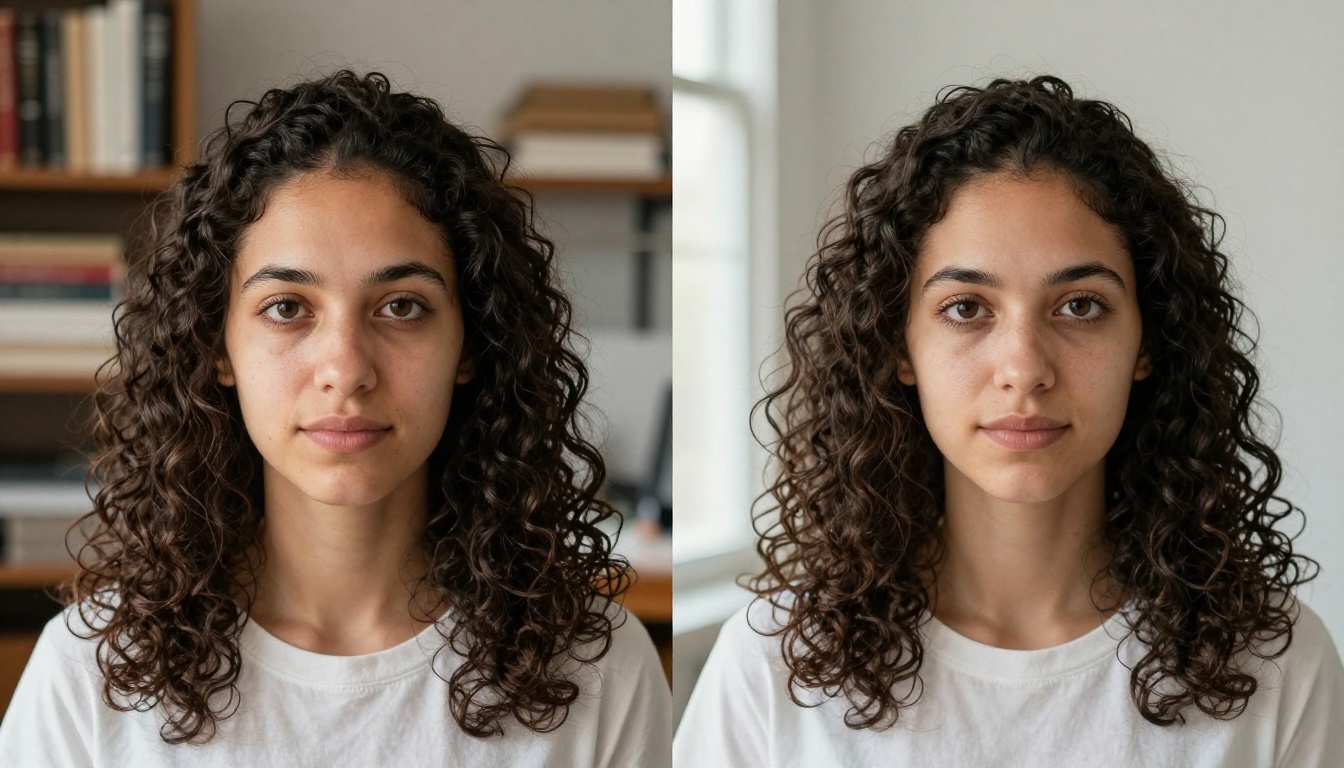
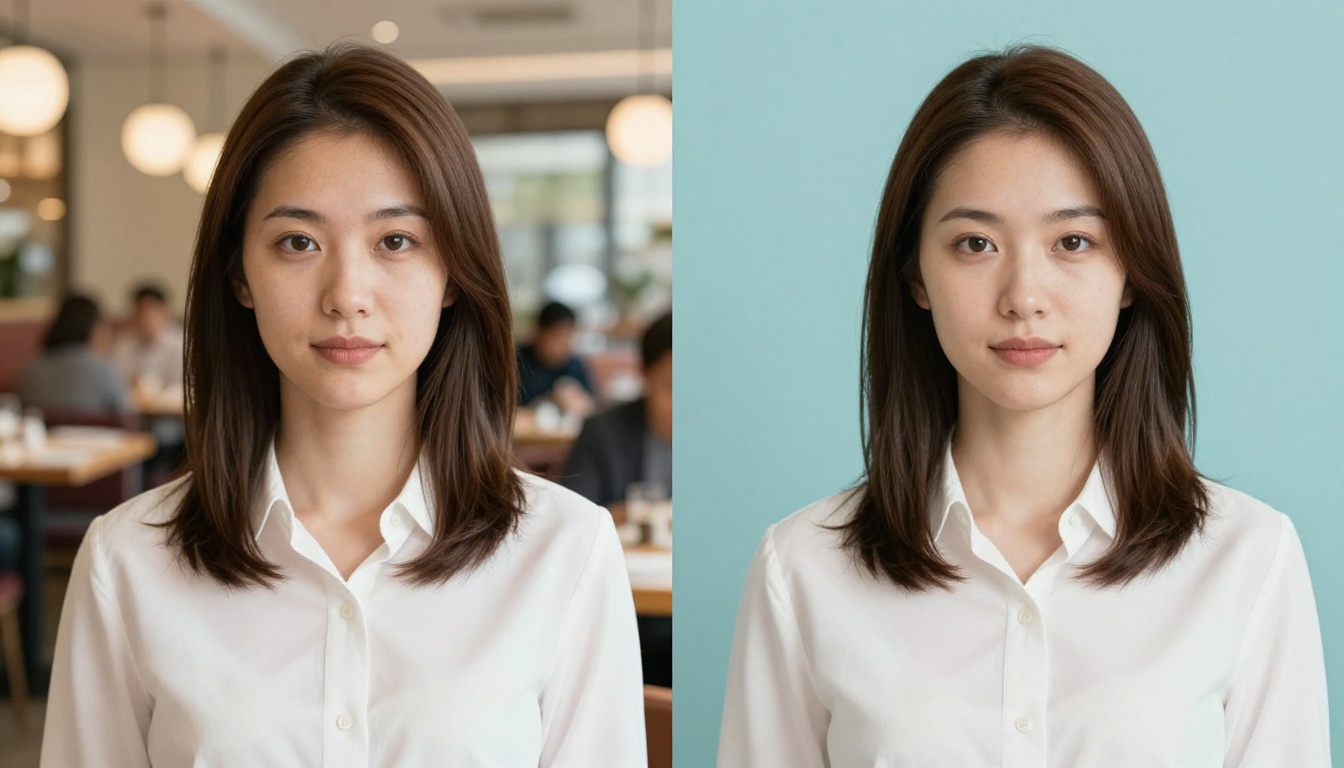
AI background replacement solves this without a reshoot. Each person submits a photo taken anywhere. The AI extracts the subject precisely, including curly hair detail and clothing edges. A uniform background is applied across every image. The result reads as consistently professional across the entire set.
Social Media Content Volume
Content creators and brand accounts operate on compressed timelines. Posting requires a volume of visual content that makes individual retouching sessions impractical at scale.
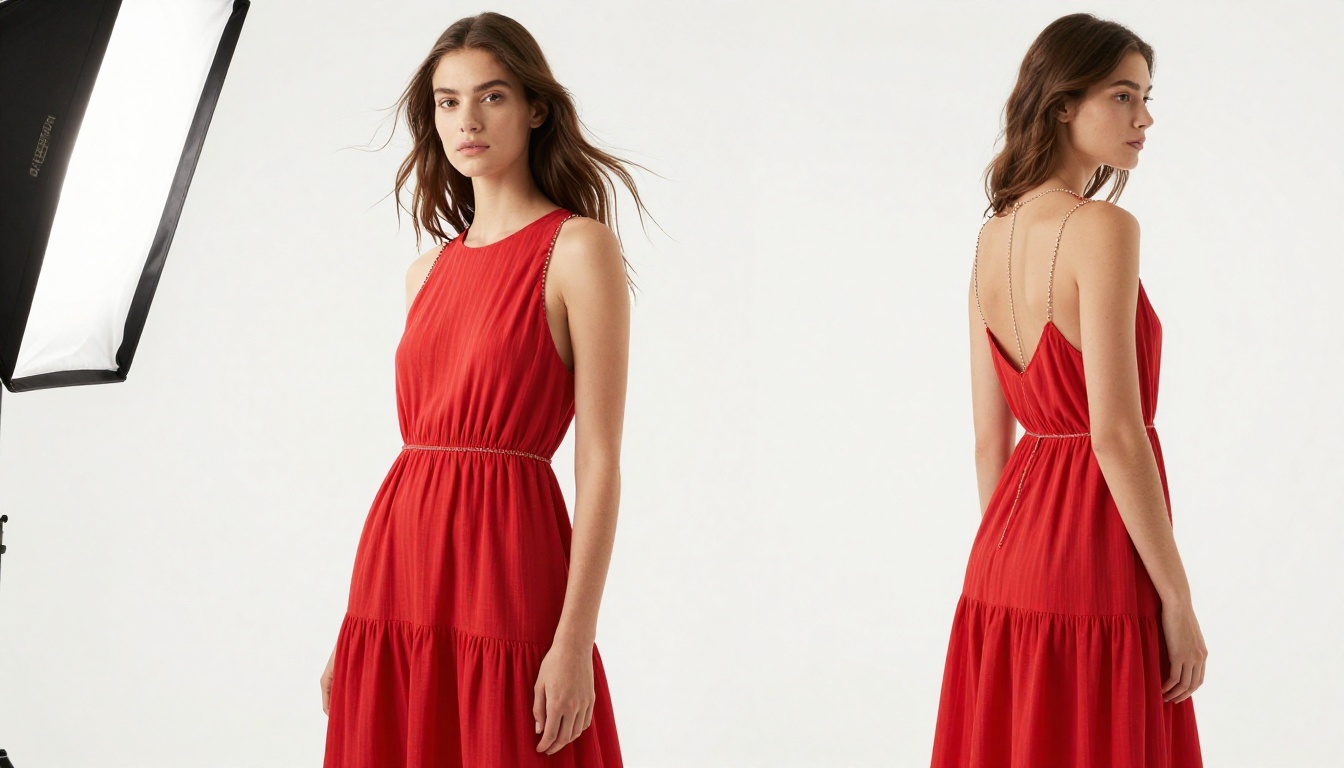
With AI background replacement, a single photo shoot generates significantly more usable assets. The same portrait works against a neutral studio look, a lifestyle scene, and a branded graphic. Three distinct visuals from one original shot, with no additional photography required.
The Models That Do This Best
Not all background removal tools are built the same. The quality gap between a basic color-key approach and a purpose-trained AI model is significant.
bria Remove Background
bria Remove Background is among the highest-quality AI models available for subject isolation. It handles portraits with complex hair, product shots with transparent glass elements, lifestyle images with busy environments, and fashion photography with sheer fabrics.
What sets it apart is edge preservation quality. Fine hair strands, sheer fabric, jewelry chains, and soft shadows at the subject boundary are all handled without the fringing artifacts that less capable tools produce. The output is a clean, feathered mask that typically requires no manual cleanup.
💡 Why this matters: Most background removal tools cut corners on hair edges. A tool that isolates curly or windblown hair cleanly is not a minor convenience. It is the difference between an image that looks photographed and one that looks edited.
What Separates Good Tools from Bad Ones
When comparing background removal tools, these factors distinguish the best from the rest:
- Hair and fine detail preservation: Does it handle curly, flyaway, or backlit hair without artifacts?
- Transparency handling: Does it preserve glass surfaces, sheer fabric, or thin product elements?
- Shadow retention: Can it keep soft ground shadows that make the subject look grounded rather than floating?
- Edge feathering: Does the cutout look natural, or does it have a hard, unnatural boundary?
- Batch processing: Can it handle multiple images at the same quality level simultaneously?
How to Replace a Background on PicassoIA
The workflow is direct. No software installation, no complex setup required.

Step 1: Upload Your Photo
Navigate to the bria Remove Background model. Upload your image directly from your device. The model accepts JPG, PNG, and WebP formats at any resolution. Higher-resolution inputs produce cleaner edge detail on complex subjects with fine hair or intricate product silhouettes.
Step 2: Let the AI Work
The model processes automatically. Depending on image complexity and resolution, processing takes between 3 and 15 seconds. The output is a PNG with a transparent background that preserves all edge detail from the original photo.
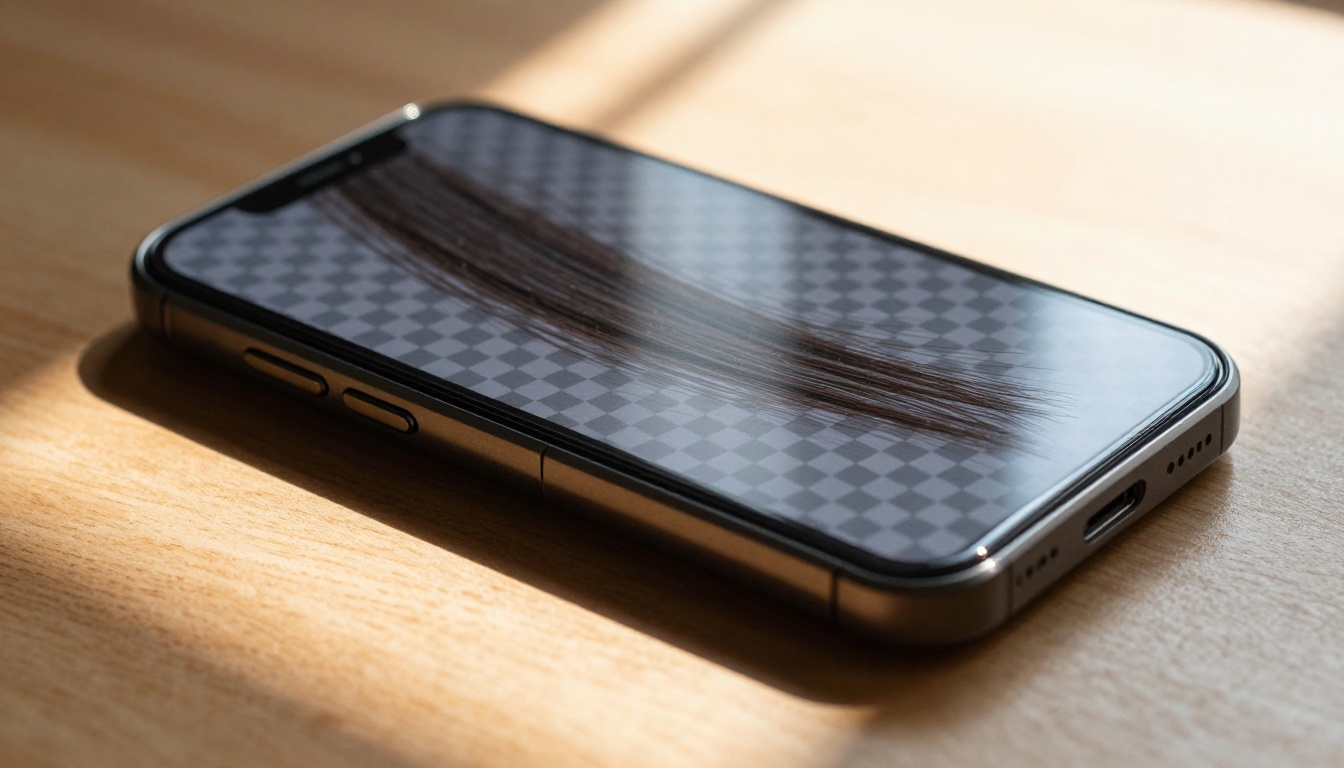
The level of detail in the output is worth examining at 100% zoom on the first result. Hair strands, fabric threads at garment edges, and soft shadow feathering at the base of subjects are all preserved in the transparent output. This is what makes the tool usable for professional work rather than just casual edits.
Step 3: Apply Your New Background
With the transparent PNG, placing a new background is a simple layer operation in any image editor, design tool, or even Canva. The subject sits cleanly on whatever background you choose: solid color, gradient, lifestyle photo, branded graphic, or abstract texture.
💡 Light matching: The most convincing results come from choosing a replacement background whose light direction matches the original subject. If your subject is lit from the left, pick a background with light coming from the left. Mismatched lighting is the most common reason replaced backgrounds look unconvincing.
Tips for Results That Actually Look Real
The AI handles the technical work. The choices you make around the process still determine whether the final result looks professional or assembled.
Lighting That Separates Subject from Background
The single most impactful variable you control is the contrast between the subject and the background in the original photo. A subject photographed against a background noticeably lighter or darker than their silhouette gives the AI strong edge data to work with. Rim lighting, even from a reflector positioned at the back, creates luminosity separation that the model can read clearly.
Getting Hair Right Every Time
Curly, textured, or fine hair in motion is the hardest case for any background removal tool. To maximize results:
- Avoid backlit setups where hair blends visually into a bright sky or window
- Shoot at higher resolution so the model has more pixel data at the subject boundary
- Use contrasting backgrounds during the original shoot: dark hair reads better against lighter backgrounds, light hair against darker tones
Choosing the Right Replacement Background
A replacement background needs to match the subject in three ways:
- Resolution parity: A low-resolution background behind a sharp, high-resolution subject looks mismatched at any display size
- Lighting direction: Consistency between subject and background lighting is non-negotiable for a realistic result
- Color temperature: A warm-toned subject dropped onto a cool-toned background creates an uncanny visual separation that signals editing to any viewer
Common Mistakes That Ruin Background Swaps
Even with excellent AI tools, these errors produce poor results consistently.
Ignoring Shadow Consistency
Subjects photographed outdoors cast shadows downward. Products on a surface have contact shadows at their base. When the background is replaced, those shadows disappear unless you add them back. The result is a subject that appears to float above the scene, which immediately signals to any viewer that the image is a composite.
Some tools, including bria Remove Background, offer options to preserve or regenerate natural ground shadows. Using this feature is the difference between a result that feels photographed and one that feels assembled.
Mismatched Color Temperature
Warm sunlight versus cool studio strobe. This mismatch is visible to anyone viewing the final image, even if they cannot articulate exactly why it looks wrong. Always verify that the color temperature of your replacement background is consistent with the lighting conditions in the original photo.
Low-Resolution Backgrounds
Replacing the background in a 12-megapixel portrait requires a replacement image at a comparable resolution. An 800-pixel wide background stretched to fill a large frame shows compression artifacts and surface flatness that immediately reveals the composite to any viewer.
More You Can Do After the Background Is Gone
Background replacement is often the first step in a larger editing workflow. AI tools available today let you continue refining results in ways that were not practical before.

Upscaling With Super Resolution
If your original photo was shot at lower resolution, or if you need to output for large-format print or high-DPI screens, running the composited image through a super resolution model sharpens both subject and background simultaneously. The final result holds up at sizes the original could not reach.
Inpainting and Scene Refinement
Once your subject is placed on a new background, inpainting tools let you fix imperfections or fill gaps naturally. Add a shadow that was missing from the composite. Fix a repeating texture in the background at the edges. Extend a surface that was cut off. All of this without touching the subject itself.
Outpainting for Format Flexibility
A portrait cropped for vertical social media formats often lacks room to repurpose as a horizontal banner or wide-format image. Outpainting extends the canvas in any direction, filling the extended area with contextually appropriate background content. One image becomes multiple formats without a reshoot.
Object Replacement Within the Scene
After placing a subject on a new background, object replacement tools let you swap specific elements within that background. A product shot placed on a lifestyle surface can have that surface texture changed, or specific props in the scene replaced, while the subject remains untouched and consistent.
Who This Workflow Is Built For
The speed and quality of AI background replacement has made this workflow relevant beyond professional photographers and retouchers. These are the people using it every day:
E-commerce sellers: Turning home or warehouse photography into clean, marketplace-ready product shots at scale.
HR and hiring teams: Standardizing headshots from remote employees across different home environments into a consistent visual identity for the company website.
Social media managers: Extracting subjects from raw photography and placing them across multiple branded templates without scheduling additional shoots.
Real estate agents: Creating professional profile photos from any environment without booking studio time.
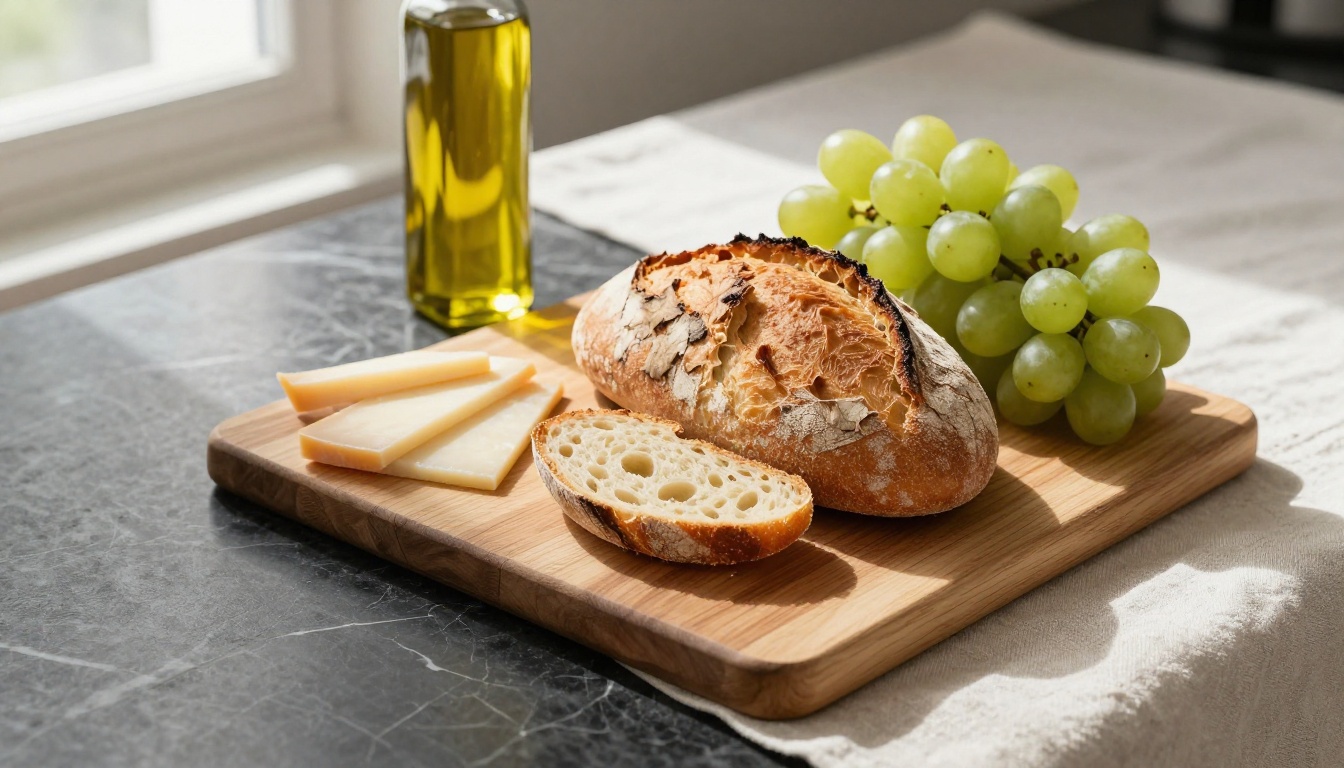
Food bloggers and restaurateurs: Isolating dishes from table shots and placing them against clean surfaces or lifestyle contexts suited to different platforms and campaigns.
Photographers: Offering clients background replacement as a post-production service without spending hours on manual masking per image.
The common thread is speed. When the bottleneck in a visual workflow is background work, AI removes it entirely. What used to require a dedicated editing session now takes less time than exporting the original file.
Real-World Results by Industry
| Industry | Primary Use Case | Typical Background Type |
|---|
| E-commerce | Product isolation | White or neutral |
| Real estate | Agent profile photos | Clean gradient |
| Fashion and retail | Model shots | Lifestyle scenes |
| Food and beverage | Product hero images | Surface or lifestyle |
| Corporate | Team headshots | Branded neutral |
| Social media | Creator content | Varied per campaign |
Every use case in this table benefits directly from the speed AI provides. A real estate agency updating 40 agent profiles does not have time for individual retouching sessions. A fashion brand shooting a lookbook needs consistent backgrounds across hundreds of images in a single afternoon. At that scale, AI background replacement is not a convenience. It is what makes the workflow possible at all.
Try It for Yourself
Clean, intentional backgrounds are not a luxury reserved for professional studios. They are a basic visual standard, and AI has made them accessible to anyone in seconds.
Upload a photo to the bria Remove Background model on PicassoIA, get back a precise clean cutout, and place your subject anywhere you want it. The result comes back faster than it takes to open Photoshop.
Every product photo, every headshot, every piece of visual content you produce from this point forward can have exactly the background it deserves. Start with one image and see what comes back.


