You recorded a 90-minute webinar. Your speaker said something brilliant at minute 34. The problem: nobody on Instagram, LinkedIn, or TikTok is ever going to sit through 90 minutes to find it. They need it in 60 seconds, captioned, and already trimmed to the point. That is exactly what AI tools can do for you today.
Repurposing webinar recordings into short clips is one of the highest-ROI content strategies available right now. A single recording can generate 10 to 20 standalone clips, each one targeted at a different audience segment or platform. The bottleneck has always been editing time. AI eliminates most of it.
This piece walks through exactly how to turn a webinar into short clips with AI, which tools to use at each stage, and how to get publication-ready results without touching a traditional video editor.
Most webinar recordings get uploaded to YouTube, pinned to a landing page, and quietly forgotten. The average view count for a raw webinar upload is dismal because the format is fundamentally mismatched with how people consume content on social platforms.
The Attention Gap Problem
A viewer on Instagram Reels or TikTok gives a new video less than 3 seconds to earn their attention. A 90-minute recording with a slow intro, housekeeping announcements, and a 10-minute Q&A does not clear that bar. The information might be excellent. The packaging is wrong.
Short clips bypass this entirely. A 45-second clip that opens on the most valuable insight from minute 34 can perform extremely well on every platform, with no knowledge required that the original recording even exists.
What Short-Form Platforms Actually Want
Each platform has its own sweet spot for clip length and format:
| Platform | Optimal Clip Length | Aspect Ratio |
|---|
| Instagram Reels | 15 to 60 seconds | 9:16 |
| TikTok | 30 to 90 seconds | 9:16 |
| LinkedIn | 30 to 90 seconds | 16:9 or 1:1 |
| YouTube Shorts | Under 60 seconds | 9:16 |
| X (Twitter) | 15 to 45 seconds | 16:9 or 1:1 |
Short clips are not a compromise of your webinar content. They are the delivery mechanism that actually reaches people.
What a Good Short Clip Actually Looks Like
Not every segment cut from a webinar is worth posting. A strong short clip has a clear structure: hook, value, close. The hook happens in the first 3 seconds. The value is a single idea, fact, or story beat. The close either delivers a punchline or leaves enough open to prompt a click or follow.
The Right Moments to Cut
When scanning a webinar for clip candidates, look for:
- Direct statements of insight: "The reason most email sequences fail is..."
- Short stories with a clear arc: A 60-second anecdote with setup and payoff
- Counterintuitive takes: Anything that contradicts common assumptions
- How-to moments: Step-by-step instructions that stand on their own
- Reactions and debate: Moments where the host pushes back or agrees strongly
💡 Identify your best moments before splitting the file. Timestamps noted in advance make the AI trimming workflow much faster.
What Separates Watchable from Skippable
Length alone does not determine quality. The worst clips cut mid-sentence or end before the payoff. The best clips feel self-contained. They leave the viewer either satisfied or wanting more, and both outcomes are wins for distribution.

The Core AI Clipping Workflow
The full process for turning a webinar into distribution-ready short clips takes three primary steps. Each step maps to a specific AI tool available on PicassoIA.
Step 1: Split the Recording
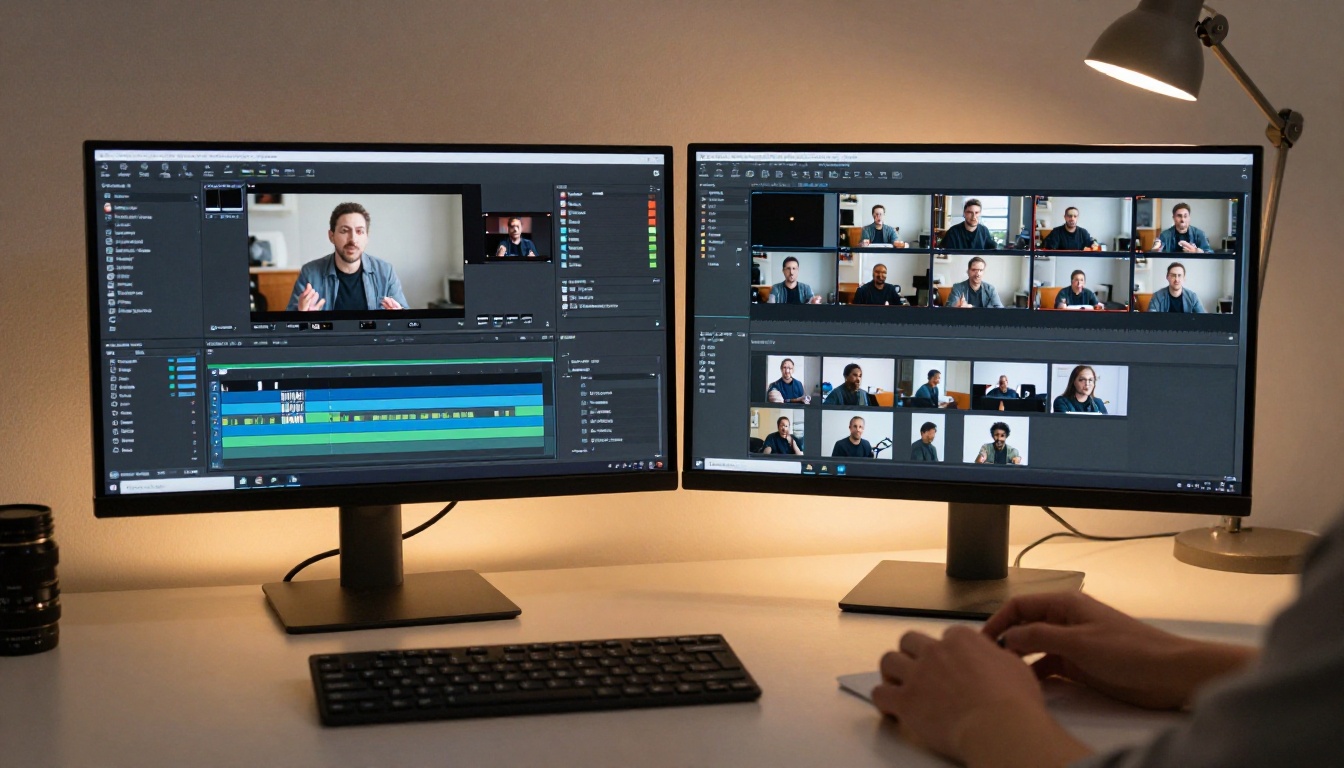
The first task is breaking the long recording into workable pieces. Manually scrubbing through 90 minutes of footage wastes time. Video Split handles this automatically by cutting any video into timed segments.
You set an interval, upload the file, and receive individual clip files. No manual scrubbing, no export queues in a desktop editor. The clips come out as separate files ready for the next step.
Step 2: Trim Each Clip to Its Best Moments
Once you have segments, each one likely starts and ends with dead air, filler words, or content that belongs in a different clip. Trim Video lets you cut any video to an exact length by specifying precise start and end timestamps.
This is where you apply the hook-value-close structure. Cut the segment from the exact moment the insight begins to the exact moment it resolves.
Step 3: Add Captions Before Publishing
Between 85% and 92% of social video is watched on mobile with sound off. If your clip has no captions, you are losing the majority of your potential audience before the algorithm even has a chance to push it.
Autocaption adds synchronized, styled captions to any video automatically. The output is publication-ready without any manual subtitle timing.
How to Use Video Split on PicassoIA
Video Split is the starting point for every webinar repurposing project. Here is exactly how to use it.
Upload and Set Your Interval
- Go to the Video Split tool on PicassoIA.
- Upload your webinar recording file (MP4, MOV, and other common formats are supported).
- Set your segment duration. For a first pass on a 60-minute recording, a 5-minute interval gives you 12 segments. For a recording where you already know your timestamps, tighter intervals of 1 to 2 minutes work better.
- Run the split. The tool processes the file and returns individual numbered clip files.
What to Do with Your Clip Files
After splitting, you have a set of rough segment files. Review each one and discard segments with no usable content: intro music, networking sections, sponsor reads. Keep anything with a self-contained thought, story, or insight.
For each keeper, note the exact start and end time of the content you want. These timestamps go directly into Trim Video for the next step.
💡 Batch your workflow. If you have a 90-minute webinar with 15 strong moments, process all 15 trim jobs before moving to captioning. This reduces context-switching and speeds up the whole pipeline.

Trim, Caption, and Polish
Using Trim Video for Precision Cuts
Trim Video takes a video file and cuts it to an exact duration using start and end timestamps. The workflow on PicassoIA:
- Upload the segment file from the previous step.
- Enter the start time in seconds or HH:MM:SS format.
- Enter the end time.
- Generate the output. The result is a clean, precisely cut clip file.
Cut dead air at the start. Cut trailing silence at the end. A tight clip with no preamble performs significantly better than the same content with 3 extra seconds of setup.
Auto-Captions with Autocaption
With a trimmed clip ready, captioning is the last must-have step before publishing. Autocaption on PicassoIA:
- Upload your trimmed clip.
- Select caption style (font, size, position). Bottom-third placement with high-contrast text works for most platforms.
- The AI transcribes the audio and syncs captions to speech timing automatically.
- Download the captioned video.
No manual timing adjustments. No SRT file imports. The output is a single video file with burned-in captions ready for direct upload.
Upscaling for Sharper Quality
Webinar recordings captured from screen shares or standard webcams often look soft when played on modern devices. Two tools on PicassoIA fix this:
- Real ESRGAN Video: Upscales video to 4K using AI, recovering detail from lower-resolution source files.
- Video Increase Resolution: Upscales up to 8K with Bria's enhancement model, sharpening edges and improving color accuracy.
Both tools work without any manual parameter adjustment. Upload the clip and receive the upscaled version.
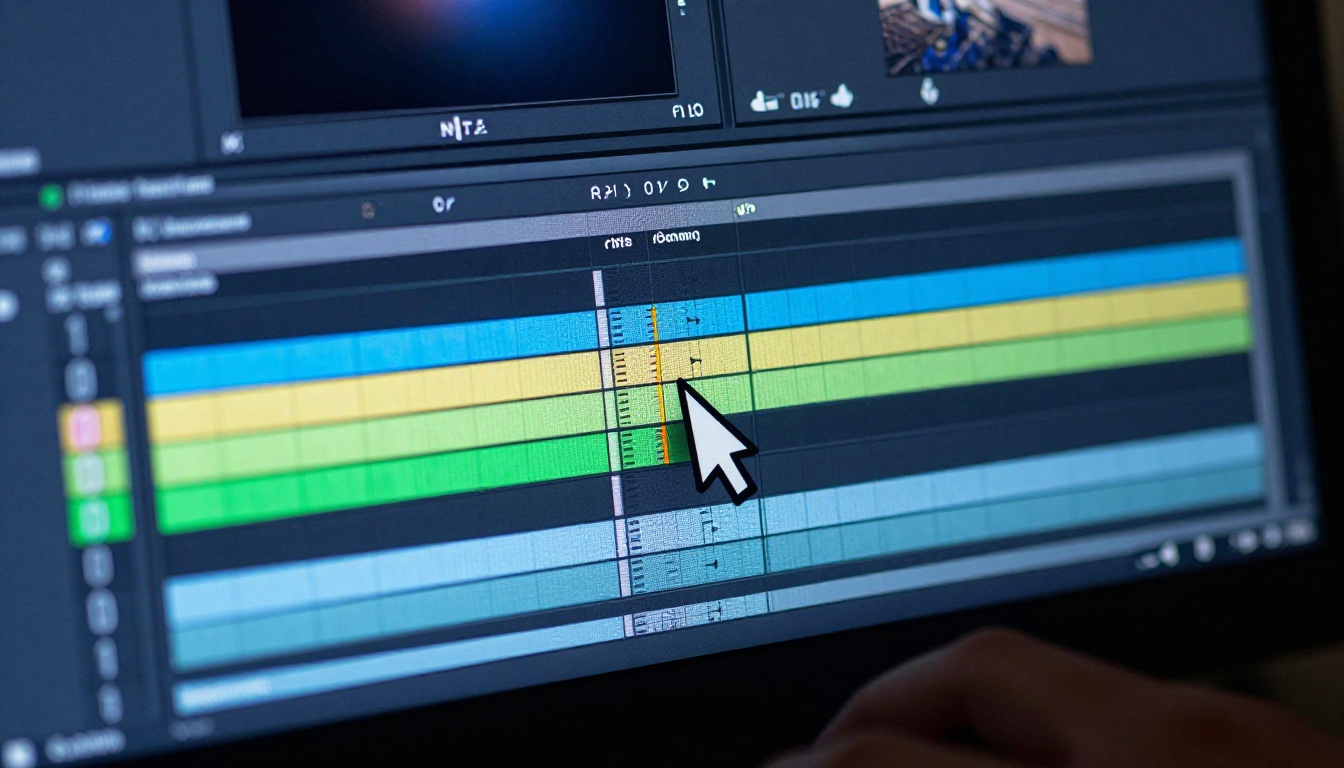
Splitting and captioning gets your clips ready for social. But the same recording can feed multiple content formats beyond short video.
Extract Audio for Podcast Content
Extract Audio pulls the audio track from any video file and outputs it as a standalone audio file. A strong 5-minute segment from a webinar becomes a podcast episode, a voiceover asset, or raw material for an audiogram. This is especially useful for speakers who want their content on podcast platforms without re-recording sessions.
Merge Clips into a Highlight Reel
If you want to create a single "best of" video from multiple short clips, Video Merge combines any number of clip files into one output in seconds. A 3 to 4 minute highlight reel from a webinar series works well for YouTube and LinkedIn long-form audiences.
Restyle Clips with Gen 4 Aleph
For a more creative use case, Gen 4 Aleph by Runway lets you recut and restyle any video segment with AI. If your webinar recording has dated visual presentation or you want a different aesthetic for a specific campaign, Gen 4 Aleph can refresh the look without reshooting.
Compress for Fast Loading
Before uploading, Featured Vid compresses your clips for web delivery. Smaller files load faster, reducing drop-off from slow connections. This matters most for LinkedIn and embedded blog placements.

Results You Can Actually Expect
The numbers below reflect typical outcomes when repurposing webinar content into short clips with a structured AI workflow:
| Metric | Raw Webinar Upload | Short Clips with AI |
|---|
| Average view duration | 4 to 8 minutes | 85 to 95% completion rate |
| Organic reach per piece | Low (algorithm penalty for long video) | High (platform-favored format) |
| Content pieces per recording | 1 | 10 to 20 |
| Time to publish | 1 to 3 hours editing | 20 to 40 minutes total |
| Caption accessibility | Manual or none | Automatic |
| Platform fit | YouTube only | All major social platforms |
The same 90-minute recording does not change. What changes is how many times it can reach new people.
The biggest practical gain is time reduction. Traditional editing for a single polished short clip takes 30 to 60 minutes per clip. With AI tools handling the split, trim, and caption steps, the total time per clip drops to under 5 minutes of active work.

Every Webinar Has 15 Clips in It
That recording sitting in your Google Drive has more reach potential than you are giving it credit for. The barrier has never been the content. It has always been the editing hours. AI removes that barrier.
Start with Video Split to break the recording into segments. Use Trim Video to cut each segment to its sharpest version. Add captions with Autocaption. Polish with Real ESRGAN Video if the source quality needs it. Compress with Featured Vid for fast loading on every platform.
Every tool in this workflow is available on PicassoIA right now, with no desktop software to install and no timeline scrubbing required. Pick your best webinar recording and run the first split today.