Your face is no longer the only thing people meet online. In social VR rooms, game worlds, livestreams and virtual offices, the first thing anyone sees is your 3D metaverse avatar, and a bad one is hard to forget. A stiff mesh, a texture that stretches across the chin, a file that refuses to import: these problems are common, and almost all of them come from choosing the wrong maker or the wrong export format at the start.
This article sorts out the options without the hype. You will see which free avatar makers produce files you can actually use, what real avatars look like across social, streaming and work settings, how the main visual styles differ, and which format (GLB, VRM, FBX and a few others) fits which platform. Near the end there is a practical workflow for building a custom avatar from a concept image using models on PicassoIA.
A 3D metaverse avatar is a rigged digital body, usually a textured mesh with a skeleton, that represents you inside a virtual space. It can be a lifelike scan of your face, a stylized cartoon, an anime character or a talking animal. What matters is that it can be posed, animated and loaded into a platform.
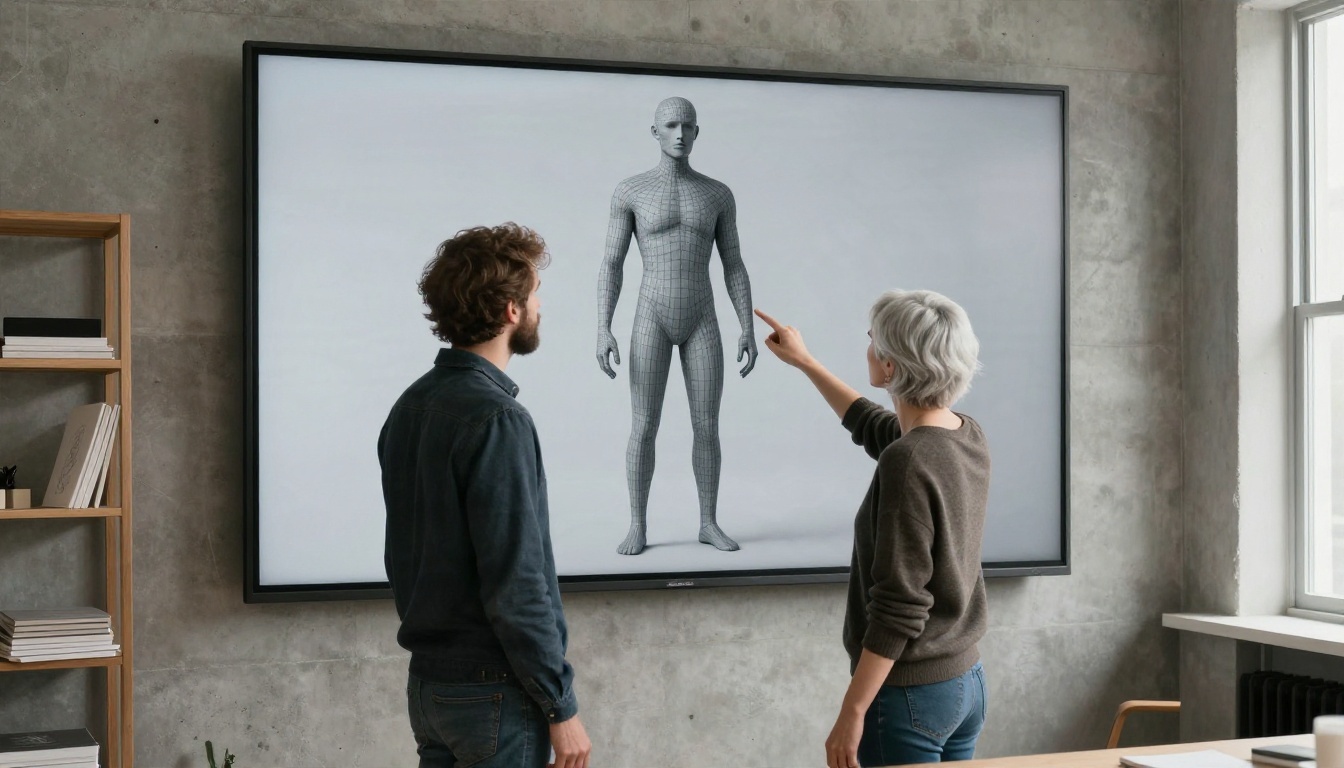
Avatar vs Character Model
People use the two terms as if they were the same, but they are not. A character model is any 3D figure, including a static statue or a game enemy. An avatar is a character model prepared for a person to inhabit. That means it has a skeleton, usually facial blendshapes for expressions, and often eye and mouth controls so the platform can track your movements.
💡 Quick test: if you cannot drop the file into a viewer, move the arms and see the shoulders bend without tearing, it is a model, not yet an avatar.
Where Avatars Actually Get Used
Most avatars end up in one of five places:
- Social VR and chat worlds, where you want expression and a distinct silhouette.
- Games and creative platforms, where you need a specific format and a polygon limit.
- Livestreaming and VTubing, where face tracking quality matters most.
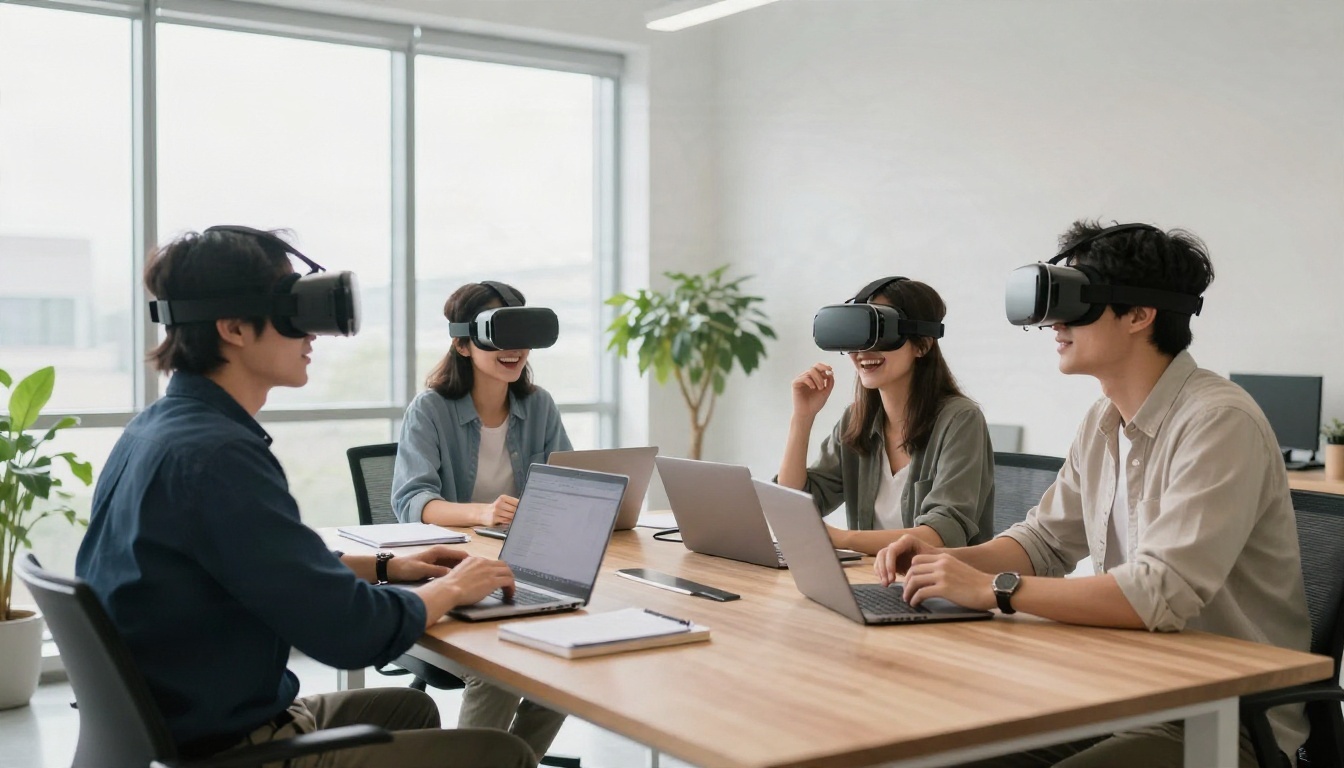
- Virtual meetings and events, where a believable, neutral look wins.
- Social profiles and short videos, where a still render or a clip is enough.
Each destination has different rules about triangles, textures and file type, which is why one avatar rarely works everywhere without changes.
Free Avatar Makers Worth Trying
Free is a flexible word in this space. Some tools are free to use but limit exports, some give you the first avatar for free, and others are free forever but need a desktop install. Check each tool's own page before you commit, because terms change often.
Browser Makers for Quick Results
Browser tools are the fastest route from zero to a usable file. VIVERSE Avatar Creator runs in a web browser and outputs VRM, and you sign in with a free account to save and export. MetaPerson Creator from Avatar SDK builds a rigged avatar from a selfie and exports GLB, glTF or FBX, with the first avatar free according to its current pages. These exports load into Unity, Unreal Engine, Blender and web viewers built on three.js.
Ready Player Me was for years the default cross-platform avatar service, with GLB output. Confirm that the service is still active and accepting new users before you build a project around it, since the avatar market has shifted a lot recently.
VRoid Studio for Anime Looks
VRoid Studio is a free desktop application for making anime style characters, and it exports VRM. You sculpt hair strand groups, paint textures and layer clothing, which gives you more control than any one click maker. It takes an evening to learn the interface, but the results look handmade rather than templated, and VRM is accepted by many VTuber and social VR tools.
Photo to Avatar Tools
If you want something that looks like you, a photo based tool is the shortest path. You upload a front facing selfie, the tool estimates face shape, skin tone and hair, and it returns a rigged head and body. Results are best with even light, no glasses, and a neutral expression.
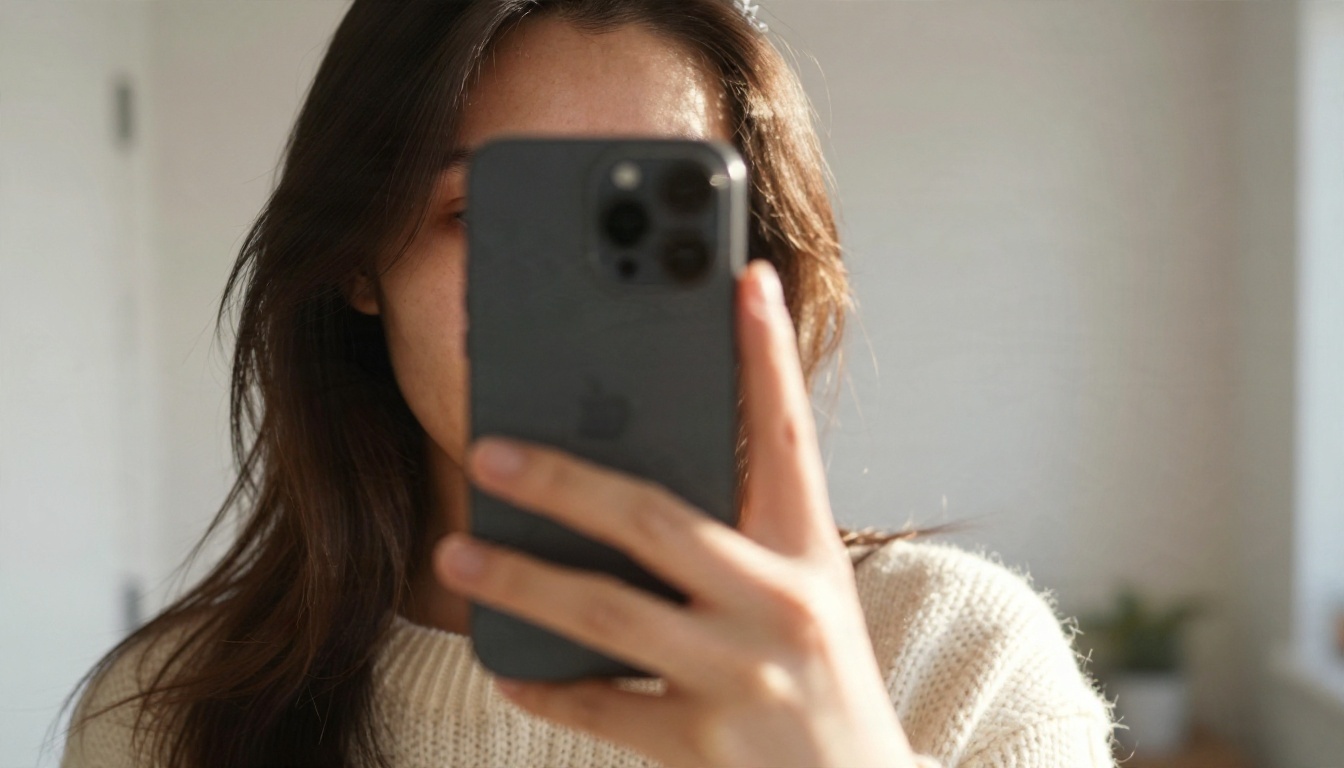
For a stylized portrait before you build in 3D, AI Avatars can generate avatar images from your face photo, which makes a good reference sheet for the next steps.
| Maker | Cost model | Typical output | Best for |
|---|
| VIVERSE Avatar Creator | Free with account | VRM | Quick browser avatars |
| MetaPerson Creator | First avatar free | GLB, glTF, FBX | Selfie to realistic avatar |
| VRoid Studio | Free desktop app | VRM | Anime and VTuber looks |
| Ready Player Me | Verify current status | GLB | Cross platform projects, if active |
| Blender with VRM add-on | Free, open source | VRM, GLB, FBX | Full custom control |
Real Avatar Examples by Use Case
Seeing what works in context saves more time than reading specs. These are the patterns that show up again and again.
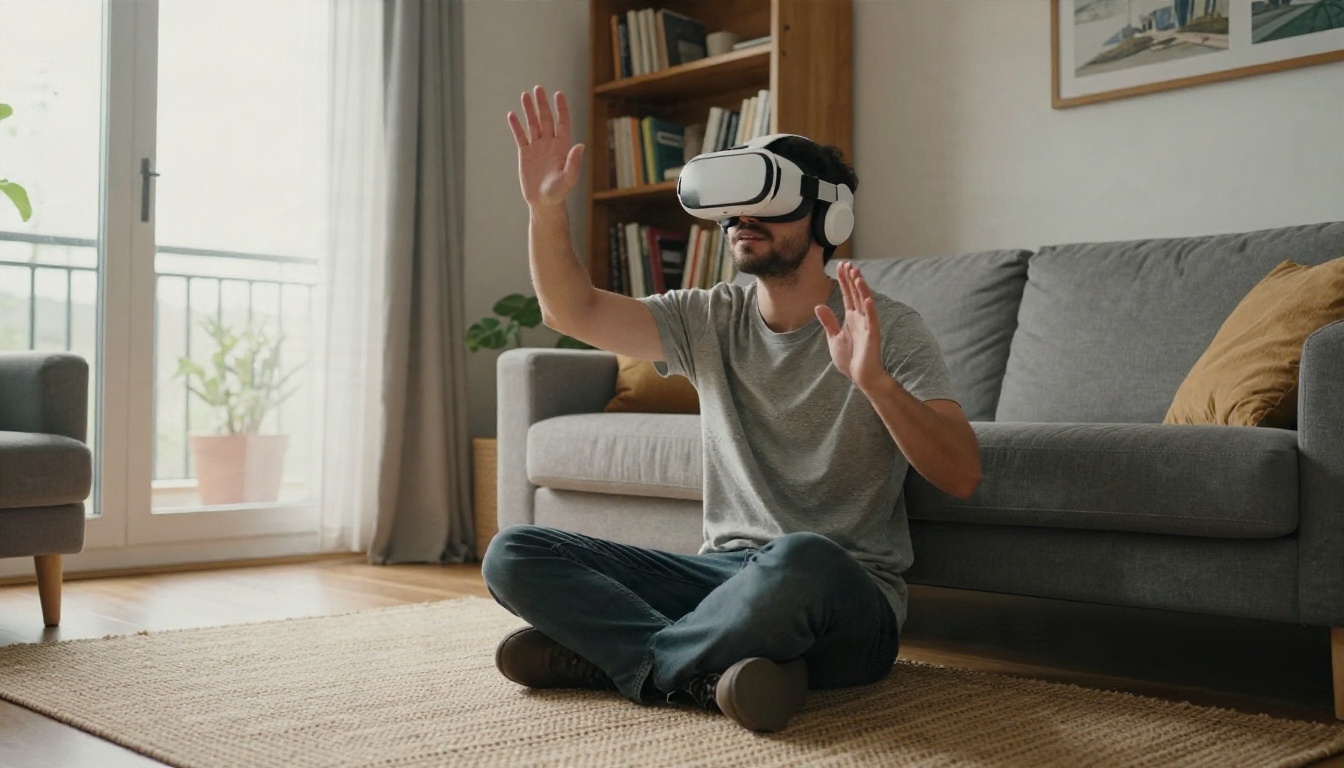
Social VR and Hangouts
In social VR the strongest avatars have a readable silhouette: a distinctive hairstyle, a hat, an unusual jacket shape. People recognize you from across a room before they see your face. Expression comes mostly from eyes and mouth, so big eyes and clear lip shapes beat realistic skin pores. Many popular social avatars are stylized, with flat shaded materials and a small texture set, because they must run on standalone headsets.
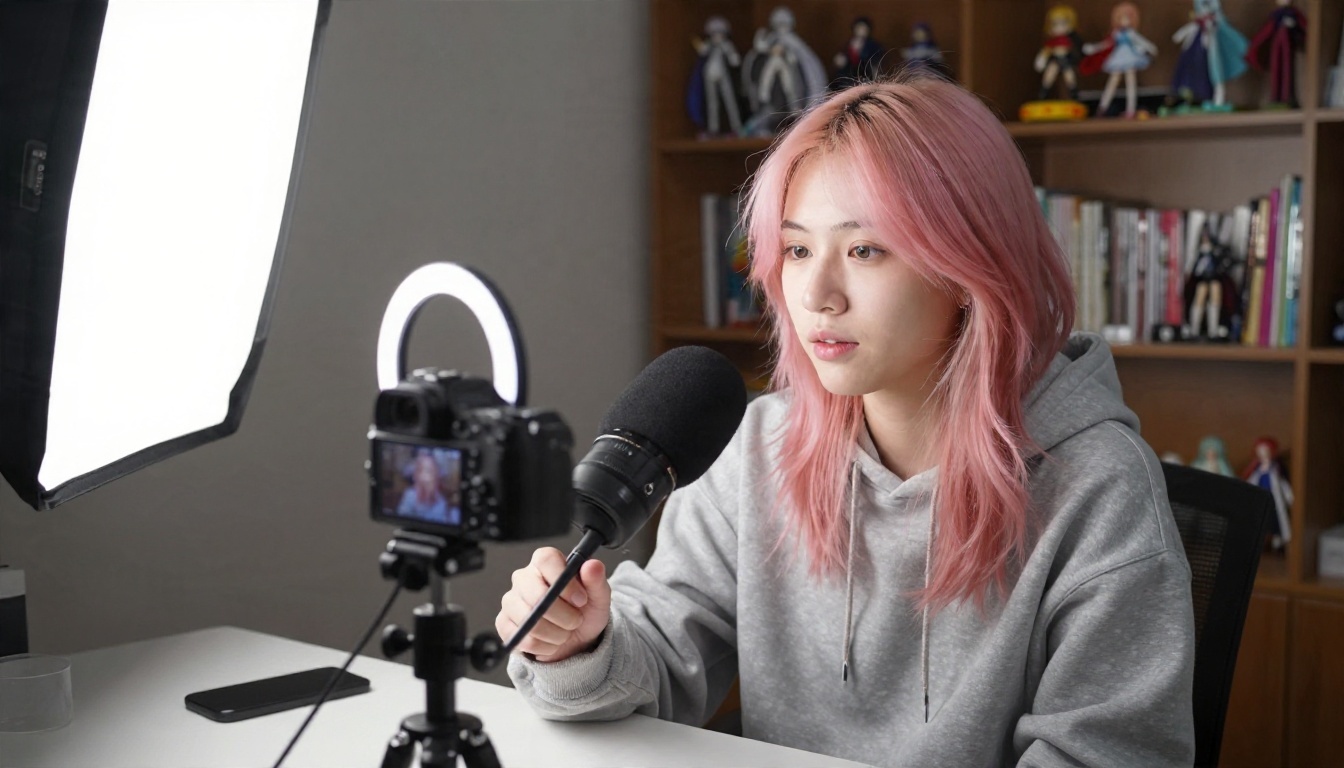
Streaming and VTubing
VTuber avatars are built around face tracking. A webcam or phone camera reads your expressions and drives blendshapes, so the quality of eyebrow, blink and mouth shapes decides how alive the character feels. Anime style models made in VRoid Studio dominate this space, though semi realistic and animal mascots are growing.
Work Meetings and Events
For business use, avatars tend toward neutral and polished: realistic proportions, simple clothes, natural skin tones, minimal accessories. Companies often want something close to the employee's real face, so photo based makers are popular. The goal is presence, not spectacle, and a calm, believable avatar gets taken more seriously than a flashy one.
Avatar Styles and When They Fit
Style is not just taste. It decides performance cost, how well expressions read, and which platforms accept your file.
Realistic, Stylized, Anime, Mascot
| Style | Strength | Weak point | Platform fit |
|---|
| Realistic | Believable presence, good for meetings | Uncanny valley risk, heavy textures | PC VR, enterprise tools |
| Stylized 3D | Readable expressions, light on hardware | Less personal | Social VR, mobile games |
| Anime | Strong fan culture, great face tracking | Needs good hair and eye work | VTubing, VRM platforms |
| Mascot or animal | Memorable, hides imperfections | Limited clothing options | Streaming, brand use |
A useful rule: the more realistic the avatar, the less forgiving the viewer. A stylized character with imperfect proportions feels charming. A realistic character with a slightly wrong eye feels unsettling.
Fashion and Wearables
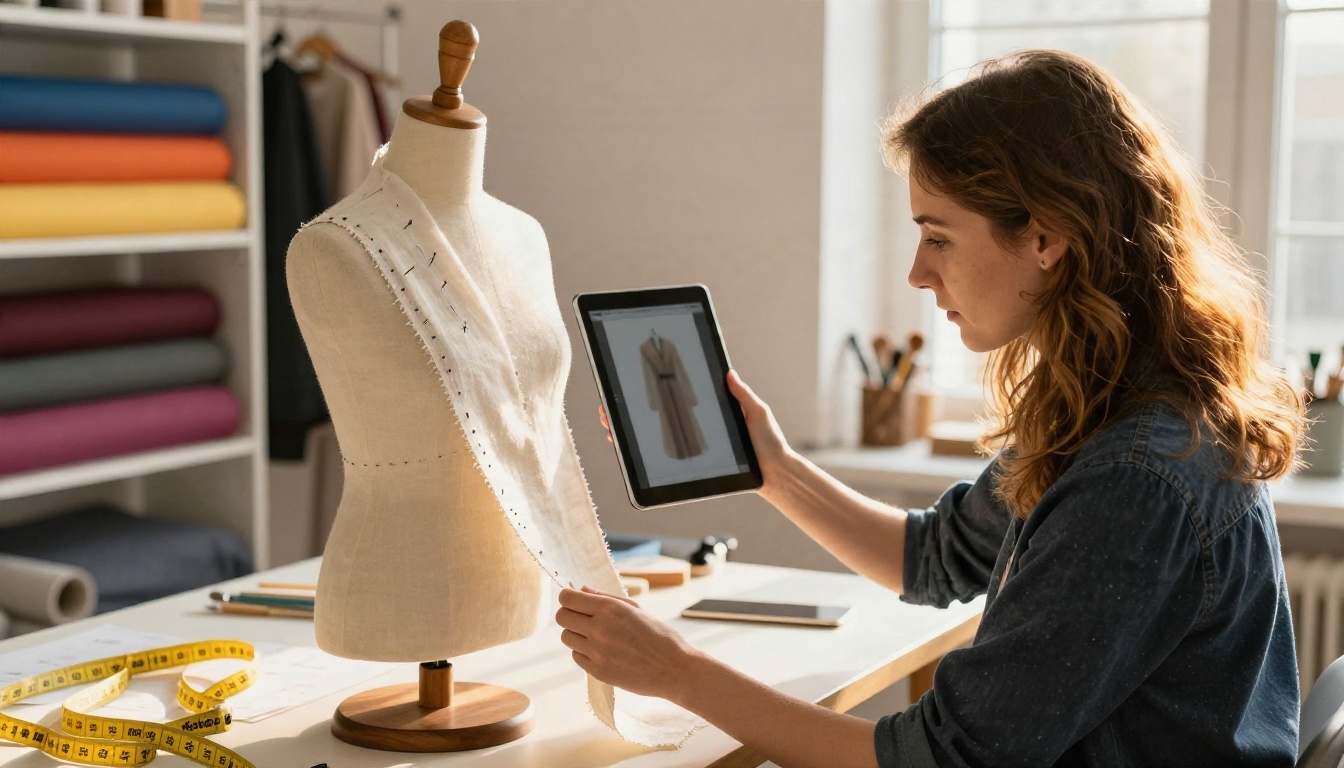
Clothing is where avatars become personal. Layered outfits, accessories and hair are usually separate meshes that bind to the same skeleton, so you can swap them without rebuilding the body. Real designers now sketch outfits for both physical and digital use, and a physical drape test on a mannequin often informs how virtual cloth should hang.
💡 Tip: keep clothing as separate, named meshes. A single merged mesh makes outfit swaps and platform specific fixes much harder later.
Export Options That Actually Matter
An avatar that looks great in the maker but fails on import is a wasted evening. Match the format to the destination before you finish the model.

| Format | What it holds | Best use | Watch out for |
|---|
| GLB / glTF | Mesh, textures, skeleton, animations in one file | Web viewers, many metaverse platforms, AR | Material differences between engines |
| VRM | GLB based, adds humanoid bone map, expressions, spring bones | VTubing and social VR | Needs correct humanoid rig |
| FBX | Mesh, rig, animation | Unity, Unreal, game pipelines | Texture links often break |
| USDZ | Apple friendly packaged scene | iPhone AR previews | Limited editing support |
| OBJ | Static mesh only | Quick geometry exchange, 3D printing | No rig, no animation |
Pick the Right Format
Start from the target. For a web based metaverse or AR, choose GLB. For VTubing apps and VRM platforms, choose VRM. For Unity or Unreal projects where you will add animations, choose FBX or GLB depending on the importer. If you move between VRM and FBX, Blender with a VRM add-on is the common free bridge.
Polygon Budget and Textures
Standalone headsets and mobile devices have strict limits. As a rule of thumb, keep mobile friendly avatars in the tens of thousands of triangles at most, and use a single texture atlas at 1K or 2K resolution rather than many separate 4K maps. PC focused avatars can go higher, but heavy hair cards and big textures still cost performance when a room fills with people. Always check the platform's own published limits, since they differ.
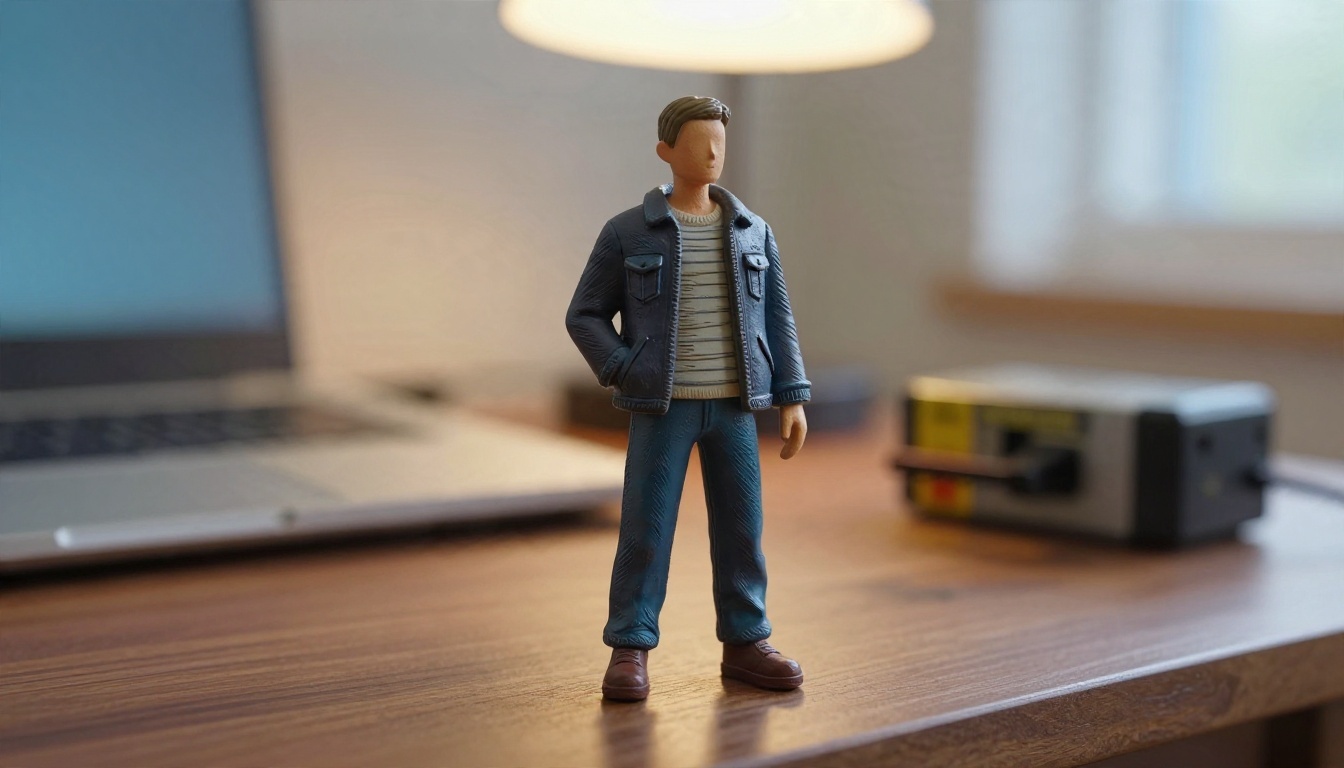
A physical test can also help. Some creators 3D print their avatar as a figurine to check proportions and silhouette, and for that an OBJ or STL export is the usual route.
Build One With PicassoIA Models
If template makers feel too generic, you can build a custom avatar from an AI generated concept. The workflow has three steps, and each uses a model that is on PicassoIA.
Step 1: Make a Clean Concept Image
Generate a front facing, full body character on a plain background. Models like Seedream 4.5 and Nano Banana Pro handle character consistency and clothing detail well.
Prompt tips:
- Ask for a neutral A pose or T pose, arms slightly away from the body.
- Specify even studio lighting and a plain light gray background, so shadows do not get baked into the texture.
- Describe the outfit clearly: fabric, color, shoes, accessories.
- Request a front view first, then a side view as a second image if you plan to use multi image input.
If the background is messy, run the image through Remove Background so the 3D model does not try to reconstruct clutter. A small face or soft detail can be sharpened with Clarity Pro Upscaler before you move on.
Step 2: Turn It Into 3D
Feed the clean image into an image to 3D model. Hunyuan 3D 3.1 converts images into textured 3D models, and Rodin generates 3D models from photos with strong surface detail. Try both on the same image and compare the face and hands, because each handles them differently.
Step 3: Rig and Animate
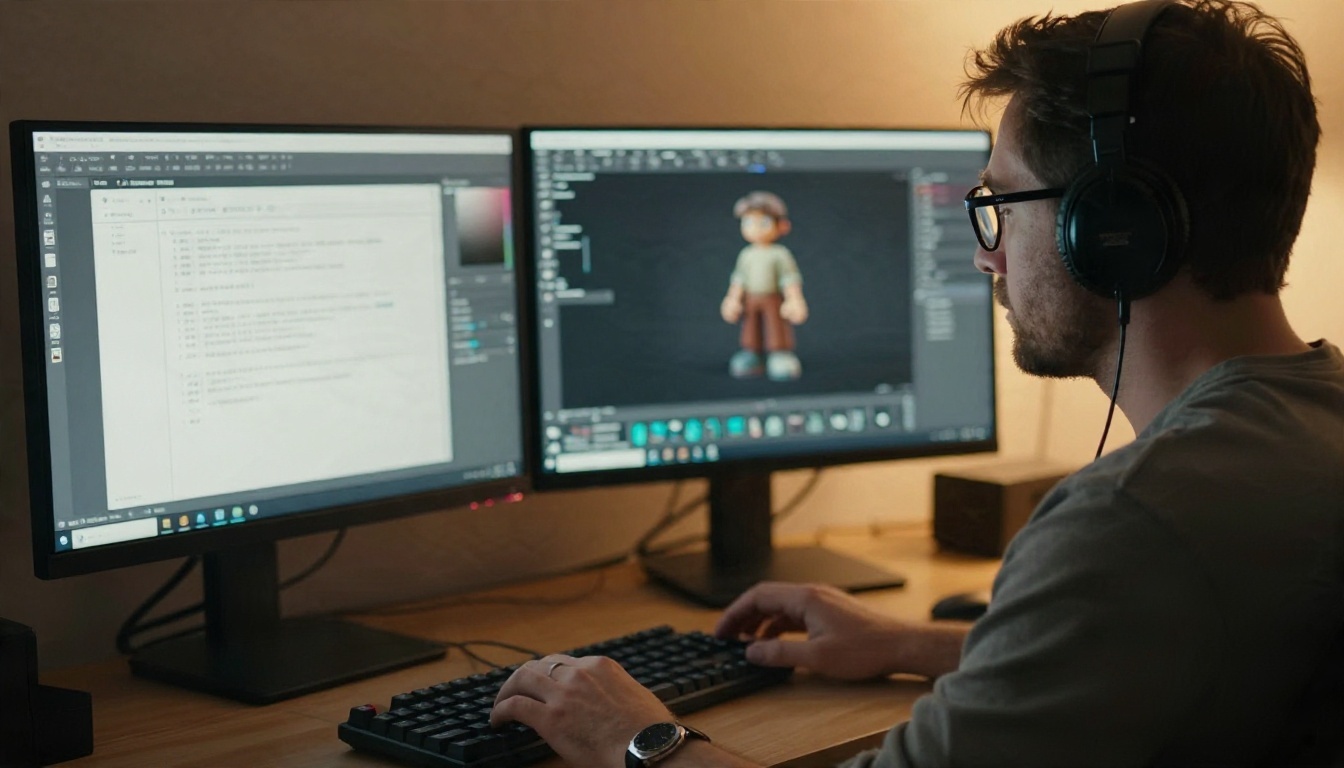
A mesh alone cannot move. Create Character v1 auto rigs 3D characters, which gives you a skeleton without manual weight painting. After that, Text To Motion Diffusion v2 animates characters from a text description such as "casual wave and nod", and Text To Motion VQVAE v1 is another route for generating animations from text.
💡 Tip: keep the first animation tests short and simple. A wave, a walk and an idle loop reveal rigging problems faster than a complex dance.
For talking head content, you can also turn a character image into a speaking clip with Kling Avatar v2, which is useful for profile intros while your 3D rig is still in progress.
After rigging, bring the file into Blender to check the humanoid bone names, then export to GLB, VRM or FBX depending on your platform.
Mistakes That Ruin Avatars
Most failed avatars share the same few errors:
- Choosing the format last. Decide GLB, VRM or FBX before you build, not after.
- Ignoring the polygon limit. A beautiful avatar that exceeds a platform cap may be blocked or shown as a fallback figure.
- Baking shadows into textures. Concept images with dramatic lighting produce muddy, patchy textures. Use flat, even light.
- Skipping the face test. Check blinking, mouth shapes and eye direction before you invest in outfits.
- Merging everything into one mesh. You lose the ability to swap clothes, fix hair or reduce cost on one part.
- Trusting "free" without reading terms. Look at export limits, commercial use rules and account requirements first.
- Using a photo with heavy filters. Beauty filters distort face shape, and the 3D result will look wrong in motion.
Make Your Own Avatar Today
You do not need a studio or a modeling degree to get a good avatar. Start with a free maker if you want something fast, or build your own from a concept image if you want something nobody else has. Pick your destination, choose the matching format, and test the file in the platform before you add outfits.
If you want to experiment, open Picasso IA and generate a front facing character concept with Seedream 4.5, then send it to Hunyuan 3D 3.1 or Rodin and see what comes back. Try three different outfits, two different styles, and compare how each looks once it is rigged. A single afternoon of testing will tell you more than any list of specs. You can browse every available model at picassoia.com/en/all-models and start building your own 3D metaverse avatar now.


