FLUX.2 Pro Model: Prompts, Settings, Pricing, API and Resolution Limits
Everything that matters before you spend a single credit on FLUX.2 Pro: prompt formulas that hold up, the settings worth touching, how per-megapixel pricing adds up, how the API behaves, and where the 4 MP resolution ceiling really sits.
Most people open FLUX.2 Pro, type a short sentence, get a decent picture, and never find out what the model can really do. That is a waste. This model follows long, structured instructions better than almost anything in its class, it matches exact color codes, it accepts reference photos, and it prints up to 4 megapixels. It also has a few limits that can surprise you the first time you hit them: a hard 2048 pixel ceiling, billing that rounds up by megapixel, and a safety dial that changes what comes back.
This article gives you the working numbers and the prompt formulas in one place. You will see how to write prompts that hold up, which settings are worth changing, what each resolution costs, how the API behaves, and how to run FLUX.2 Pro on PicassoIA without writing a line of code.
What FLUX.2 Pro Actually Is
FLUX.2 Pro is the managed, production-tuned model in Black Forest Labs' second image family. It generates from text alone, or from text plus reference images, and it is built for consistent, photographic output rather than experiments. You pay per image through an API or a hosted app, and you do not tune weights yourself.
Where it sits in the family
The FLUX.2 line has several members, and picking the wrong one costs time. FLUX.2 Pro is the fast, low-fuss option that aims for the best result with minimal tweaking. FLUX.2 Flex trades some of that simplicity for more control over the generation process, which helps with typography and fine detail. The smaller Klein models, such as FLUX.2 Klein 4B Base and FLUX.2 Klein 9B Base LoRA, are lighter and suit style training and quick iteration.
Who it suits
If you make product shots, editorial portraits, ad concepts, or catalog images at a steady pace, Pro is the practical choice. If you need a one-off artistic experiment with lots of sliders, Flex is closer to what you want. If you are chasing the cheapest possible draft, a Klein variant is a better starting point.
💡 Quick rule: use Pro when you want a finished photo on the first or second try. Move to Flex only when you can name a specific control you are missing.
Prompts That Actually Work
FLUX.2 Pro rewards specific, ordered prompts. It reads like a photographer's brief, not like a keyword pile.
Write in layers
Order your prompt from the most important element to the least. A reliable sequence is: subject, action, setting, lighting, camera, texture, mood. The model gives more weight to what comes first, so put the thing you cannot lose at the very start.
A prompt that works well:
A woman in an oatmeal knit sweater leaning toward a monitor in a sunlit studio, warm low sunlight from the left, 85mm lens at f/2, visible skin texture, soft film grain, calm mood.
A prompt that wastes the model:
beautiful woman, studio, amazing, 8k, masterpiece, best quality.
The second one gives the model nothing to decide with. Quality words add almost no information. Concrete nouns and physical lighting do.
Use hex colors for brand work
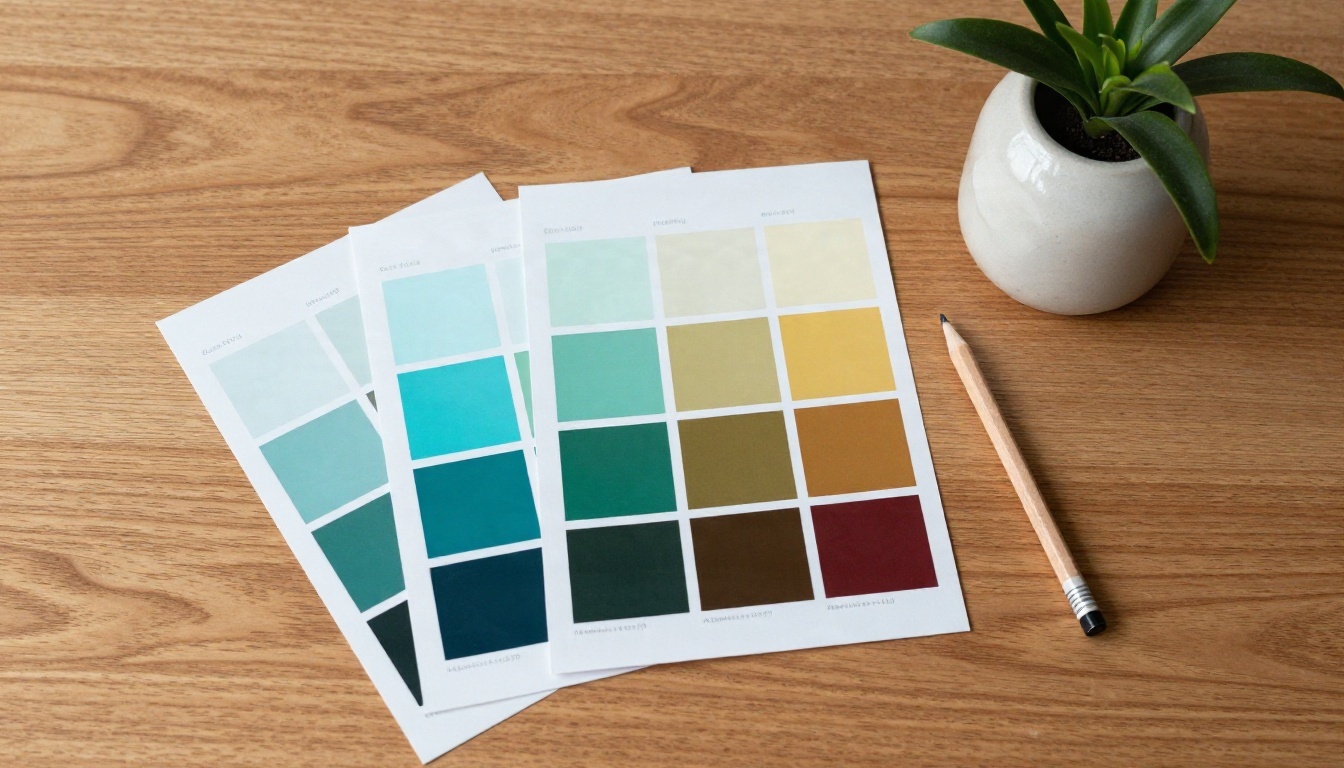
FLUX.2 Pro is unusually good at matching exact color codes. Put the word color or hex directly before the code so the model knows what the number means.
A ceramic vase in color #2ECC71 on a pale oak shelf.
A wall painted in hex #1F3A5F behind a cream sofa.
This is a real advantage for brand packaging, interior mockups, and campaign assets where "roughly teal" is not acceptable. It is not pixel-perfect, because lighting and shadow shift the perceived shade, but it lands much closer than a color name alone.
Try structured JSON prompts
The model also reads structured JSON, which is useful when you generate many variations of the same scene. A typical layout has blocks for the scene, the subjects, the lighting, and the camera:
{
  "scene": "quiet creative studio at golden hour",
  "subjects": [{"type": "woman", "clothing": "oatmeal knit sweater", "pose": "leaning toward monitor"}],
  "lighting": "low warm sunlight from the left",
  "camera": {"lens": "85mm", "aperture": "f/2", "film": "Portra 400 look"},
  "colors": ["#8FA68E", "#E8D9C0"]
}
JSON helps most when you want to change one variable and keep everything else steady, such as swapping only the clothing color across twenty product pages. For one-off images, plain sentences are faster to write and give nearly the same result.
Skip the negative prompt
Third-party testing notes agree that FLUX.2 does not use negative prompts the way older diffusion models did. Typing "no blur, no extra fingers" can even plant the idea in the output. Describe what you want instead: sharp focus on the eyes, five fingers resting on the cup.
💡 Prompt length: 40 to 120 words is the sweet spot. Under 15 words the model fills the gaps on its own, which is fine for exploration but unpredictable for client work. Past 200 words the later details start to get ignored.
Settings Worth Changing
The inputs on the model are short and sensible. Most of them have good defaults, so you can leave half of them alone.
Setting
Options
Default
What it does
prompt
Text
Required
The full description of the image
input_images
Up to 8 files
Empty
Reference photos for style, subject, or composition
Only used with custom ratio, rounded to multiples of 32
seed
Integer
Random
Repeats a result
safety_tolerance
1 to 5
2
1 is strictest, 5 is most permissive
output_format
webp, jpg, png
webp
File type
output_quality
0 to 100
80
Compression level, ignored for png
Seed for repeatable results
Set a seed when you find a composition you like and want to change only one detail. Keep the seed and the prompt identical, then edit a single phrase, such as the lighting. You get a near-identical image with one change, which is the closest thing to a controlled experiment this model offers. Without a seed, every run is a fresh roll.
Safety tolerance in plain terms
The safety_tolerance value runs from 1 to 5. The default of 2 is conservative. Raising it permits slightly more varied subject matter, and lowering it makes the filter stricter. It does not turn the model into an unrestricted one, so do not expect it to override the platform's own rules. For commercial work where a blocked image wastes a paid call, keep the default and rewrite the prompt if a result is refused.
Output format and quality
Use png for final files you will edit later, since it skips lossy compression. Use webp at quality 80 for web delivery, where file size matters. Use jpg at 90 or higher when a print shop or a legacy tool demands it. Going from 80 to 95 quality roughly doubles file weight with a small visible gain, so only do it when the image will be viewed large.
Resolution Limits in Practice
This is where most surprises come from. FLUX.2 Pro produces images up to 4 megapixels, but the maximum edge length is 2048 pixels, so the real ceiling is 2048 by 2048.
Megapixels are not pixels per side
A square image at 1 MP is about 1024 by 1024. At 2 MP it is roughly 1448 by 1448. At 4 MP it reaches 2048 by 2048. The trap appears with wide frames. A 16:9 image at 4 MP would need a long edge above 2048, so the model cannot respect the full megapixel budget and returns a smaller frame instead. If you ask for 4 MP in 16:9 and receive fewer pixels than expected, that is the edge limit at work, not a bug.
Resolution setting
Square (1:1) approx.
Notes
0.5 MP
724 x 724
Fast drafts, thumbnails
1 MP
1024 x 1024
Default, good for social and web
2 MP
1448 x 1448
Recommended upper range for quality
4 MP
2048 x 2048
Maximum, best for print crops
The model page itself recommends staying at 2 MP or below for the best balance of detail and consistency. Push to 4 MP only when you need the extra pixels for cropping or a large print.
Aspect ratios and custom sizes
Ten standard ratios cover most needs. For anything else, choose custom and enter a width and height. The values are rounded to the nearest multiple of 32, so 1000 becomes 992 or 1024. When you use custom, the resolution setting is ignored, because your own dimensions replace it. Choosing match_input_image copies the shape of your first reference photo, which is ideal for edits and extensions.
💡 Need more pixels than 4 MP? Generate at 2 MP, then run a super-resolution pass. Upscaling a clean 2 MP image usually looks better than forcing the maximum resolution on a complicated wide frame.
Pricing and API Costs
Most API providers bill FLUX.2 Pro per megapixel of output. The commonly reported structure is about $0.03 for the first megapixel and about $0.015 for each extra megapixel, with sizes rounded up to the next whole megapixel. Some providers also charge a smaller amount for reference images you send in, and a few quote their own rates, so treat these numbers as typical and check your provider's current rate card before budgeting.
The per-megapixel math
Using the typical rate above, a single text-to-image call works out like this:
Output size
Billed megapixels
Approx. cost per image
100 images
1,000 images
0.5 MP
1
$0.030
$3.00
$30
1 MP
1
$0.030
$3.00
$30
2 MP
2
$0.045
$4.50
$45
4 MP
4
$0.075
$7.50
$75
Two practical takeaways. First, 0.5 MP costs the same as 1 MP when rounding up applies, so there is no reason to pick the smaller size unless speed matters more than price. Second, going from 2 MP to 4 MP raises the cost by about two thirds, which is small per image but adds up in a batch of thousands.
Calling the API
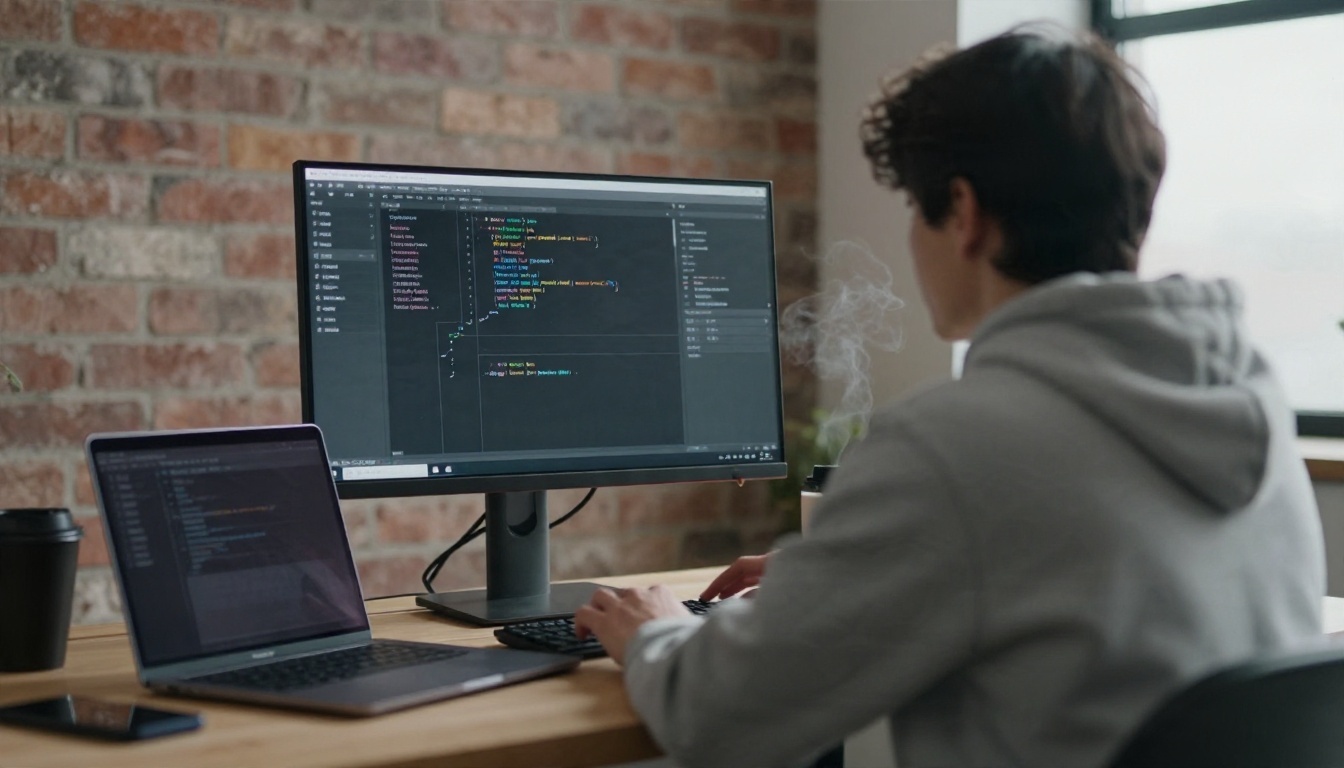
The flow is the same on every provider: send a JSON request with your prompt and settings, receive either the image or a job ID, then fetch the result. The fields mirror the table in the settings section: prompt, aspect_ratio, resolution or width and height, seed, safety_tolerance, output_format, and an optional list of input images.
A few habits save money and headaches:
Fix the seed while you debug a prompt, so changes in the output come from your edits and not from randomness.
Draft at 1 MP, then regenerate your best pick at 2 MP with the same seed and prompt.
Download results promptly. Delivery links from hosted APIs usually expire after a short time.
Log the full request next to each saved image. Months later, the prompt and seed are the only way to reproduce it.
Expect automatic prompt rewriting on some providers. If your result differs from a direct run, a rewrite step may be the reason.
If you do not need to build a pipeline, a hosted interface removes the whole billing and key-handling layer. That is the point of the next section.
How to Use FLUX.2 Pro on PicassoIA
FLUX.2 Pro on PicassoIA gives you the same model through a browser, with every setting from the table above exposed as a simple control. The model page describes it as free to try online with no coding.
Step by step
Open the model page. Go to the FLUX.2 Pro page on PicassoIA.
Write your prompt. Use the layered order: subject, action, setting, lighting, camera, texture. Aim for 40 to 120 words.
Pick an aspect ratio. Choose 16:9 for banners, 4:5 for portraits and feeds, 3:2 for classic photography, or 9:16 for vertical stories.
Set resolution. Start at 1 MP for drafts. Move to 2 MP when the composition is right.
Add reference images if needed. Upload up to 8 photos to guide style, subject, or layout. Mention in the prompt what each one is for.
Fix a seed. Enter any integer once you like a result, then change only one phrase per run.
Choose a format. webp for the web, png for editing, jpg for compatibility.
Generate and compare. Run two or three variations, keep the best, and refine from there.
Parameter tips that save credits
Write the color as color #RRGGBB when a brand shade matters.
Describe lighting by direction and quality, such as "soft window light from the left", rather than by mood words.
When using reference photos, say exactly what to take from each one. "Use the pose of image 1 and the clothing of image 2" beats a vague blend.
Keep safety_tolerance at the default unless a harmless prompt gets blocked.
A short example for product work:
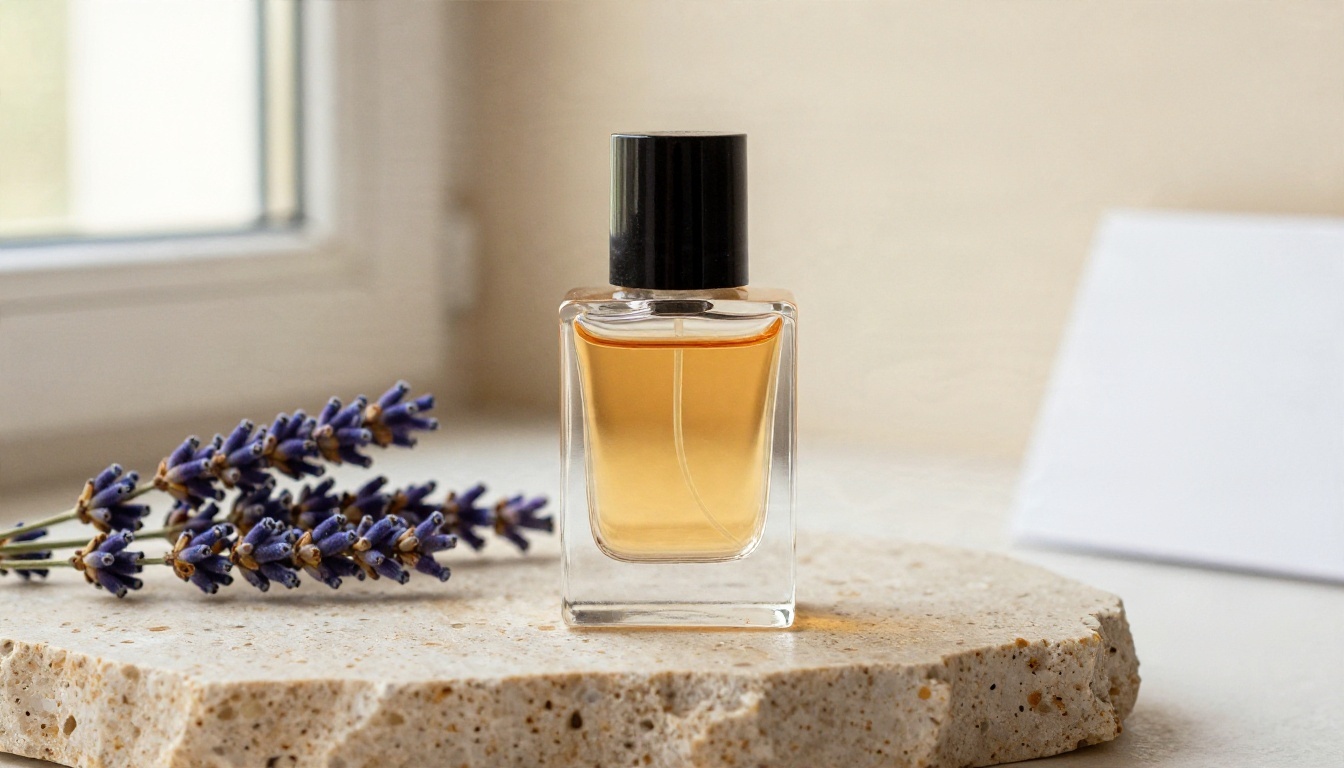
A glass perfume bottle with amber liquid on a travertine slab beside a sprig of dried lavender, soft window light from the left with a white bounce card on the right, 100mm macro lens at f/4, crisp glass reflections, visible stone pores, cream backdrop, soft film grain.
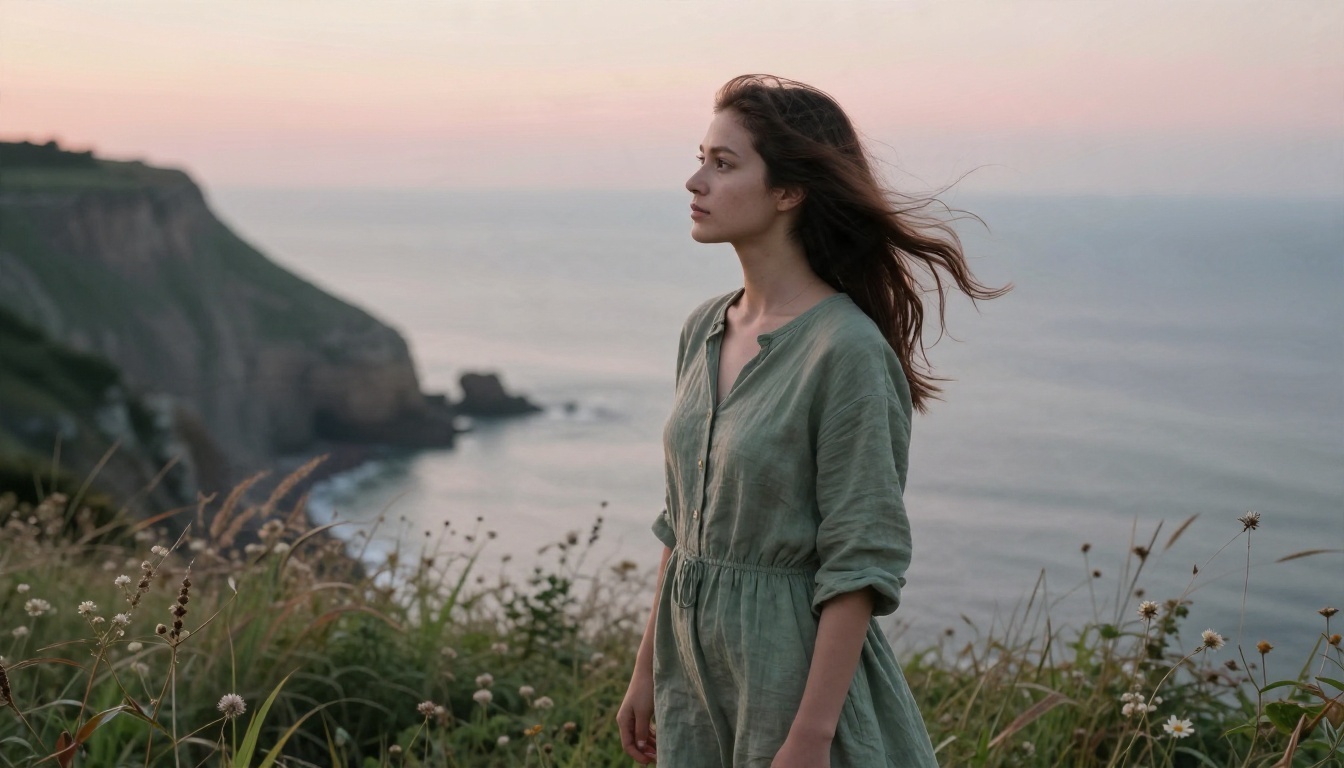
For portraits, name the lens, the light direction, and one texture detail such as "visible skin pores and flyaway hairs". Those three items push the output away from the smooth, plastic look that gives AI faces away.
Alternatives Worth Testing
No single model wins every job. These are all on PicassoIA, so you can run the same prompt through each and compare.
A simple testing routine: write one strong prompt, set the same aspect ratio, and run it through Pro, Flex, and one other model. Look at skin texture, hand shapes, color accuracy, and how faithfully each follows the lighting you described. Keep a note of which model wins for which type of subject. After a week you will have a personal map that is worth more than any benchmark.
Common Mistakes to Avoid
Most failed generations come from the same few habits.
Stacking quality words. "Ultra, 8k, masterpiece" adds nothing. Spend those words on lighting and lens instead.
Asking for 4 MP in a wide frame. The 2048 edge limit trims the result. Use 2 MP or upscale afterward.
Changing everything between runs. Without a fixed seed and a single edit, you cannot tell which change helped.
Mixing references without roles. Eight uploaded photos with no instructions produce a muddy average.
Ignoring billing rounds. Selecting 0.5 MP to save money usually does not, when sizes round up.
Overlong prompts. If a detail keeps vanishing, move it to the front or cut something less important.
Start Creating Your Own Images
You now have the numbers: up to 4 MP with a 2048 pixel edge, roughly $0.03 for the first megapixel on typical API rates, a default safety tolerance of 2, and up to 8 reference images on PicassoIA. The fastest way to turn that into skill is to run a handful of prompts and compare the results side by side.
Open FLUX.2 Pro on PicassoIA, paste the studio prompt from this article, and change one thing per run: the light direction, the lens, a hex color, the seed. Then try the same prompt in FLUX.2 Flex or Seedream 4.5 and see which one matches your eye. When you are ready for more options, the full catalog is at picassoia.com/en/all-models.