Getting skin tones right in AI art is deceptively difficult. You can nail the composition, the lighting setup, and the background, but the moment a face appears, it looks like it was dipped in plastic: over-smoothed, artificially luminous, or stuck somewhere between gray and beige regardless of what skin type you intended. The problem is not the model. The problem is that most prompts tell the AI what to draw but not how skin actually behaves under real conditions.
These 5 prompt tricks change that. Each one targets a specific failure point in how AI image generators interpret skin tones, and together they produce portraits with the kind of photorealistic skin texture that stops people mid-scroll.
Why Skin Tones Fail in AI Prompts
AI image generators learn from photographs. But most photographs in training sets are either professionally retouched (skin smoothed, pores removed, color normalized) or poorly lit (washing out natural undertones). When you write a vague prompt like "portrait of a woman with brown skin," the model averages across that biased data and spits out something that looks roughly correct but emotionally flat.
Skin is not a flat surface. It is a translucent material with multiple layers: the epidermis reflects light, the dermis scatters it, and the hypodermis absorbs the rest. Real skin shows warm highlights on raised surfaces, cool shadows in hollows, and a subtle inner glow where light passes through thin skin. No AI model produces that by accident.
The tricks below force the model to reconstruct that complexity deliberately. Use all five together for maximum realism, or isolate individual ones to fix a specific problem in your current outputs.
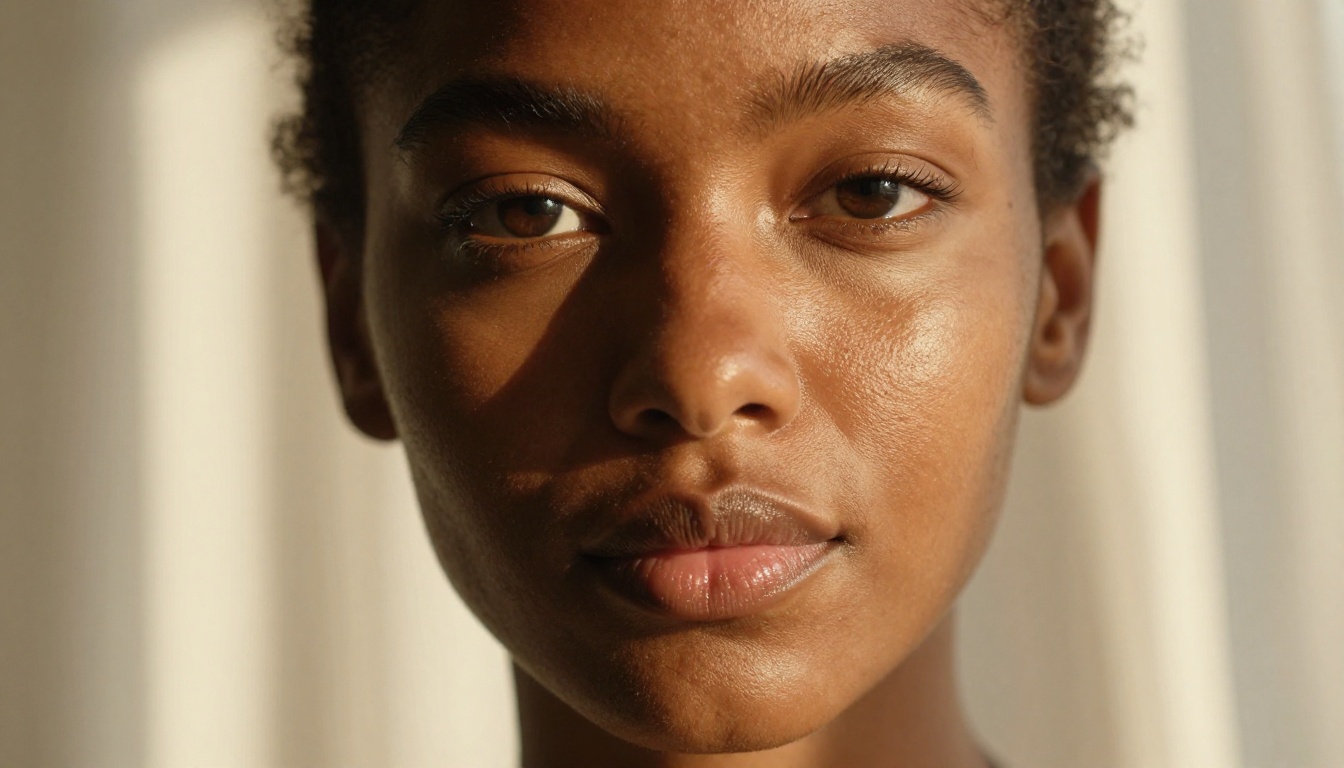
Trick 1: Name the Fitzpatrick Scale
The Fitzpatrick scale was developed by dermatologist Thomas Fitzpatrick in 1975 to classify human skin color by its response to UV radiation. AI models trained on medical and photographic data recognize this scale, and referencing it gives you far more precise skin tone control than generic descriptors like "light," "dark," or "brown."
Rather than writing "dark skin," write "Fitzpatrick type V, warm deep brown undertones." Rather than "light skin," write "Fitzpatrick type II, cool porcelain, visible capillaries at the nose." This anchors the model to a specific biological reference instead of a subjective color impression.
| Fitzpatrick Type | Description | Useful Prompt Descriptors |
|---|
| Type I | Very pale, always burns | "porcelain, cool pink undertone, translucent skin, visible veins" |
| Type II | Fair, burns easily | "fair ivory, light freckles, rosacea-prone cheeks, cool beige" |
| Type III | Medium, sometimes burns | "warm olive, peach-amber highlight, neutral undertone" |
| Type IV | Medium-dark, rarely burns | "warm caramel, golden undertone, honey highlight on nose tip" |
| Type V | Dark, very rarely burns | "deep mahogany, warm amber highlight, rich brown shadow" |
| Type VI | Very dark, never burns | "ebony, blue-black shadow depth, violet-red subsurface scatter" |

Notice how each description pairs the base color with an undertone, a highlight behavior, and a shadow characteristic. Skin color is not a single hex value. It is a range of values that shift depending on where light hits. Your prompt needs to describe all three zones.
Undertone Is the Hidden Variable
Undertone is what separates skin tones that look dead from skin tones that look alive. Every human skin color has a dominant undertone: warm (yellow, peach, gold), cool (pink, red, blue), or neutral (a mix of warm and cool). AI models are inconsistent at detecting and preserving undertone without explicit instruction.
For warm-undertone skin, add: warm golden undertone, yellow-peach base, amber highlight on nose and cheeks
For cool-undertone skin, add: cool pink undertone, blue-purple shadow, rosacea flush on cheeks, visible capillaries
For neutral skin, add: balanced warm-cool undertone, soft beige base, green-gray cast in deep shadows
💡 Pro tip: Add "yellow-green tint in shadow areas" for olive skin, or "blue-purple shadow fill" for dark skin. These are the actual undertone colors that appear in photographic shadows, and they are what separates a realistic portrait from a flat one.
Trick 2: Define Your Light Source Precisely
The single most common reason skin tones look wrong is vague lighting. Writing "soft lighting" tells the model nothing about direction, color temperature, or quality. The model picks a generic front-lit setup that flattens every skin tone into a single mid-value.
Precise lighting descriptions do three things simultaneously. They define where highlights fall (revealing skin texture), they control shadow color (determining undertones), and they set the white balance (shifting the whole skin tone warmer or cooler).
Here is what a vague lighting description looks like versus a specific one:
Vague: "soft natural lighting"
Specific: "volumetric morning light from upper left at 45 degrees, warm 4200K color temperature, soft shadow fill from open window right, rim light from ambient sky creating blue-tinted hair separation"
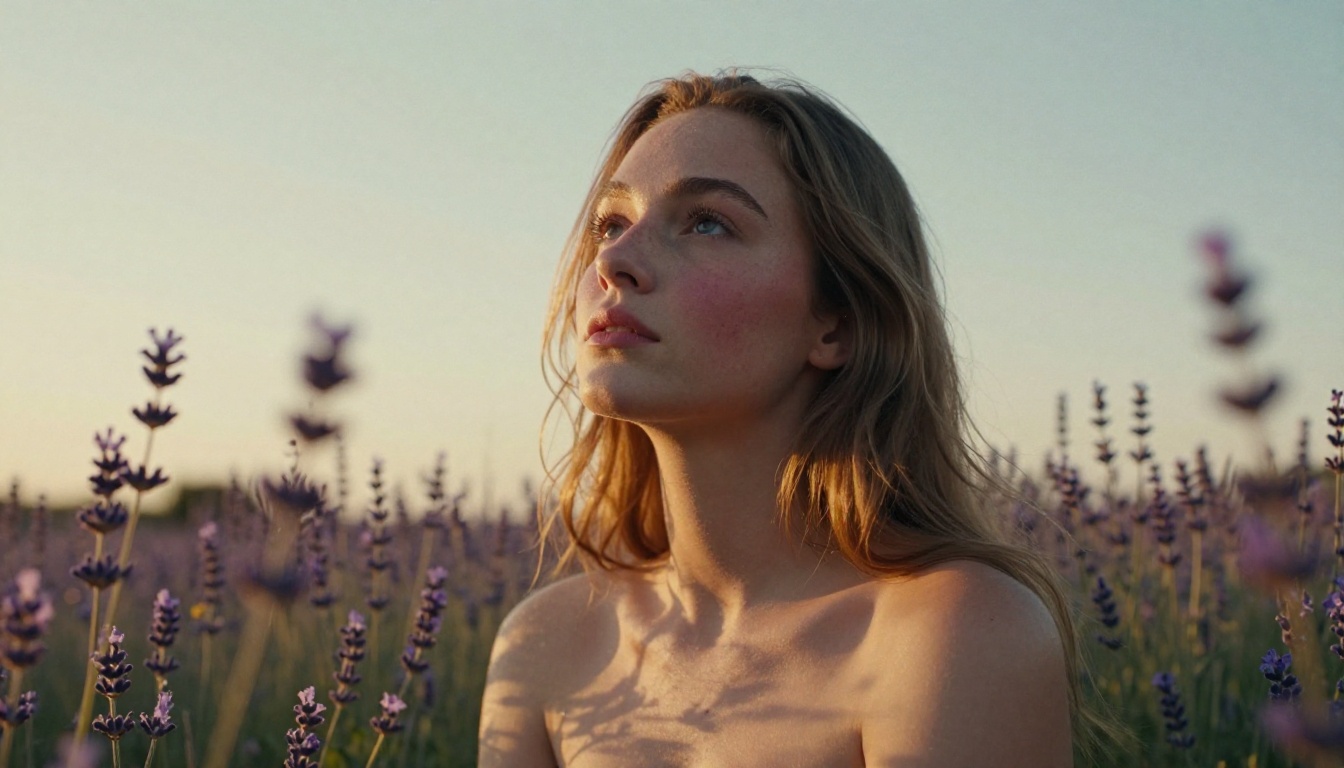
The second description tells the model the exact angle (upper left, 45 degrees), the exact color temperature (4200K, which reads as warm morning light), the fill source (open window on the right creating soft secondary illumination), and a rim light with a specific color (blue sky ambient). Each of these parameters affects the skin directly.
Light Temperature for Different Skin Tones
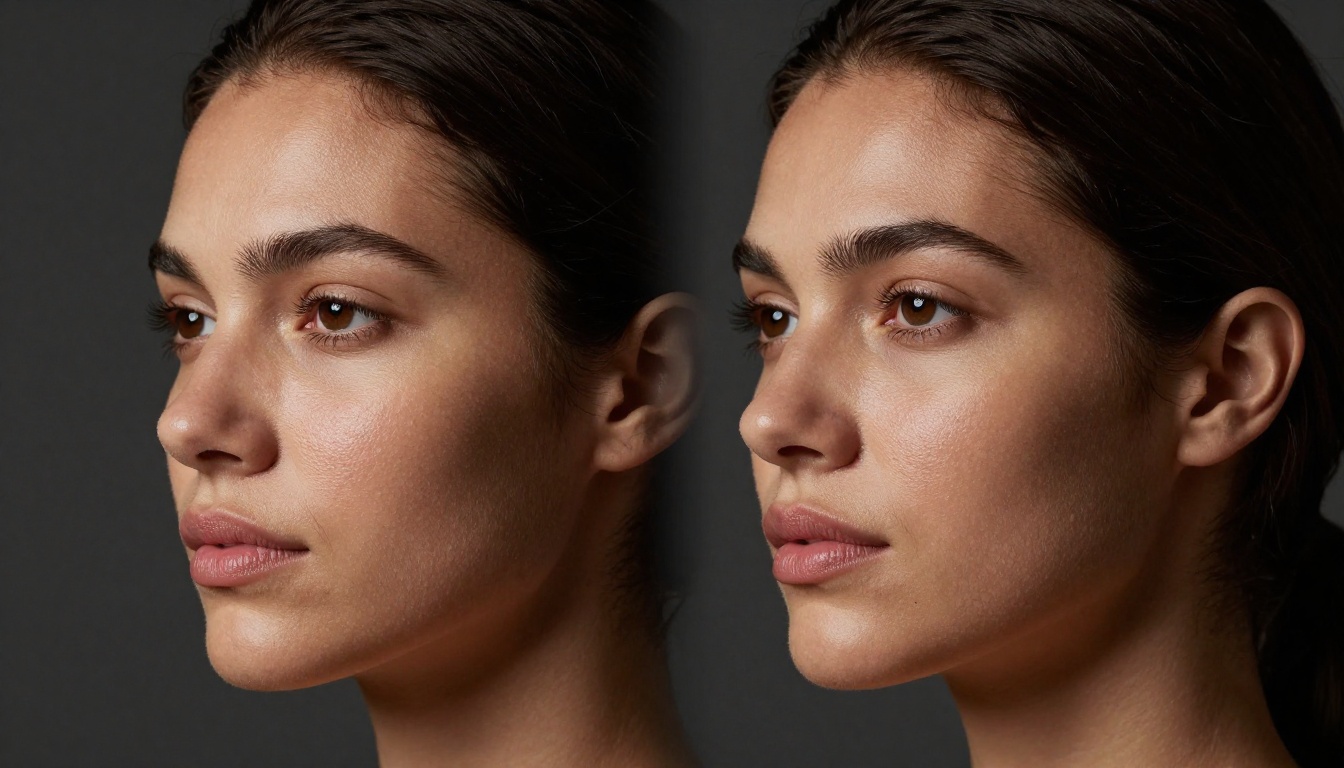
Light temperature interacts differently with different skin tones. Warm 3200K tungsten light pushes yellow-undertone skin toward orange, which can look natural and beautiful, but it can wash out cool-undertone skin by removing the very pinkness that defines it. Cold 7000K overcast light flatters cool-undertone skin by preserving its blue-pink qualities, but it can make warm-undertone skin look grayish and dull.
Light temperature vocabulary for AI prompts:
- Warm morning/golden hour: "5500K-6500K warm amber-gold light, orange-yellow highlights"
- Cool overcast: "6500K-8000K, flat blue-white diffuse, muted shadow depth"
- Studio tungsten: "2800K-3200K, very warm orange cast, deep warm shadows"
- Dusk twilight: "mixed warm from horizon, cool blue-purple from sky overhead"
- Harsh noon sun: "direct overhead 90-degree, high-contrast white highlight, deep cold shadow"
💡 Tip: Color temperature is one of the most powerful skin tone controls in AI art. A 2800K tungsten prompt will shift skin warm regardless of the base skin color, while 7000K overcast light will flatten and cool even the warmest complexion. Match your light temperature to your undertone for cohesive results.
Trick 3: Add Subsurface Scattering Keywords
Subsurface scattering (SSS) is the optical phenomenon where light penetrates the surface of skin, bounces around inside the dermal layers, and exits at a different point with a slightly different color. It is the reason skin looks alive rather than like colored rubber.
Most AI art prompts never mention it. Adding even a basic SSS reference dramatically changes how the model renders skin depth.
These phrases trigger subsurface scattering effects in AI image generators:
subsurface scattering visible through thin skininner glow from SSS on nose tip and ear lobestranslucent skin, light passing through epidermisbacklit subsurface scatter on cheekbonesskin glows from within, warm red-orange SSS in shadows
The last phrase, "warm red-orange SSS in shadows," is particularly effective. In real backlit portraits, the shadow areas of skin actually glow red because light transmits through the tissue. Telling the model to reproduce that specific effect moves the result from illustration-quality to photograph-quality.
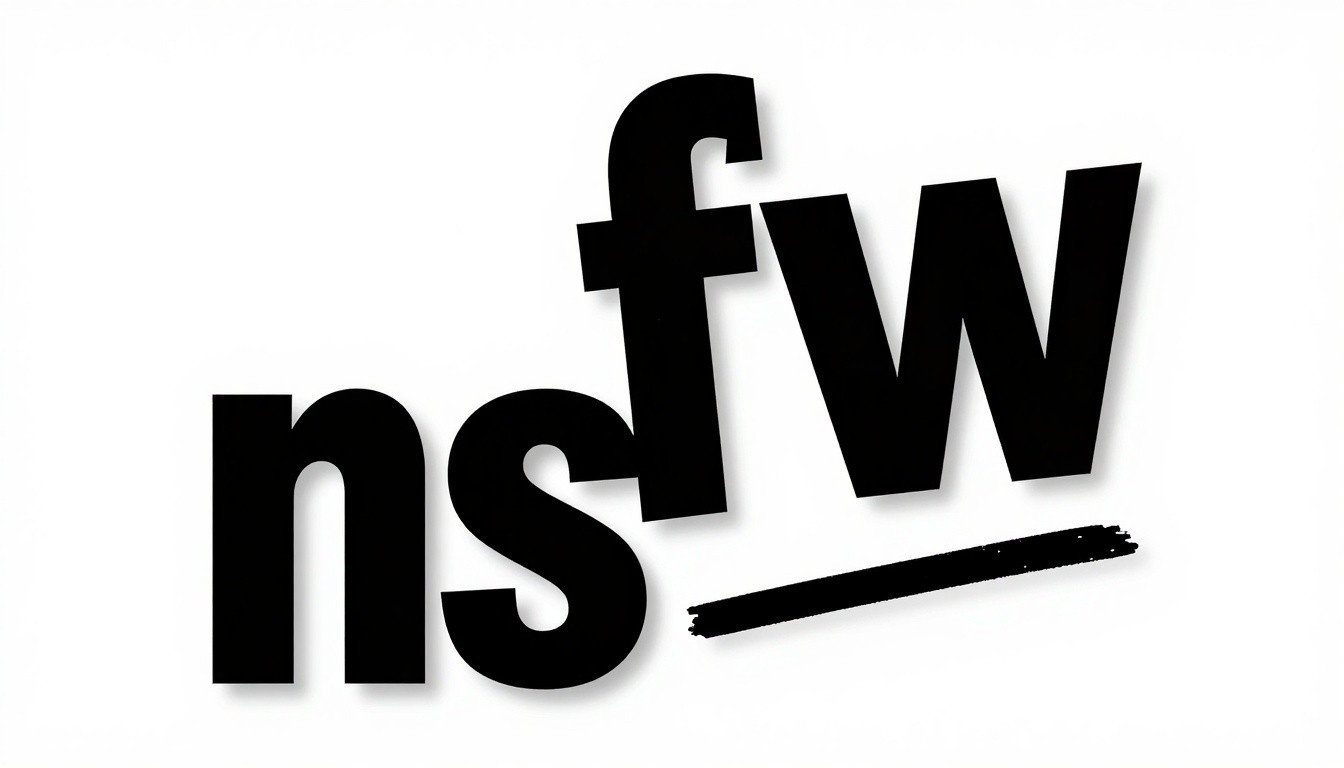
You can also direct SSS to specific anatomical locations where it naturally appears most strongly:
| Skin Area | Natural SSS Appearance | Prompt Language |
|---|
| Nose tip | Orange-red glow in backlight | "red-orange translucency at nose tip" |
| Ear lobes | Strong orange transmission | "glowing amber SSS through thin ear tissue" |
| Cheekbones | Soft warm inner glow | "warm SSS glow on cheekbone peaks" |
| Fingers (backlit) | Strong red transmission | "fingertips glow red-orange in backlight" |
| Eyelids | Purple-pink transmission | "thin eyelid skin shows pink-violet SSS" |
Micro-Texture Is Also Skin Depth
Alongside SSS, micro-texture description adds perceived depth to skin. Instead of "detailed skin," write: "visible individual pores across nose and cheeks, fine hair follicle shadows along the jaw, natural sebum sheen on forehead, micro-texture of keratin on lip surface." These specific terms activate the model's texture rendering in a way that generic "detailed" never does.
Trick 4: Reference Real Photography Terms
AI models trained on photographs respond to photography vocabulary because that is the language the original captioners used. Writing "Kodak Portra 400" tells the model far more about color rendering than writing "natural colors." Film emulsions have known characteristics: Portra 400 is warm-biased with lifted shadows and compressed highlights. Fujifilm Velvia is saturated and contrasty. Ilford HP5 in color simulation produces muted, gritty midtones.
Beyond film stock, specific camera lens specifications carry real meaning for skin rendering:
- "85mm f/1.4": Classic portrait compression, background blur isolates subject, typical for beauty work
- "100mm macro f/2.8": Close enough to show skin pore detail, shallow depth of field
- "35mm f/2.8": Environmental context visible, slight edge distortion, candid feel
- "50mm f/1.2": Near-natural perspective, creamy background separation
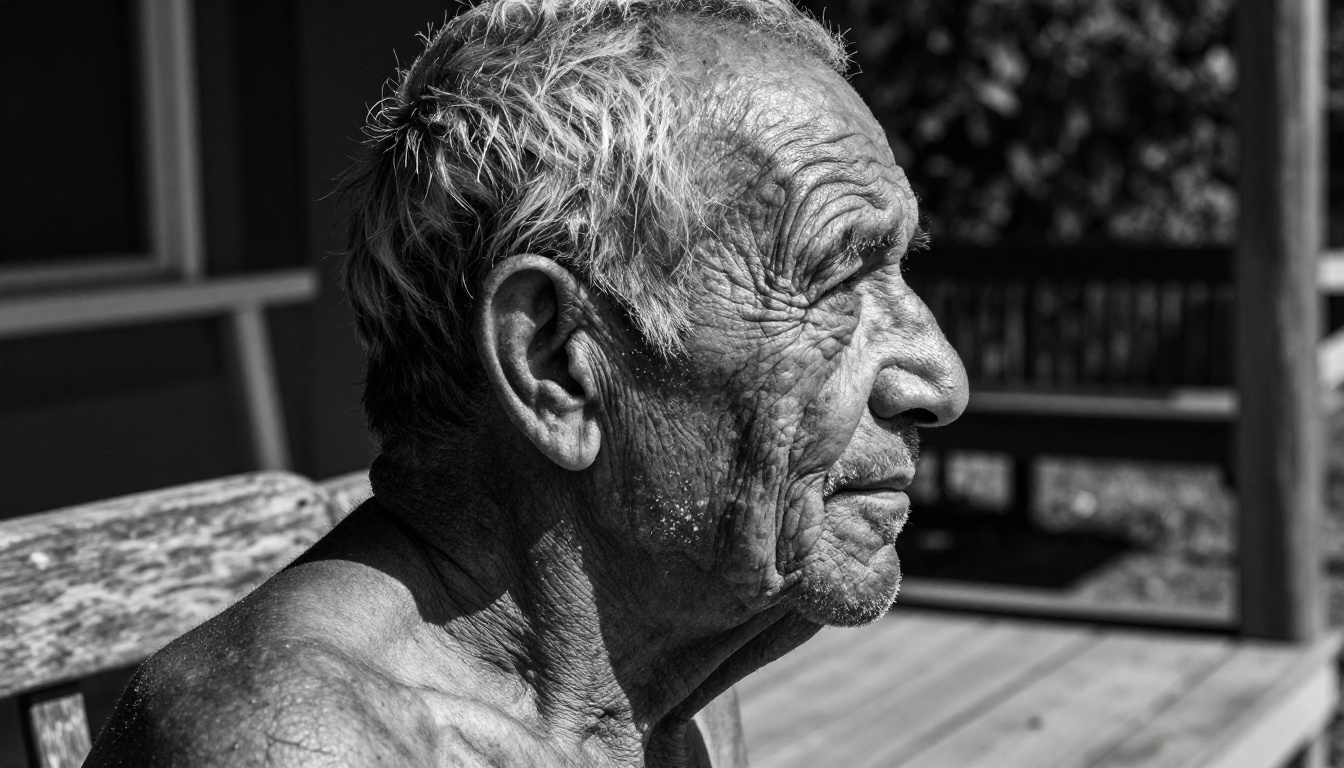
The reason lens specification matters for skin tones specifically is compression and depth of field. A longer focal length (85-135mm) compresses facial features slightly, which is how professional beauty photographers make skin look more continuous and even. A wide-angle lens distorts the nose and chin, and those distortions change how shadow and highlight fall across the face. The model knows this implicitly because it learned from actual photographs taken with these lenses.
Film grain is the other major lever. Natural film grain breaks up the digital smoothness that makes AI skin look plastic:
Kodak Portra 400 film grain, warm skin tones, lifted shadowsFujifilm Pro 400H, soft pastels, muted highlightsKodak Gold 200, slightly warm, vintage color castIlford HP5 color simulation, desaturated, gritty midtonesFujifilm Classic Chrome, muted orange-brown skin palette
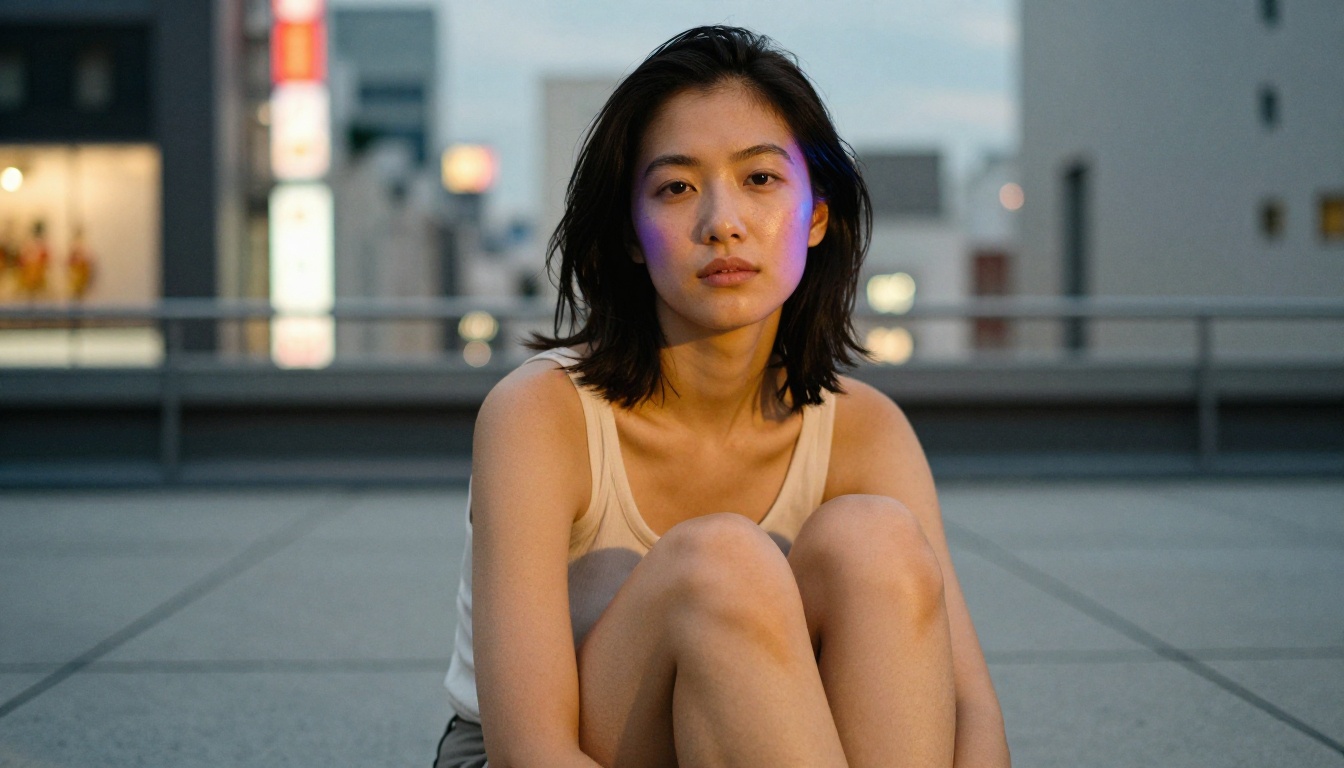
💡 Tip: Combine film stock with a specific camera model for maximum realism: "Leica Q3, 28mm, Fujifilm Classic Chrome" produces a distinctive compressed, muted street photography look that makes AI skin feel documentary-authentic.
Always include "no retouching," "no skin smoothing," or "raw photography" in your prompt. These phrases tell the model not to apply the digital airbrushing that most commercial photography training data was treated with.
Trick 5: Use an LLM to Refine Your Prompt First
The four tricks above involve knowing what language to use. But generating the perfect 75-word skin tone prompt from scratch every time is slow and inconsistent. This is where large language models change the workflow entirely.
Before generating your image, drop your basic concept into an LLM and ask it to expand the prompt with specific skin tone details. A basic concept like "portrait of a woman with dark skin in a cafe" becomes a photographic specification when you run it through GPT-4o or Claude Sonnet 4.6 with the right instruction.
Tell the LLM: "Expand this into a 60-word AI image generation prompt optimized for photorealistic skin tones. Include Fitzpatrick type, lighting direction and color temperature, subsurface scattering cues, film stock, and lens specification. Maintain the scene but add all technical skin rendering details."
Models like Gemini 3.5 Flash are fast enough that you can iterate 5-6 prompt variations in under a minute. Llama 4 Maverick Instruct and DeepSeek R1 are strong free options for the same task.
The Vision Feedback Loop
The full workflow looks like this:
- Write your basic concept (5-10 words)
- Feed it to an LLM with the expansion instruction above
- Review and adjust the expanded output for factual accuracy
- Generate the image on PicassoIA
- If the result is close but not right, feed the image back to a vision-capable LLM like GPT-4o and ask what skin tone elements to change in the prompt
That last step, vision feedback, is particularly powerful. GPT-4o can look at your generated image and tell you exactly which prompt term caused the color shift, the plastic smoothness, or the incorrect shadow undertone. This closes the loop between prompt and result in a way that trial-and-error never does efficiently.
You can also use vision-capable LLMs to analyze a reference photograph you like. Upload a portrait with the skin tones you want to achieve and ask the LLM: "Describe the exact Fitzpatrick type, lighting color temperature, subsurface scattering characteristics, and skin texture of this portrait in prompt language for an AI image generator." The LLM will reverse-engineer the skin parameters for you.
What All 5 Tricks Look Like Combined
Here is a before-and-after of the same concept with and without these techniques applied.
Before (basic prompt):
"Portrait of a woman with dark brown skin, natural lighting, realistic"
After (with all 5 tricks):
"Close-up portrait of a woman, Fitzpatrick type V warm deep mahogany skin, Rembrandt lighting from upper left at 45 degrees, warm 4500K color temperature, cool ambient fill from right, subsurface scattering visible on cheekbone and nose tip with warm orange-red SSS in shadow areas, micro-pore texture, individual hair detail at temples, Kodak Portra 400 film grain, Hasselblad X2D 85mm f/2.0 narrow depth of field, no retouching, no digital skin smoothing, raw 8K photography --ar 16:9 --style raw"
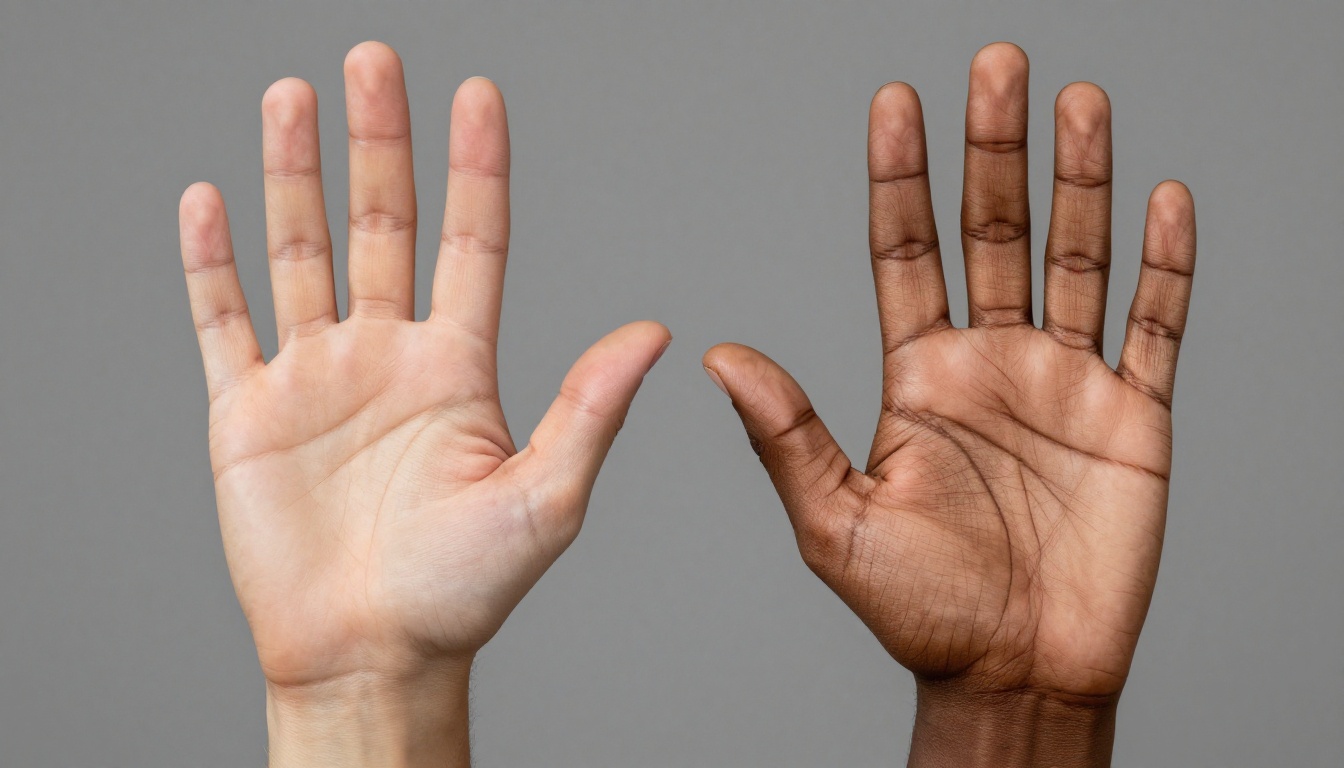
The second prompt is longer. That is intentional. AI image models produce better results when prompts are specific and technical rather than short and vague. For skin tones especially, vagueness is the enemy.
You can also mix and match these tricks based on what is failing in your current outputs:
- Skin looks gray or desaturated: Focus on Trick 1 (Fitzpatrick descriptors) and add warm undertone language
- Skin looks plastic or airbrushed: Focus on Trick 4 (film grain, "no retouching")
- Skin looks flat without depth: Focus on Trick 3 (subsurface scattering keywords)
- Skin has the wrong color in shadows: Focus on Trick 2 (specific light temperature and fill color)
- Prompts keep producing inconsistent results: Focus on Trick 5 (LLM pre-refinement)

The portrait above shows what is possible when all five principles work together: each skin tone in the group reads distinctly and naturally, unified by the same warm light quality, without any reverting to a generic muddy average. That is the goal.
Start Generating on PicassoIA
PicassoIA gives you direct access to over 91 text-to-image models with no setup or API keys required. You can run the same skin tone prompt across multiple models in the same session to compare which one handles your specific Fitzpatrick type or lighting scenario best.
The platform also includes AI image editing tools for inpainting and outpainting, so if a portrait comes out almost right but the skin tone in the shadow area is off, you can fix that specific region without regenerating the whole image. The Large Language Models collection on PicassoIA includes all the LLMs mentioned in Trick 5, making it possible to do your entire workflow, from prompt refinement through image generation through selective editing, without switching between separate tools.
Bring one of your existing prompts. Apply one trick at a time and compare the outputs. The difference between "dark skin, natural lighting" and a fully specified Fitzpatrick-scale prompt with SSS, precise light direction, and Portra 400 film grain is not subtle. It is the difference between a technically adequate AI image and one that looks like it came from a working photographer's portfolio.
Start at picassoia.com/en/all-models.


