Generate imagesVisual EffectsLarge Language Models
6 Prompt Tips for More Natural-Looking AI Bodies
Getting realistic, natural-looking bodies from AI image generators requires more than just saying 'photorealistic.' These 6 targeted prompt tips show you exactly which words to add to fix skin texture, body proportions, lighting direction, clothing physics, and camera angles for genuinely convincing results across all major AI models.
Every AI image generator has the same blind spot. You type "beautiful woman, photorealistic" and get a result that looks like someone wrapped a mannequin in human-colored plastic. The proportions are slightly off. The skin has no pores. The posture is rigid. The lighting treats the body like a flat shape.
The output is technically correct, but instantly recognizable as AI.
This is not a model problem. It is a prompt problem. The models have enough data to generate incredibly realistic human anatomy, but they need you to tell them exactly what "realistic" means. These 6 prompt tips are the specific instructions that close the gap between AI mannequin and convincingly human output.
Why AI Bodies Default to Fake
The Model's Default Settings
Most image models are trained on the entire internet, which includes a disproportionate amount of heavily retouched photography, CGI renders, and idealized illustrations. When you give a vague prompt, the model defaults to the statistical average of all those inputs, which skews heavily toward smooth, symmetrical, evenly-lit, and proportion-exaggerated results.
The model is not wrong. It is doing exactly what it was trained to do. Your job is to override those defaults with specific language.
What "Photorealistic" Actually Misses
The word "photorealistic" alone is one of the most overloaded tokens in AI image generation. It tells the model to produce something that looks like a photograph, but it does not specify which kind. AI interprets it as "high resolution commercial photography" by default, which is precisely the genre most associated with airbrushed, idealized, uncanny results.
What you want is raw documentary photography, candid portraiture, or fashion editorial with visible imperfections. These are different categories and they require different words.
Tip 1: Describe Skin, Not Just Skin Tone
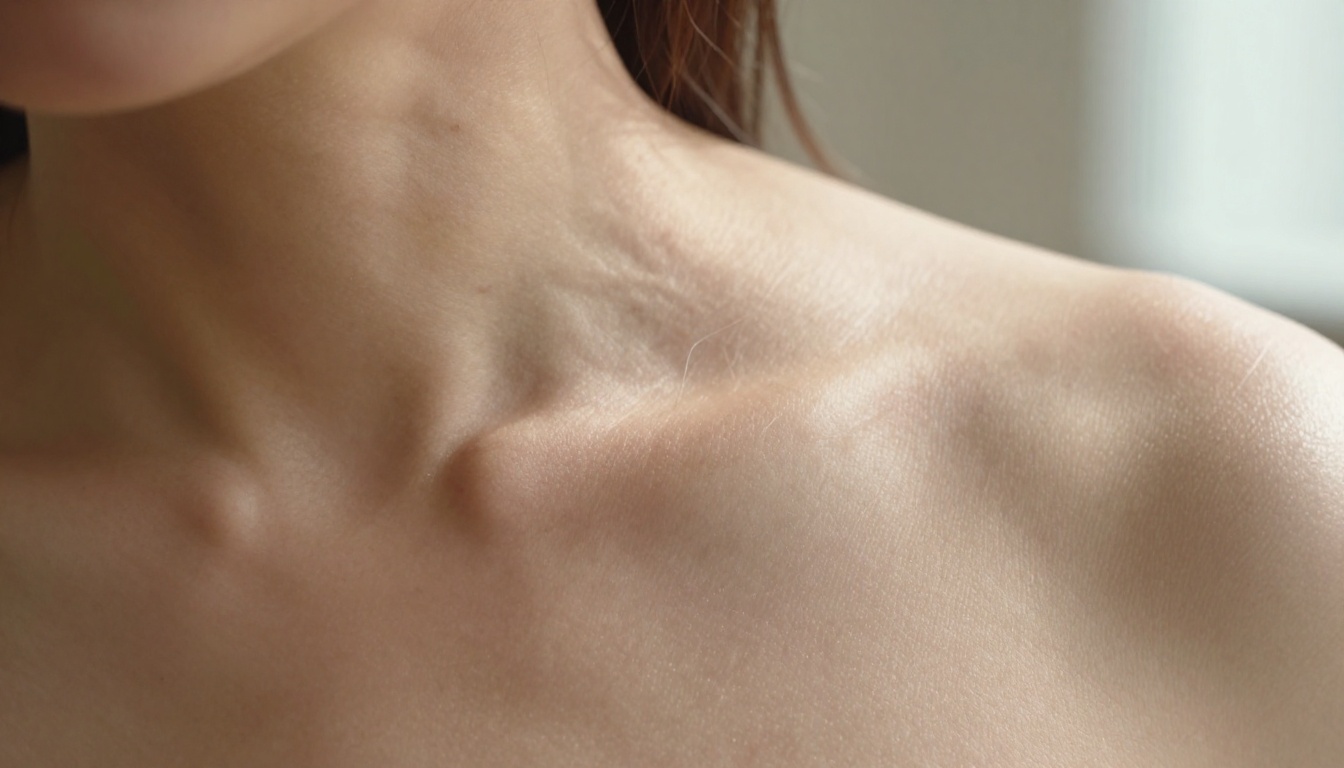
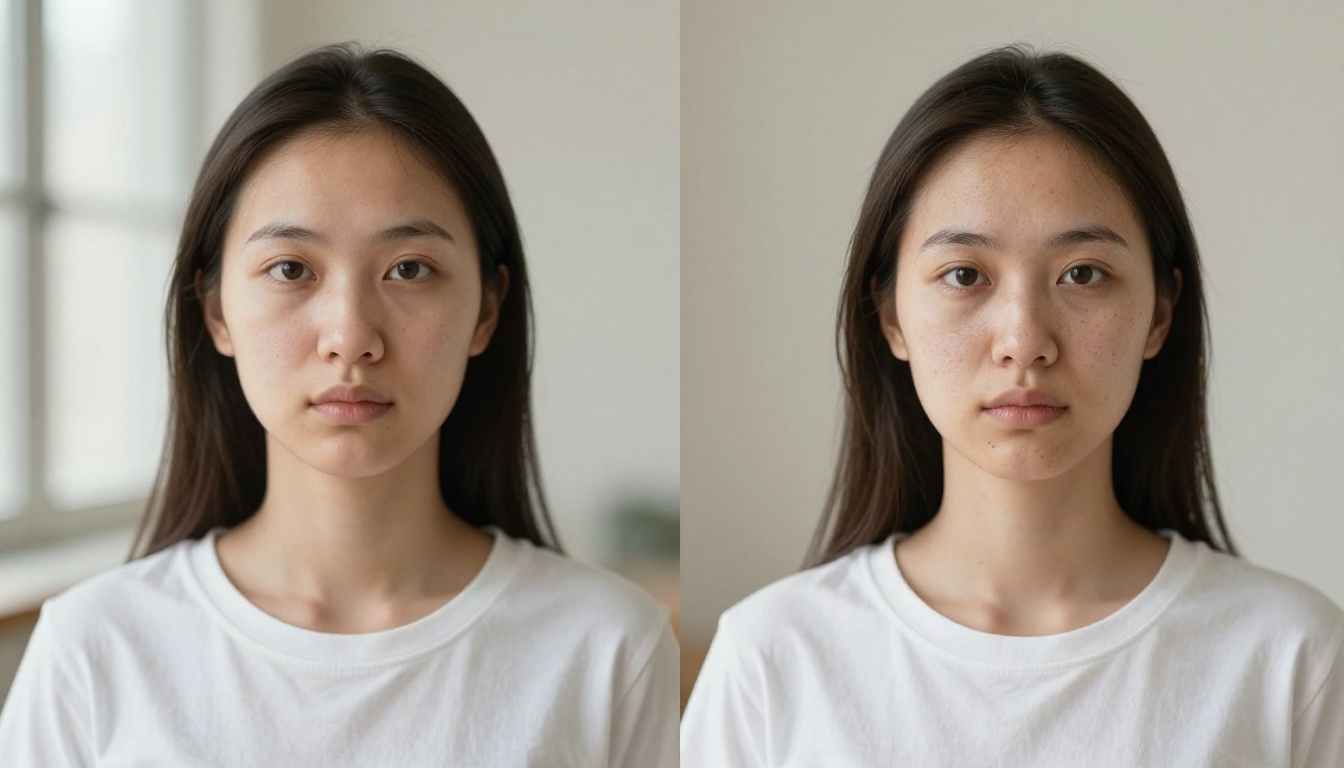
Saying "light skin" or "tan complexion" tells the model about color. It tells it nothing about texture. Human skin is not a material, it is a complex surface with pores, fine hairs, subtle color variation, occasional blemishes, and elastic properties that create wrinkles and folds whenever the body moves or compresses.
The fix is to describe skin the way a dermatologist would, not the way a cosmetics brand would.
Words That Force Skin Texture
Add these specific terms to any body prompt:
"visible pore texture": forces the model to render skin microstructure
"fine vellus hairs on forearms": adds biological realism to exposed arm skin
"slight freckle pattern across shoulders": introduces natural pigmentation variation
"natural skin imperfections" or "authentic skin blemishes": prevents airbrushing
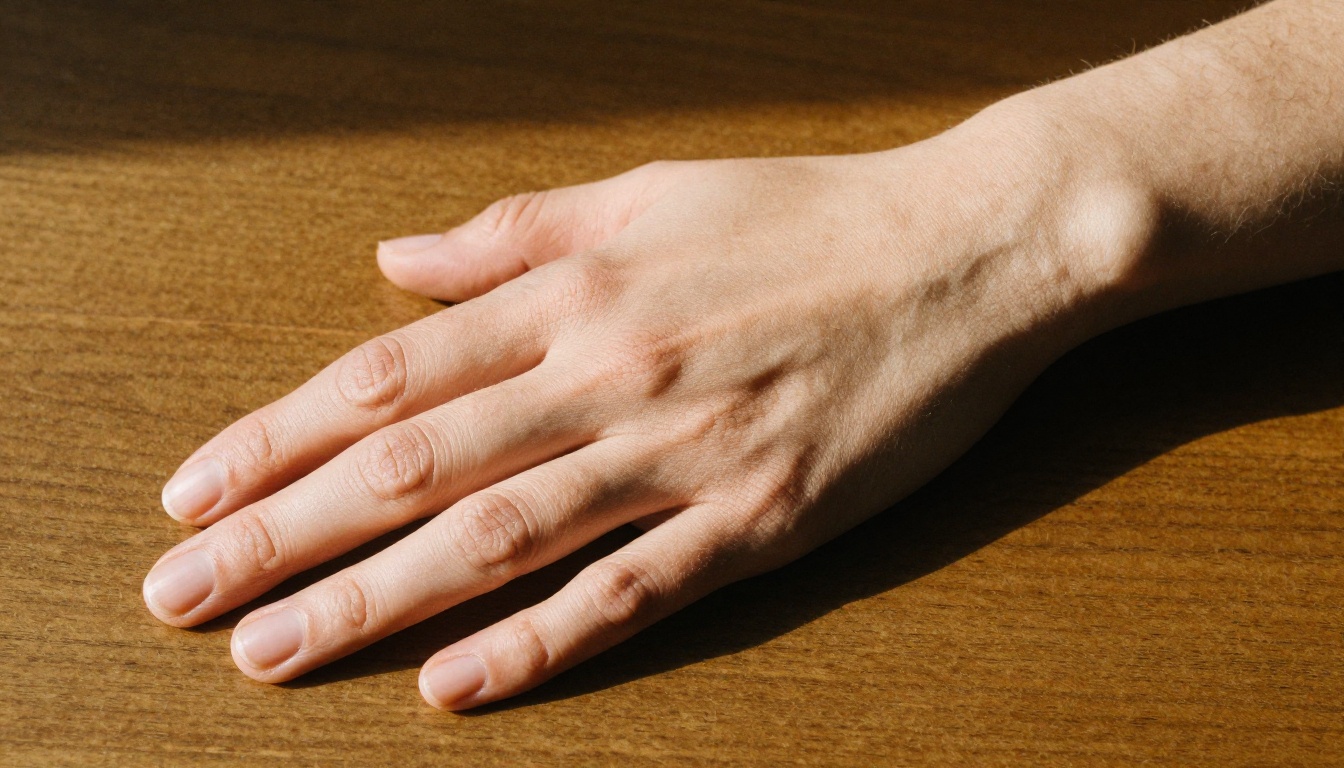
"capillary lines at the inner wrist": adds subcutaneous vascular detail
"elastic skin folds at the elbow": when arms are bent, skin does not stay smooth
💡 Pro tip: Combine skin texture words with film stock references. "Kodak Portra 400" tells the model to render color and grain in a way that naturally captures skin imperfections rather than smoothing them out.
The Skin Tone Spectrum Trick
Instead of saying "olive skin," describe the variation: "warm golden-beige complexion with slightly paler inner arm and deeper tone at the elbow." Real skin is not uniform. Describing its variation signals to the model that you want biological fidelity, not a color fill.
Tip 2: Specify Lighting Direction and Quality
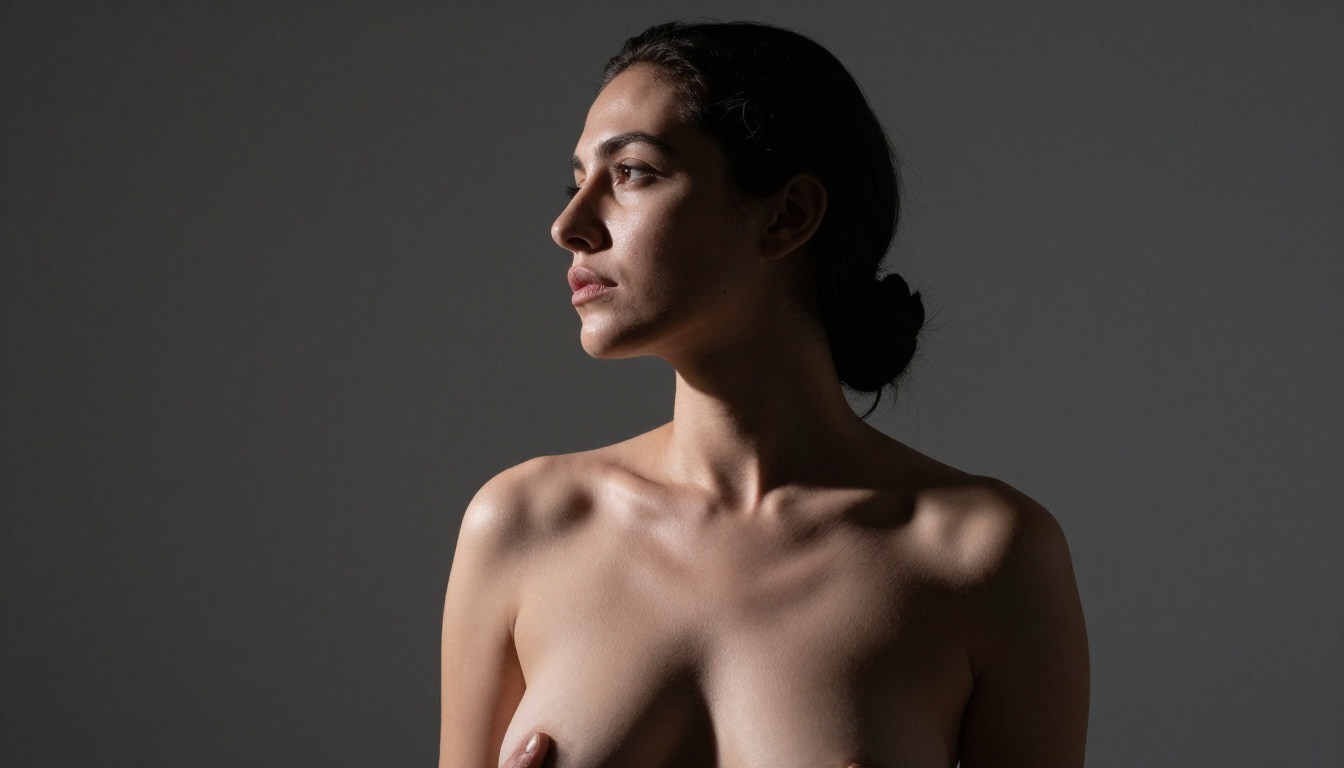
Lighting is the most underused body prompt element. A flat, even, ambient light makes skin look plastic and removes all anatomical depth. Directional light from a specific angle creates shadows in natural indentations, reveals muscle tone, and makes the body look three-dimensional.
Specify the Light Source and Direction
Do not write "good lighting" or "beautiful lighting." Instead:
Vague Prompt
Specific Prompt
good lighting
single light source from the upper left at 45 degrees
natural light
morning window light from the right, soft shadows
studio light
Rembrandt lighting pattern, main light source at 2 o'clock
dramatic light
strong directional sidelight, deep shadow on right side
The position of the light source directly determines where the shadows fall on the body. Shadows in natural anatomical locations, like the collarbone, the underarm, and the waist indentation, are what make a body look real.
Volumetric Light Phrases
These phrases signal atmospheric depth, not just flat illumination:
"volumetric morning light streaming from left"
"soft diffused overcast daylight, no harsh shadows"
"golden rim light from behind tracing the shoulder outline"
💡 Pro tip: "Late afternoon golden hour backlight" is especially effective for full-body and outdoor shots. It creates rim lighting that separates the body from the background and adds warmth to skin tones without overexposing.
Tip 3: Anchor Body Proportions With Reference Words
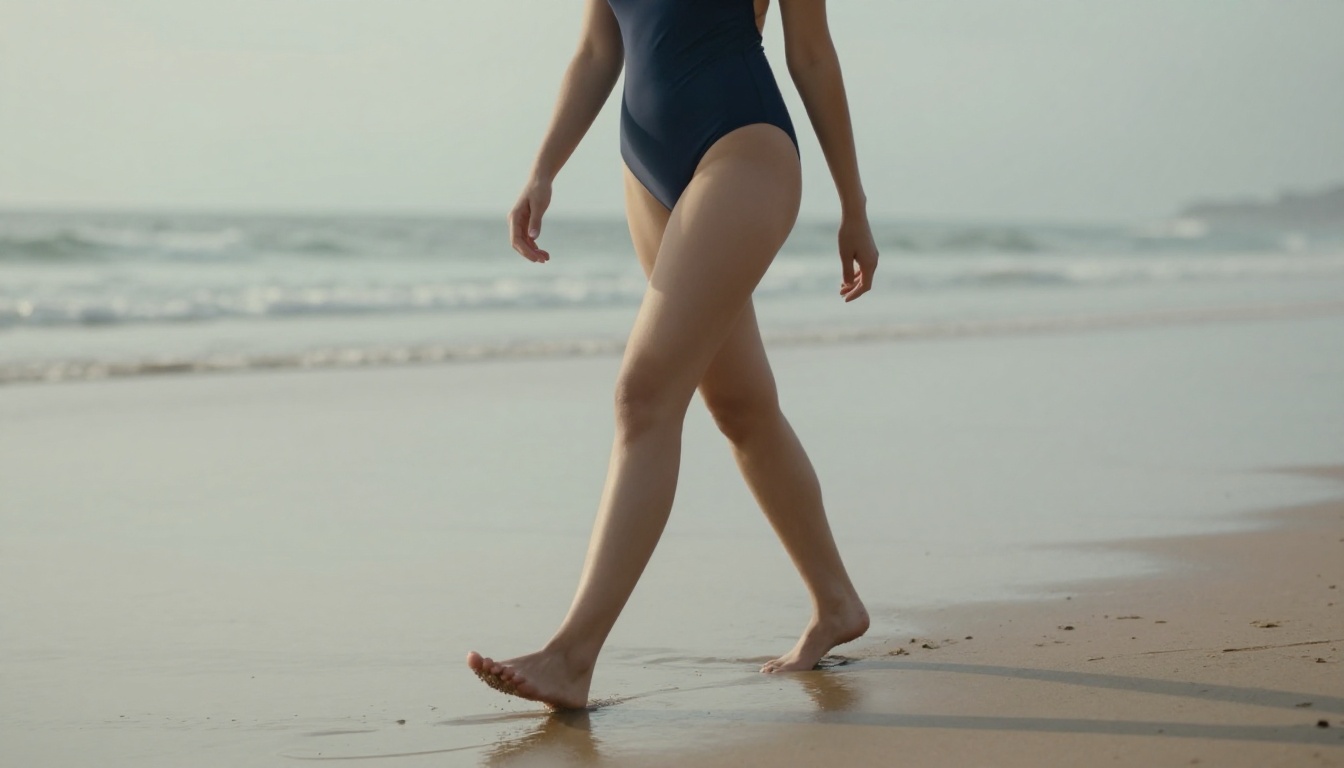
AI models have a strong trained bias toward exaggerated body proportions in generative contexts. Without correction, you will get results that are simultaneously over-idealized in some areas and anatomically incorrect in others.
The fix is not to describe measurements. It is to use qualitative language that anchors expectations.
Proportion Language That Works
"natural body proportions": generic but effective override of the idealization default
"realistic waist-to-hip ratio": specifically targets the most commonly distorted relationship
"visible but not exaggerated muscle tone": addresses the "superhuman physique" default
"normal thigh width, no thigh gap exaggeration": directly addresses a common distortion
"authentic human silhouette": broad override that recalibrates the whole body
Posture as Proportion
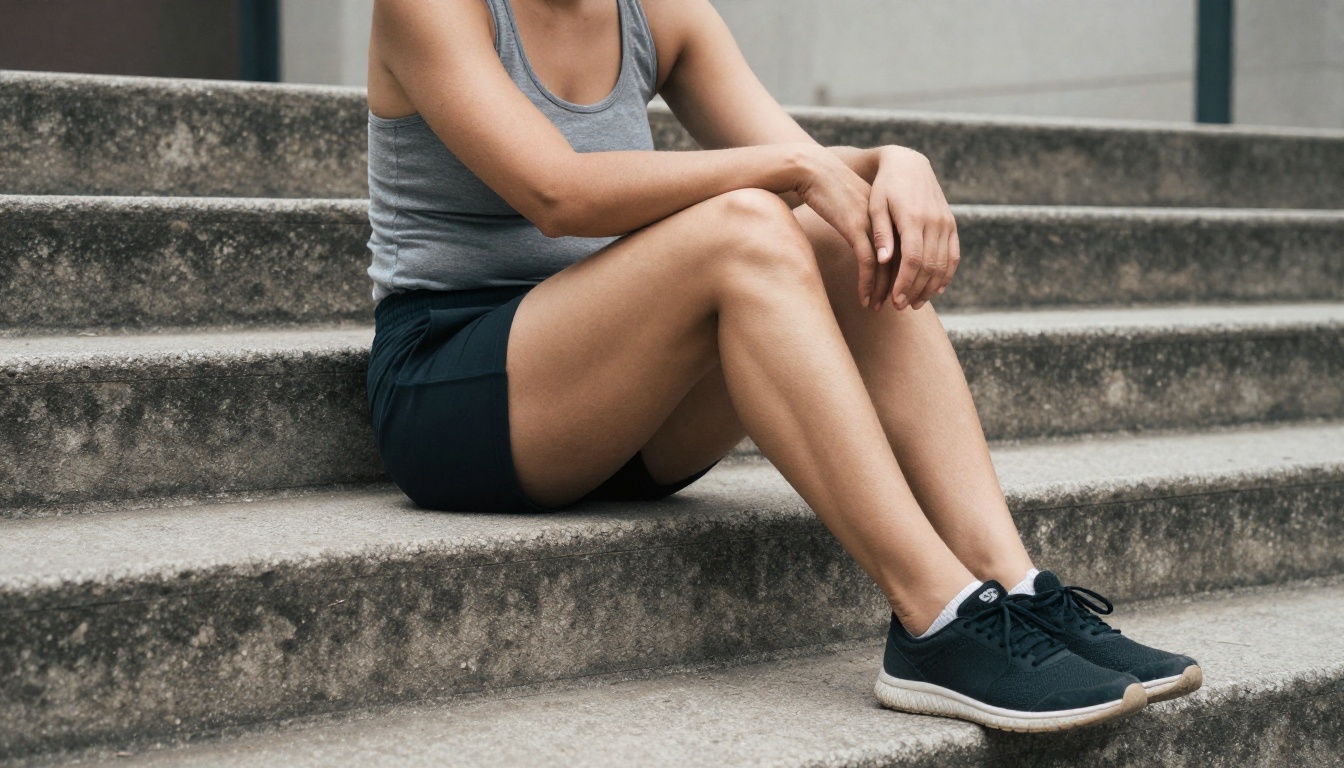
Posture cues also influence perceived proportion. A rigid, perfectly upright standing pose looks artificial because real people almost never stand that way without actively trying. Use posture language to introduce natural asymmetry:
"weight shifted onto the right leg, left knee slightly bent"
"relaxed sloped shoulder posture"
"slight forward hip tilt from standing"
"natural spinal S-curve visible from the side"
These phrases force the model to interpret anatomy as a resting system under gravity rather than a posed mannequin.
Tip 4: Use Camera and Lens Language
Camera and lens specifications do more than control framing. They fundamentally change how the model renders the body, because different focal lengths have different geometric relationships with the human form.
Focal Length and Body Rendering
Focal Length
Effect on Body
24-35mm
Slight perspective distortion, elongates limbs near edges
50mm
Neutral perspective, closest to natural human vision
For full-body shots, 85mm f/2.8 or 50mm f/2.0 are the most reliable specifications for natural, undistorted proportions. For skin detail shots, 100mm macro at f/2.8 to f/4 forces the model to render skin at a resolution where it cannot hide imperfections.
Aperture and Depth of Field
Specifying aperture changes how the model renders background separation and focal plane depth:
f/1.4 to f/2.0: Very shallow depth of field, background completely dissolved, subject fully sharp
f/2.8 to f/4: Moderate separation, some background texture visible
f/8 to f/11: Deep focus, full environment in context with the subject
Shallow depth of field is particularly effective for body shots because it forces the model to commit all its rendering detail to the subject surface, resulting in higher texture quality on skin, hair, and fabric.
💡 Pro tip: Combine lens spec with film stock: "85mm f/1.8, Kodak Portra 400 film grain" is one of the most reliable combinations for natural-looking portrait and body results across almost every text-to-image model.
Tip 5: Add Clothing Physics and Fabric Behavior
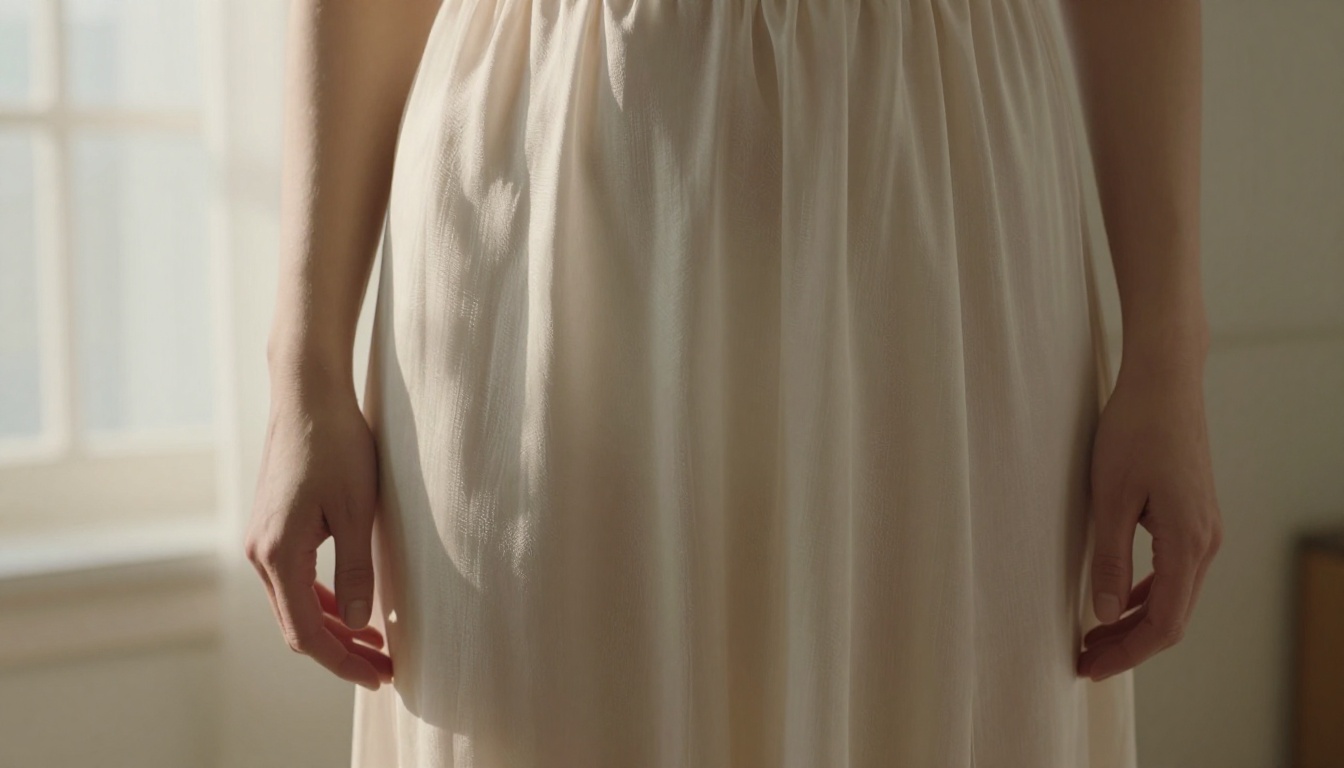
Clothing is where AI body generation most visibly fails. AI defaults to clothing that behaves like a painted shell rather than a textile draped over a three-dimensional body. Real clothing has weight, elasticity, and interaction with the body shape beneath it.
Fabric Physics Keywords
These terms tell the model to simulate real textile behavior:
"natural gravity folds in fabric": the cloth hangs and pools realistically
"tension lines where garment contacts the hip": fabric stretches and pulls at pressure points
"fabric bunching authentically at the waistband": realistic compression at elastic
"slight crease where elbow bends": articulation-based fabric deformation
"translucent fabric showing body silhouette in backlight": light interaction with thin textiles
"worn cotton texture with visible weave": material-specific surface detail
Clothing as a Body Reveal Tool
Clothing that follows the body accurately is one of the strongest signals of realistic anatomy. When you describe fabric behavior, you force the model to commit to a specific body shape beneath it, which prevents the floating, undefined limb problem common in AI body generation.
Use phrases like:
"the fabric reveals the natural curve of her hips without clinging"
"slight abdominal shape visible through the thin jersey material"
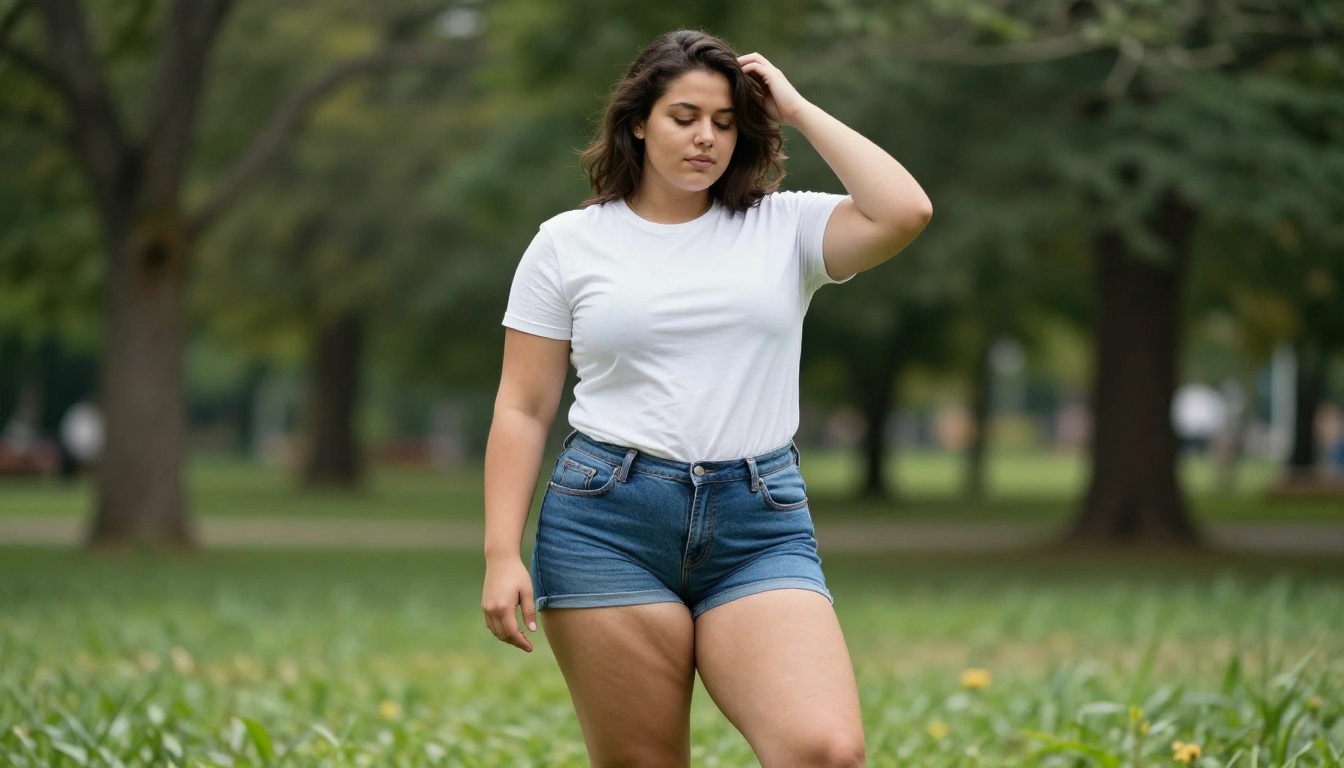
"denim conforming to natural thigh shape while walking"
Tip 6: Structure Your Prompt in Layers
Most failed AI body prompts are a single long sentence that mixes subject description, environment, lighting, and style all at once. This creates token interference where the model weighs all elements equally, diluting the body-specific instructions.
The solution is layered prompt architecture: Subject first, then Environment, then Lighting, then Camera, then Texture, then Style.
The SELCTS Framework
Layer
What It Handles
Example
Subject
Who, what they're wearing, pose and anatomy
"A woman in her late 20s, natural body proportions, relaxed standing posture"
Environment
Where they are, background elements
"in a public park, soft bokeh greenery background"
Lighting
Direction, quality, source
"overcast afternoon light, diffused, no harsh shadows"
"photorealistic, 8K RAW, no airbrushing --ar 16:9 --style raw"
Building your prompt in this order ensures that subject-specific body instructions are not diluted by environmental or stylistic tokens. Each layer reinforces the previous one.
A Reusable Prompt Template
[Subject: person description + pose + body language + clothing with fabric physics] +
[Environment: setting + background] +
[Lighting: source, direction, quality] +
[Camera: lens spec + aperture + framing] +
[Texture: skin detail + film stock + imperfections] +
[Style flags: photorealistic, 8K RAW, --ar 16:9 --style raw]
This template, applied to any of the tips above, generates results that are consistently more natural than an unstructured dump of adjectives.
Using AI Language Models to Write Better Prompts
Writing long, detailed prompts from scratch is tedious. One of the most practical time-savers is using an AI language model to expand and refine your prompt before sending it to the image generator.
PicassoIA includes several high-performance language models you can use directly in the platform:
Claude Sonnet 5 excels at creative description and can expand a brief body prompt into a full SELCTS-structured version with precise skin and lighting language.
GPT-5 is effective for generating variations on a working prompt, letting you test different lighting or proportion approaches without rewriting from scratch.
Gemini 3.5 Flash is fast and well-suited for rapid iteration, letting you cycle through 10-15 prompt variants in the time it takes to carefully craft one.
DeepSeek R1 is particularly strong at reasoning through anatomical accuracy problems, making it useful when you want to troubleshoot why a specific body element keeps generating incorrectly.
A simple workflow: describe what you want in plain language to the LLM, ask it to convert that into a 60-75 word image generation prompt using the SELCTS structure, then paste the output directly into your image generator.
Upscale and Refine the Result
Even a well-prompted image benefits from post-generation upscaling. Higher resolution forces the rendering to commit to specific skin and fabric details that get averaged out at lower outputs.
PicassoIA's super-resolution models add significant detail passes to already-generated images:
Clarity Pro Upscaler is the strongest option for photorealistic body images, applying detailed texture refinement passes that improve skin and fabric realism without introducing artificial artifacts.
Crystal Upscaler is optimized specifically for portraits and is particularly effective on face and neck skin texture in body shots where the face is within frame.
Real ESRGAN is a solid free-tier option for standard 4x upscaling, adding resolution without altering the original composition.
P Image Upscale is the fastest option available on PicassoIA, completing upscaling in approximately one second per image.
A standard finishing workflow: generate the image at base resolution with a detailed SELCTS prompt, then run it through Clarity Pro Upscaler at 2x or 4x. The detail layer added during upscaling frequently adds the pore texture and fabric weave that the base generation missed.
The Comparison That Shows the Difference
The difference between a convincing AI body image and an uncanny one usually comes down to three or four specific phrases. Below is a side-by-side comparison of prompt structures for the same subject:
"volumetric morning light from the upper left at 45 degrees, soft shadow in collarbone indentation"
Proportions
"fit woman"
"natural body proportions, realistic waist-to-hip ratio, slight muscle definition without exaggeration"
Camera
"photorealistic"
"85mm f/2.0 lens, shallow depth of field, Kodak Portra 400 film grain"
Clothing
"wearing a dress"
"light linen dress with natural gravity folds, fabric tension at the hip, slight fabric movement"
Each upgrade targets a specific failure mode. Combined, they close the majority of the gap between AI mannequin and genuinely convincing human figure.
Try These Prompts on PicassoIA
The 6 tips above are not theoretical. They work across the major image generation models because they target the underlying mechanics of how neural networks interpret human body prompts.
PicassoIA gives you access to over 91 text-to-image models, including the most capable current generation of generators, all in one place. That means you can test these prompt structures across multiple model architectures without switching platforms, paying for separate subscriptions, or managing different API setups.
The most effective approach is to take one tip at a time, apply it to a prompt you already have, and compare the output. Start with Tip 1 (Skin Texture) since it produces the most visible improvement for the least prompt complexity. Then layer in Tip 2 (Lighting Direction), which is the single highest-leverage change for full-body shots.
Once you have a prompt structure that works, save it and use the LLM models on PicassoIA to generate variations. The iteration cycle, prompt to image to upscale to variation, is where the results go from good to remarkable.
Browse all available image generation and language models at picassoia.com/en/all-models and start testing these tips on your next generation run.