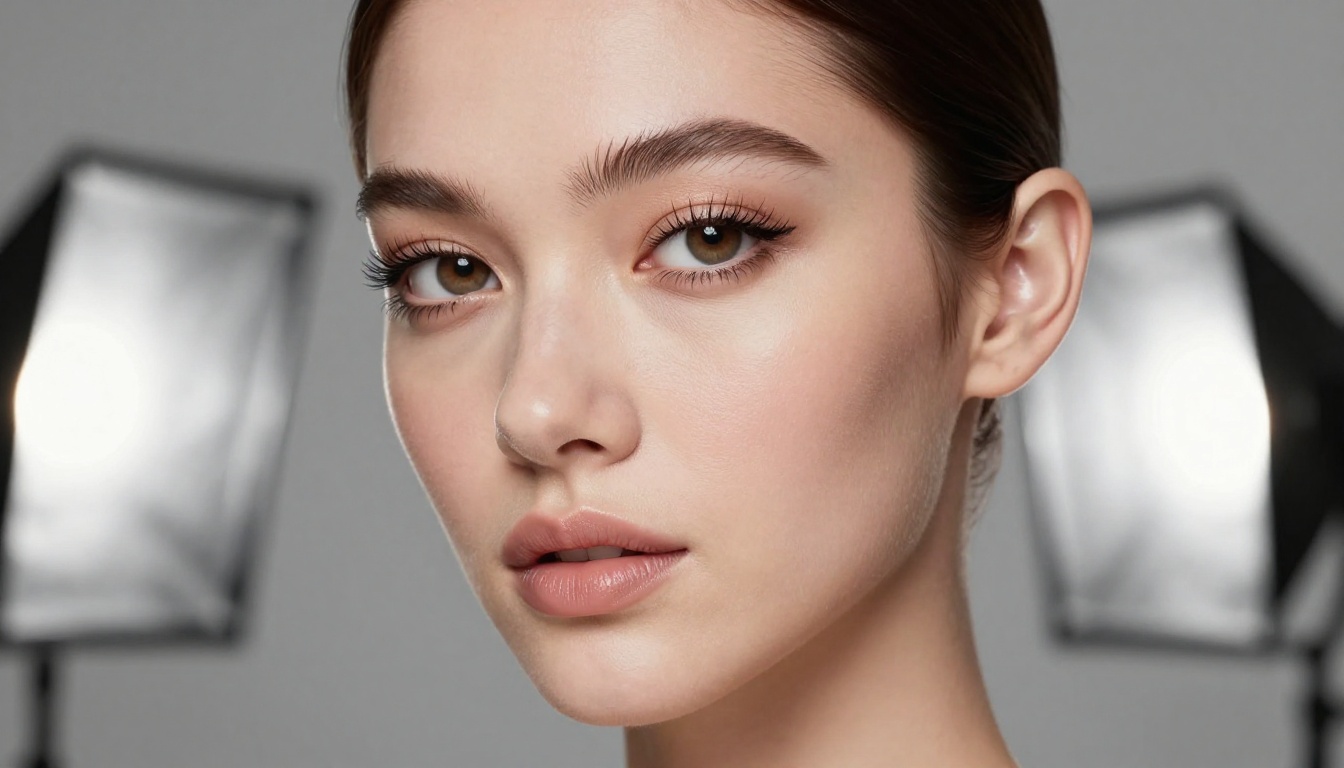
7 Tips for Realistic NSFW AI Portraits That Look Absolutely Real
Getting AI portraits to look genuinely photorealistic requires more than just a good prompt. This article covers 7 actionable tips spanning model selection, prompt architecture, lighting language, camera specs, skin texture details, and post-processing upscaling to produce NSFW AI portraits that actually look like real photographs.
Most AI portrait generators produce something that looks like a wax figure wearing human skin. You can tell in under a second: the lighting is too even, the skin too smooth, the eyes slightly wrong. Getting from "AI-generated" to "could this be a real photo?" requires specific, deliberate choices across model selection, prompt structure, lighting language, and post-processing. Skip any one of these and the final image falls apart.
These 7 tips cover every layer of that process. Apply them together and your NSFW AI portraits will cross from obviously artificial into genuinely photorealistic territory.
Why Most AI Portraits Look Fake
Before fixing anything, you need to diagnose the problem. The most common failure in AI-generated portraits is not bad subject matter or low resolution. It is a cluster of small mistakes that collectively signal "artificial."
The Plastic Skin Problem
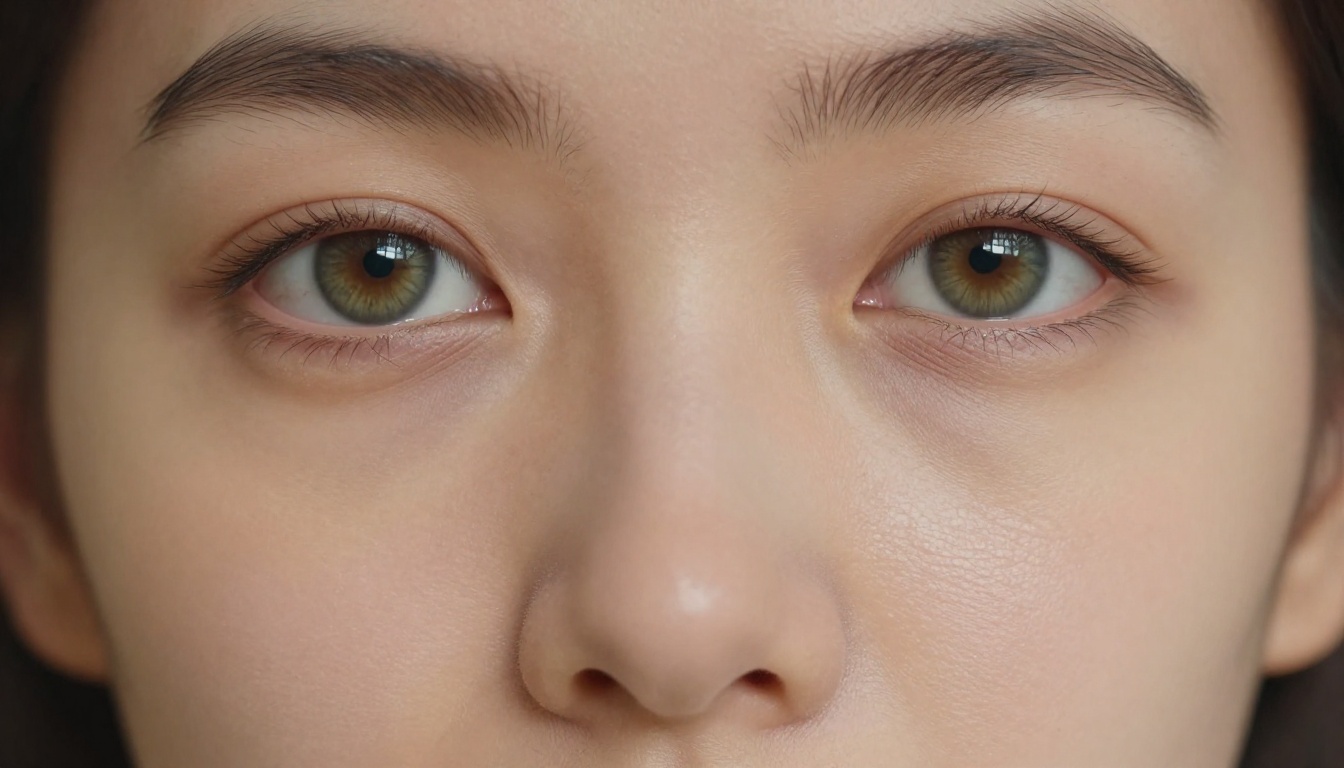
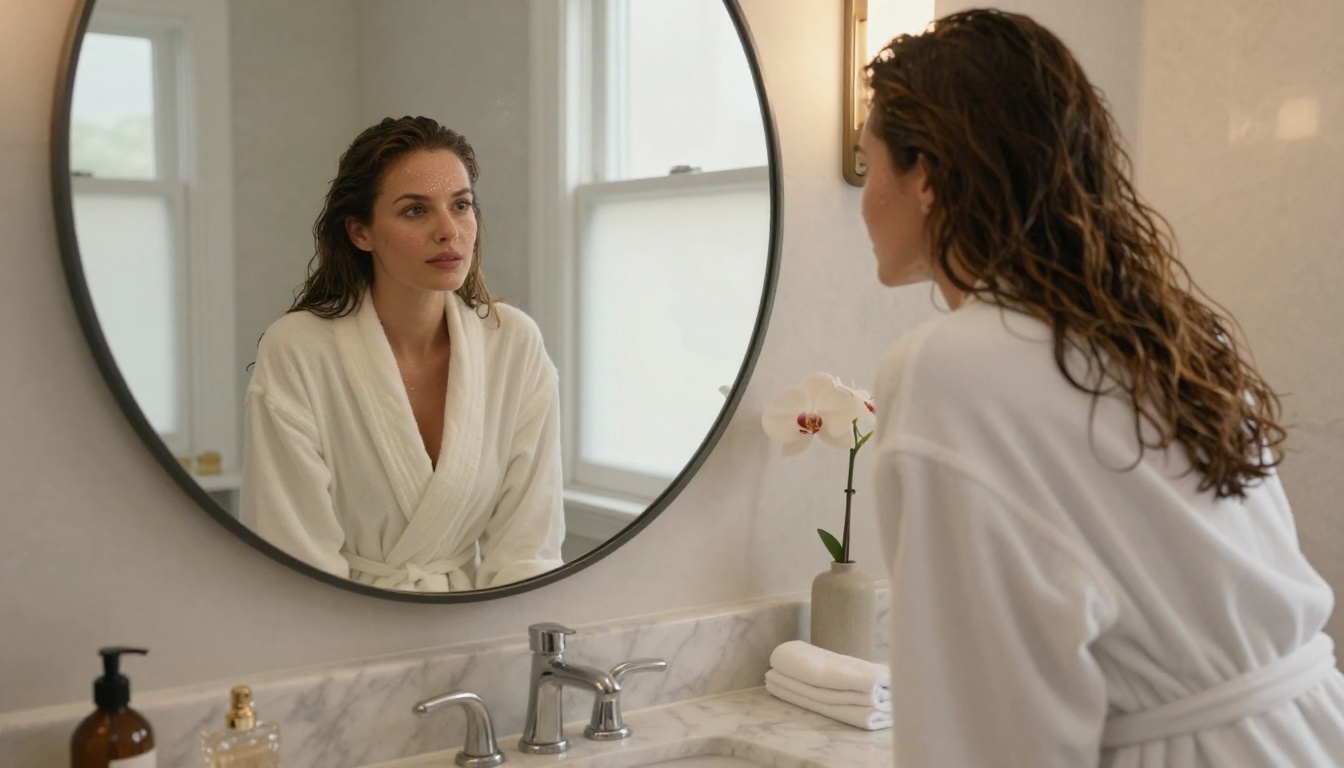
Standard diffusion models, when prompted without guidance, default to what might be called "ideal skin." Zero pores, zero texture, zero imperfection. The result looks like polished silicone rather than actual human tissue. Real skin has fine hairs, variations in tone across the face, visible pores, a slight natural oiliness in some zones, and subsurface light scattering through the thinnest layers at the ears and jaw. Realism requires you to request these things explicitly in your prompts.
What Separates Real from Fake
The gap between fake-looking and real comes down to three things: lighting consistency, skin micro-texture, and depth of field. When all three are correct, the brain accepts the image as a photograph. When even one is wrong, something feels off even if the viewer cannot name exactly what. The seven tips below address all three.
Tip 1: Pick the Right Model First
The single biggest variable in portrait realism is model selection. Most public AI generators run safety filters that strip out anything suggestive, and the models tuned for "safe" outputs are also tuned toward the sanitized, smoothed aesthetic that makes portraits look artificial.
Why Seedream 4.5 Leads
Seedream 4.5 is the top recommendation for realistic NSFW AI portraits. It accepts adult content, supports image editing, and generates ultra-realistic results in under 3 seconds. The model was trained on diverse photographic data and does not aggressively smooth skin or apply that plastic sheen that plagues safety-filtered alternatives.
The newer Seedream 5 Lite does not support NSFW content. Stay with version 4.5 for this type of work.
Unlimited Iterations with PicassoIA Image Editor Pro
Good portraits require iteration. You need to run 20, 50, sometimes 100 variations to land on the right combination of lighting, pose, and expression. That is expensive on most platforms.
PicassoIA Image Editor Pro removes that cost entirely. Elite and Infinite subscribers get unlimited generations. 1,000 images costs exactly the same as 10. On credit-based models like Nano Banana 2, that same volume would run around $100. Image Editor Pro accepts NSFW content, returns results in under a second, and includes a 3-generation free trial with no credit card required.
💡 Workflow tip: Use Seedream 4.5 to generate base portraits, then refine them in PicassoIA Image Editor Pro with image-to-image editing at no extra cost.
Tip 2: Build Prompts Like a Photographer
Vague prompts produce vague portraits. "Beautiful woman, photorealistic" is not a photographer's brief. A real photographer specifies the camera, the lens, the lighting setup, the subject's pose, the background distance, and the mood. Your AI prompts should do exactly the same.
Anatomy of a Strong Portrait Prompt
Every high-performing NSFW AI portrait prompt follows a consistent structure:
Subject: Age range, physical features, expression, pose, wardrobe fabric and fit
Environment: Location, time of day, specific background elements at distance
Lighting: Single source direction, quality (hard vs. soft), color temperature in Kelvin
Camera specs: Camera body, lens focal length, and aperture setting
Film reference: Kodak Portra 400, Fuji Provia, Ilford HP5, or similar
Resolution tags: 8K RAW, photorealistic, --style raw
Here is a direct comparison of what makes the difference:
Weak Prompt
Strong Prompt
Beautiful woman in lingerie, realistic
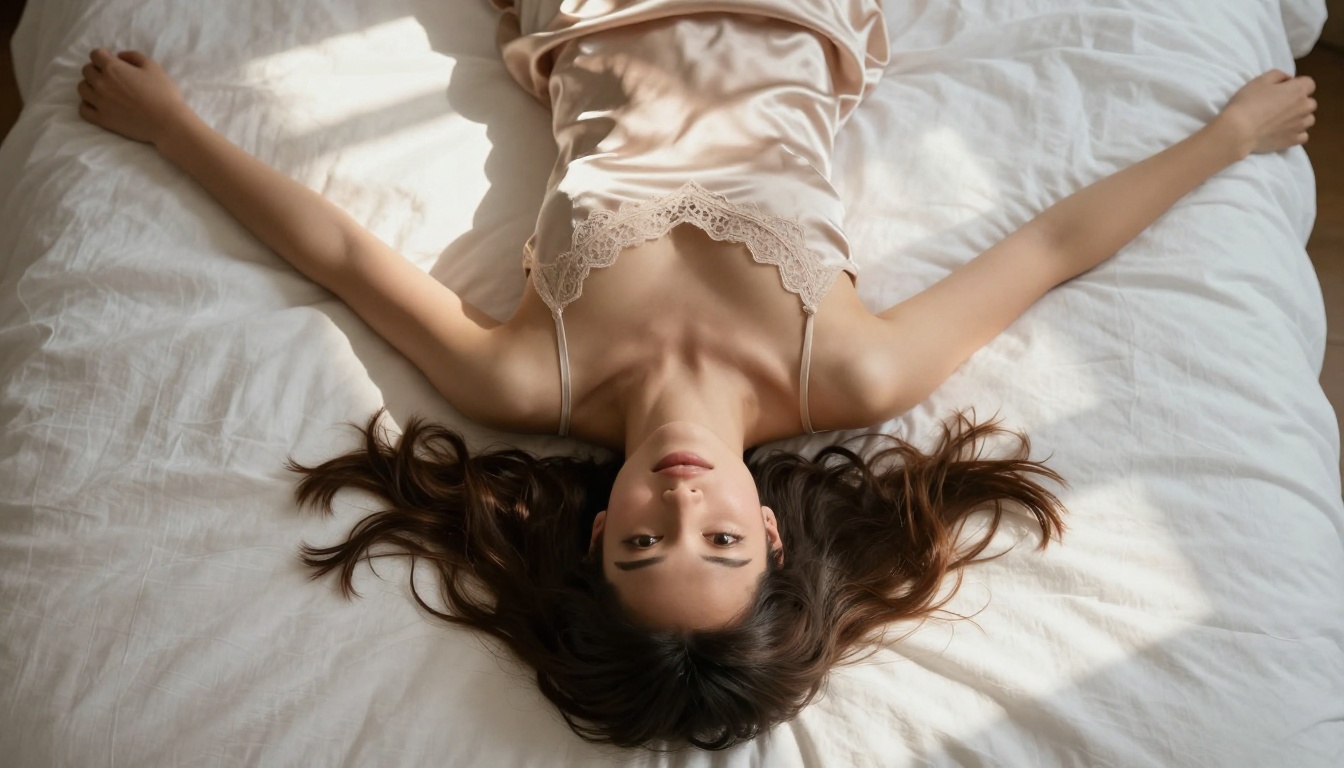
27-year-old woman in cream silk slip, sitting at window, morning light from left, Canon 85mm f/1.4, Kodak Portra 400, visible pores, natural skin texture, 8K RAW --style raw
NSFW portrait, high quality
Intimate bedroom scene, soft window light from right, Rembrandt lighting on face, shallow depth of field, natural skin imperfections, film grain, photorealistic
The strong prompts specify where the light comes from, what lens is in use, and what the skin should look like. Those specifics are what separate photorealistic from artificial.
Negative Prompts That Actually Matter
Negative prompts remove the default AI look. The most important ones for realism:
plastic skin, smooth skin, airbrushed, digital art, CGI, illustration, cartoon
perfect skin, flawless skin, artificial lighting, generic studio background
Add these to every portrait run. They push the model away from its default smoothed aesthetic and toward genuine photographic rendering.
Tip 3: Light Like a Professional
Lighting is the most important variable in portrait photography, and the most commonly neglected part of NSFW AI portrait prompts. Most people write "good lighting" and wonder why the result looks like it was shot under a ring light in a white room.
Directional Light Cues That Work
Real portrait lighting has direction, quality, and color. Specify all three in your prompts:
Direction: "single light source from camera left at 45 degrees," "backlit with morning sun," "window light from the right"
Quality: "hard directional light with crisp shadows," "large soft-box diffused light," "bounced fill from below"
Named lighting patterns produce instant improvements:
Lighting Pattern
Setup
Best Use Case
Rembrandt
45° side light, triangle shadow on cheek
Intimate and moody portraits
Split
90° left or right, half face in shadow
Dramatic editorial shots
Butterfly
Light directly above, V-shadow under nose
Beauty and glamour work
Golden hour
Warm low-angle backlight
Outdoor and natural settings
Golden Hour vs. Studio Setups
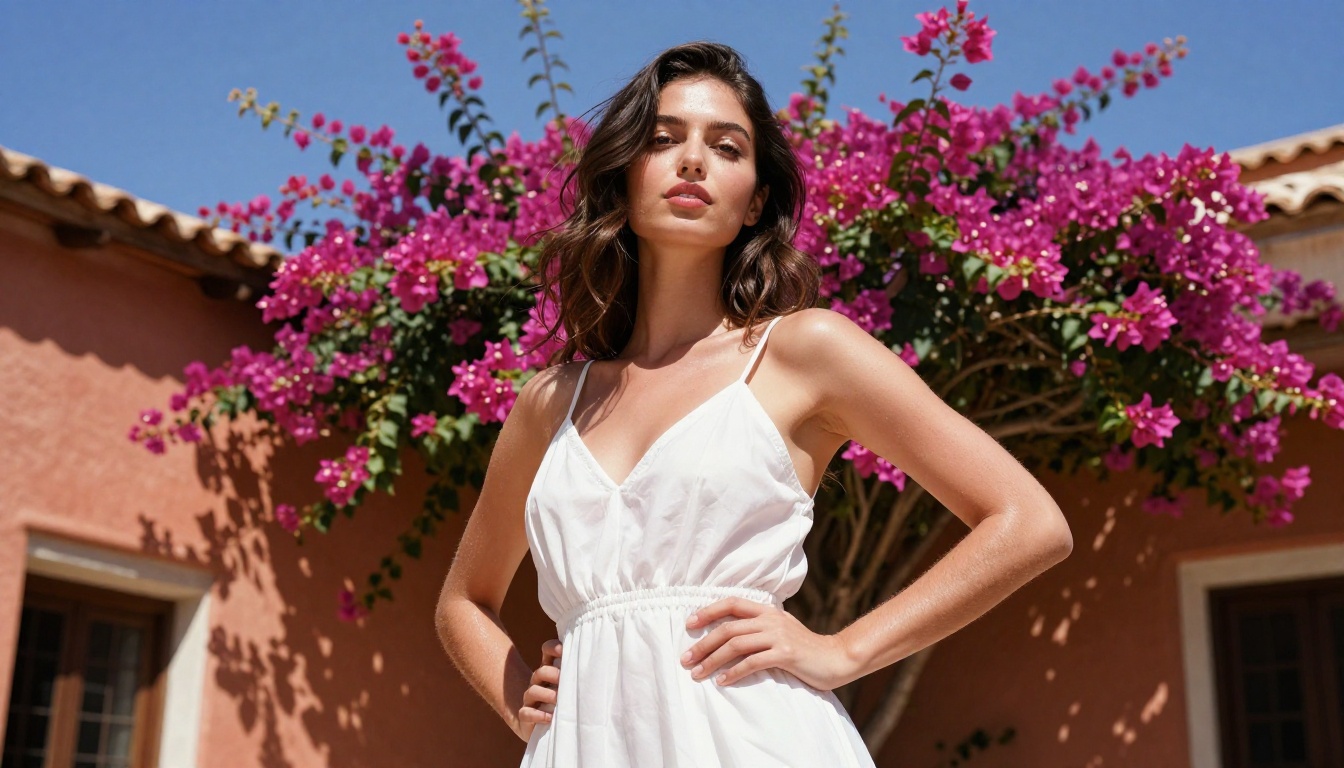
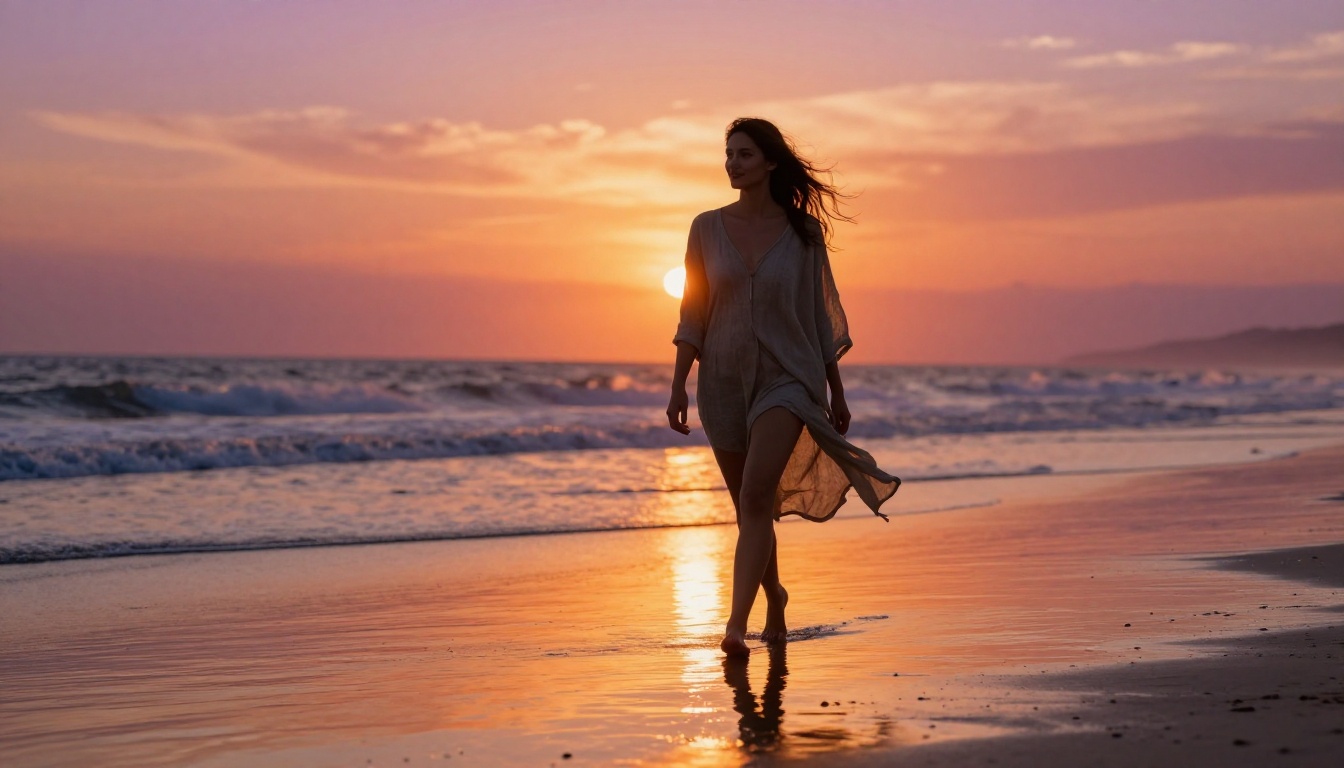
Golden hour backlit portraits carry a built-in warmth and organic quality that reads as authentic almost immediately. The warm rim light around the hair, the slightly hot highlights on bare skin, and the long directional shadows all signal "real outdoor photography" to the viewer's brain.
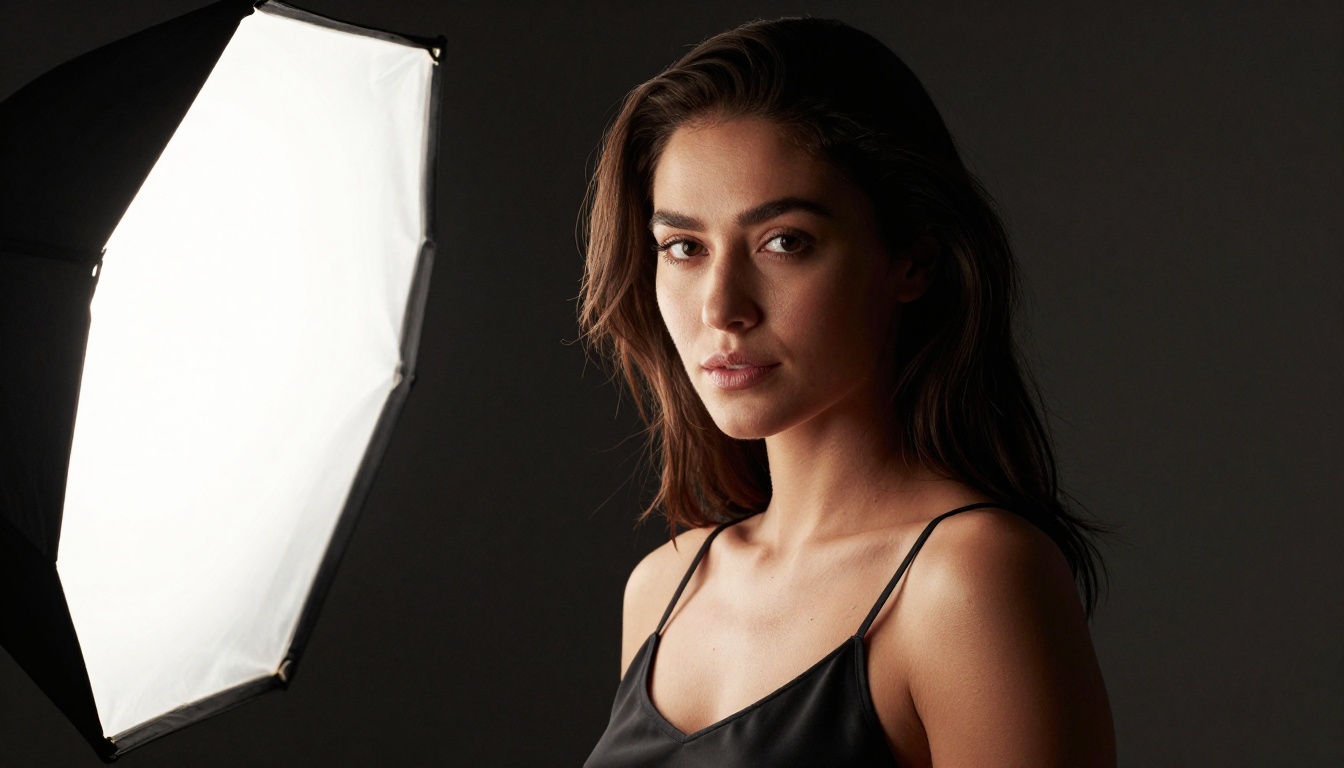
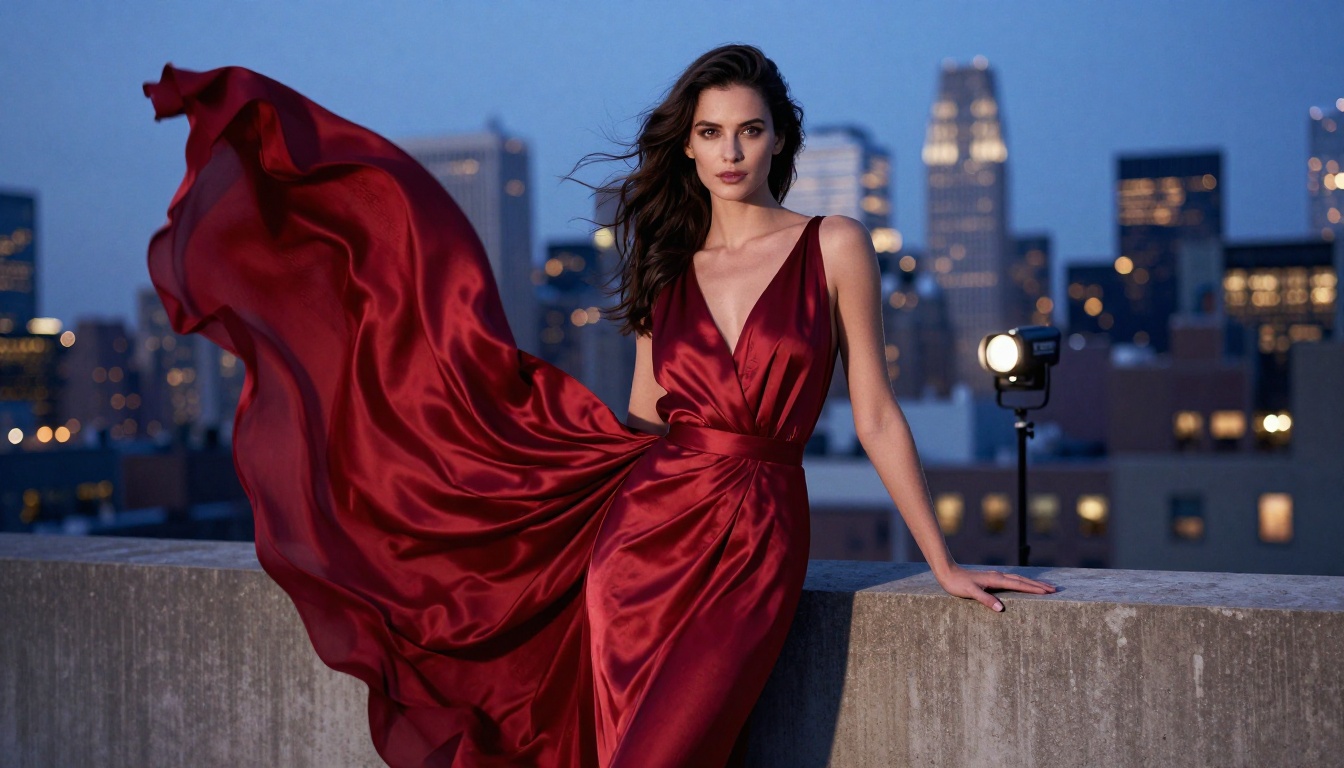
Studio setups offer more control but require precise language. "Soft natural light" tells the model nothing. "Single Westcott 7-foot parabolic umbrella, camera left, f/2.8 falloff, gray seamless background" produces something specific and believable. The more specific you are, the more the model has to work with.
Tips 4 and 5: Camera Specs and Depth of Field
Camera settings are not just technical metadata in a prompt. They are instructions about how the model should render spatial depth, sharpness falloff, and the relationship between subject and background.
Tip 4: Lens Focal Length Matters
Focal length determines how face and body are rendered in space:
35mm: Slight environmental perspective, great for full-body portraits with strong location context
50mm: Natural human-eye perspective, closest to how we actually see
135mm or longer: Strong telephoto compression, subject isolated dramatically, background becomes abstract color
For NSFW AI portraits, 85mm f/1.4 to f/1.8 is the sweet spot. It flatters naturally, creates beautiful bokeh, and renders skin proportions correctly. Add it explicitly: Canon 85mm f/1.4 portrait lens, shallow depth of field.
Tip 5: Bokeh Is Not Optional
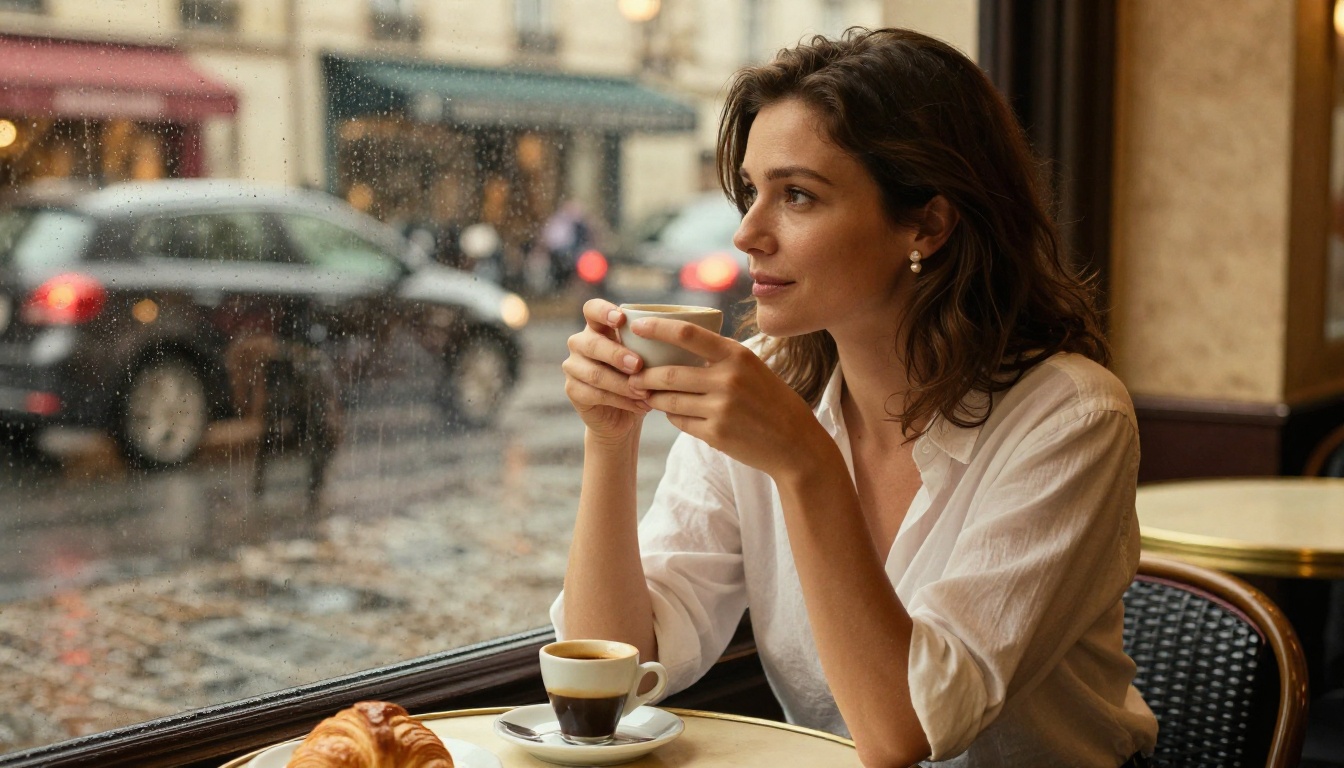
Background blur is one of the strongest visual cues for photographic authenticity. When the background is completely sharp, the image reads as a phone snapshot or wide-angle webcam shot. When it dissolves into soft organic blur, the brain interprets it as professional photography.
Prompt for bokeh directly: shallow depth of field, f/1.4 bokeh, subject in sharp focus, background blurred into smooth color fields, creamy out-of-focus background elements.
Also describe what is in the blurred background. "Soft bokeh of a warm-lit Parisian street three floors below" produces richer, more evocative blur than just "blurred background." Specificity in the background description pays off visually.
Tips 6 and 7: Skin Details and Super-Resolution
Getting the lighting and lens right handles the macro level of realism. These last two tips address the micro level: skin texture and final image quality.
Tip 6: Prompt for Real Skin
Real skin is not uniform. It has texture variations, color shifts, and small natural details that collectively make it believable. Add these phrases to every portrait prompt:
Imperfections: natural freckles, slight skin oiliness, fine facial hair, natural lip lines and hydration
Film references: Kodak Portra 400 grain, Fuji Provia texture, controlled fine film grain
💡 The most powerful skin texture phrase: natural pores visible, no airbrushing, Kodak Portra 400 film grain, subsurface scattering at jaw and ears, 8K RAW.
Subsurface scattering language is often the single detail that separates skin that looks real from skin that looks like painted rubber. The warmth glowing through thin skin at the ears and jaw is a specifically human quality that signals authenticity to every viewer. Use it every time.
Tip 7: Upscale Every Portrait
Even excellent generations benefit from post-processing upscaling. What looks sharp at 1024x576 often reveals soft edges and smeared micro-detail at full viewing size.
Recraft V4 and P-Image (PrunaAI) both fit naturally into super-resolution workflows on PicassoIA. The platform's upscaling tools can increase portrait resolution 2x to 4x while preserving and often sharpening skin texture, individual hair strands, and fine background elements. Run every final portrait through an upscale pass before final use.
💡 For faces specifically: upscaling adds the fine eyelash separation and lip texture detail that baseline generation often softens. It is not optional for professional-quality NSFW AI portraits.
The Best NSFW Models on PicassoIA
PicassoIA runs over 200 models, and a specific subset supports adult content without filters or restrictions. Here is the ranked list for realistic NSFW AI portrait work:
Image Generation Models
Seedream 4.5 — The top pick for NSFW portraits. Accepts adult content, supports image editing, generates in under 3 seconds. Do not use Seedream 5 Lite for adult content; it blocks NSFW.
PicassoIA Image Editor Pro — Unlimited generations on Elite and Infinite plans. 1,000 images at the cost of 10. Under 1 second per image. Free trial with no credit card.
Qwen Image 2 — Open-source model with no content restrictions, detailed realism for both editing and creation.
Grok Imagine Image — Converts any photo to alternative wardrobe formats (bikini, lingerie) with high realism.
Recraft V4 — Very realistic text-to-image results, no content filters.
P-Image (PrunaAI) — Fast NSFW text-to-image in under 1 second, great for rapid iteration.
Video Models (for animated portraits)
PicassoIA Video — Unlimited text-to-video generation at up to 720p and 5 seconds per clip.
P-Video (PrunaAI) — Text, image, or audio to video up to 1080p. Safety filter disabled by default.
Grok Imagine Video — Clips up to 15 seconds from text or a reference image, no watermarks.
LTX 2.3 Pro — The highest-fidelity option, up to 4K at 50fps, with retake and extend editing for precise control.
💡 Unlike mainstream platforms, PicassoIA gives creators full creative freedom with uncensored, high-performance models across image, video, audio, and editing. Browse the full catalog at picassoia.com/en/all-models.
How to Use Seedream 4.5 on PicassoIA
Seedream 4.5 is the recommended starting point for any realistic NSFW AI portrait project. Here is the exact workflow from first prompt to final image:
Step 2: Set your dimensions. For portraits, use a vertical aspect ratio. 2:3 or 9:16 works best for headshots and waist-up compositions. Use 16:9 for environmental portraits where the setting plays an important role. Portrait orientation gives the model more pixels for the face and body, improving skin detail rendering significantly.
Step 3: Build your prompt in layers. Start with an anchor phrase that establishes photographic quality:
Photorealistic portrait, 8K RAW, Kodak Portra 400, natural skin texture, visible pores, film grain, --style raw
Then add your specific subject, environment, and lighting details on top of that foundation. In the negative prompt field add: plastic skin, airbrushed, smooth skin, CGI, illustration, digital art, watermark.
Step 4: Iterate in PicassoIA Image Editor Pro. When a Seedream 4.5 generation hits close to what you want, take that image URL into PicassoIA Image Editor Pro for image-to-image refinement. Adjust lighting, wardrobe, or specific facial details. Since iterations are unlimited on Elite and Infinite plans, there is no cost to running 50 variations.
Step 5: Upscale the final result. Run your best output through PicassoIA's super-resolution tools to bring it to full print or display resolution. The upscaler preserves natural grain and skin texture while increasing resolution 2x to 4x, revealing detail that the base generation only hinted at.
The 7 Tips at a Glance
#
Tip
What to Do
1
Right Model
Use Seedream 4.5 for NSFW; iterate free with Image Editor Pro
2
Strong Prompts
Add camera specs, film stock, and negative prompts
3
Directional Light
Name the lighting pattern and specify direction
4
Lens Choice
Specify 85mm f/1.4 as your portrait default
5
Depth of Field
Prompt for shallow DOF and described bokeh elements
6
Skin Texture
Add pores, subsurface scattering, and film grain
7
Upscaling
Run every final portrait through super-resolution
Create Your First Real Portrait
The techniques above are the foundation, but the actual learning happens when you apply them and iterate. Models react differently to the same language. Seedream 4.5 responds strongly to film stock references. PicassoIA Image Editor Pro rewards very precise subject description. Every platform has its own character, and the only way to internalize that is to generate, compare, and adjust.
Start with Tip 1 and pick Seedream 4.5. Apply a layered prompt from Tip 2, use a named lighting pattern from Tip 3, specify 85mm f/1.4, and add subsurface scattering language for the skin. Run 10 variations, identify the best two, and put them through super-resolution. That workflow will produce results that look genuinely photorealistic rather than obviously artificial, and it will do so without expensive per-image credit costs.
The full catalog of uncensored image and video models, including everything discussed in this article, is available at picassoia.com/en/all-models. Create without limits.