Lighting is the difference between an AI portrait that looks like a stock photo reject and one that makes someone stop scrolling. Most people obsess over the subject, the background, and the model selection, ignoring the one thing that professional photographers spend years studying: how light shapes a face.
These 8 lighting setups work in AI portrait generation the same way they do in a real studio. Once you know how to describe them precisely in your prompts, every portrait you generate will carry the weight, dimension, and emotional presence that most AI images completely lack.
The Real Problem with Flat AI Portraits
Most AI portrait prompts look like this: "beautiful woman, studio background, high quality." The result? A perfectly average face with zero soul, no depth, and lighting that could have come from a fluorescent office ceiling.
The missing ingredient is always lighting.
Professional photographers use light to sculpt the human face. They control shadow direction to create depth and dimension, shadow ratio to set the emotional tone, catchlights to bring eyes to life, rim lights to separate subjects from backgrounds, and color temperature to evoke warmth or tension.
When you describe these elements in your AI prompts with the same precision a director of photography uses on a film set, the results shift dramatically.
💡 Always specify: light position in degrees, the modifier type (softbox, octabox, reflector), and a film stock reference. Kodak Portra 400 remains the benchmark for realistic skin tones in AI portrait prompting.
The 8 tricks below each address a different lighting pattern, with exact prompt structures you can adapt immediately.
Trick 1: Rembrandt Lighting
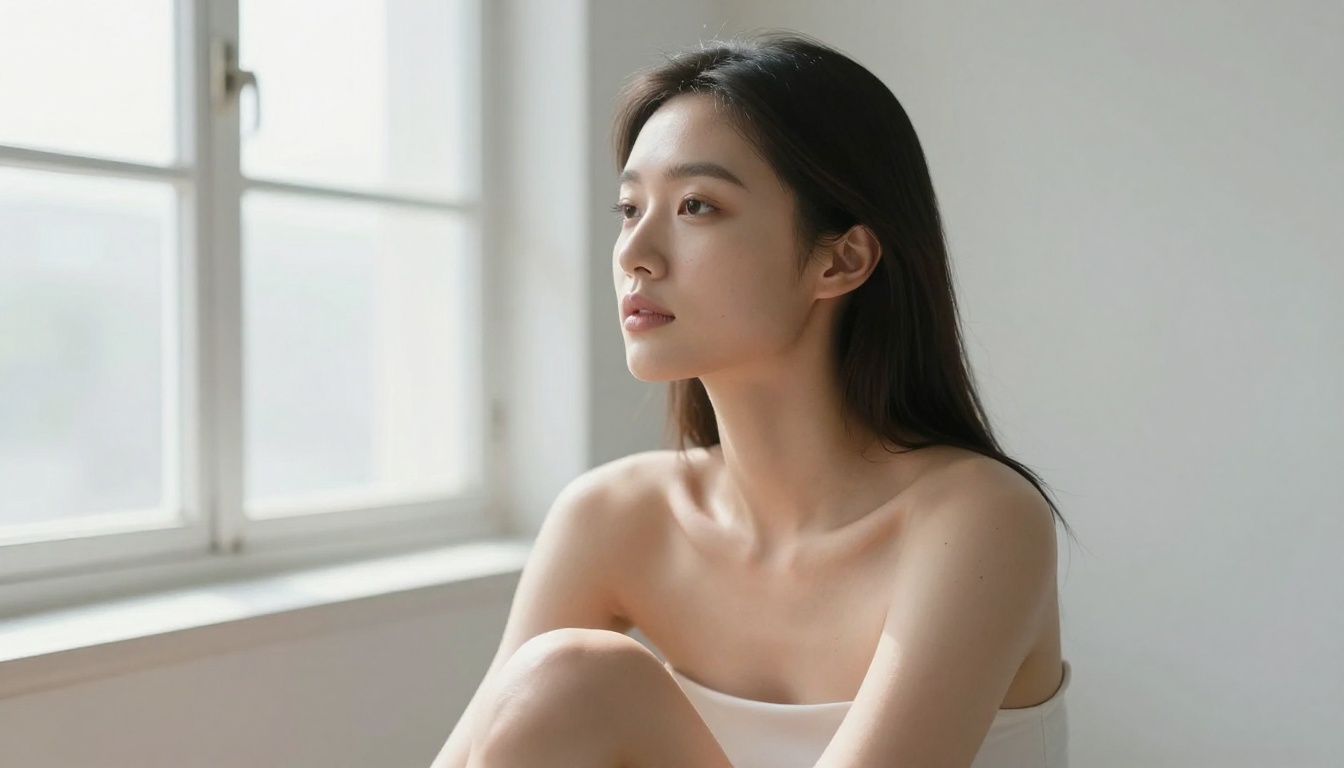
Rembrandt lighting is named after the Dutch master who used it in nearly every portrait he painted. The signature detail is a small triangle of light on the shadow side of the face, appearing just below the eye and above the cheekbone.
How it works: The main light sits 45 degrees to one side and roughly 30-45 degrees above eye level. Shadow falls across most of the far side of the face, with that triangle catching light just beneath the eye socket.
Why it works: The contrast ratio creates instant three-dimensional depth. A flat photograph reads as two-dimensional. A Rembrandt-lit portrait reads as sculptural because shadow actively carves out facial structure.
Prompt structure:
"Rembrandt lighting, single softbox positioned 45 degrees camera-left and 30 degrees above eye level, characteristic triangle of light on shadow-side cheek, deep shadow sculpting jawline and brow, 85mm f/1.4, Kodak Portra 400 film grain, photorealistic RAW 8K"
For this look, Seedream 5 Pro and Krea 2 Large on PicassoIA handle shadow gradients and the soft triangle detail with the most accuracy.
Trick 2: Window Light for Natural Softness
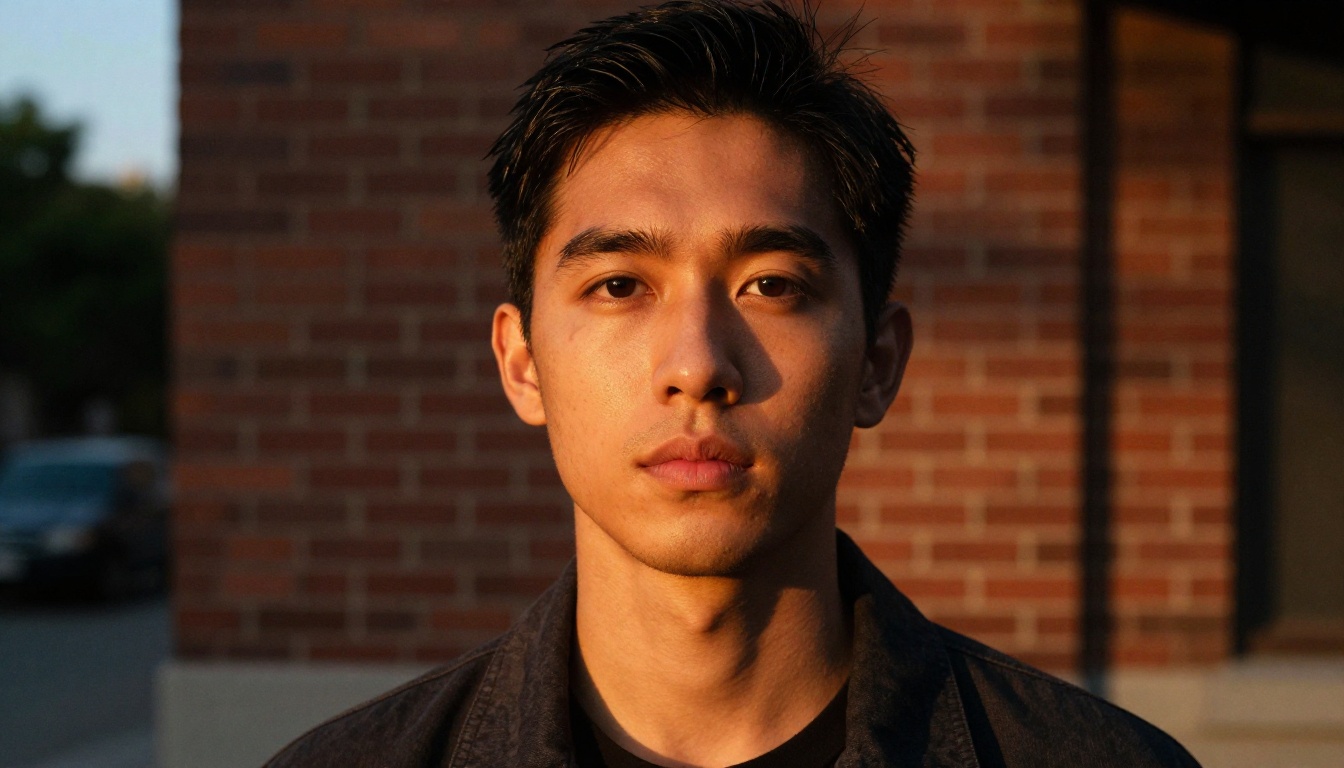
Window light is the most forgiving light source in portrait photography. An overcast sky turns any window into a massive natural softbox, wrapping light around the face with gradients so smooth they read as effortless.
The main variables:
| Variable | Effect |
|---|
| Window-to-subject distance | Closer produces softer light with faster falloff |
| Window size | Larger window gives broader, more even coverage |
| Time of day | Overcast gives flat wrap; morning gives direction |
| Reflector opposite window | Fills shadows on the dark side of the face |
Prompt structure:
"Large north-facing window light, subject positioned perpendicular to the window, overcast sky creating full diffusion, smooth gradients on porcelain skin with zero harsh shadows, Canon 50mm f/1.8 at eye level, cool daylight color temperature, Kodak Portra 400 film grain, photorealistic RAW 8K"
GPT Image 2 and Reve 2.1 both excel at rendering the smooth tonal gradients that define authentic window light.
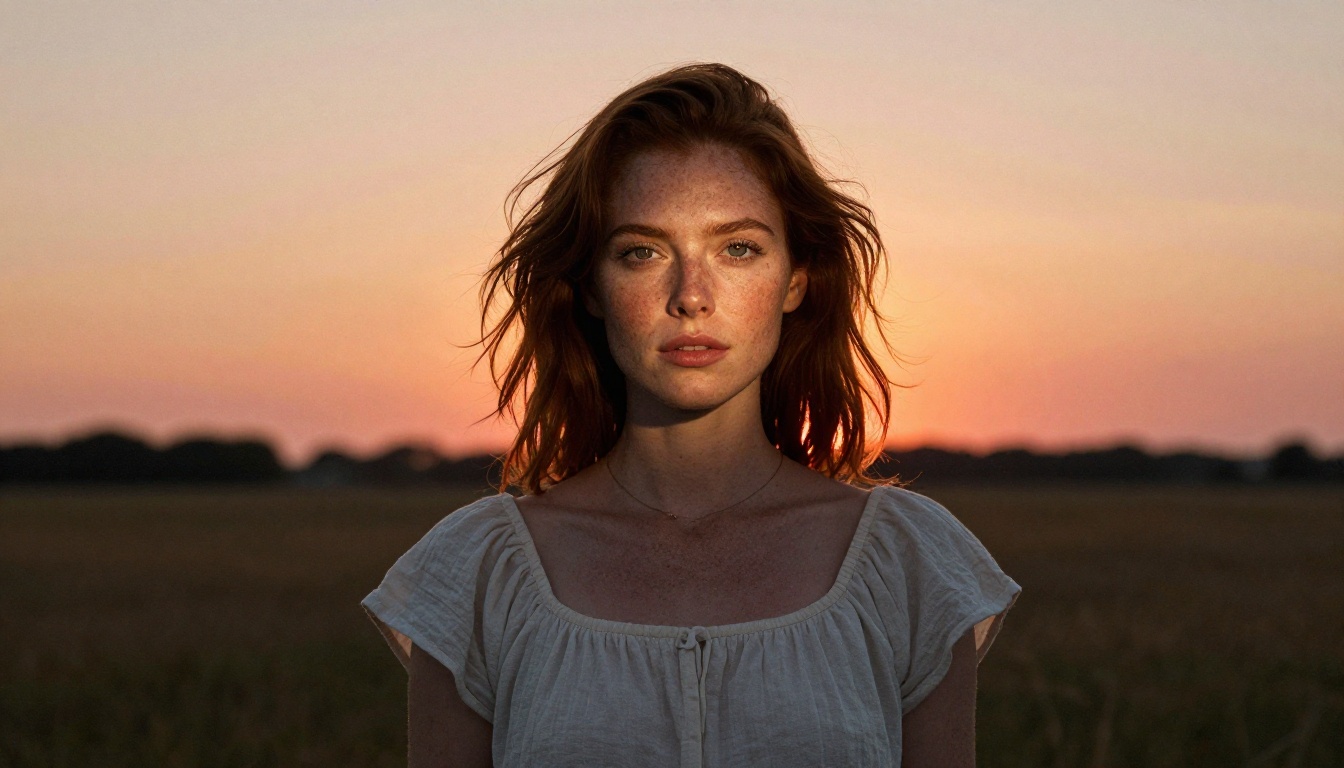
Trick 3: Golden Hour Rim Light
Golden hour lasts roughly 30 to 60 minutes after sunrise or before sunset. The sun sits low, warm, and directional. When positioned behind your subject, it creates a natural rim light that no studio strobe can fully replicate.
What makes it different from studio lighting:
- The low sun angle creates a long rim that traces the entire silhouette of the head and shoulders
- Warm 2200 to 3200K tones are inherently flattering on skin
- The open sky acts as an enormous fill light for the front of the face
- Atmospheric haze creates a natural sense of distance in the background
The critical prompt element is the sun's exact position relative to the subject:
"Low-angle golden hour sunlight from directly behind the subject, natural rim light halo creating separation, warm orange-amber tones, reflector fill on face from camera-front, shallow depth of field, 85mm f/2, bokeh background, Kodak Portra 400"
💡 For outdoor portraits with accurate environmental depth, Riverflow v2.5 Pro on PicassoIA delivers naturalistic atmospheric rendering that studio-based prompts rarely achieve.
Trick 4: Split Lighting for Maximum Drama
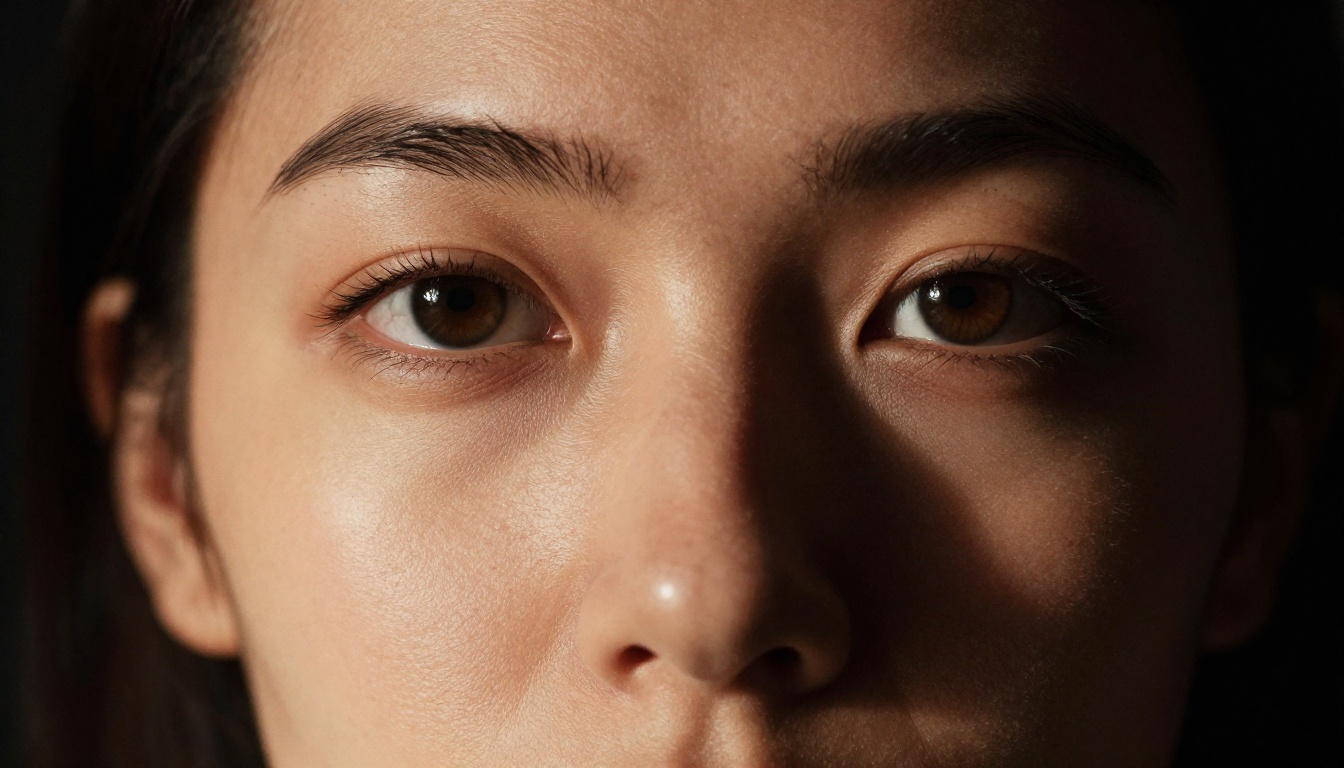
Split lighting places the main source at exactly 90 degrees to one side of the subject. Half the face is fully illuminated. Half descends into complete shadow. The result is the most dramatic lighting pattern available in portrait photography.
When split lighting is the right choice:
- Character portraits where intensity and tension define the image
- Conceptual portraits where visual duality carries meaning
- Fashion editorials demanding a strong, graphic, high-contrast look
- Any subject where shadow is meant to define rather than hide
The common mistake: Most people write "dramatic lighting" and accept whatever the model produces. The correct approach is surgical:
"Split lighting, main strobe at exactly 90 degrees camera-left, precisely half the face illuminated and half in deep shadow, minimal diffusion for harder light edge, dark background with no fill, Canon 85mm f/1.4 close-up, Kodak Portra 400 film grain"
The hard light in split setups also demands attention to skin texture in the illuminated zone. Run the result through Clarity Pro Upscaler to bring out every pore and eyelash in the lit half without over-sharpening.
Trick 5: Butterfly Lighting for Fashion
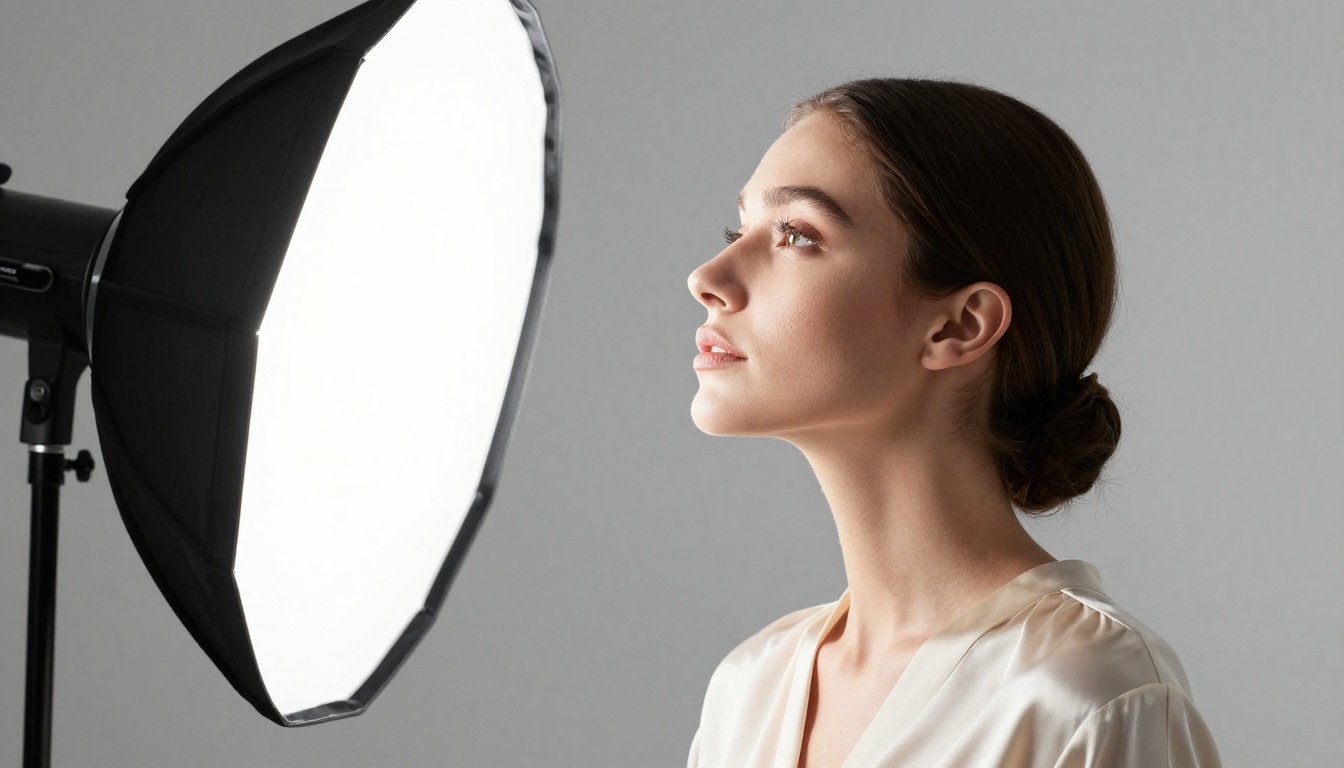
Butterfly lighting was the preferred setup for Hollywood glamour photography in the 1940s and 1950s. The main light sits directly above the camera aimed down at the subject's face at 30 to 45 degrees. The shadow falls directly beneath the nose in the characteristic butterfly-wing shape.
Why it flatters the face:
- The downward angle illuminates the cheekbones from above, making them appear more prominent and defined
- Symmetric placement creates visual balance and an elegant, editorial quality
- The nose shadow draws the viewer's eye upward toward the subject's eyes
- A reflector below adds specular sparkle to the lower eyelids
Prompt formula:
"Butterfly lighting, large octabox positioned directly above and in front of the subject, symmetrical illumination across both cheeks, characteristic butterfly-shaped shadow directly beneath nose, fill reflector below creating catchlights in lower eyelids, fashion editorial aesthetic, Canon 85mm f/1.8, Kodak Portra 400"
Ideogram v4 Quality and Recraft v4.1 Pro are particularly strong for the symmetric, high-fashion look that butterfly lighting produces, especially when combined with a clean seamless background.
Trick 6: Loop Lighting for Versatile Natural Results
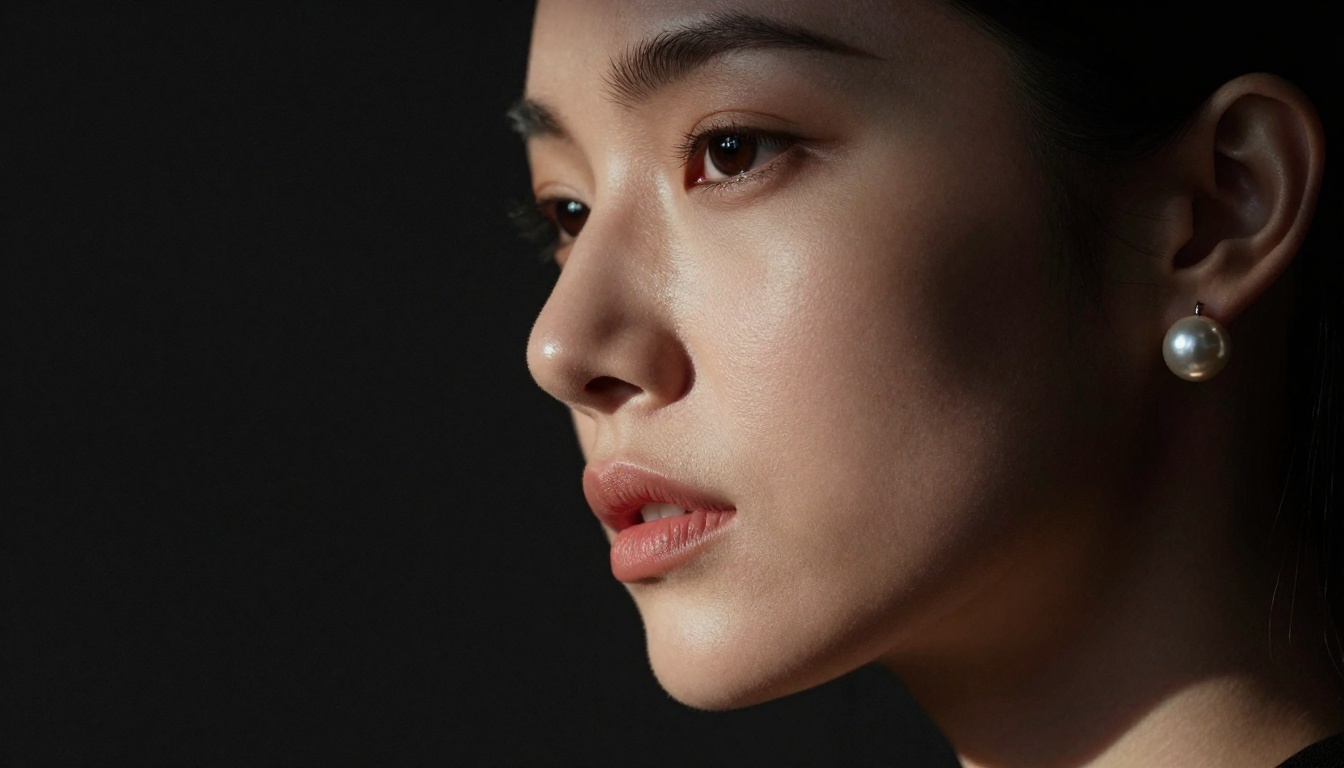
Loop lighting sits between Rembrandt and butterfly. The light is placed 30 to 45 degrees to one side and slightly above eye level. The nose shadow falls diagonally downward and does not quite reach the upper lip, creating a small loop shape.
Why loop lighting is the industry workhorse:
Loop lighting is the most versatile setup in portrait photography. It is flattering on nearly every face shape, natural-looking without appearing overly constructed, dimensional without being dramatic, and adaptable for both studio and location portraits.
This is the lighting style used in most commercial headshots, corporate portraits, and editorial features because it works on almost everyone without requiring significant adjustment.
Prompt structure:
"Loop lighting, main light at 30-45 degrees camera-left and slightly above eye level, small diagonal loop shadow from nose pointing downward toward the corner of the mouth, soft shadow edge, fill from camera-right at two stops below main, neutral gray background, 85mm f/1.4, Kodak Portra 400"
💡 When iterating on loop lighting variations, PicassoIA Image Editor Pro gives you unlimited generations. Adjust the angle in 15-degree increments across batches until the shadow loop lands exactly where you want it.
Trick 7: Flat Lighting to Reveal Skin Detail
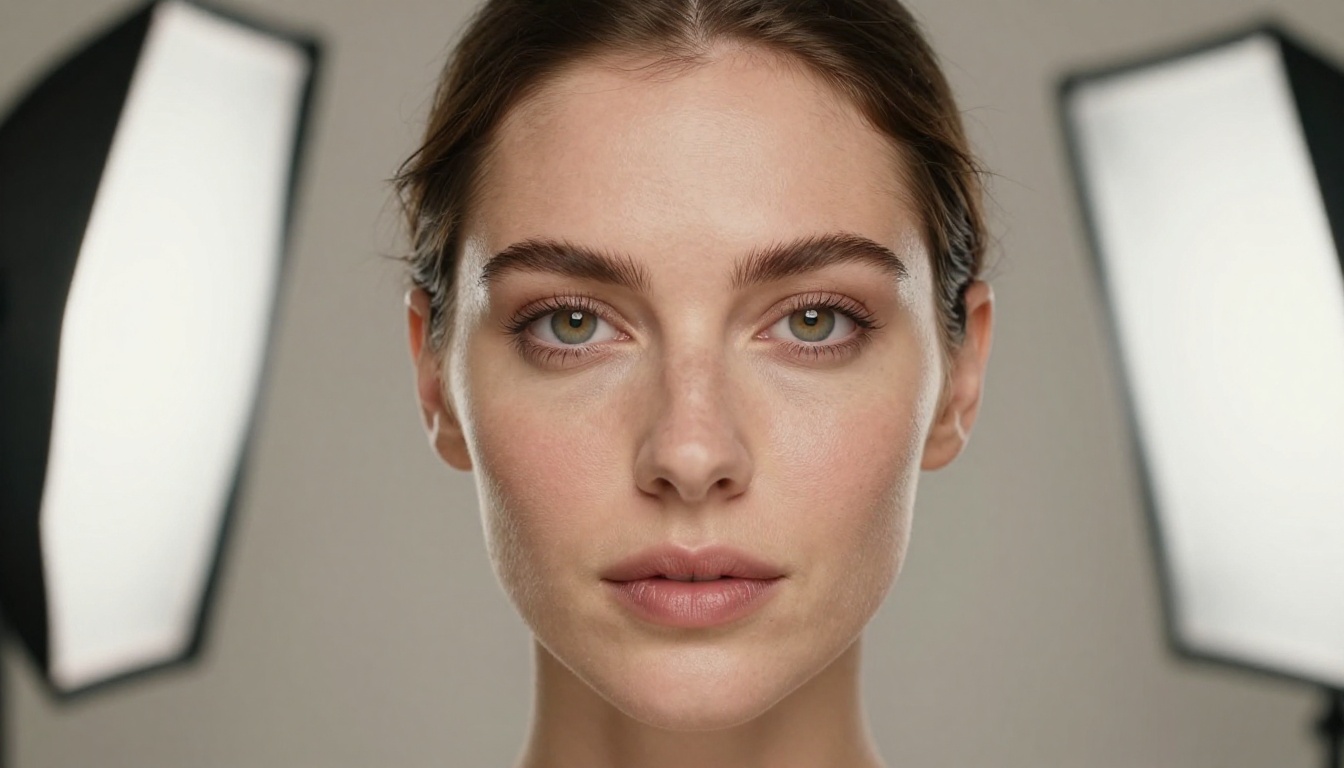
Flat lighting is often dismissed as dull, but it serves a specific purpose: maximum detail revelation. When the goal is clarity, texture capture, or a clinical, unfiltered presentation of the subject's face, flat lighting is the correct choice.
When flat lighting is the right call:
- Skin texture studies where visible pore detail is the entire point
- Before and after comparisons where neutrality matters above all
- Documentary or journalistic portrait aesthetics
- Cosmetics and beauty industry portraits where skin surface is the product
Two large softboxes placed symmetrically on either side of the camera, positioned as close to the lens axis as possible, produce near-shadowless illumination that reveals every surface detail.
Prompt formula:
"Flat lighting, two symmetrical large softboxes close to the lens axis on both sides of camera, minimal shadow depth, even illumination across entire face, maximum skin texture visibility including natural pores, Canon 100mm macro f/2.8, white seamless background, Kodak Portra 400 fine grain"
After generating with PicassoIA Image, run the result through Image Upscale by Topaz for up to 6x upscaling that preserves every micro-detail without introducing sharpening artifacts.
Trick 8: Practical Light for Mood and Intimacy
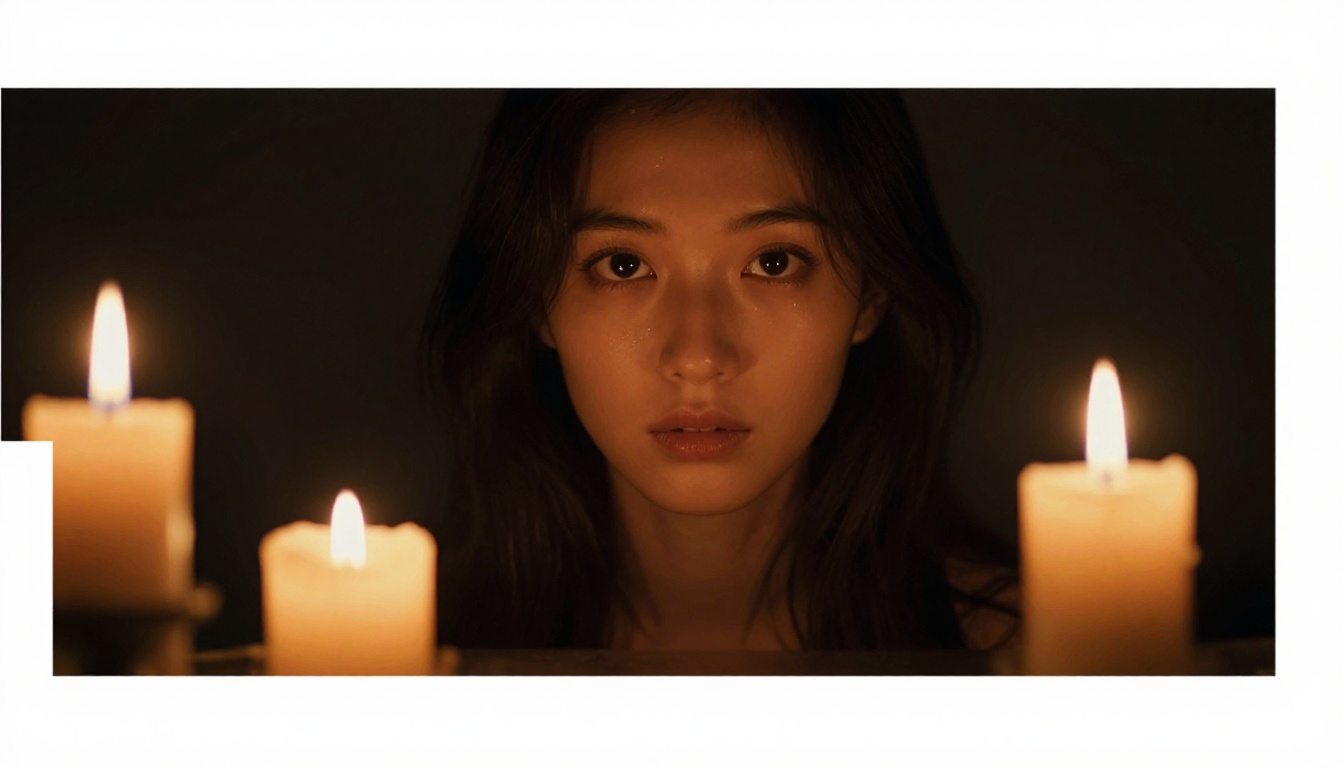
Practical lights are real light sources visible within the scene: candles, table lamps, fireplaces. Unlike studio setups, practical lighting is inherently imperfect, and that imperfection is exactly what makes it emotionally powerful.
Properties of practical lighting:
| Property | Effect |
|---|
| Low intensity | Forces wide apertures, producing shallow depth of field |
| Warm color temperature | 1800 to 2200K for candles; deeply intimate and organic |
| Natural inconsistency | Creates uneven zones the brain reads as authentic |
| Multiple sources at varying distances | Adds visual complexity and three-dimensional depth |
The emotional logic: Real studio lights produce a too-perfect gradient that reads as controlled. Practical lights produce uneven illumination that the brain processes as real. This is why candle-lit portraits feel intimate and film-lit portraits feel cinematic, while pure studio portraits can feel cold.
Prompt structure:
"Practical candle lighting as sole light source, multiple candles at varying distances creating uneven illumination zones, warm 1800K orange-amber color temperature, visible tiny flame reflections as catchlights in both pupils, deep shadow zones surrounding the subject, Canon 85mm f/1.2 at maximum aperture, Kodak Portra 400 film grain, photorealistic RAW 8K"
Three-Point Lighting: The Foundation Behind Every Setup
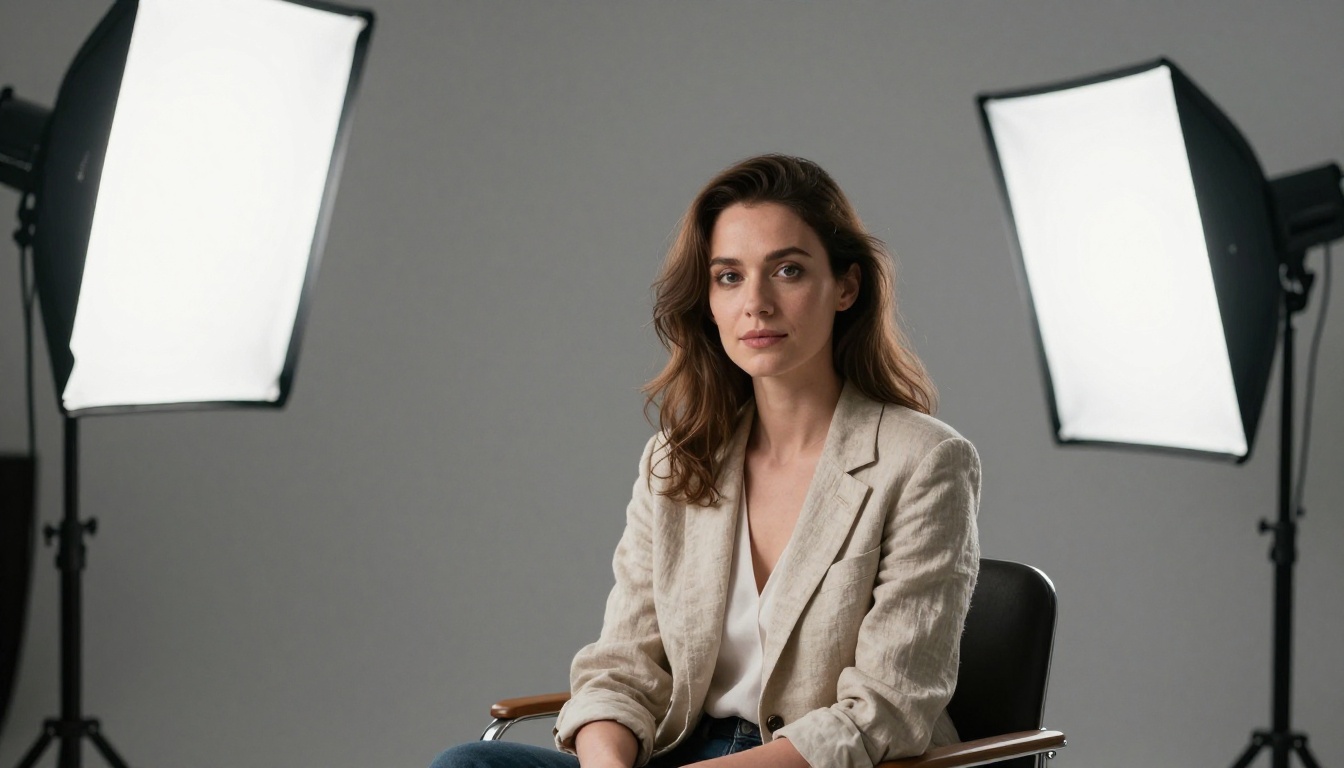
Before applying any of the 8 setups above, understanding three-point lighting gives you the vocabulary to combine and modify them with precision. Three-point lighting uses three distinct positions:
- Main Light: The primary and strongest source. Sets the lighting pattern and direction.
- Fill Light: Secondary source placed opposite the main. Reduces shadow depth without eliminating dimensional contrast.
- Hair Light: Positioned above and behind the subject. Creates a bright rim along the hair and shoulders, separating the subject from the background.
The ratio system:
| Main to Fill Ratio | Visual Result |
|---|
| 1:1 | Flat, broadcast-style illumination |
| 2:1 | Soft, flattering, commercial headshot |
| 4:1 | Dramatic, dimensional, editorial |
| 8:1 | High contrast, noir, cinematic |
Referencing these ratios directly in your prompts gives AI models precise instructions for shadow depth. "4:1 lighting ratio" tells the model significantly more than "dramatic lighting."
💡 Use Crystal Upscaler to bring generated portraits to 4x resolution, ideal for print output or social media hero images where detail retention matters.
What Separates Good Prompts from Precise Ones
The people who get the best portrait results from AI generators think like lighting directors. They do not write "beautiful portrait with good lighting." They write specifications.
The difference in practice:
| Weak element | Precise element |
|---|
| "Good lighting" | "Rembrandt lighting, softbox at 45° camera-left, 30° above" |
| "Studio background" | "Dark charcoal seamless, visible canvas texture" |
| "Photorealistic" | "Kodak Portra 400 film grain, 85mm f/1.4 shallow depth" |
| "Dramatic" | "8:1 main-to-fill ratio, deep shadow zones" |
| "Natural light" | "North-facing window, overcast sky diffusion" |
The more technically specific your prompt, the more control the model has to execute an accurate result. Vague language produces generic output. Specific lighting language produces photographs.
Models to try for AI portrait generation on PicassoIA:
After generating, upscale for print or high-resolution use:
Start Generating Portraits with Real Lighting Logic
The best portrait photographers alive spent years in dark studios moving lights one centimeter at a time. With AI portrait generation on PicassoIA, you do the same, through prompts, in seconds rather than hours.
Pick one of the 8 setups above. Apply the 5-part formula: subject description, lighting pattern name, light position and modifier, camera specifications, film stock reference. Generate a first batch on PicassoIA Image or any of the models listed above. Then iterate, shifting the light angle by 15 degrees at a time, adjusting the main-to-fill ratio, changing from a softbox to an octabox, until the portrait reads exactly the way a real studio shot would.
The people generating the most compelling AI portraits are not using better models than everyone else. They are using better lighting language. That gap closes the moment you start treating your prompts like a lighting diagram.


