You have a new jacket, a shirt line, or a thrift flip that needs a photo, and a studio session with a real model costs more than the garment itself. That is exactly the gap an AI clothes model fills. You upload a picture of the clothing, or describe it in words, and an image model produces a person wearing it, in a studio, on a street, or in a sunlit loft. The best part is that you can start for free. The catch is that "free" has edges, and knowing where they are saves hours of frustration.
This article covers what an AI clothes model actually is, which online tools are worth a try, how free plans are limited, and the prompts that give you believable fabric, fit, and light. It also shows which models on PicassoIA are worth running for fashion work.
What an AI Clothes Model Is
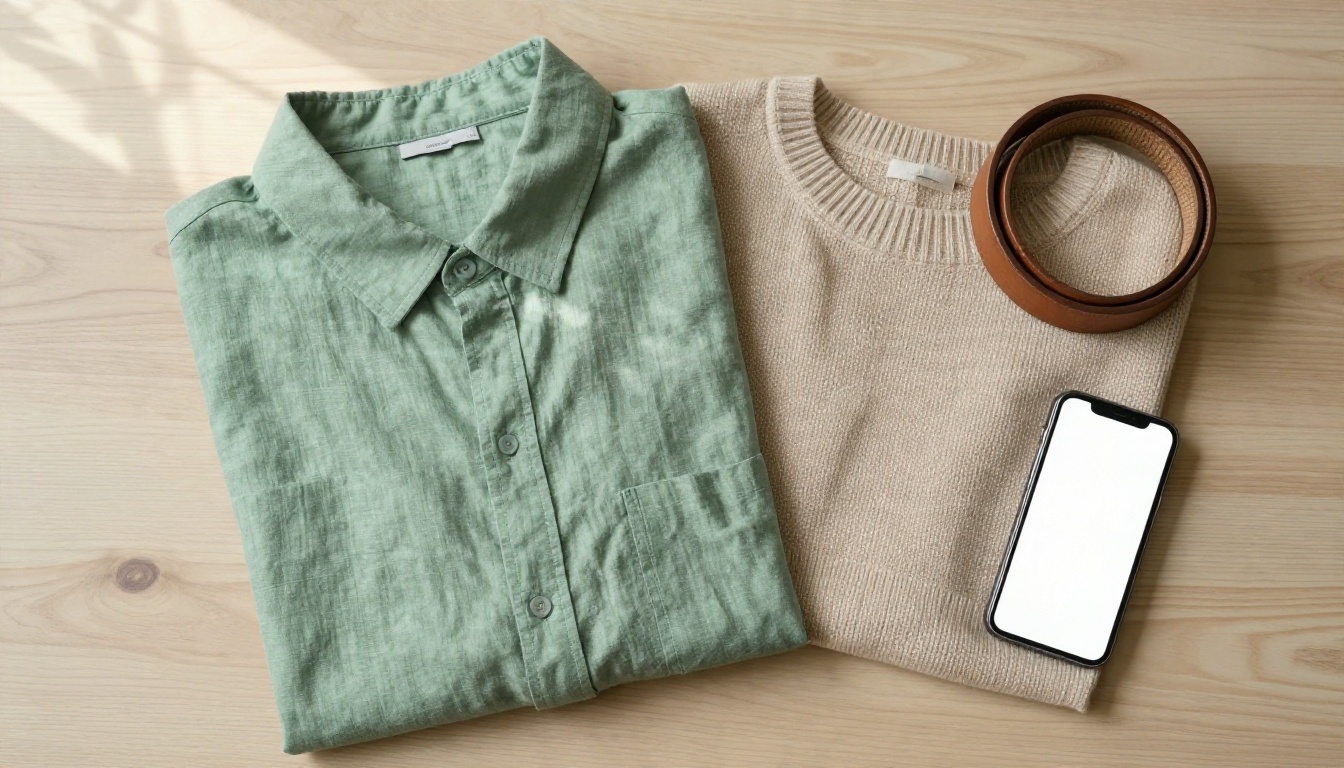
The phrase is used loosely, so it helps to separate the three things people usually mean.
Three things people mean
| Meaning | What you provide | What you get |
|---|
| Generated model wearing described clothes | A text prompt | A new person in an outfit you wrote out |
| Virtual try-on | A photo of a person plus a garment photo | The same person wearing the garment |
| Product to on-model photo | A flat lay or mannequin shot | A model wearing that exact product |
The first is the easiest and the most forgiving, because nothing has to match a real garment. The second and third are harder, because the output must keep your real fabric, color, and cut. Free tools handle the first well, and they handle the other two with mixed results.
Why brands use it
Small shops use an AI clothes model for the same reasons they once used rented studios: speed, variety, and cost. One flat lay can become a dozen looks across body types, settings, and seasons. A designer can test whether a color works before cutting any fabric. A seller on a marketplace can show a listing on a person instead of a hanger.
💡 Tip: AI model photos are strongest for concept testing, social posts, and mood boards. For legally sensitive claims such as exact color or sizing on a product page, always check the image against the real garment.
Dozens of sites advertise a free AI fashion model generator. Names that come up often include Botika, Pietra, Morphic, Claid.ai, Uwear, and WeShop. Their plans change often, so treat the notes below as a pattern, not a price list, and check each current page before you commit.
Typical free-tier limits
Across most of these tools, the free plan follows the same script.
| Limit | What it usually looks like | Why it matters |
|---|
| Credits | A small monthly or one-time batch, often around a few dozen images | You can test, but not build a catalog |
| Resolution | Capped at a lower size | Fine for social posts, soft for product zoom |
| Watermarks | Logo or text on the output | Blocks use in listings |
| Commercial use | Restricted or unclear | Risky for selling |
| Categories | Some tools accept only tops, bottoms, or dresses | Coats, swimwear, and sets may be unsupported |
| Prompt length | A few tools cap prompts at a short character count | Hard to describe light and pose |
One tool of this type advertises generation with no sign-up, but supports only a few garment categories. Another lists a free plan with a limited credit balance and a single user. These are reasonable trade-offs for a free product. They simply mean the plan is built for trying, not for production.
Tools people compare
Dedicated fashion tools such as Botika, Uwear, and Pietra focus on the product to on-model workflow. They give you pose menus, model presets, and background choices, which is faster than writing prompts. General image models give you more freedom but ask you to do the art direction yourself. On PicassoIA you get the second route with plenty of power, and you can run it many times because the editor is built for repeat use.
Red flags in "no limits" claims
If a page promises "no restrictions," read the fine print. Often the real question is which limits were removed while the garment still looks true to the product. Ask four things before you upload anything:
- Is there a watermark on free output?
- What is the maximum resolution?
- Can I use the images commercially?
- How many garments can I upload at once?
That last one matters more than it seems. Most generators fail to keep every detail when you feed them several garments in one request. One garment per generation gives far cleaner results.
Photos That Look Real
A photo reads as real when light, fabric, and skin agree with each other. When one of the three is off, viewers feel it before they can say why.
Start with a clean garment image
If you are using a try-on or product-to-model workflow, your input decides your output. Shoot or pick a garment photo with these traits:
- Plain, uncluttered background so the model does not blend it into the outfit
- Even light without hard shadows across the fabric
- Whole garment in frame, sleeves and hem included
- High resolution, because small print and stitching vanish in blurry inputs
- One garment only, unless you are testing a full outfit on purpose
Pick the right pose and light
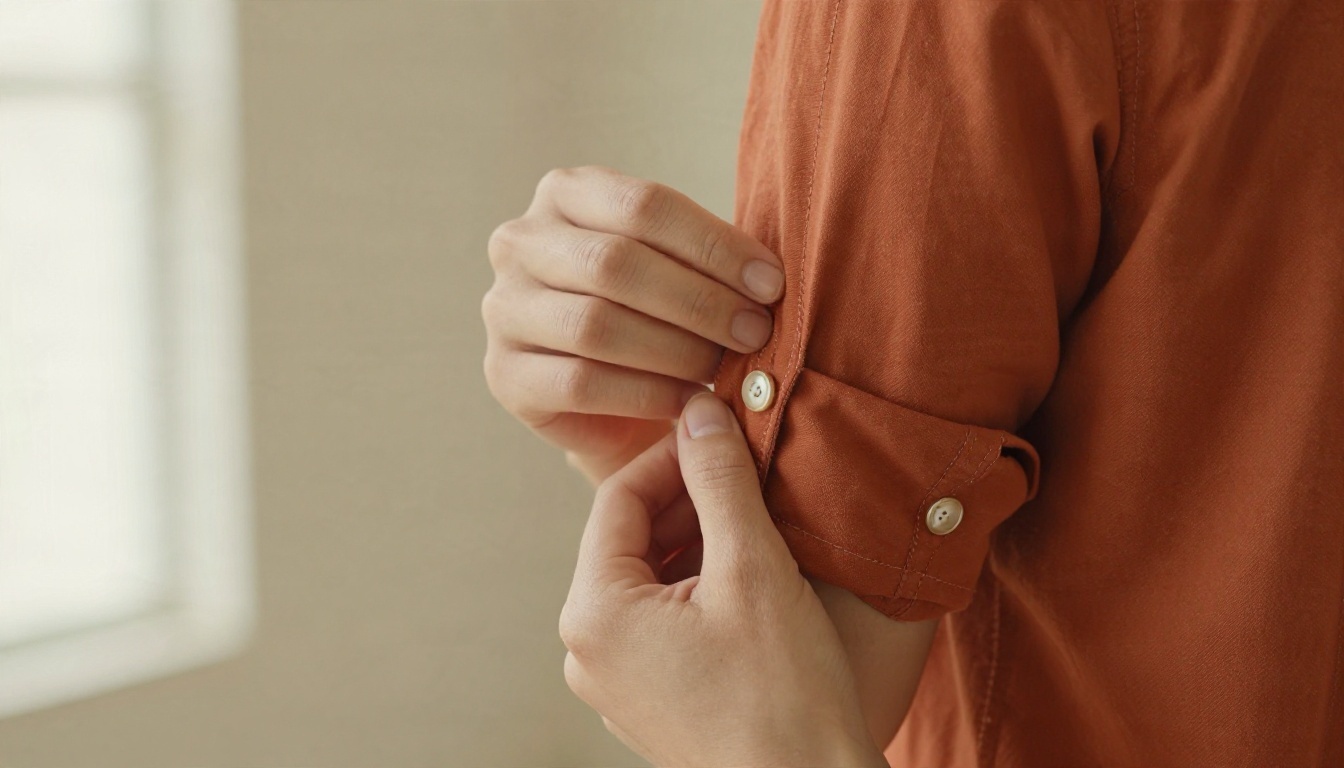
Pose changes how a garment hangs. A relaxed standing pose with a hand in a pocket shows structure in a blazer. A walking shot shows drape in trousers and coats. A close-up of the cuff, like the one above, sells fabric quality in a way a full-body shot cannot.
For light, soft window daylight from one side is the safest choice. It gives gentle shadows in the folds and keeps skin tones natural. Hard flash look, glowing edges, or over-smooth skin are the fastest ways to expose a fake.
💡 Tip: Describe the lens and the light in your prompt. Phrases such as "85mm lens, soft window light from the left" push the image toward real photography.
Prompts That Work
Prompts for an AI clothes model work best when they read like a photographer's shot list. Start with the subject, then the garment, the setting, the light, and the camera.
A prompt formula
Use this order:
[Who] + [garment with fabric and color] + [pose] + [setting] + [light direction] + [lens and film look]
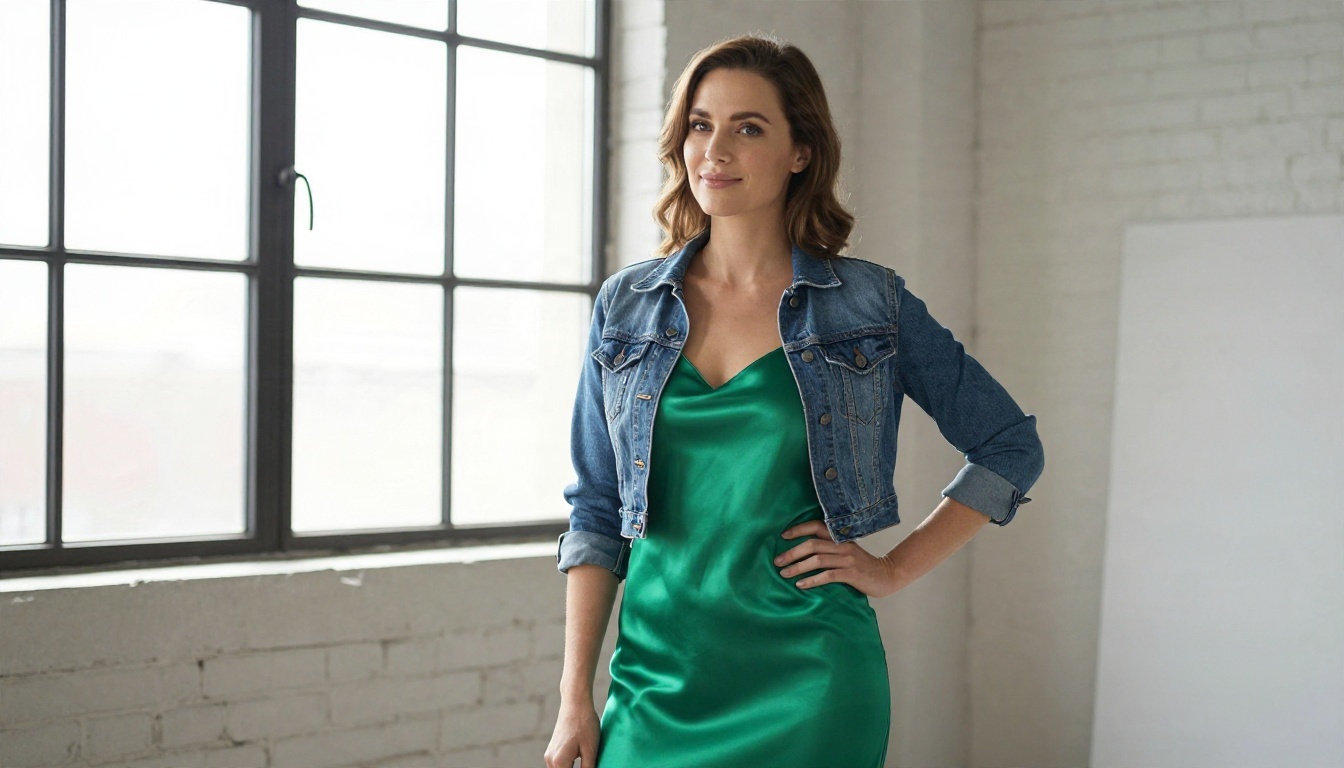
Garment detail is the part most people skip. "A dress" gives you any dress. "An emerald green satin slip dress with thin straps and a cropped denim jacket" gives you something you can compare to your product.
Five copy-ready prompts
Swap in your own colors and materials.
- Studio lookbook: "A woman in an oatmeal wool blazer over a white cotton tee and straight-leg denim, one hand in pocket, seamless off-white backdrop, soft window light from the left, 85mm f/1.8, natural skin texture, Kodak Portra 400 film grain."
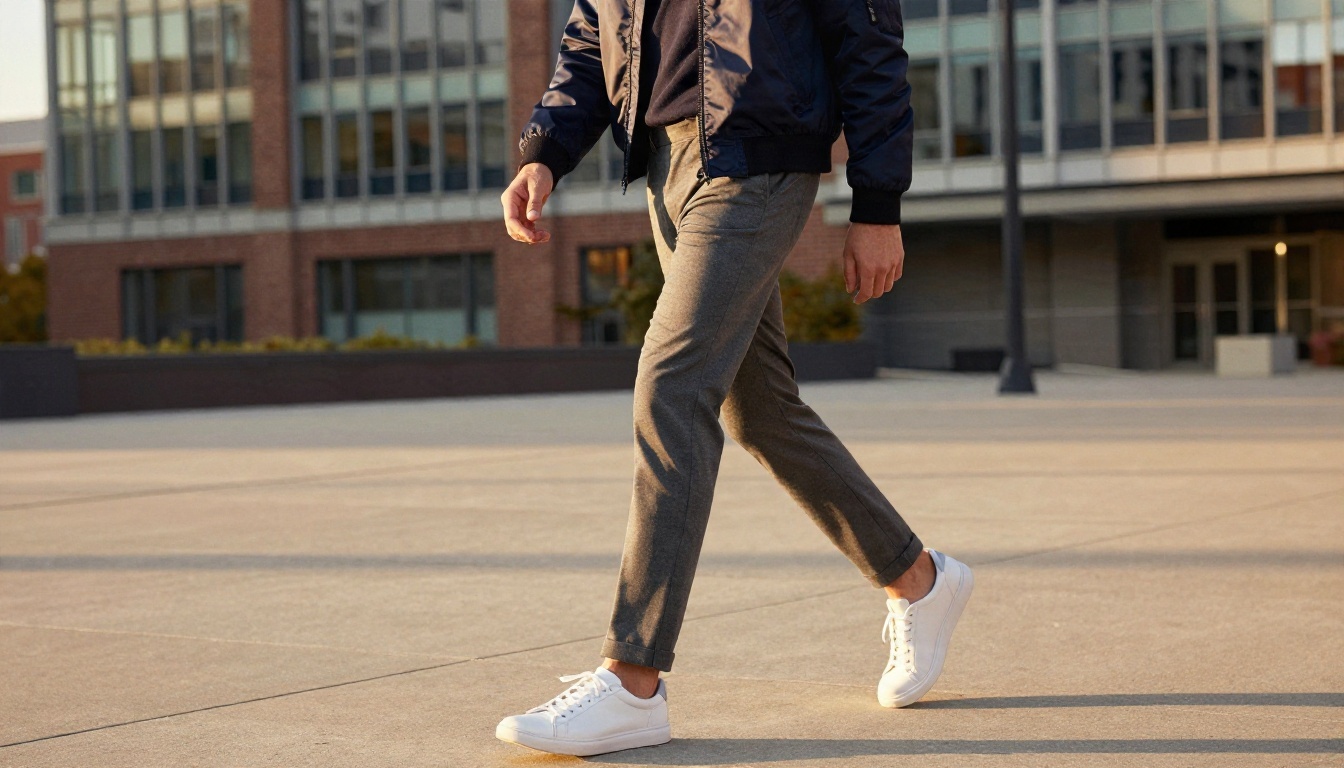
- Street style: "A man walking in a navy nylon bomber jacket, grey tapered trousers and white leather sneakers, concrete plaza, golden late afternoon light from the right, 35mm lens, low angle."
- Outerwear: "A woman in a camel trench coat with the belt tied, quiet cobblestone street, overcast sky light, 135mm lens, visible gabardine weave."
- Fabric close-up: "Close-up of a rust-orange cotton poplin shirt cuff, mother-of-pearl buttons, visible stitching, soft side light, 100mm macro."
- Size range: "Three models of different sizes in matching cream knit sets, white studio, even soft light, 50mm lens at chest height."
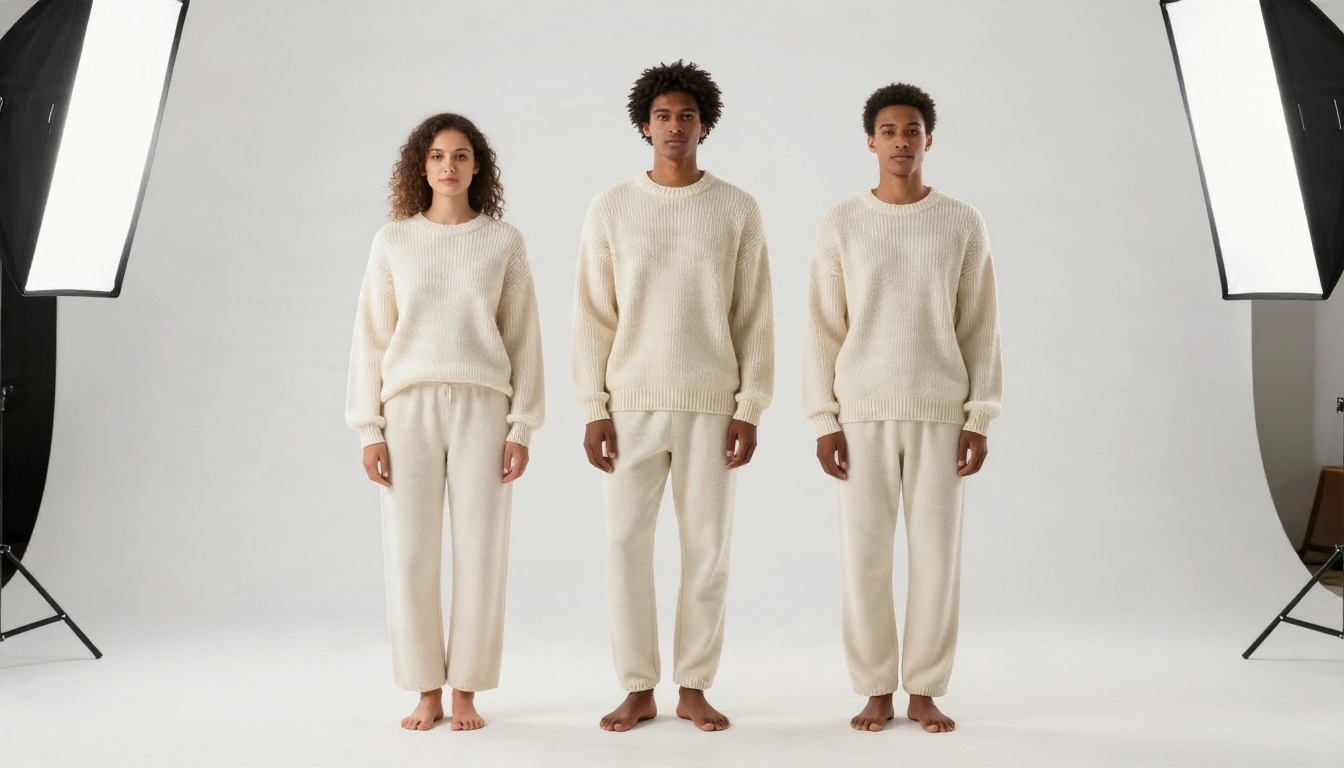
The last prompt matters for a practical reason. Showing the same garment on several body types is one of the most useful things an AI clothes model can do, because it is the shoot that costs the most with real people.
Common prompt mistakes
- Vague garments. "Nice outfit" gives random clothes.
- Too many items. Five garments in one prompt means at least two will be wrong.
- No light direction. The result drifts toward flat, plastic lighting.
- Style words that clash. Mixing "editorial," "cartoon," and "glowing" confuses the output.
- Asking for text on clothing. Logos and slogans often come out garbled. Add them later in an editor.
Models on PicassoIA Worth Running
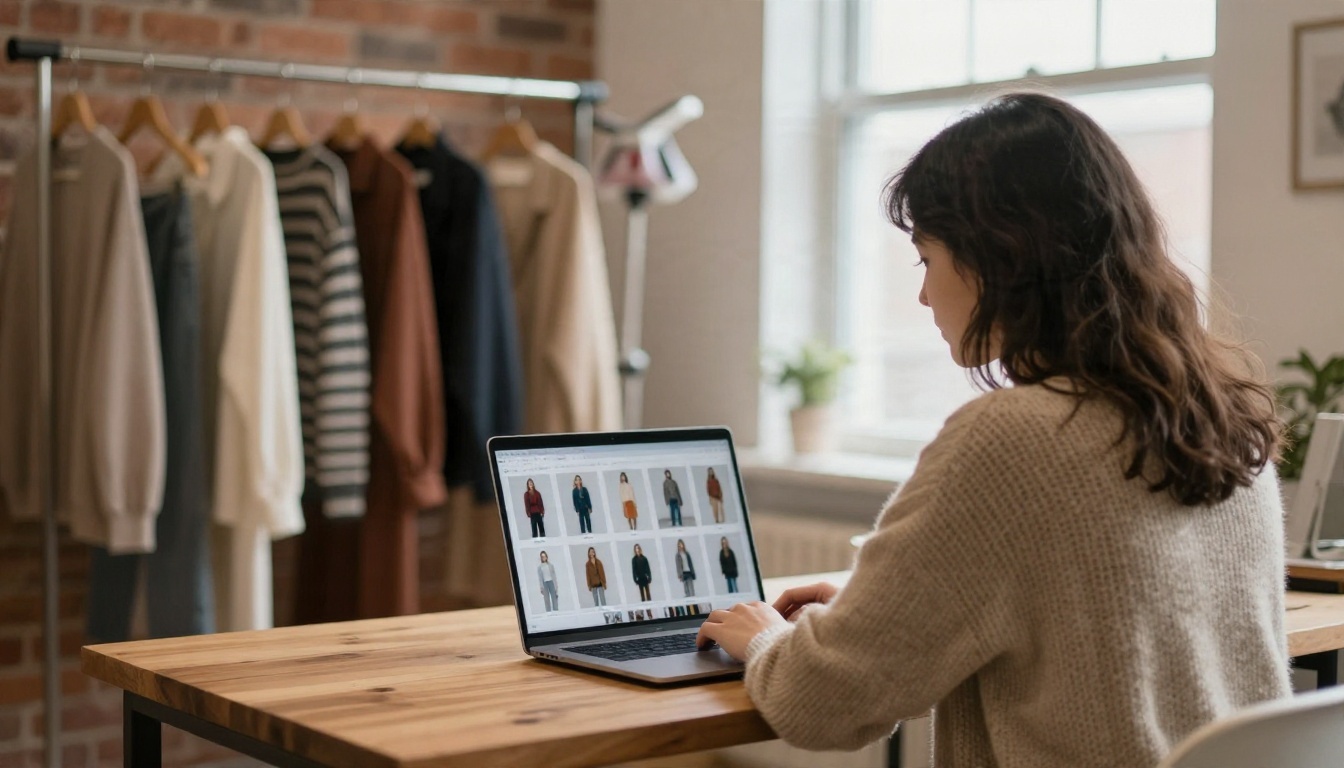
PicassoIA gives you several routes to a clothes model photo without installing anything. Here is where each model fits.
| Model | Best for | Why it fits |
|---|
| Seedream 4.5 | Generating a model in an outfit from text | Sharp detail and strong fabric rendering |
| Nano Banana Pro | High-resolution lookbook shots | Clean skin and consistent lighting |
| Nano Banana | Quick edits and outfit swaps | Good at changing clothes while keeping the person |
| P Image Try On | Putting a garment on a person | Built for the try-on job |
| PicassoIA Image Editor Pro | Unlimited edits and retries | Lets you iterate without counting credits |
| Flux Kontext Fast | Fast instruction-based changes | Change color or background in one sentence |
| Qwen Image Edit Plus | Multi-image edits | Handles a person plus a garment reference |
| Qwen Image 3 Pro | Photorealistic generation | Natural portraits and clean environments |
If you want volume without watching a counter, PicassoIA Image Editor Pro is the place to start, since you can retry a pose or a color as often as you need.
A five-step try-on workflow
Here is a simple way to turn one garment into a usable model photo with P Image Try On.
- Prepare the garment photo. Use a flat lay or mannequin shot on a plain background, one item only.
- Pick a person photo. Choose a clear, front-facing image with arms visible and neutral posture, or generate one first with Seedream 4.5.
- Run the try-on. Upload both images and generate. Keep your first prompt short.
- Fix the details. If the sleeve length or color is off, use Flux Kontext Fast with an instruction like "make the sleeves long and keep the same fabric."
- Change the scene. Use Nano Banana to move the same person into a street, a cafe, or a studio.
💡 Tip: Generate three or four versions of each shot. Pick the one where the hands, collar, and hem look right, and discard the rest. Even strong models miss on one detail per image.
For a lighter, open-style option that runs fast, Flux 2 Klein 4B Base is also worth a test when you only need quick concept images.
Limits You Should Expect
Even with good prompts, an AI clothes model has real limits. Planning around them keeps the results useful.
Fabric and print accuracy
Plain colors and simple weaves come out well. Small prints, plaids, lace, and sequins are harder. Patterns may drift, stripes may bend, and logos may turn into near-text. If your product depends on a precise print, use the AI photo for mood and context, and show the true print in a separate flat shot.
Hands, sizing, and fit
Hands, fingers, and jewelry still cause trouble in some outputs. Fit is a bigger issue. A model image does not prove that a size M fits the way it appears. Be careful about implying measurements the picture cannot support, and add a size chart to your listing.
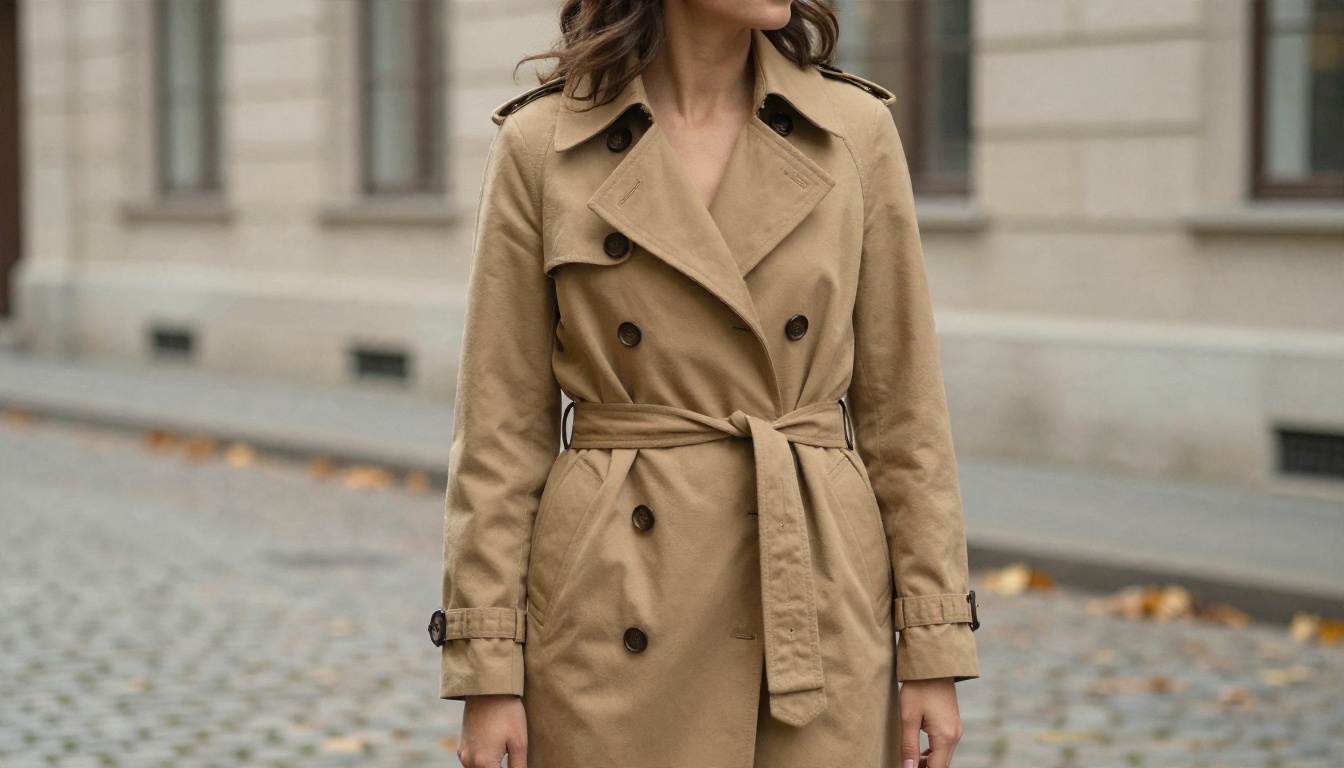
Structured outerwear like the trench coat above is a good test of fit. Check shoulder seams, belt placement, and the hem against your real product before posting.
Rights and disclosure
Three simple rules keep you out of trouble:
- Check the plan's commercial terms. Free output is sometimes limited to personal use.
- Do not copy a real person's face or a known model. Use generated people.
- Say that images are AI generated when a platform or local rule asks for it, and never present them as photos of the actual product on a real shoot.
Here is a quick comparison to keep the trade-offs in view.
| Factor | Free AI clothes model | Real studio shoot |
|---|
| Cost per image | Near zero | High |
| Speed | Seconds to minutes | Days to weeks |
| Variety of models and scenes | Nearly unlimited | Limited by budget |
| Exact fabric accuracy | Good, not guaranteed | Exact |
| Fit proof | Not reliable | Reliable on real bodies |
| Best use | Concepts, social, mood boards | Final product pages |
Make Your First Clothes Model Photo
You do not need a studio, a budget, or a model release to see how your clothes look on a person. Pick one garment, write a prompt that names the fabric, the light, and the lens, and generate a few versions. Compare them against the real piece, keep the best, and adjust the weak spots with an editor.
A good first session looks like this: run a text prompt in Seedream 4.5, try your garment photo in P Image Try On, then polish colors and backgrounds in PicassoIA Image Editor Pro. Within an hour you can have a lookbook of different settings and body types.
Ready to see your own clothing on a model? Open Picasso IA, paste one of the prompts above, change the garment to yours, and press generate. Browse every available model at picassoia.com/en/all-models and keep experimenting until the photos look like the shoot you wanted.


