Every project hits the same wall sooner or later: you need a face. Not a famous one, not a licensed one, just a believable human who looks like they exist. A novelist needs a villain's portrait for a pitch deck. A game designer needs forty townsfolk. A UX team needs avatars for a dashboard mockup that doesn't look like it was built in 2012. An AI face generator random tool solves that in seconds, and in 2026 the results are good enough that most people can't tell them from a studio photograph.
This article walks through how random face generation actually works, which prompts produce real skin instead of plastic, which models on Picasso IA handle portraits best, and how to build a cast of characters that stays consistent across a whole project. Everything here is free to try, and every photo in the article was generated with AI.
What a Random AI Face Generator Does
A random face generator creates a portrait of a person who has never existed. There's no source photo, no hidden database of real people being remixed. A text-to-image model has learned what faces look like from millions of examples, and it assembles a new one from your description, plus a random seed that nudges the result in a different direction every time.
That's the whole trick. Change the seed, change the face. Keep the prompt and the seed, and you get the same person again.
Random vs. Directed Generation
There are two ways people use these tools, and they feel quite different:
- Fully random: you type something short like "portrait of a person, natural light" and let the model surprise you. Great for brainstorming and for filling background crowds.
- Directed random: you fix some traits (age range, setting, lighting) and leave others open. This is what most professionals do, because it gives variety inside a controlled look.
💡 Tip: If you want variety without chaos, lock the camera and lighting in your prompt and only vary the person. The faces will differ, but the whole set will look like it came from one photoshoot.
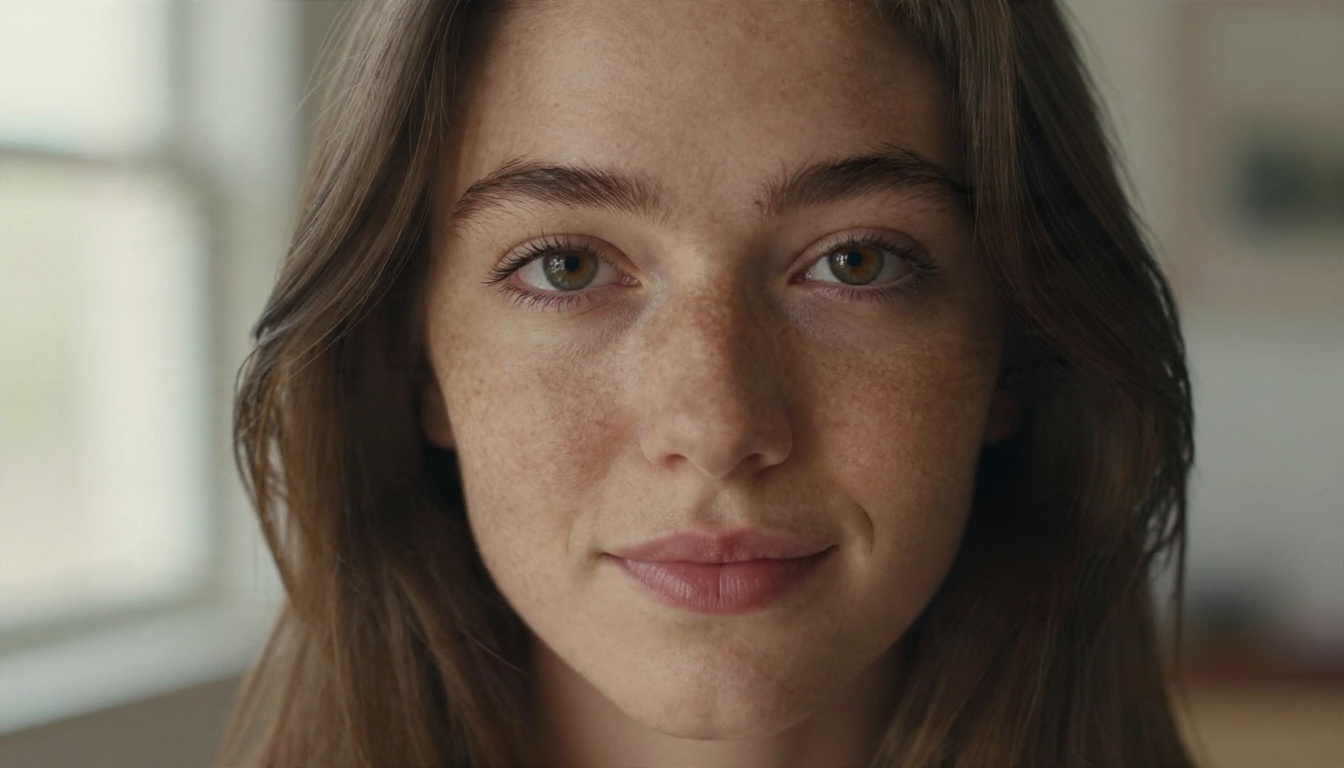
Why Faces Look Real Now
Older generators produced the classic tells: glassy eyes, waxy skin, mismatched earrings, hair that melted into the background. Current models render pores, peach fuzz, uneven skin tone and the tiny asymmetries that make a face feel alive. The portrait above has none of the airbrushed gloss people associate with "AI faces". That change came from better training data, larger models and much better text understanding, so a prompt about freckles and window light is actually followed.
Who Needs Random Faces
The use cases are broader than most people expect. Here are the ones that come up again and again:
| Use case | What you need | Typical prompt focus |
|---|
| Novel and screenplay characters | One strong portrait per character | Age, mood, clothing, setting |
| Game NPCs and tabletop RPGs | Dozens of distinct faces | Variety in age, ethnicity, hairstyle |
| UI mockups and avatars | Small, clean headshots | Neutral background, even lighting |
| Marketing and landing pages | Believable "customer" photos | Candid expression, natural setting |
| Storyboards and mood boards | Faces that match a tone | Lighting and colour palette |
| Privacy-safe demos | People who aren't real | Plain portraits, no props |
Characters for Stories and Games
Writers often describe a character for pages and still can't picture them. A generated portrait fixes that. Take the weathered fisherman below: grey beard, deep wrinkles, navy wool cap, harbour mist behind him. Once you see him, you know how he talks, and you can write him.
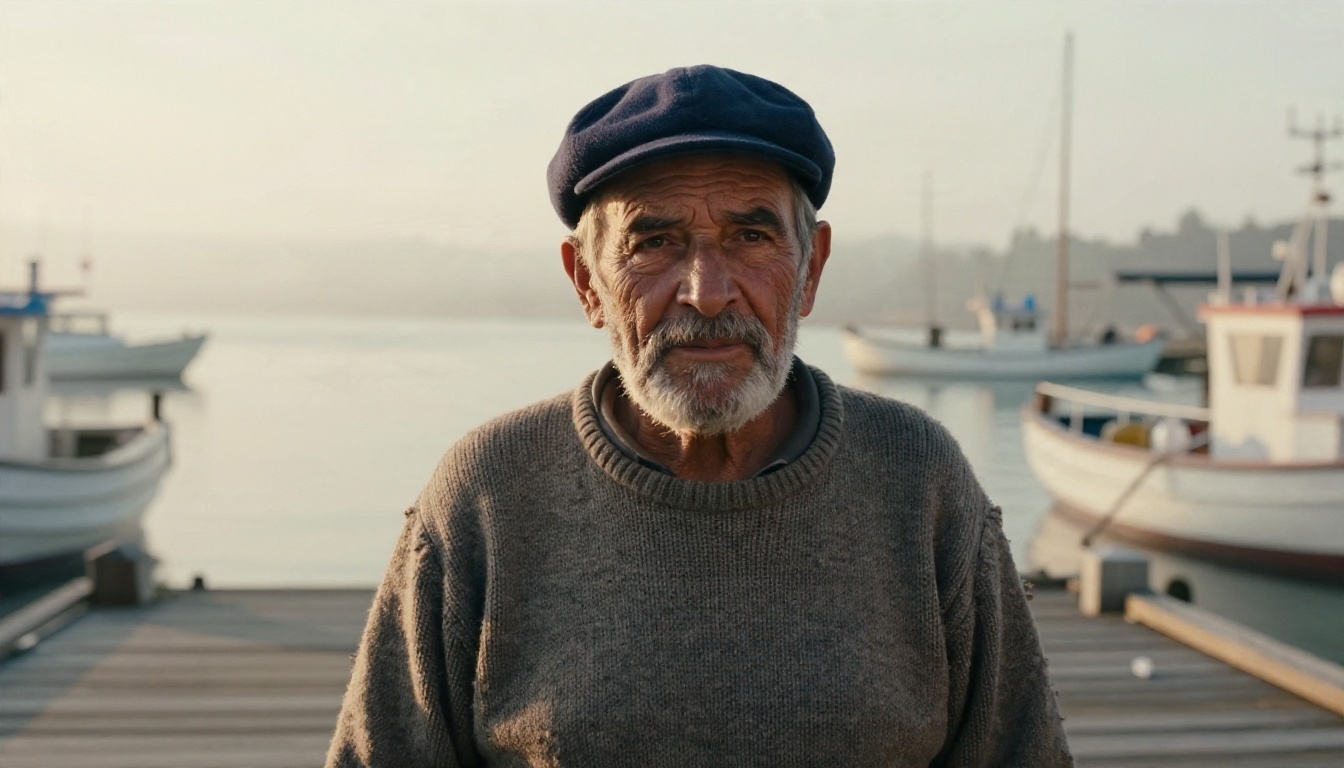
Game developers use the same approach at scale. Generate thirty faces, pick the best twelve, and you have a village.
Mockups, Avatars and Demos
Design teams used to rely on stock photo sites or the same three tired placeholder avatars. Random AI faces let you populate a profile page, a testimonial strip or a chat app with people who feel real, and you never have to worry about a model release or a photo showing up in a competitor's pitch.
💡 Tip: For avatars, ask for a plain, slightly out-of-focus background and a centred face. Cropping to a square later is painless.
The Prompt Recipe for Realistic Faces
Most bad AI faces come from lazy prompts. "Beautiful woman, ultra detailed, 8k" gives you the same smooth, symmetrical stranger every time. A photographer's vocabulary works far better. Describe the person, then describe the photograph.
Describe the Person
Give the model concrete, physical details:
- Age range: "in her late twenties", "in his sixties".
- Skin: "visible pores", "fine peach fuzz", "light freckles", "deep laugh lines".
- Hair: colour, length, how it falls ("tousled", "pulled back", "short natural curls").
- Expression: "calm", "caught mid-laugh", "serious and thoughtful". Avoid "perfect smile".
- Small flaws: a mole, a chipped tooth, a slightly crooked nose. Imperfection sells realism.
Describe the Camera
This is where realism really comes from. Name the lens, the light and the film look:
- Lens: 85mm f/1.8 for flattering portraits, 35mm for candid street feel, 100mm macro for skin detail.
- Light: "soft window light from the left", "overcast diffused daylight", "warm lamp from the right with cool window fill".
- Film look: "Kodak Portra 400, subtle film grain" gives creamy skin tones without a heavy filter.
- Depth of field: "shallow depth of field" blurs the background and focuses attention on the eyes.
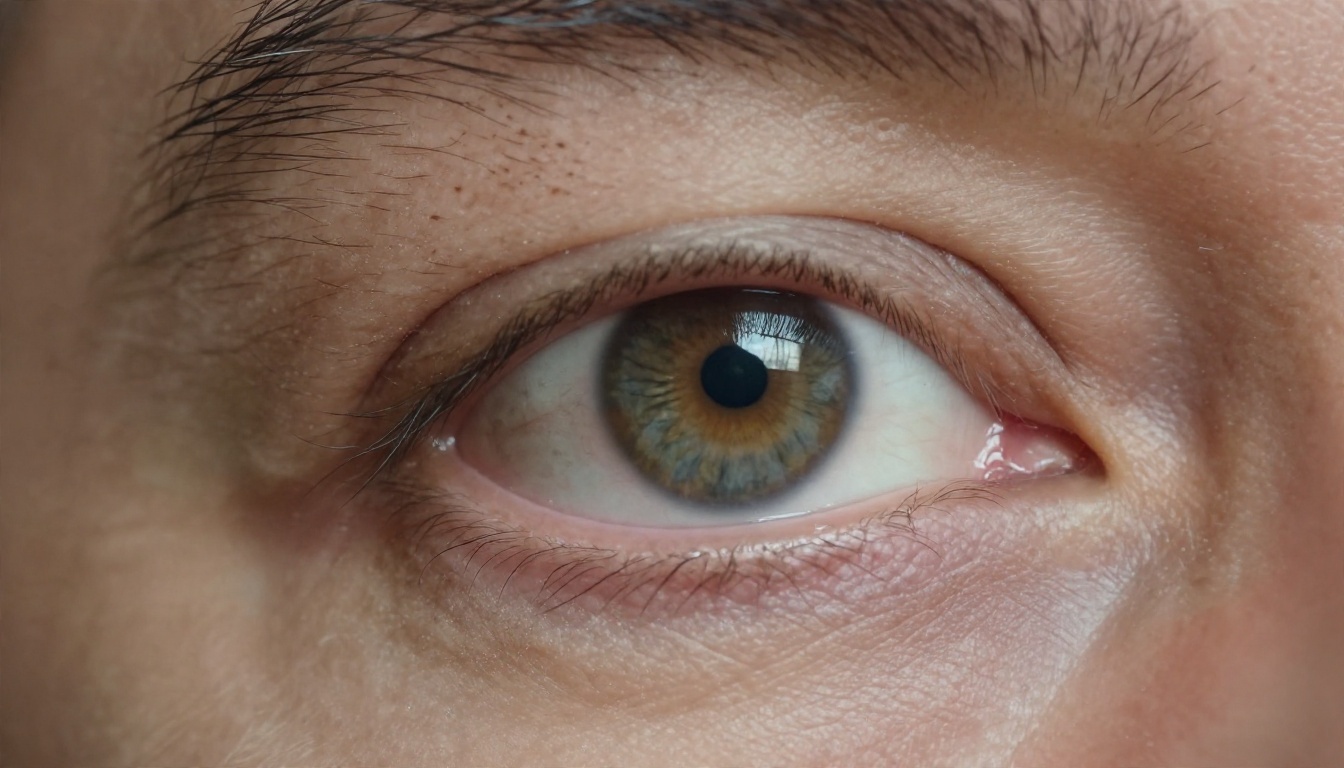
Look at how far the detail goes in the macro shot above: iris fibres, crow's feet, individual stubble hairs. That level only shows up when the prompt asks for texture and names a macro lens.
A Prompt You Can Copy
Here's a starting template. Swap the brackets for your own details:
Close-up portrait of a [age] [person description] with [skin details], [expression], [setting] blurred behind, [light direction and type], 85mm f/1.8 lens, shallow depth of field, Kodak Portra 400 film grain, raw photograph
Run it five times with different seeds and you'll have five different people sharing one look.
Pick the Right Model
Not every model handles faces equally. Some are fast and good for brainstorming, others are slower but give you print-quality skin. Here's how the options on Picasso IA compare for portraits:
Speed for Volume, Quality for Finals
A practical workflow: use Flux Schnell or Imagen 4 Fast to generate twenty or thirty options in a few minutes. Pick the three you like. Then re-run those prompts and seeds on Nano Banana Pro or Imagen 4 Ultra for the final, high-fidelity versions.
Candid Beats Posed
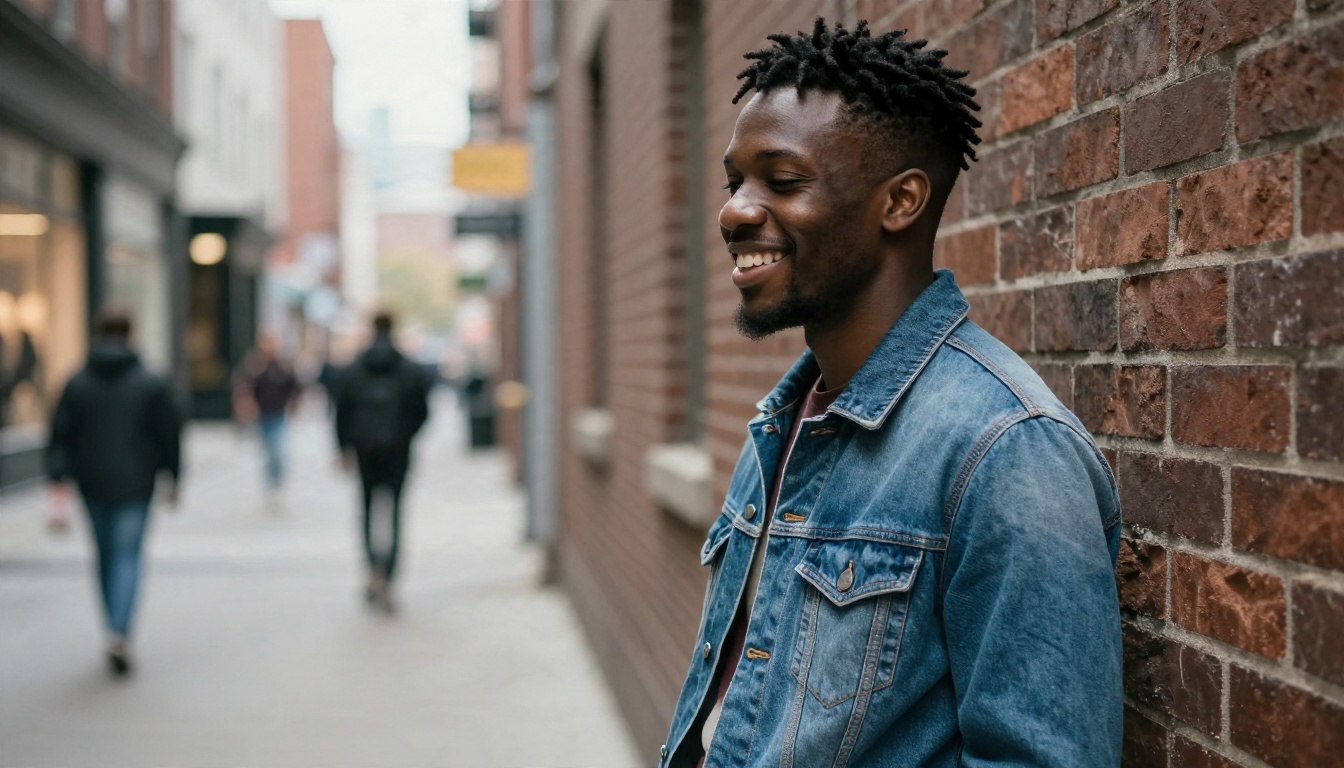
If your project needs people who feel real, ask for candid moments: a half-laugh, a glance away, a hand pushing back hair. The street portrait above works because he isn't posing for a passport photo. Stiff, symmetrical, camera-staring faces are what give AI portraits away.
How to Use Nano Banana Pro on Picasso IA
Since Nano Banana Pro is one of the strongest options for realistic portraits, here's the process from blank prompt to finished face.
Step by Step
- Open the model page. Go to the Nano Banana Pro page on Picasso IA and sign in.
- Write your prompt. Use the template from earlier: person, expression, setting, light, lens, film look.
- Pick the aspect ratio. Choose 16:9 for wide scenes and banners, 1:1 for avatars, 3:4 or 2:3 for vertical character cards.
- Generate. Hit the button and wait a few seconds. Look at the eyes and hands first, because that's where problems hide.
- Vary the result. Run it again for a new face with the same look. Change only one detail at a time: hair colour, age or lighting.
- Save your favourites. Keep the prompt text next to each image so you can reproduce the person later.
Settings That Matter
- Resolution: go as high as the model allows for finals. Faces hold up under cropping when the source is large.
- Prompt length: 40 to 80 words is a sweet spot. Shorter is too random, longer starts to fight itself.
- Negative habits: instead of listing what you don't want, describe what you do. "Natural skin with visible pores" beats "no plastic skin".
💡 Tip: Generate in batches of four to six. Faces are a numbers game, and the best result is usually the third or fourth try.
Build a Consistent Cast
A single great face is easy. A whole cast that stays recognisable across scenes is where most people struggle. Because each generation is random, the same prompt with a new seed gives you a new person. Here are the practical fixes.
Lock a Character Sheet
Write a short, fixed "character block" for each person and paste it into every prompt. For example:
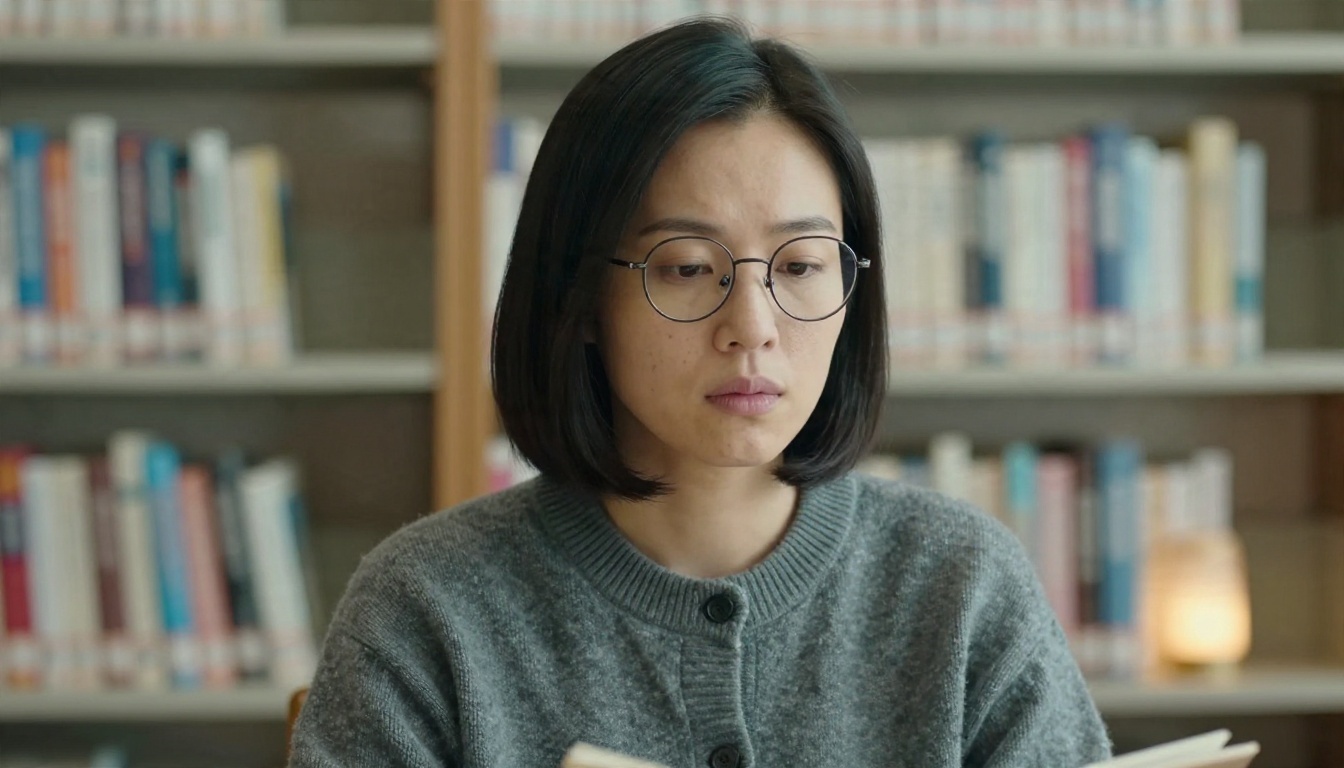
East Asian woman in her thirties, sleek chin-length bob, round tortoiseshell glasses, small mole on left cheekbone, serious thoughtful expression
Then only change the scene around her: library, train platform, rooftop. The more specific the block, the less the face drifts. Describing a unique detail such as a mole, a scar or a particular pair of glasses gives the model an anchor.
Edit Instead of Regenerate
When you like a face and only want a tweak, editing beats regenerating. Nano Banana can edit an existing image from a plain-language instruction, which keeps the person intact. For hairstyle experiments on an existing portrait, Change Haircut swaps styles without redrawing the whole face. Platform tools such as inpainting and outpainting also help you fix a detail or extend a canvas for a banner.
Sort Your Cast Like a Casting Director
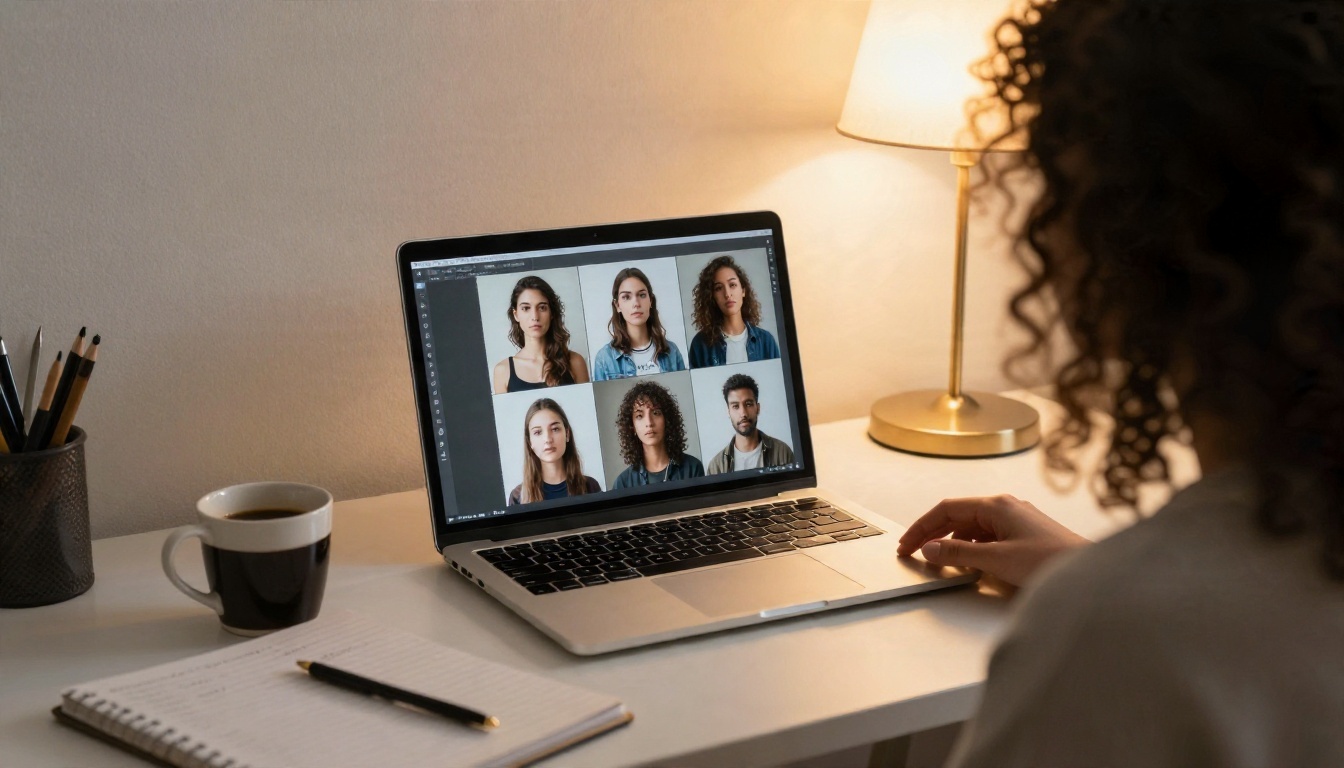
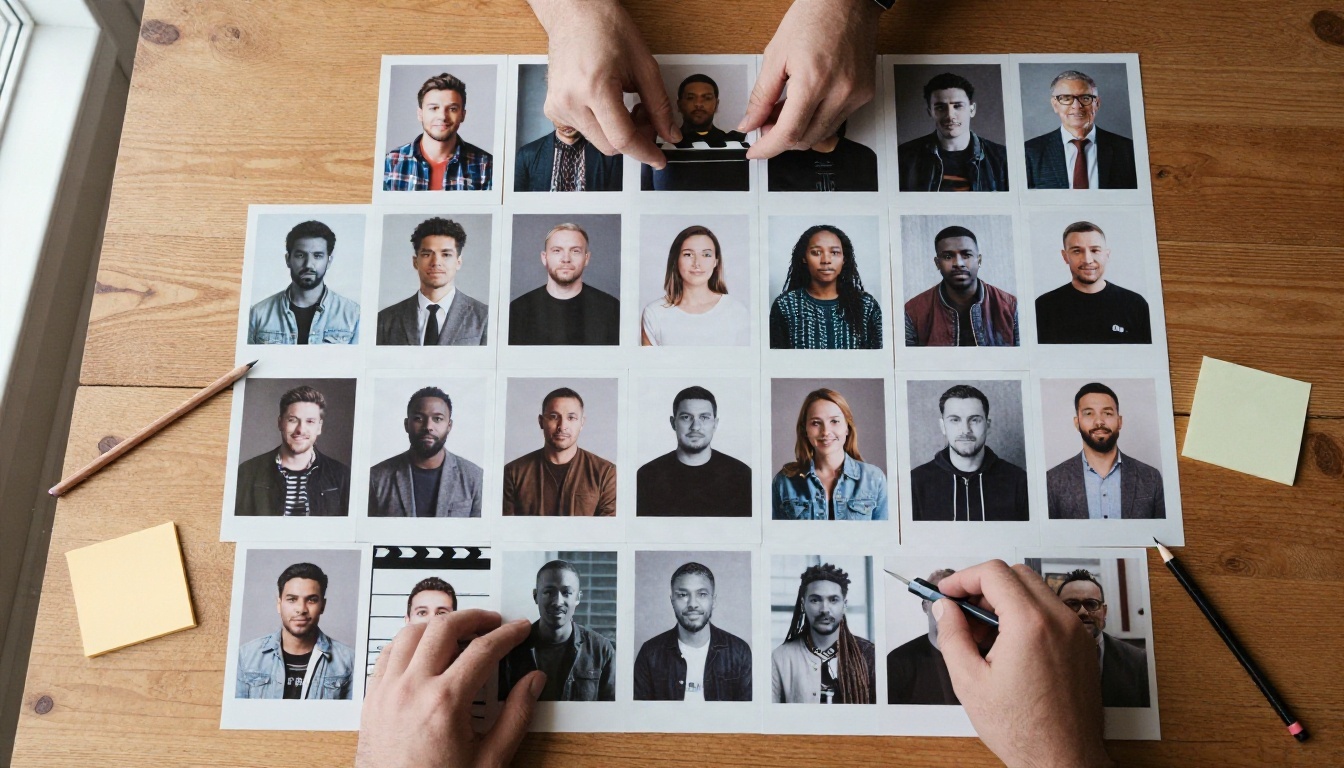
Print or tile your faces side by side, exactly like the casting board above. Gaps show up quickly: too many people in their twenties, nobody with glasses, only one skin tone. Fill the gaps deliberately, and your cast will feel like a real community instead of a stack of similar models.
Age, Ethnicity and Variety
Random generators have a quiet bias: if you don't specify, many models lean toward young, conventionally attractive faces. Real populations don't look like that, and your project shouldn't either.
Ask for Real Variety
Add ranges and details explicitly:
- Ages: teenagers, people in their forties, elders in their eighties.
- Features: wide noses, strong jawlines, gap teeth, scars, vitiligo, heavy brows, thinning hair.
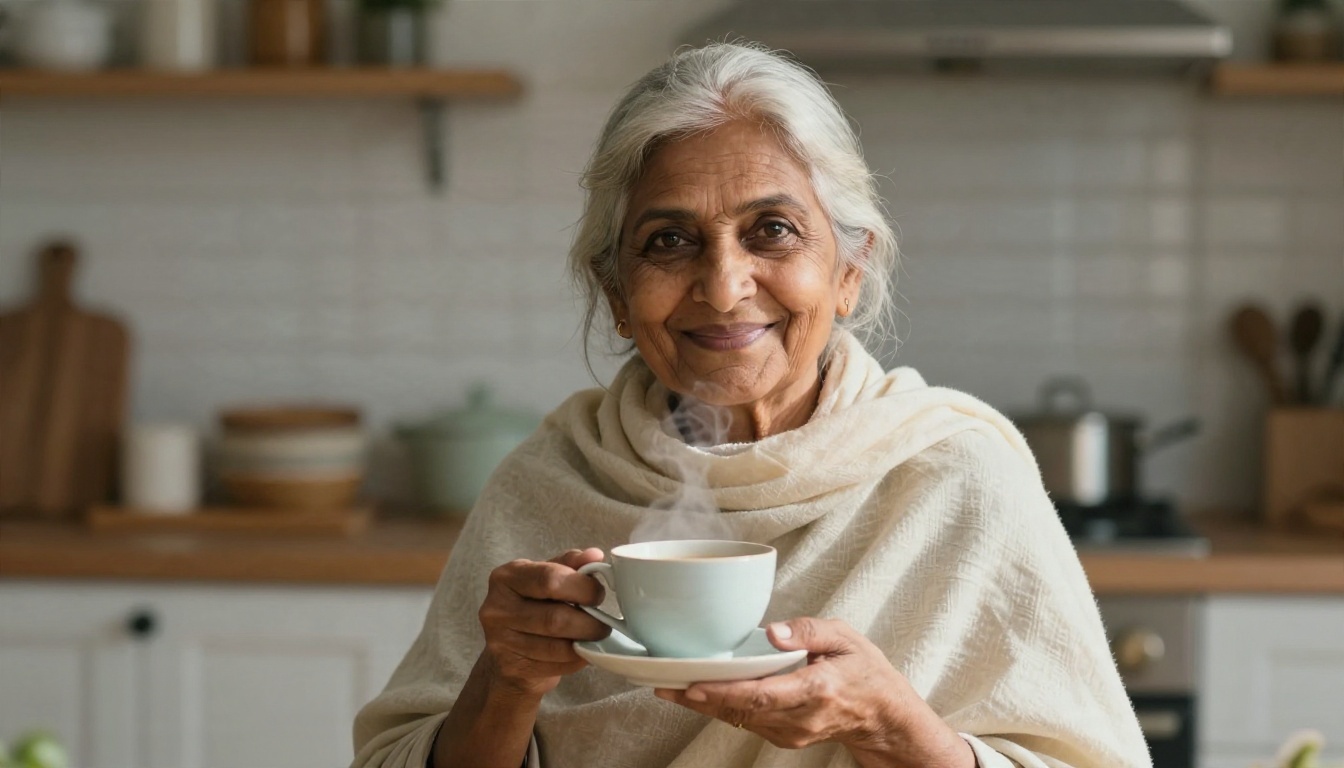
- Backgrounds: a mix of ethnicities, described respectfully and specifically ("elderly South Asian woman with silver hair and warm amber skin").
- Style: everyday clothes rather than fashion editorial. A cardigan or a denim jacket reads more believable than studio couture.
Avoid Common Red Flags
Even good models slip sometimes. Check every face for:
- Earrings or glasses that don't match left to right.
- Teeth that blend into one white strip.
- Hair strands that merge with the background.
- Overly smooth skin on the forehead and cheeks.
- Hands holding props at odd angles.
If a face fails one of these checks, don't fight it. Regenerate. It's faster than fixing.
Rights, Fixes and Final Polish
Because the people in these images don't exist, you avoid the usual issues of model releases and stock licensing. Still, a few habits keep your project clean.
Don't Imitate Real People
Don't prompt for a specific celebrity or a recognisable private individual. The point of a random generator is originality. Describe traits instead of names, and you'll get a face that belongs to nobody.
Upscale and Clean Up
Generated faces are often 1 to 2 megapixels. For print, banners or large hero images, run them through Real ESRGAN to upscale up to 4x while keeping skin texture sharp. Do this after you've picked your final version, not before, so you don't waste time upscaling rejects.
Check the Final Fit
Before you ship, view the face at the size it will actually appear. An avatar at 64 pixels needs a clear silhouette and strong contrast. A hero portrait at full width needs convincing eyes. A face that looks perfect in a thumbnail can fall apart at billboard size, and the reverse is true too.
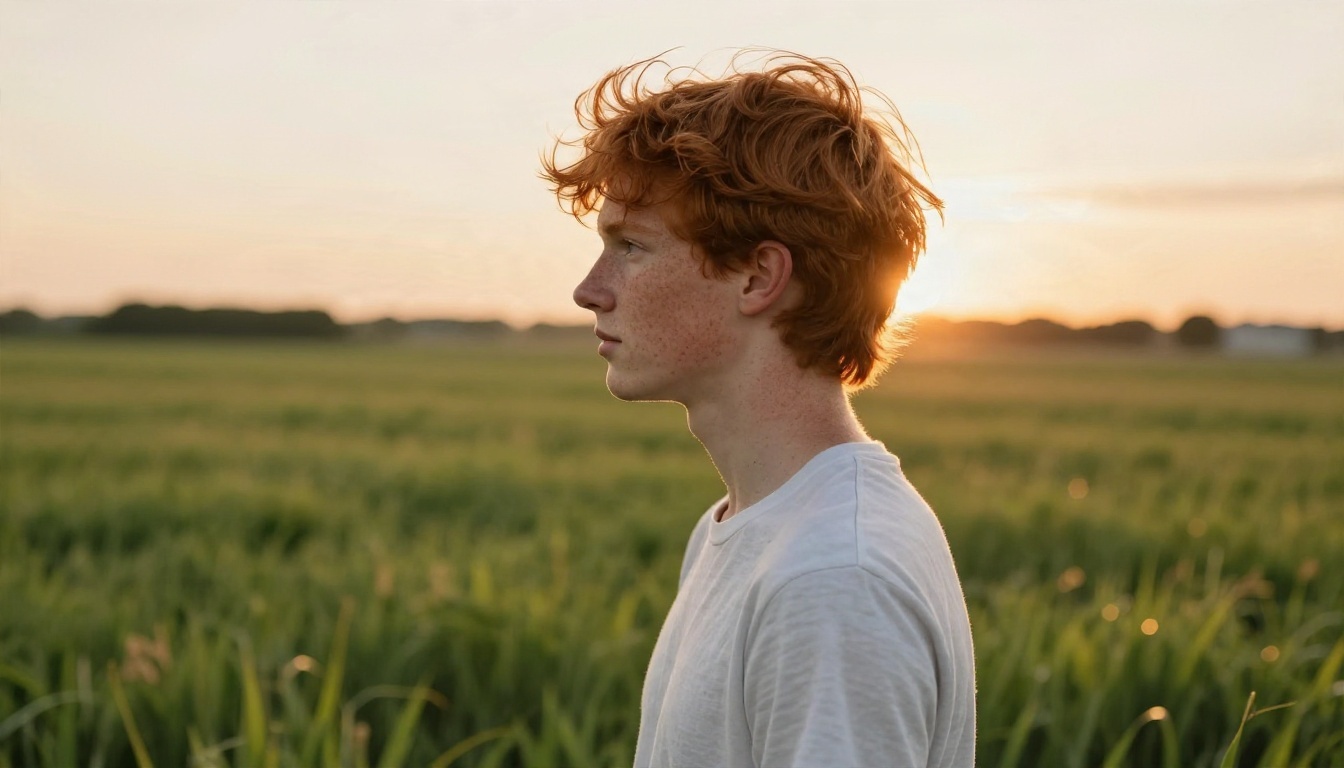
Faces in Motion and Beyond
Static portraits are just the starting point. Once you have a character you like, you can build around them: place them in different environments, change outfits, or pair a portrait with a voice using text to speech and lipsync models on the platform. Picasso IA also offers background generation through Generate Background, which is handy when you need the same person in a studio, a street and an office without regenerating from scratch.
A few quick ideas to push a single face further:
- Character card: portrait, name, one-line backstory, three personality traits.
- Profile set: front, three-quarter and side views for a reference sheet.
- Mood variations: the same character laughing, worried, tired, determined.
- Era swaps: the same trait block with 1970s clothing, film grain and colour palette.
Your First Random Face Starts Here
You don't need a camera, a model release or a stock subscription to get a believable face for your next project. You need a clear prompt, a decent model and a few minutes to experiment. Start with the template in this article, generate a batch of five, and keep the one that makes you say, "That's him." Then try a second prompt with different light, a third with a different age, and watch a real cast take shape.
Open Picasso IA, pick a model like Nano Banana Pro or Imagen 4, and generate your own set of faces today. Browse every available model at picassoia.com/en/all-models and find the one that fits your style.


