Somewhere in your closet there is a box of school photos you would rather not open. Now imagine skipping the awkward haircut and the forced smile, and getting the portrait you wish you had taken: perfect blue laser backdrop, feathered bangs, a denim jacket that actually fits. That is the whole appeal of AI high school yearbook photos, and it is why the trend keeps coming back every few months with a new decade attached.
This article walks through how the free online makers work, where they quietly limit you, which prompts produce believable results, and the settings that separate a convincing 1994 senior portrait from a plastic-looking filter. Every example here assumes adults recreating a throwback look of themselves, which is the safest and most fun use of the idea.

Why Yearbook Photos Went Viral
The format is simple, which is exactly why it spreads. A yearbook portrait has a fixed pose, a fixed crop, a recognizable backdrop and a decade-specific wardrobe. That makes it easy for an AI model to nail, and easy for friends to compare. Post one and your group chat will demand theirs within the hour.
The trend took off through photo apps that offered a pack of retro portraits from a handful of selfies. Since then, dozens of web tools have copied the idea, and general image models have become good enough to do the same job from a text prompt alone.
💡 Quick take: A yearbook portrait is one of the easiest portrait styles to fake well. The composition is predictable, so most of your effort goes into lighting, texture and wardrobe details.
What people actually want
Searches usually fall into three groups:
- Pure fun: a 90s or 80s version of themselves to share.
- Nostalgia projects: recreating a lost or embarrassing school photo.
- Themed content: reunion invitations, party posters, social posts, or a joke profile picture.
Knowing your goal changes the tool you pick. A one-off joke needs speed. A reunion poster needs resolution and clean faces.
How Free Yearbook Makers Work
Most free yearbook makers follow one of two paths. Understanding the difference explains why results vary so much.
Template-based makers
You upload a selfie, pick a decade, and the tool runs a fixed pipeline: it swaps your face onto a preset body, hairstyle and backdrop. Results are fast and consistent, but the look is locked. Every output shares the same pose, so a crowd of users gets near-identical images.
Prompt-based generators
Here you write what you want, or upload a reference photo and describe the change. The model builds the scene from scratch or edits your photo. You gain control over hair, clothing, lighting and film stock. The tradeoff is that you need a decent prompt.
| Approach | Speed | Control | Likeness | Best for |
|---|
| Template maker | Very fast | Low | Medium | Quick shares |
| Prompt generator | Fast | High | Medium to high | Custom looks |
| Photo editor model | Fast | High | High | Keeping your real face |
| Hybrid (edit, then upscale) | Moderate | Highest | High | Prints and posters |
The fine print on "free"
Free is rarely unlimited. Common limits include a small daily credit count, watermarks on exports, low-resolution downloads, or a free preview that asks for a paid pack before you get the full album. Check three things before uploading a photo: the watermark policy, the maximum export size, and how the tool handles your uploaded image after processing.
💡 Privacy check: Read what the tool says about storing selfies. If it does not say clearly, assume your upload is kept. Use a photo you are comfortable sharing.
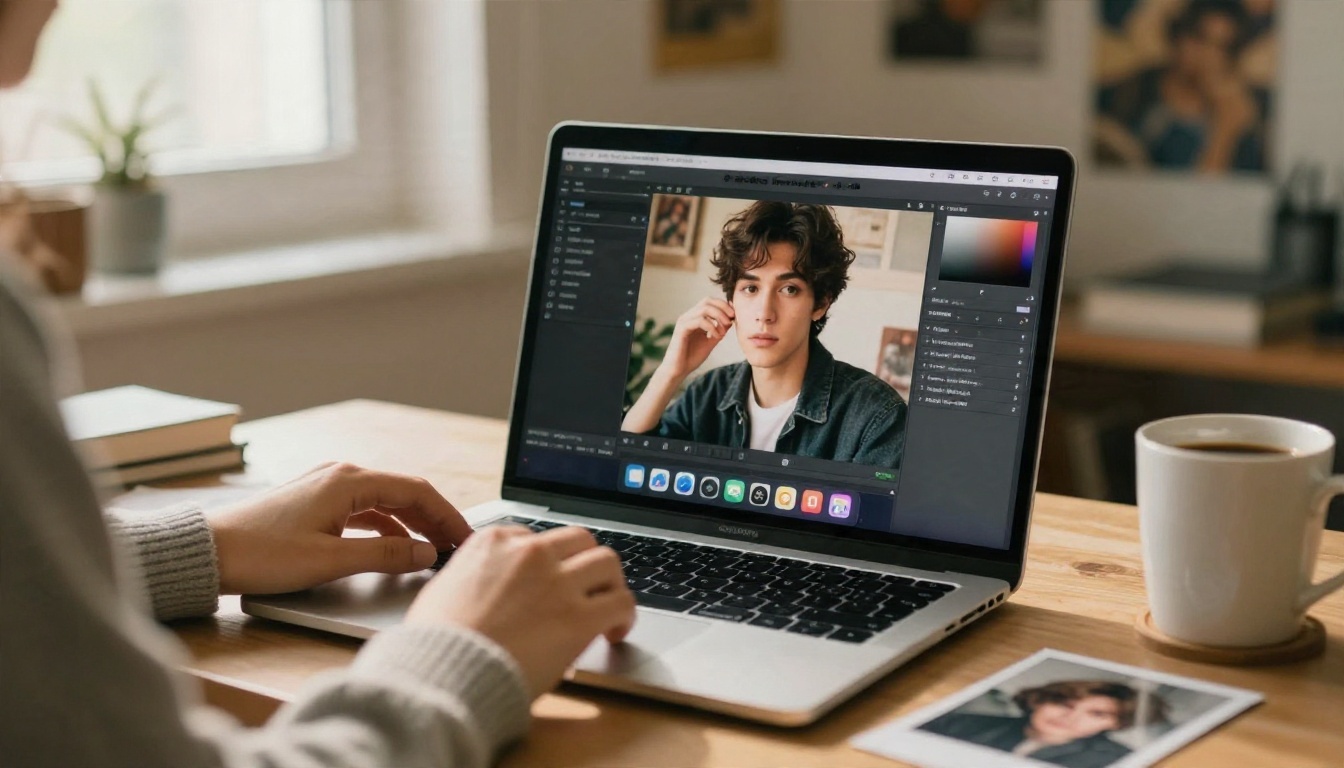
Pick a Decade and Its Details
The decade matters more than any other choice. Each era has its own backdrop, light, hair and fabric. If you get one detail wrong, the whole image reads as a costume.
The 80s look
Think soft gray or mauve gradient backdrops, pastel blazers, skinny ties, big feathered hair and a slightly warm, soft-focus finish. Lighting is direct and a bit flat, often with a gentle glow around the highlights from a diffusion filter.
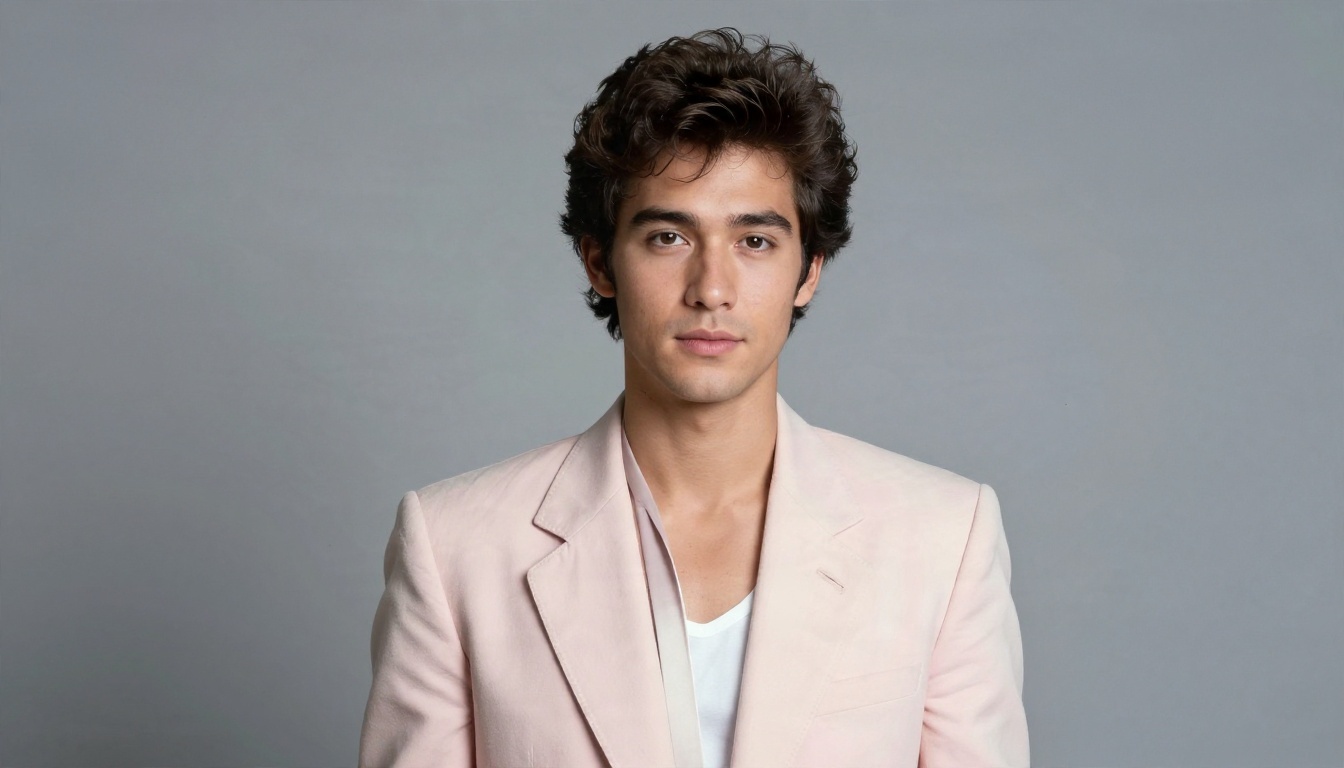
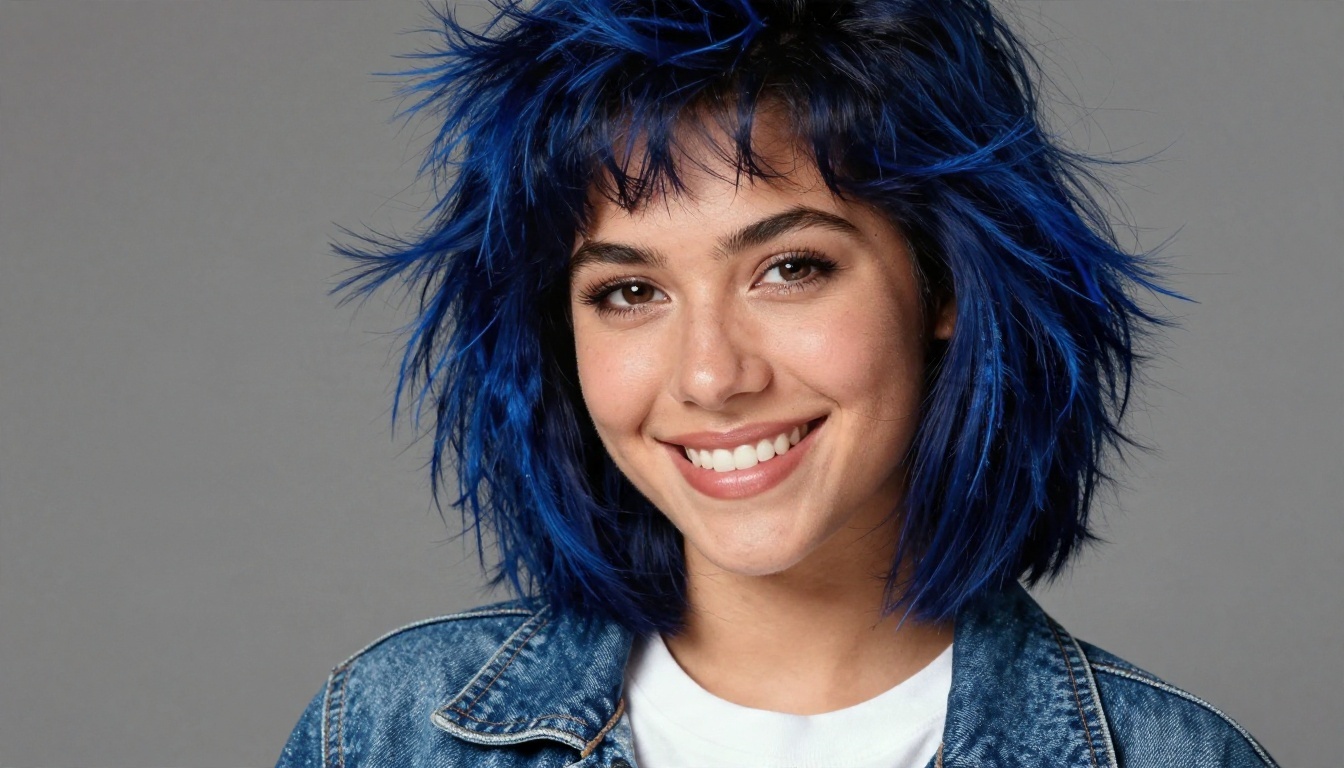
The 90s look
The most requested decade by far. Mottled blue or teal "laser" backdrops, denim, flannel, scrunchies, curtain hair, thin gold chains and wire glasses. The light is soft and frontal, the skin tone slightly warm, and a faint film grain sits over everything.
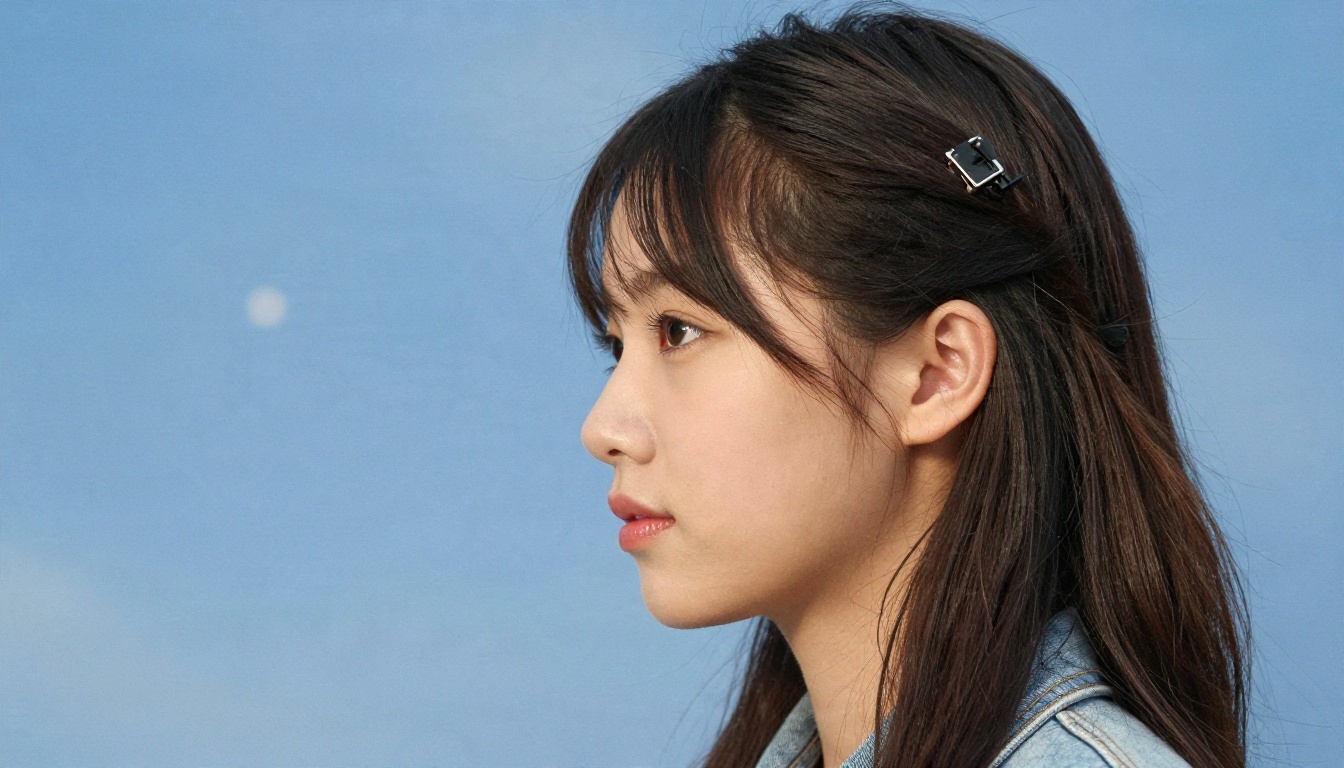
The 2000s look
Sky-blue or gray studio backdrops, straight side-parted hair, butterfly clips, low-rise denim, glossy lips and a cleaner, slightly more digital sharpness. The grain is lighter and the colors cooler than in the 90s.
Decade cheat sheet
| Decade | Backdrop | Wardrobe | Light and finish |
|---|
| 1980s | Gray or mauve gradient | Pastel blazer, skinny tie | Soft, warm, slight glow |
| 1990s | Mottled blue or teal | Denim, flannel, scrunchie | Soft frontal, film grain |
| 2000s | Sky blue or plain gray | Light denim, clips, gloss | Cleaner, cooler, light grain |
Prompts That Actually Work
A good yearbook prompt has five parts: subject, decade styling, backdrop, lighting and photographic finish. Skip any one and the model fills the gap with a generic guess.
Base prompt for the 90s
Studio yearbook portrait of a smiling adult in their mid twenties, 1990s senior photo style, mottled blue laser backdrop, feathered curled bangs, denim jacket over a white tee, soft frontal light, 85mm lens, shallow depth of field, visible skin pores, gentle film grain, Kodak Portra 400 color, slightly glossy print finish.
Base prompt for the 80s
Medium shot yearbook portrait of an adult in their late twenties, 1980s school photo style, feathered hair, pastel blazer and skinny tie, soft gray gradient backdrop, direct studio light with gentle fill, slight halation on highlights, warm film tones, crisp fabric texture.
Base prompt for the 2000s
Close-up yearbook portrait of a young adult, early 2000s style, straight side-parted hair, butterfly clips, light denim top, sky-blue studio backdrop, soft rim light, 100mm lens, natural skin texture, light film grain.
Words that improve realism
- Texture words: "visible skin pores", "flyaway hairs", "fabric weave", "paper sheen".
- Camera words: "85mm", "shallow depth of field", "film grain", "Kodak Portra 400".
- Print words: "glossy print finish", "halftone dots", "slight paper creases".
Words that wreck realism
- "Flawless", "perfect skin" and "airbrushed" push the model toward plastic faces.
- "Ultra HD" and "hyperreal" add crunchy, over-sharpened detail.
- Long lists of unrelated adjectives confuse the scene. Keep it to one decade and one backdrop.
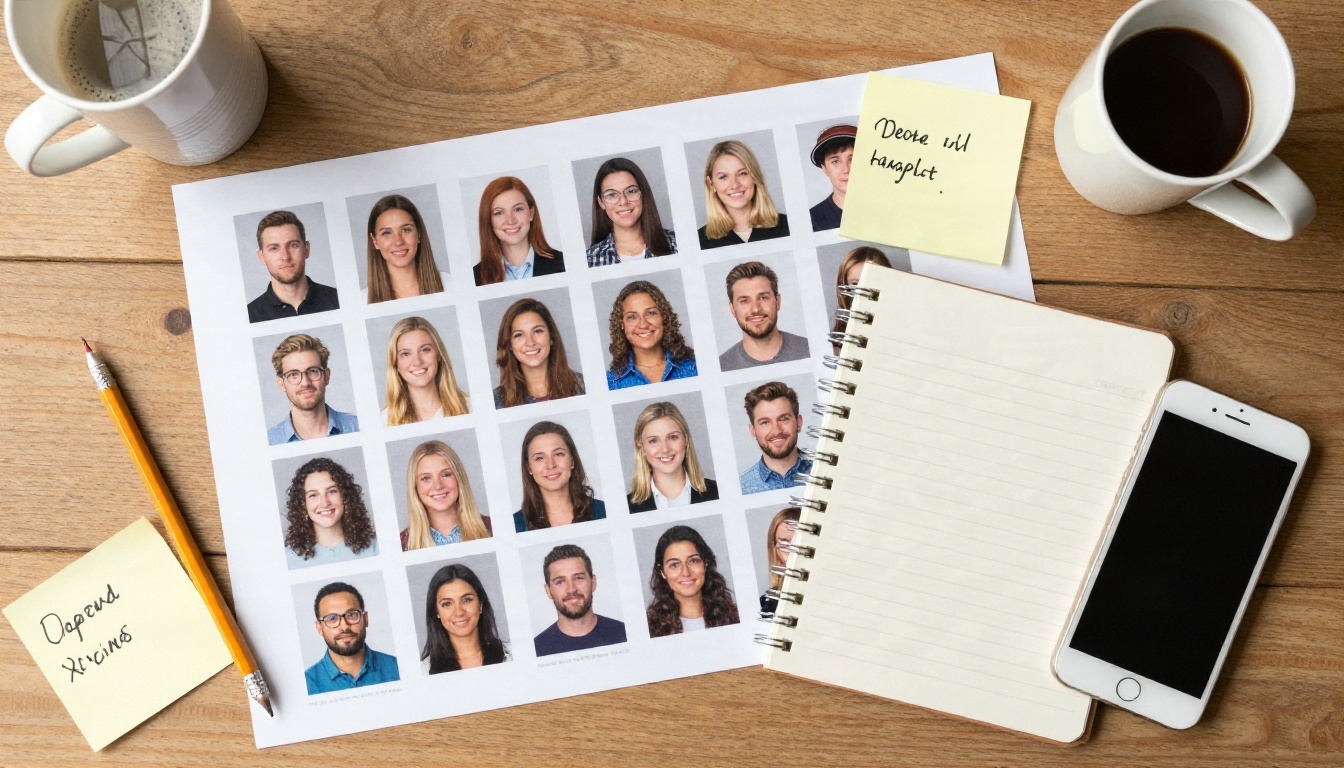
💡 Prompt habit: Write your prompt in a notes app first, change one thing at a time, and keep the version that worked. Small edits teach you more than a full rewrite.
Settings That Fix Weird Faces
Prompts get you the look. Settings keep it from falling apart. These are the ones worth touching.
Aspect ratio and framing
Yearbook portraits are usually vertical or square, but widescreen works if you want room for a title in a reunion poster. Ask for "head and shoulders, centered" so the model does not crop at the forehead.
Seed
Lock the seed once you like a result. Change only the prompt and you can compare hairstyles or sweaters on the same face and pose, which is how you build a consistent set of "classmates".
Guidance strength
Too low and the model ignores your decade details. Too high and skin turns waxy and colors get harsh. Start in the middle of the range and nudge up only if the backdrop or wardrobe keeps missing.
Reference strength (for photo edits)
When you upload your own selfie, the strength slider decides how much of your face survives. High strength keeps your likeness but also keeps your modern hair and background. Medium strength with a clear prompt usually gives the best balance.
Resolution and upscaling
Generate at a moderate size first, then upscale the winner. An upscaler such as Real ESRGAN sharpens hair and fabric edges without redrawing the face, which makes it a good last step before printing.
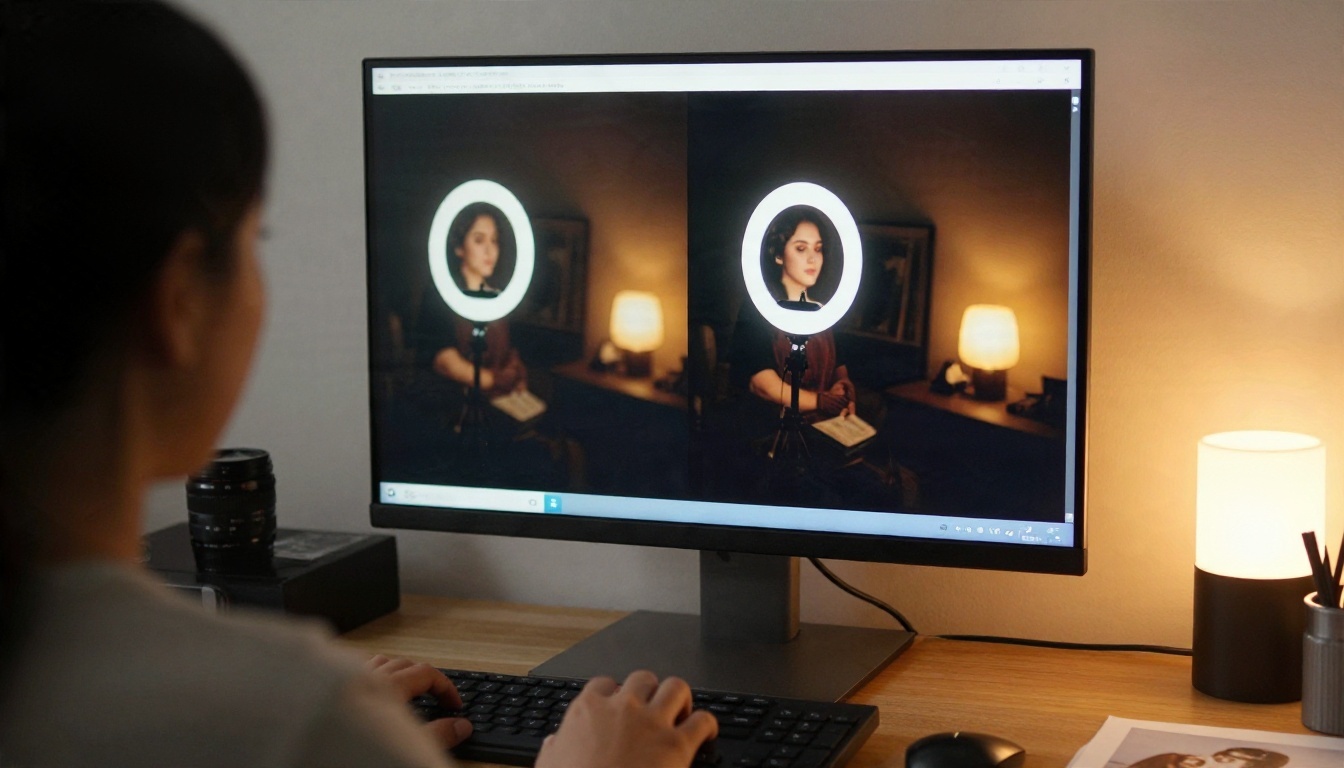
Quick settings table
| Setting | Starting point | If the result looks... | Adjust |
|---|
| Guidance | Middle | Waxy or harsh | Lower it a little |
| Guidance | Middle | Not retro enough | Raise it a little |
| Reference strength | Medium | Not like you | Raise it |
| Reference strength | Medium | Too modern | Lower it |
| Seed | Random, then locked | Inconsistent set | Keep the same seed |
| Resolution | Moderate, then upscale | Soft hair and fabric | Upscale the best result |
Models Worth Using on PicassoIA
You do not need a dedicated yearbook app. A strong general model with a good prompt will beat most templates, and you keep every setting under your control. Here is how the main options compare for this specific job.
| Model | Strength for yearbook work | Best use |
|---|
| Seedream 4.5 | Rich skin texture, clean 4K detail | Final portraits and prints |
| Nano Banana Pro | Strong likeness from a reference photo | Turning your selfie into a retro portrait |
| Nano Banana | Fast edits and generation | Quick tests of decades |
| P Image Edit | Very fast photo editing | Iterating on wardrobe and backdrop |
| Flux Kontext Fast | Instruction-style edits | Changing one detail at a time |
| GPT Image 2 | Follows long prompts closely | Detailed scene and wardrobe prompts |
| Qwen Image 3 | Photorealistic output | Natural candid and portrait looks |
| Change Haircut | Swaps hairstyle only | Adding feathered 80s or curtain 90s hair |
How to Use Nano Banana Pro on PicassoIA
This is the workflow I would start with if you want your own face in a retro portrait.
- Open the model page. Go to Nano Banana Pro on PicassoIA.
- Add a reference photo. Use a sharp, front-facing selfie with even light and no sunglasses. Your face should fill roughly a third of the frame.
- Paste your decade prompt. Start from one of the base prompts above and add your own details, such as hair color or glasses.
- Choose the aspect ratio. Pick vertical or square for a classic crop, or widescreen for posters.
- Generate and compare. Run two or three versions. Note which one keeps your face and which one nails the backdrop.
- Lock what works. Keep the same reference and seed, then change one prompt detail at a time.
- Fix the hair if needed. Send the best result to Change Haircut to push a more period-accurate style.
- Upscale before printing. Run the winner through Real ESRGAN.
💡 Tip: If likeness drifts, shorten the prompt. Long wardrobe lists compete with the reference image for attention.
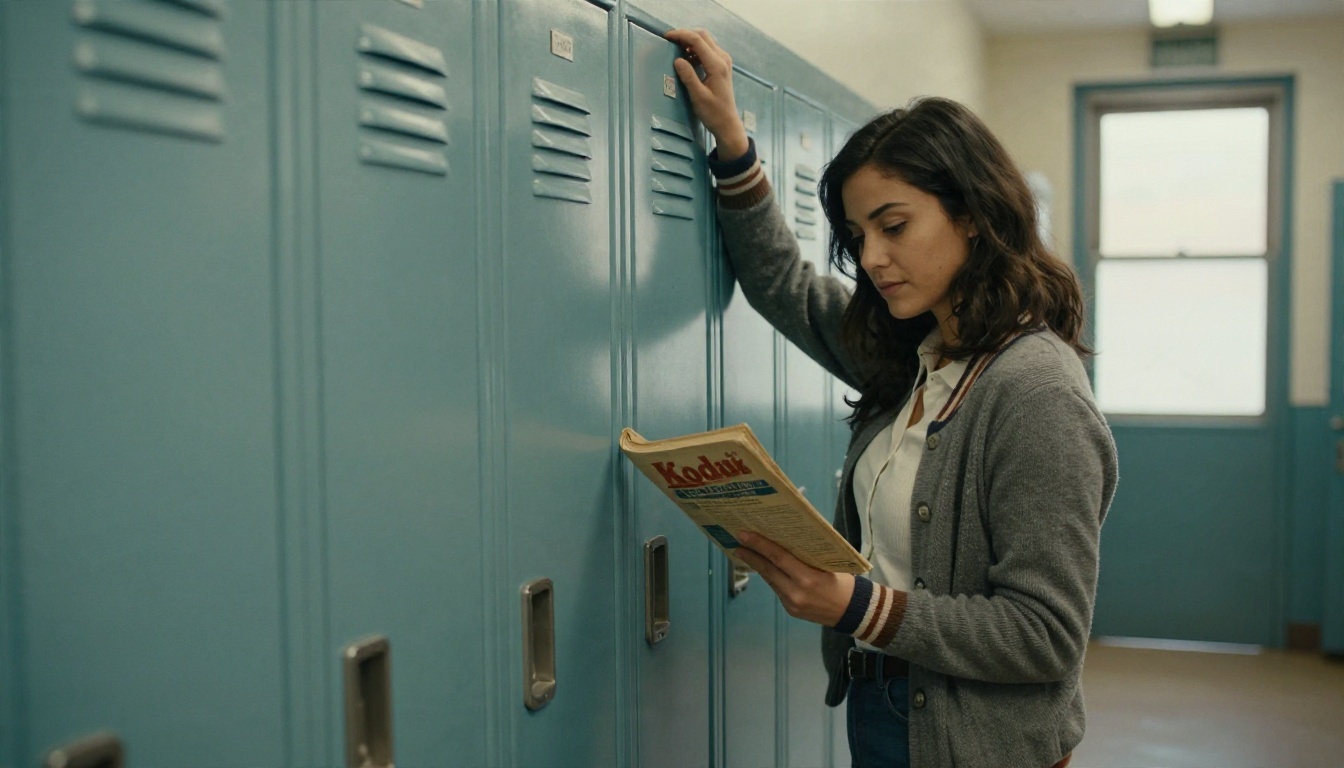
Common Mistakes to Avoid
Most bad yearbook results come from a handful of repeat errors.
Mixing decades
A scrunchie, a 2000s backdrop and 80s shoulder pads in one prompt gives you a confused image. Pick one decade and stay inside it.
Using a bad source photo
Blurry selfies, harsh shadows and heavy filters all carry into the result. A calm, evenly lit photo gives the model far more to work with.
Over-polishing
Real yearbook photos were never flawless. Slight shine, uneven hair and soft focus are part of the charm. Leave them in.
Forgetting the print finish
A pure digital look is the quickest giveaway. Mention film grain, paper sheen and a gentle vignette to sell the "scanned from a page" feel.
Ignoring consent and age
Keep this to adults recreating their own throwback photos, or to people who have clearly agreed. Do not run photos of other people, and especially of minors, through any tool without permission from them or their guardians.
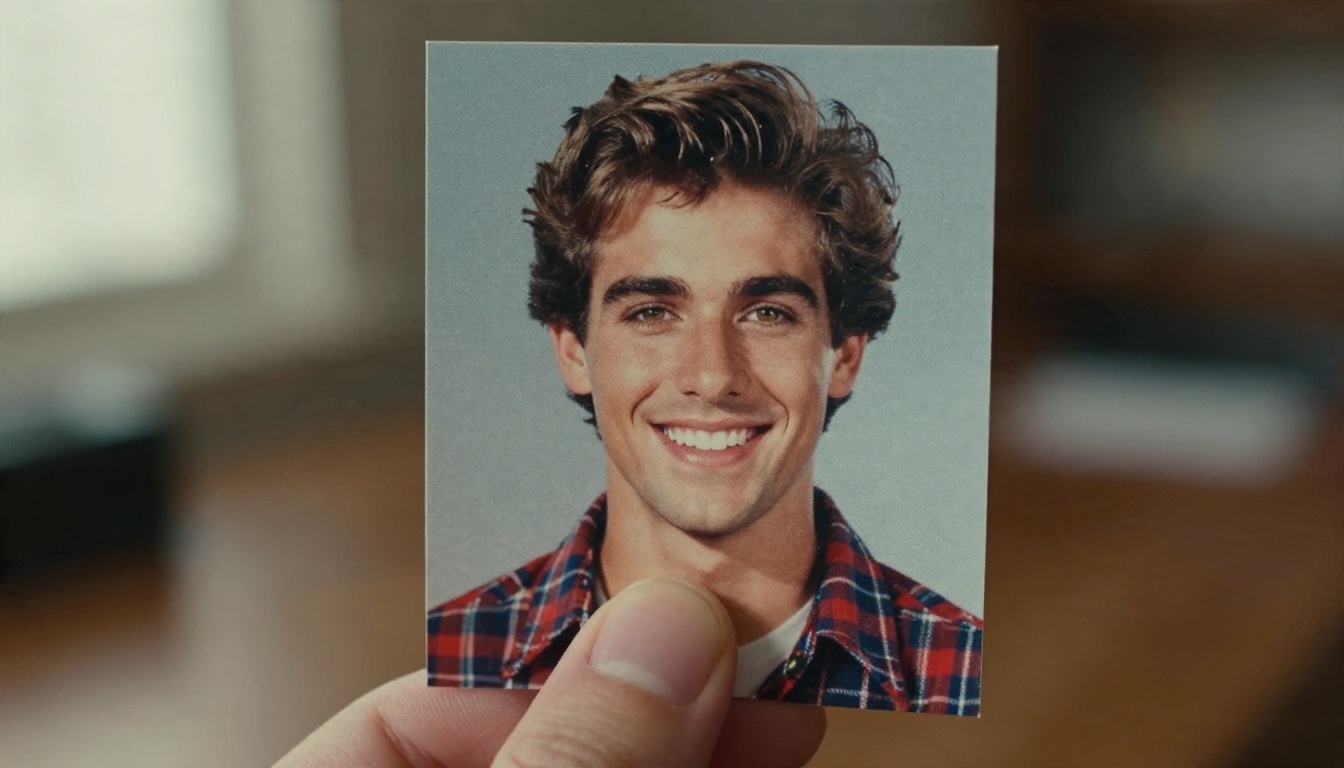
Fun Ways to Use Your Portraits
Once you have a set you like, there are plenty of uses beyond one social post.
- Reunion invitations: build a faux yearbook page with each classmate's retro portrait.
- Party posters: a decade-themed birthday or costume night.
- Group chat battles: swap a photo of everyone and vote on the best hair.
- Profile pictures: a retro avatar that still looks like you.
- Gifts: a printed "senior portrait" of a partner or friend, framed.
Group projects are the most fun. Give everyone the same prompt and let the differences in faces and outfits do the work.
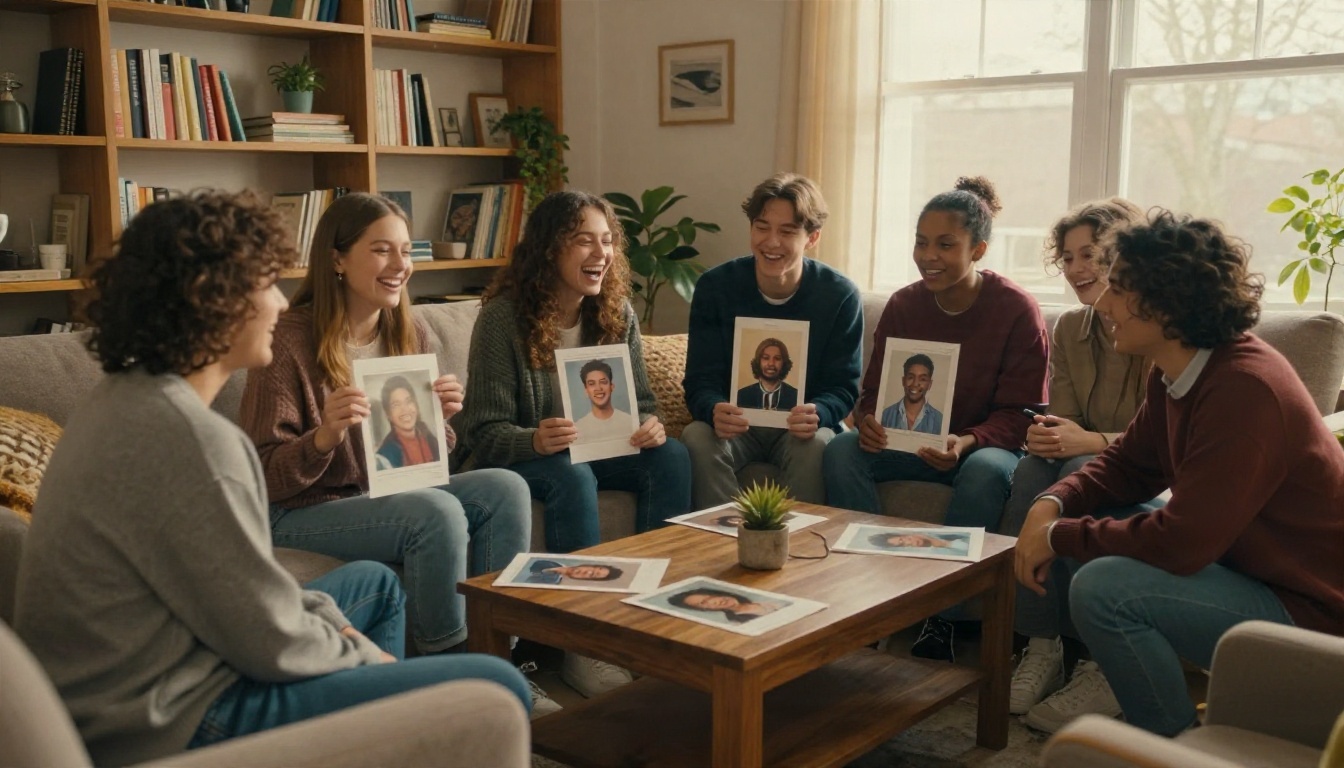
Make Your Own Retro Portrait
You now have what you need: a decade to commit to, a prompt that lists subject, wardrobe, backdrop, light and film finish, and a short list of settings to adjust when the face drifts. The only missing piece is your selfie.
Open Nano Banana Pro or Seedream 4.5 on PicassoIA, paste the 90s prompt from above, and run your first test. Then try the 80s version, then the 2000s. Change a single detail each time, and keep the seed once you land a result you like. If you want to see everything available before you start, browse the full catalog at picassoia.com/en/all-models.
Your senior portrait does not have to be the one from 1996. It can be the one you wish you had.


