You hold a lipstick up to the bathroom mirror and wonder if it will really suit you. Most of us choose makeup that way: a swatch on the wrist, a guess about our face shape, and a drawer full of shades that never get used. AI makeup suggestions replace that guess with a short list of reasons. The software looks at your face shape, skin tone, undertone, eye shape and lip shape, then points you toward colors and placements that fit what it sees.
This article shows what the AI actually reads in a photo, which makeup suggestions follow from each result, and how to check them yourself with a simple selfie test. You will also see how to preview a look on your own portrait with PicassoIA tools before a single product touches your skin.
What AI Sees in Your Face
A good makeup artist spends the first minute just looking. They check the outline of your face, the color under your skin, the spacing of your eyes and the fullness of your lips. AI tools follow the same order. They detect landmarks on your face (jawline, cheekbones, brow arch, eye corners, lip edges), measure the distances between them, and sample the color of your skin in even light. Then they match those measurements to a set of rules that makeup artists have used for decades.
Face Shape and Proportions
The first thing the software works out is the shape of your face. It compares the width of your forehead, cheekbones and jaw against the total length of your face. The usual groups are oval, round, square, heart, diamond and oblong. Nobody fits a group perfectly, so a good tool tells you which shape is closest and how strong the match is.
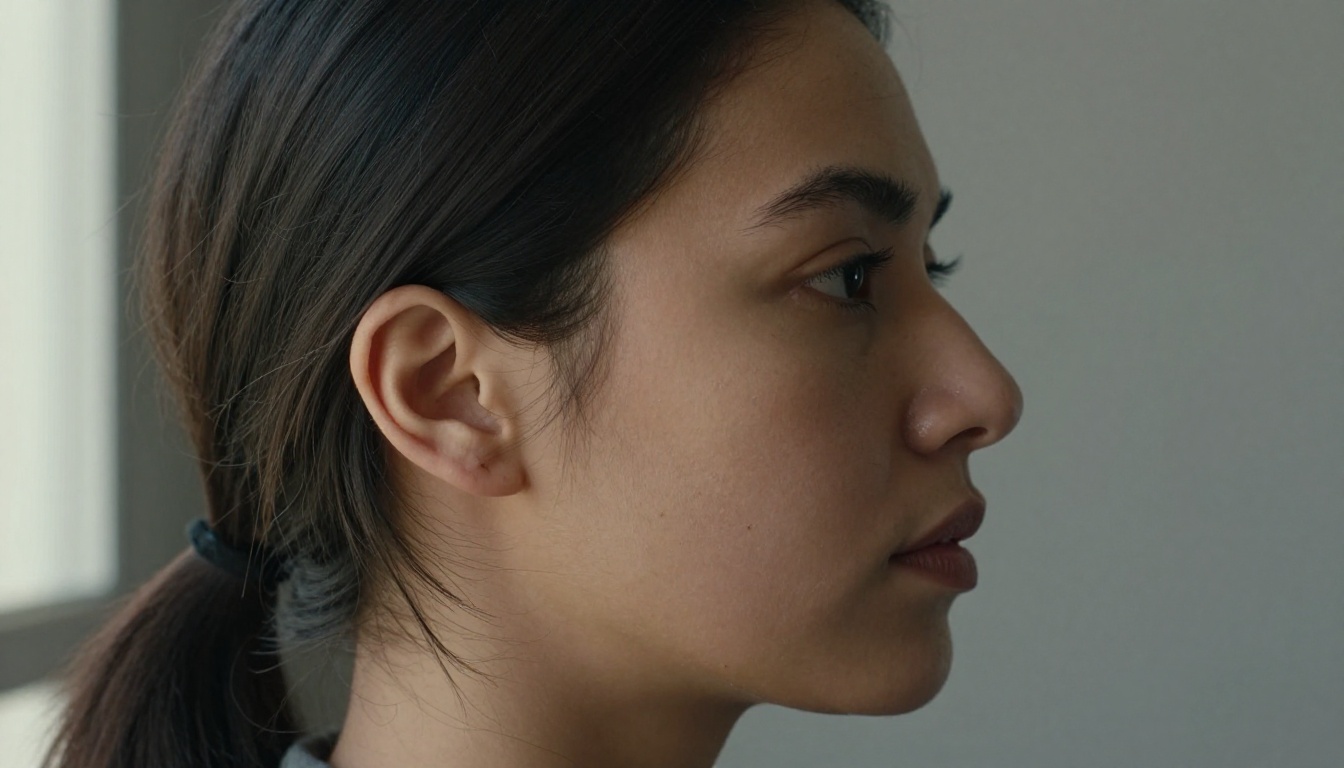
💡 Tip: Pull your hair back and face the light before you check your face shape. Hair across the jaw or forehead throws off the measurement, and a human eye makes the same mistake.
Skin Tone and Undertone
Skin tone is how light or deep your skin looks on the surface. Undertone is the cooler, warmer or neutral tint underneath it. The AI estimates both from the pixels on your cheeks, forehead and chin, so lighting matters a lot here. Yellow bulbs push everything warm. Blue white bulbs push everything cool.
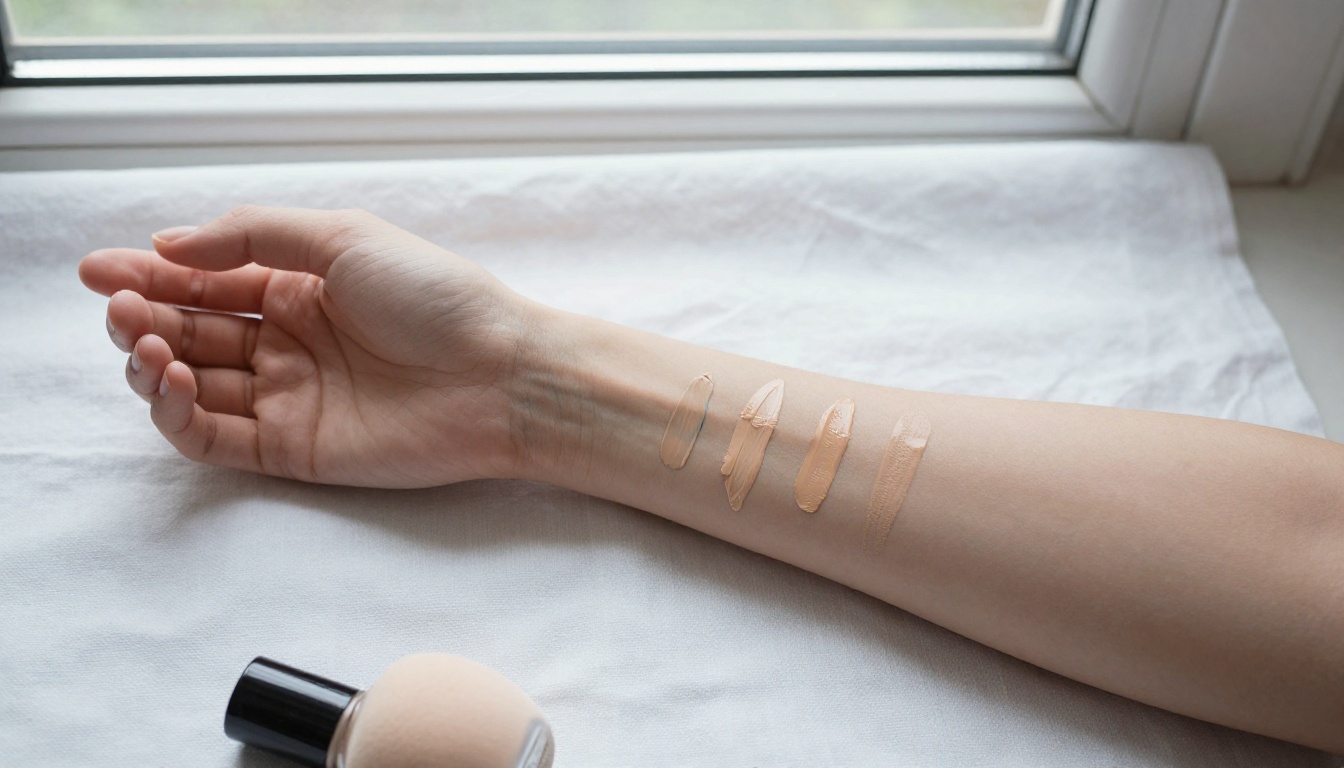
You can double check the result with three quick tests at home:
- Vein test: blue or purple veins on your inner wrist suggest a cool undertone, green veins suggest warm, and a mix suggests neutral.
- Jewelry test: if silver flatters you more, you lean cool. If gold does, you lean warm. If both look fine, you are probably neutral.
- White paper test: hold a sheet of white paper beside your bare face in daylight. Skin that looks pink next to the paper is usually cool, and skin that looks yellow or golden is usually warm.
Eye and Lip Shape
Eye shape decides where shadow and liner go. The common groups are almond, round, hooded, monolid, upturned and downturned. Lip shape decides how a finish sits, since a full lower lip, a flat cupid's bow or thin lips each respond differently to gloss, matte or liner. The AI reads the eye corners, the lid space and the lip edges, and then suggests a placement instead of a single color.
Makeup Suggestions by Face Shape
Face shape suggestions are about balance. The goal is to soften what feels sharp and to add width or length where the face feels narrow. This table shows how the most common suggestions break down.
| Face shape | Blush placement | Contour and highlight | Brows |
|---|
| Oval | Apples of the cheeks, blended toward the temples | Light contour, highlight on the high points | Soft arch, natural length |
| Round | Slightly below the cheekbone, angled up toward the ears | Contour under the cheekbones and along the jaw | Higher arch to add lift |
| Square | Rounded on the apples, kept away from the jaw | Soften the corners of the jaw and forehead | Gently curved, not too straight |
| Heart | Low on the cheeks, blended outward | Contour the temples, highlight the chin | Soft, rounded arch |
| Diamond | Spread across the cheekbones | Highlight the forehead and chin to add width | Slightly angled with a soft end |
| Oblong | Horizontal sweep across the cheeks | Contour the hairline and chin to shorten | Flatter, straighter brows |
Round and Square Faces
Round faces have similar width and length, with soft edges and full cheeks. The usual suggestion is to place blush a little higher and angle it toward the ears, which creates the look of more structure. A touch of contour under the cheekbones adds shadow where you want definition.
Square faces have a strong jaw and a broad forehead. Here the AI tends to suggest rounded blush on the apples of the cheeks and soft, blended contour on the corners of the jaw. Skip sharp lines. The idea is to bring in curves, not to carve more angles.
Heart and Diamond Faces
Heart shaped faces are wider at the forehead and narrow at the chin. Blush placed lower on the cheeks and blended outward brings balance, while a light highlight on the chin adds a little fullness to the lower half.
Diamond faces have the widest point at the cheekbones. Suggestions usually add width at the forehead and jaw with highlighter, and keep blush spread evenly across the cheekbones instead of stacked on one spot.
💡 Remember: face shape rules are starting points, not laws. If a suggestion looks wrong in the mirror, trust the mirror and adjust.
Matching Shades to Your Undertone
Shade matching is where AI saves the most money. A foundation that is one shade off, or a blush that fights your undertone, ends up in the drawer. Getting undertone right first makes every other product easier to choose.
Warm, Cool and Neutral
| Undertone | Foundation base | Blush | Lip |
|---|
| Warm | Golden or peach | Peach, coral, apricot | Brick, coral, warm red |
| Cool | Pink or rosy | Rose, berry, mauve | Blue red, plum, raspberry |
| Neutral | Balanced beige | Soft pink, dusty rose | Rosy nude, true red |
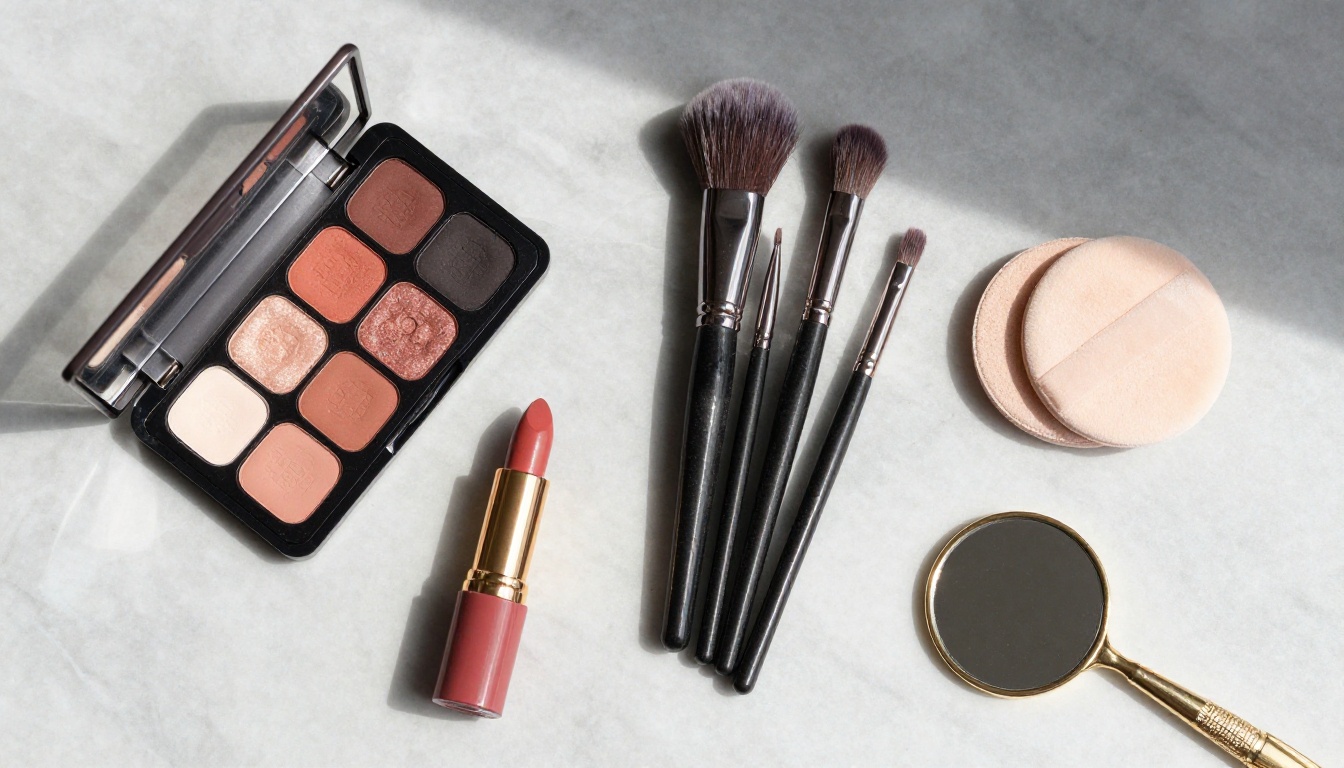
Warm skin looks best with colors that carry a little gold or orange. Cool skin looks best with colors that carry a little blue or pink. Neutral skin has the widest range, which is why it often gets the shortest list of rules.
Foundation Swatch Test
Even when the AI gives you a shade name, test it. Swipe three nearby shades in stripes along your jawline, not your wrist, because the face is usually a different color from the hand. Wait ten minutes, since many foundations darken a little as they settle. The right shade is the one that seems to disappear into your neck.
Eyes and Lips Come Next
Once base and blush are settled, the AI moves to the details. This is also where taste matters most, so treat the suggestions as a menu and not an order.
Eyeshadow by Eye Shape
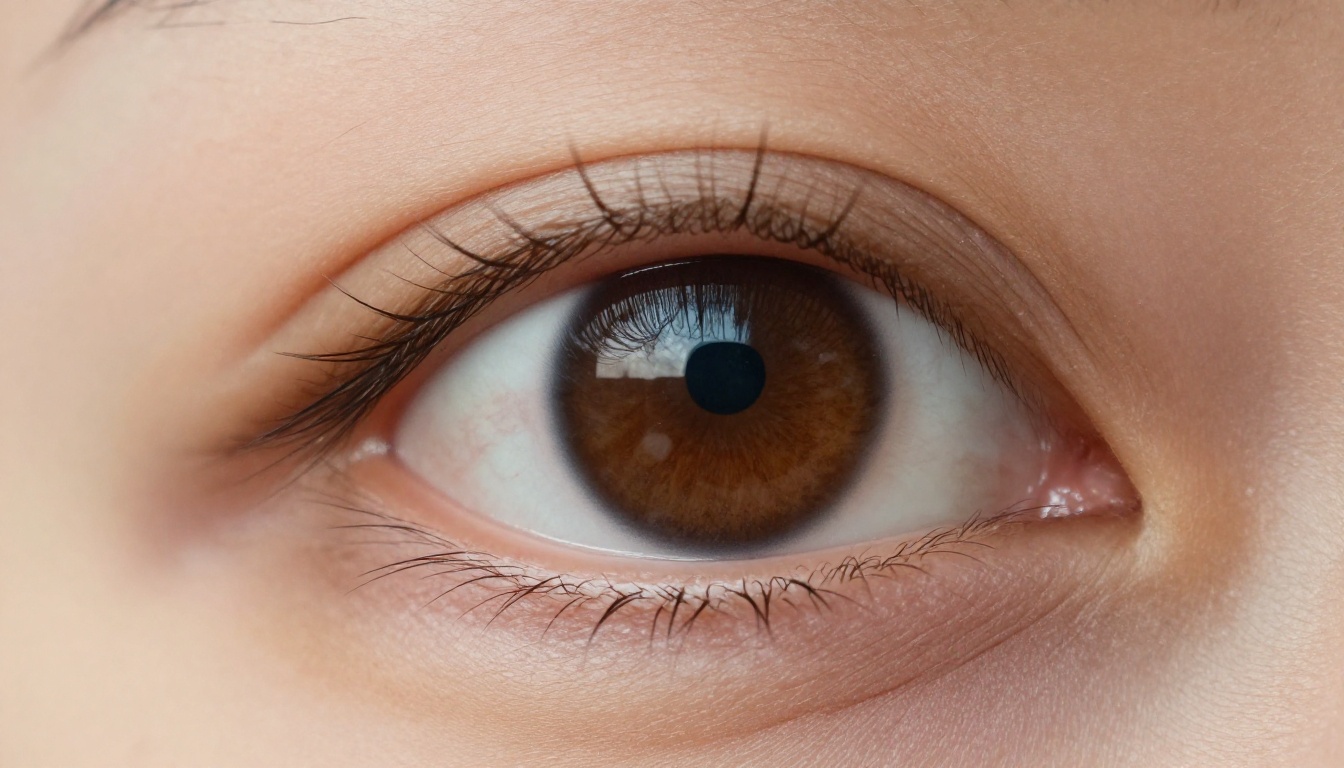
- Almond eyes: almost any style works. Blend a mid tone through the crease and keep liner thin along the upper lash line.
- Round eyes: pull color outward at the outer corner to add length. Keep the darkest shade away from the center of the lid.
- Hooded eyes: place shadow slightly above the natural crease so it stays visible when your eyes are open. Matte shades usually work better than heavy shimmer.
- Monolid eyes: a soft gradient from lash line upward looks natural. Brown and bronze tones add depth without effort.
- Upturned eyes: extend liner straight outward and keep the lower lash line soft.
- Downturned eyes: angle liner and shadow slightly up at the outer corner to lift the whole eye.
Lip Colors That Work
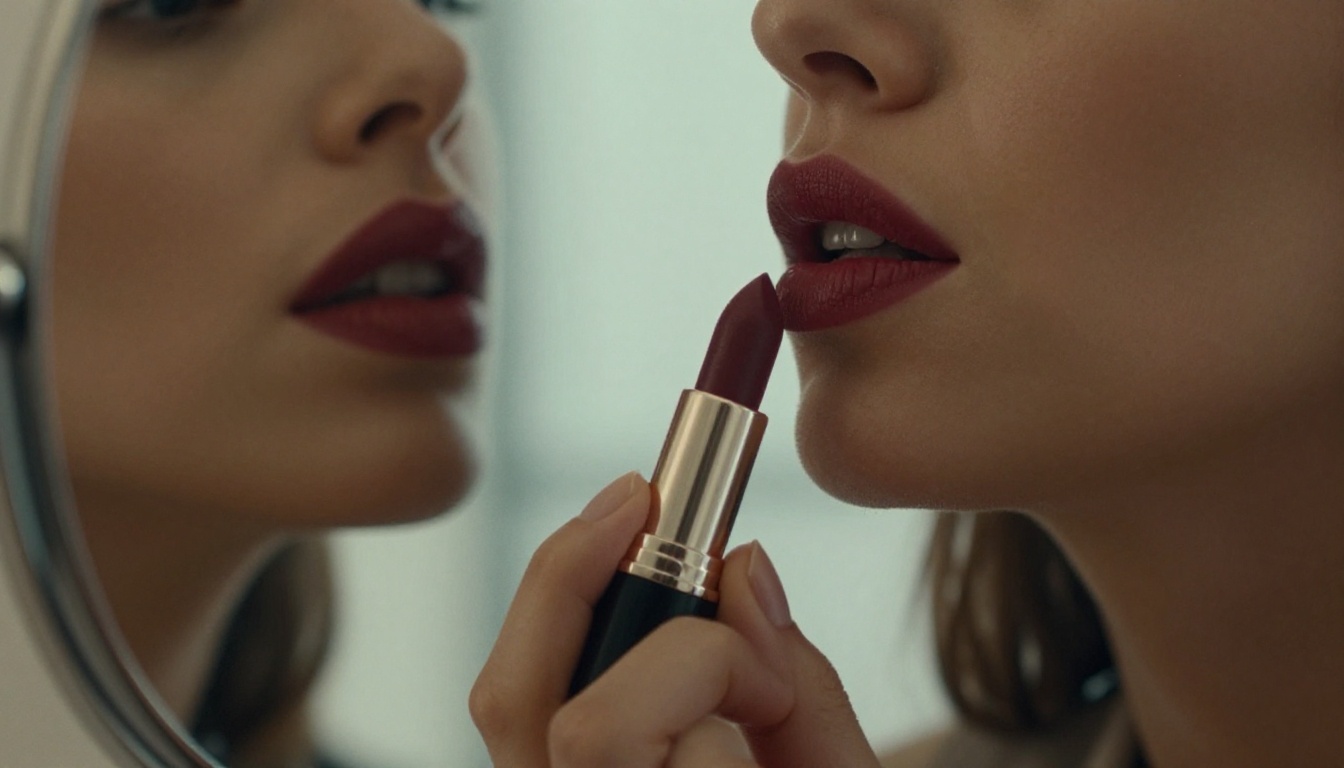
Lip suggestions come from two inputs: undertone for the color family, and lip shape for the finish. Fuller lips can carry matte formulas without looking heavy. Thinner lips usually look fuller in cream or gloss formulas, because light reflects off the surface. A lip liner one shade deeper than your lipstick adds definition to any shape.
Try this order if you are unsure: a rosy nude for every day, a berry or coral for an easy step up, and one bold red for evenings. Three shades suit most situations, and they are easy to compare on your own face.
Getting Good Results From a Selfie
AI suggestions are only as good as the photo you give them. A dark, tilted or filtered selfie leads to a wrong face shape and a wrong undertone, and then every suggestion that follows is off too.
Light and Angle

- Stand facing a window so daylight falls evenly across both cheeks.
- Hold the camera at eye level. A low angle makes the jaw look heavier, and a high angle makes the forehead look larger.
- Keep your face relaxed, with a neutral expression and your hair away from your jawline.
- Take the photo at arm's length or farther. Very close selfies stretch the center of the face.
What to Avoid
- Beauty filters: they smooth skin and change face proportions, which confuses the measurements.
- Colored light: tinted bulbs, shop signs and sunsets shift your undertone reading.
- Heavy makeup: a full face of foundation hides your real skin color.
- Sunglasses or hats: anything blocking the brow or hairline hides part of your face shape.
💡 Quick check: take two selfies in different windows or at different hours. If the suggested shades are close in both, you can trust the result.
Suggestions for Every Age and Skin Tone
Good tools should work for every face, but the rules shift a little with age and depth of skin.
Mature Skin
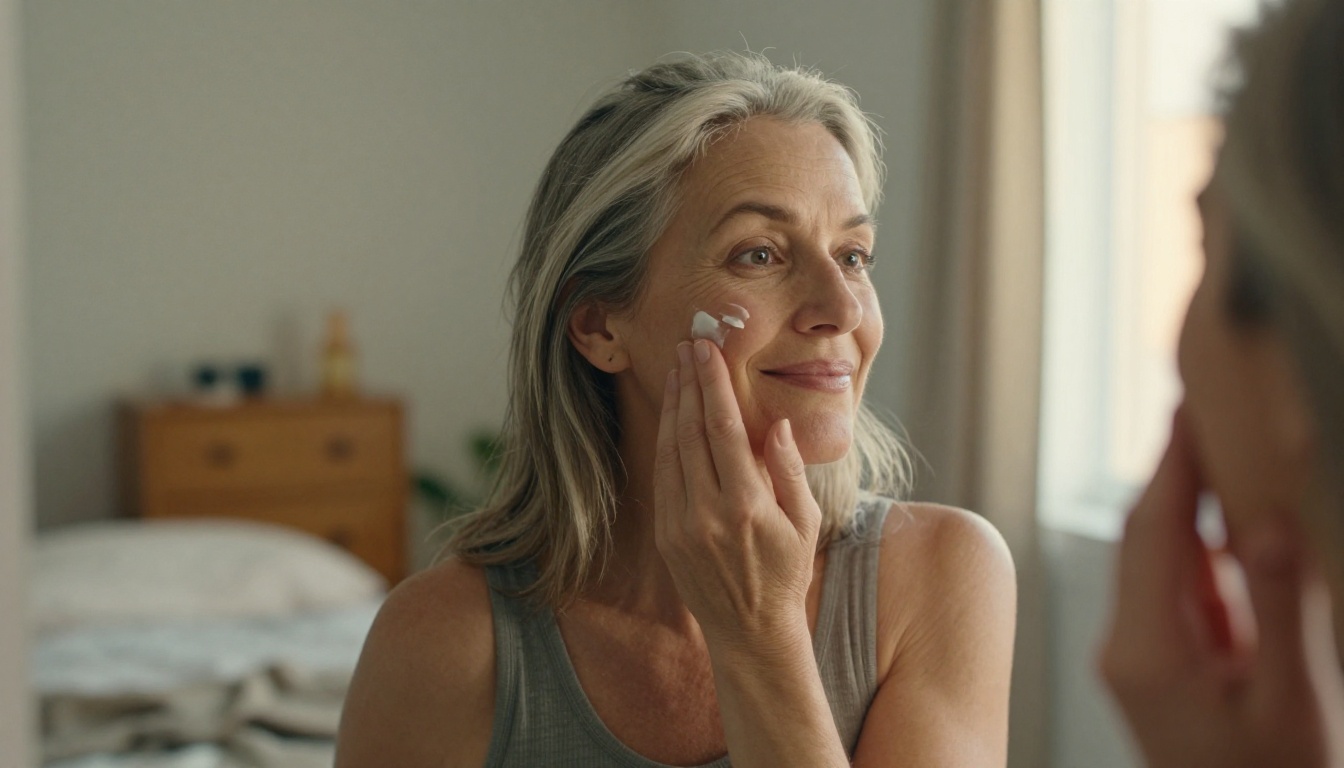
Mature skin has more texture and often less moisture, so powder products tend to settle into fine lines. Cream blush, tinted moisturizer and a touch of cream highlighter usually look fresher. Softer brown liner often looks more flattering than black, and a satin lipstick sits more comfortably than a dry matte.
Deeper and Fair Skin
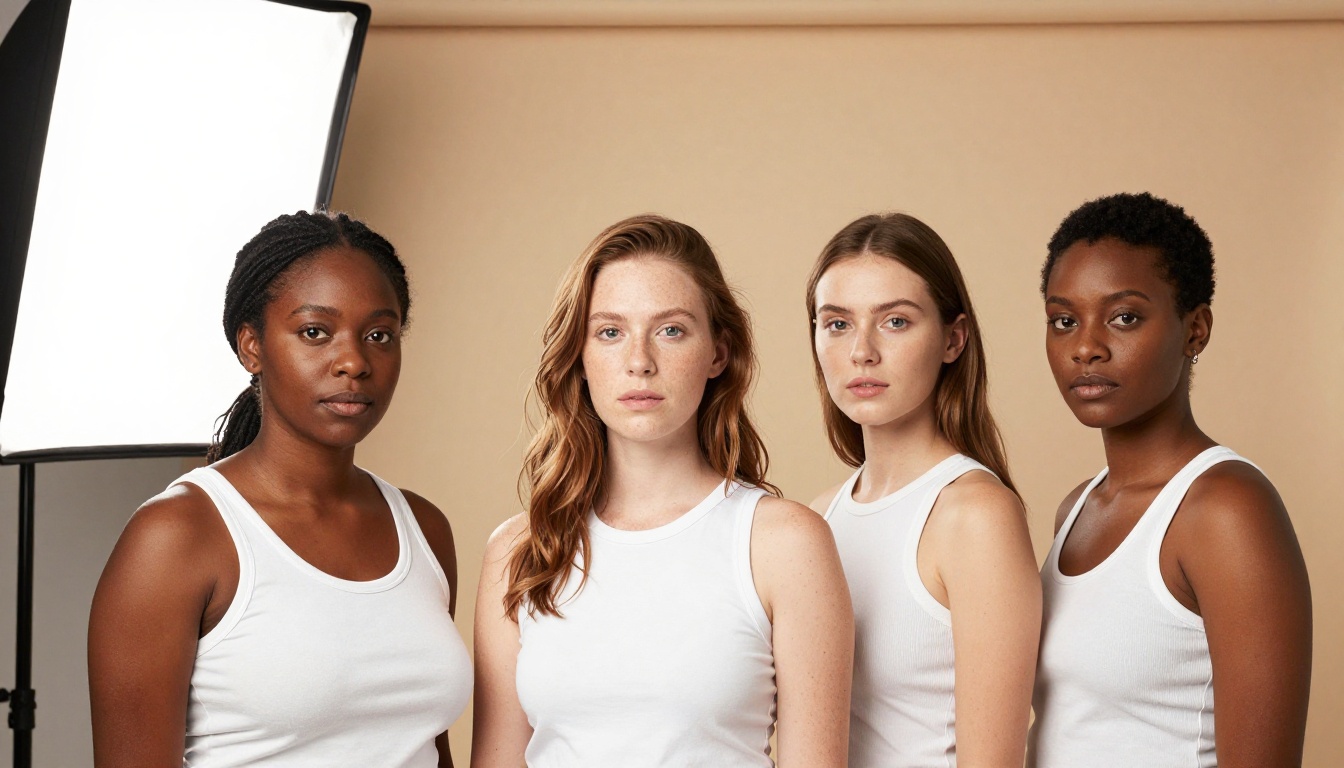
Deeper skin tones need pigment rich products, and a tool trained on narrow data can read them poorly. If a suggestion looks ashy or too pale, it probably is. Rich berries, deep corals, warm bronzes and true reds tend to look striking on deeper skin. Fair skin often looks best with softer, sheerer shades, since heavy color can overwhelm it. Use swatches in daylight to confirm either way.
How to Use PicassoIA Image Editor Pro
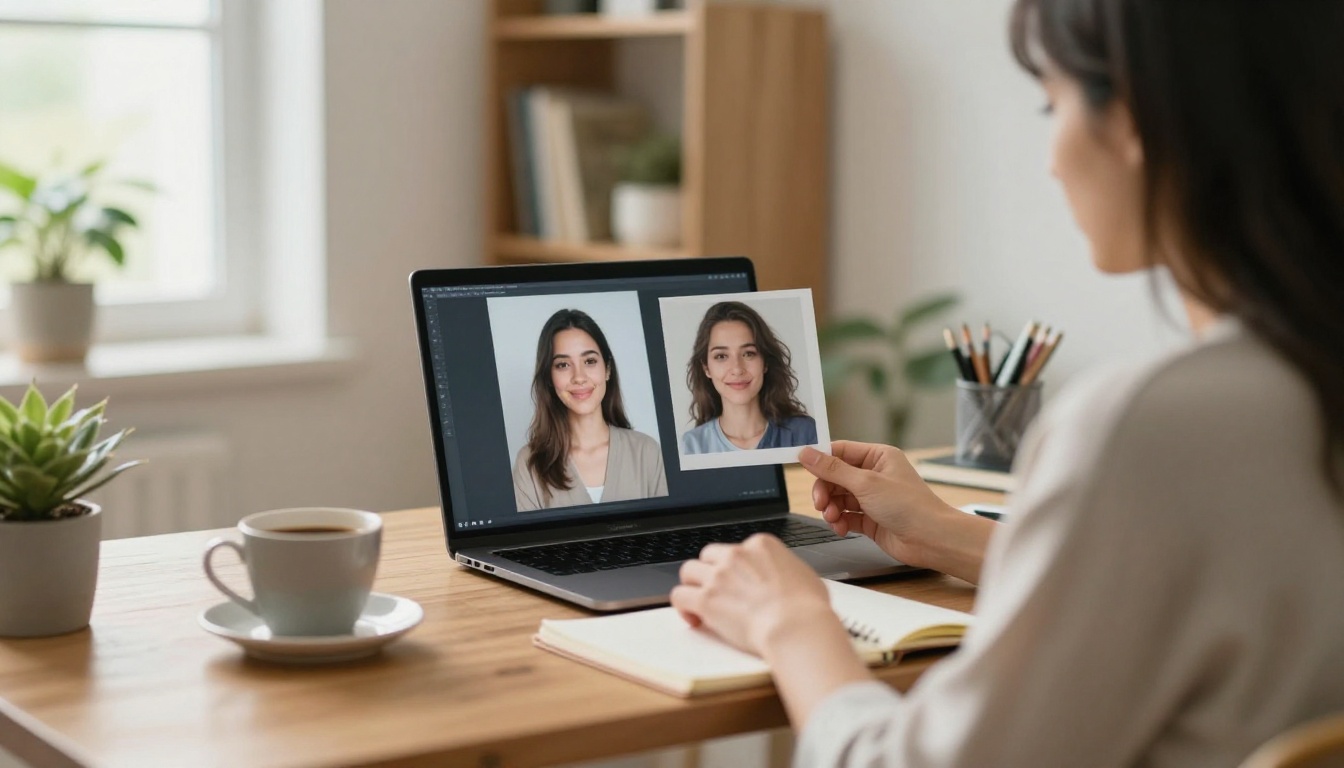
Reading about a look is one thing. Seeing it on your face is another. PicassoIA Image Editor Pro lets you upload a photo, describe a change in plain language, and get an edited version back in seconds. It accepts up to three reference images, and it is unlimited, so you can try as many looks as you like without hitting a daily cap.
Preview a Look Before Applying
- Open the model page and upload one clear, front facing photo taken in daylight. The first image you add is treated as the main one.
- Write the edit in plain language and refer to your photo as "image 1". For example: "Apply a soft peach blush on the apples of the cheeks of the woman in image 1, a warm brown eyeshadow on the lids and a rosy nude lipstick. Keep her face, hair and background unchanged."
- Leave the aspect ratio on
match_input_image so the result keeps the shape of your original photo.
- Set the number of outputs to 2 to get two variations of the same edit in one run.
- Choose the output format (WebP, JPG or PNG) and keep the quality high if you plan to compare details.
- Generate, compare and repeat. Change one thing at a time, such as blush color or lip shade, so you can see what made the difference.
| Setting | What it does | Suggested value |
|---|
| Images | Reference photos, up to three | One clear selfie, or two to blend looks |
| Prompt | The edit described in plain language | Name each product, color and placement |
| Aspect ratio | Shape of the output | match_input_image |
| Number of outputs | Variations per run | 2 |
| Seed | Locks the result so you can reproduce it | Set it once you like a look |
| Output quality | File detail for JPG and WebP | 90 to 100 |
Keep Skin Looking Real
The common problem with AI makeup previews is skin that turns smooth and plastic. Add a line such as "keep natural skin texture and visible pores" to your prompt. If a result still looks too polished, run it through Qwen Image Edit Plus LoRA Skin, which is built to restore pores and tonal variation. For a sharper final file, Clarity Pro Upscaler can upscale the result.
Other PicassoIA models fit this workflow too:
- Seedream 5 Pro accepts up to 10 reference photos and produces 1K or 2K images, which is useful for building a mood board of looks you like.
- Portrait Series turns one photo into a set of portrait poses, so you can see a makeup look from several angles.
💡 Pro move: save the prompt that gives you a look you love. Next time you shop, bring the colors and placements you tested on screen, and buy only what matches.
Try Your Own Look Today
You now know what AI reads in your face, which makeup suggestions come from each result, and how to test them with daylight and a swatch. The last step is to see the look on you.
Open Picasso IA, upload a clear selfie and start with PicassoIA Image Editor Pro. Try a soft everyday look, then a bolder evening one, and compare them side by side. Because edits are unlimited, there is no reason to settle on your first attempt. Test a blush, swap a lip color, change the eyeshadow, and keep the version that feels like you. Your next makeup purchase will be a lot easier to choose.


