Picking a lipstick used to mean standing at a counter, swiping three shades onto the back of your hand and hoping the store lighting told the truth. An AI makeup try on skips the guessing. You upload a selfie or open your camera, the software paints lipstick, blush, eyeshadow and liner onto your face, and you judge the result in seconds. Some of these tools are free filters built into apps you already use. Others are photo editors that rewrite your picture from a single sentence. Both are useful, and they solve different problems.
This article shows how each type works, which free options deserve your time, which makeup looks make the best first tests, and how to run a realistic try on with PicassoIA Image Editor Pro. You will also get a shade matching table, a settings cheat sheet and a short list of mistakes that make every try on look fake.
💡 Quick answer: use a free camera filter to browse colors fast, then switch to a prompt-based photo edit when you want a result that looks like a real photograph of you.
What an AI Makeup Try On Does
An AI try on does three things in order. It finds your face, it decides where each cosmetic belongs, and it blends a color or texture into those regions without wrecking the skin underneath. The whole sequence takes a fraction of a second on a phone and a few seconds on a server.
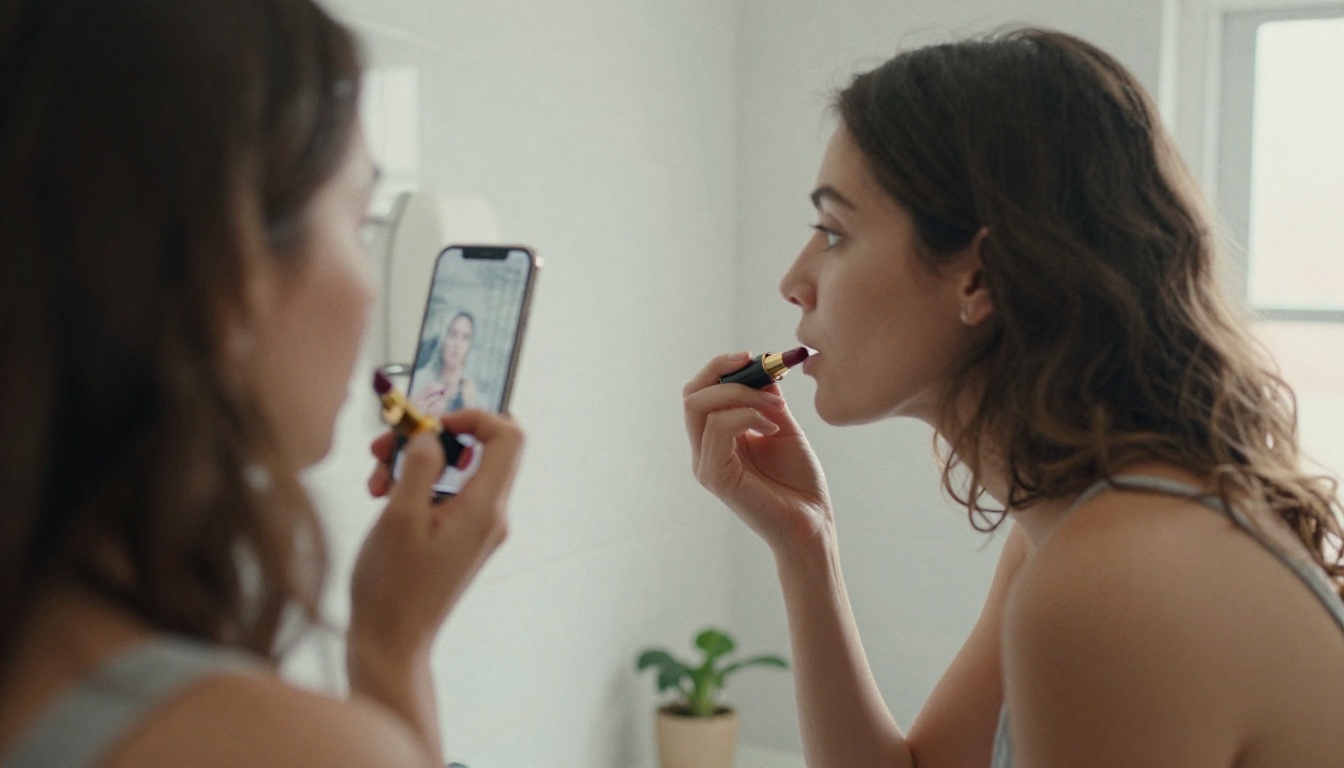
How Face Mapping Works
Classic filters detect a set of facial landmarks: the outline of the lips, the edge of each eyelid, the brow line, the cheekbones. Once the lips are outlined, the software swaps the hue but keeps some of the original shading, so the shine on your lower lip survives. That is why a live filter can follow you as you turn your head or laugh.
Diffusion-based editors work differently. They look at the whole photo, read your written instruction, and redraw only the regions you named. The result is less like a sticker and more like a retouched photograph, because the model can add a soft gloss, a gradient of blush or a trace of shimmer that matches the lighting in your picture.
Filters Versus Real Edits
The difference matters when you plan to post the result or use it to buy something. Here is how the three common approaches compare.
| Approach | Speed | Realism | Control | Best for |
|---|
| Social camera filter | Instant, live | Medium, often smoothed | Preset colors only | Browsing shades quickly |
| Brand try on app | Fast | Medium to high | Real product shades | Checking one specific product |
| Prompt-based photo editor | A few seconds per edit | High, keeps skin texture | Any color, finish and intensity | Posts, previews and look testing |
A working makeup artist follows the same logic. They start with the skin, place color where the face needs it, and adjust intensity until the look suits the person in the chair. A good try on tool copies that order instead of pasting a flat mask over the face.
Free Filters Worth Using
Free does not mean useless. For a first pass, a filter is the fastest way to find out whether you suit a coral lip or a plum one, and it costs nothing but a minute of your time.
Social Camera Filters
Instagram, Snapchat and TikTok all ship dozens of makeup-themed effects, and most of them are free and live. You open the camera, tap an effect, and see the color move with your face. They are perfect for sharing a quick look with friends and for ruling out shades you clearly dislike.
The trade-off is polish. Many of these effects soften skin until pores disappear, and they lean on the same handful of popular colors. What you see is a stylized idea of a lipstick, not a specific product.
Brand Apps and Virtual Mirrors
Many beauty brands and retailers add a virtual try on to their apps and product pages. You pick a real shade, the page applies it to your face, and you can often compare several options in a row. These tools are the most reliable for matching a specific product, because the color is tied to an actual formula.
Their limit is the catalog. A brand tool only shows that brand's shades, so it works as a final check before buying, not as a place to invent a new look.
Where Free Filters Fall Short
Free filters stop being helpful in a few predictable situations:
- Smoothing hides texture. If the skin looks airbrushed, you cannot judge how a matte lip or a powder blush will sit on real skin.
- Lighting rarely matches. A filter paints the same color in a dim room and in sunlight, so the preview can mislead you.
- Choices are fixed. You cannot ask for glossy lids, a matte lip and a trace of freckles in one pass.
- Exports can be limited. Some apps cap the resolution of a saved image or ask you to sign in first.
That last point is where a prompt-based editor earns its place. You describe the exact look in plain words, and the result keeps your skin, your lighting and your photo quality.
Makeup Looks Worth Testing First
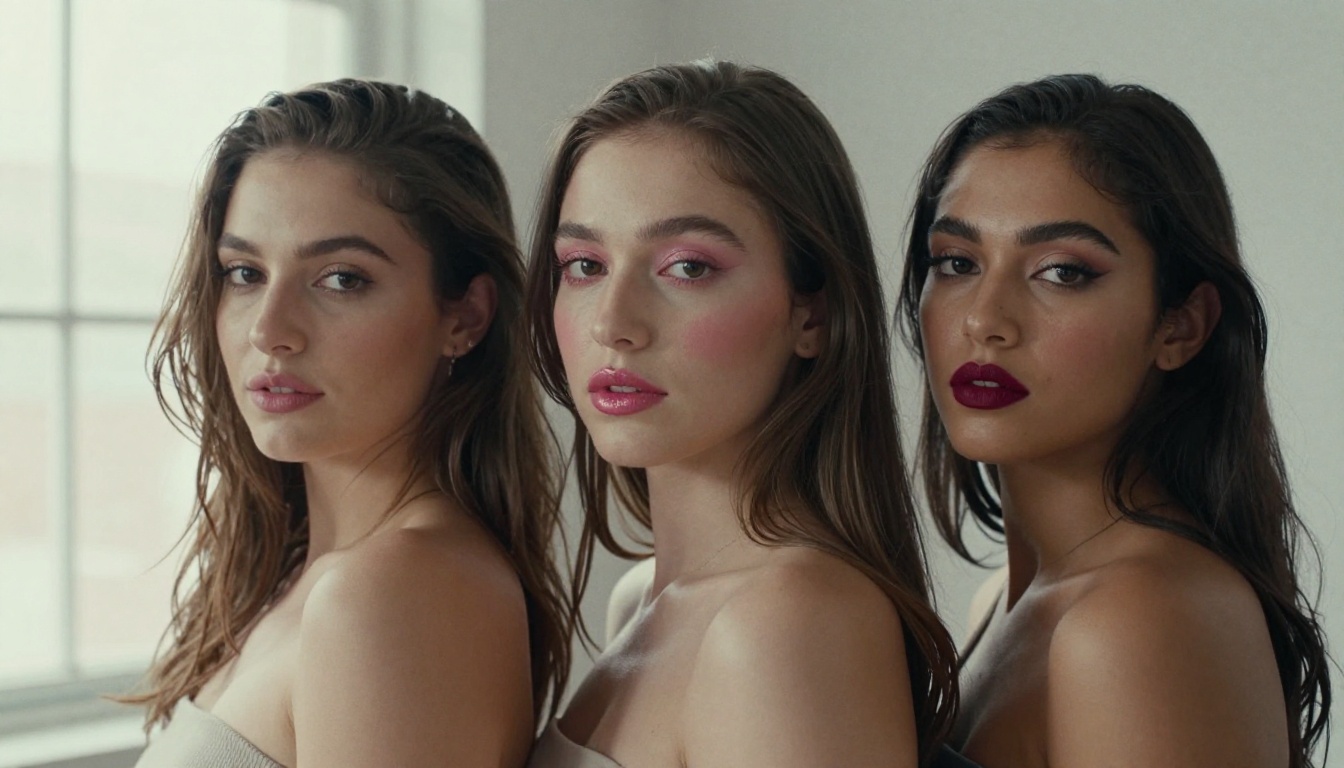
Start with looks that read clearly in a photo and show off the difference between tools. A natural look exposes fake skin, a soft glam look tests eye detail, and a bold lip tests color accuracy. Run all three on the same selfie and you will know quickly how far a tool can be trusted.
The No-Makeup Makeup Look
This is the hardest look to fake and the most useful one to test. Think of a sheer skin tint, a cream blush, lightly brushed brows and a tinted lip balm. If a try on tool makes this look appear natural, with visible pores and real skin tone, you can trust it with heavier looks.
A prompt that works well: "Apply a sheer skin tint, a soft peach cream blush on the cheekbones, brushed natural brows and a sheer rose lip balm. Keep skin texture, freckles and lighting unchanged."
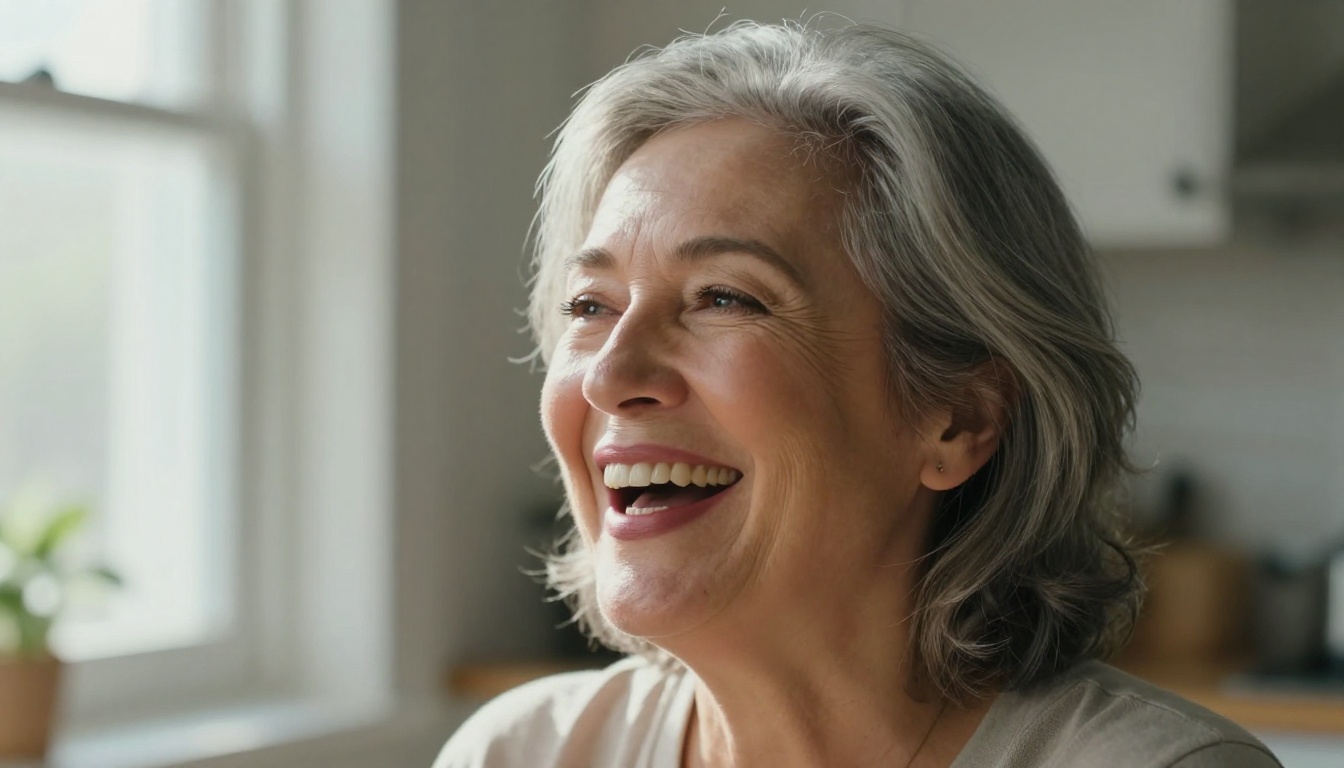
Mature skin is a good stress test too. Fine lines, laugh lines and uneven tone expose any tool that smooths too much. A realistic result leaves those details alone and only changes color.
Soft Glam for Evenings
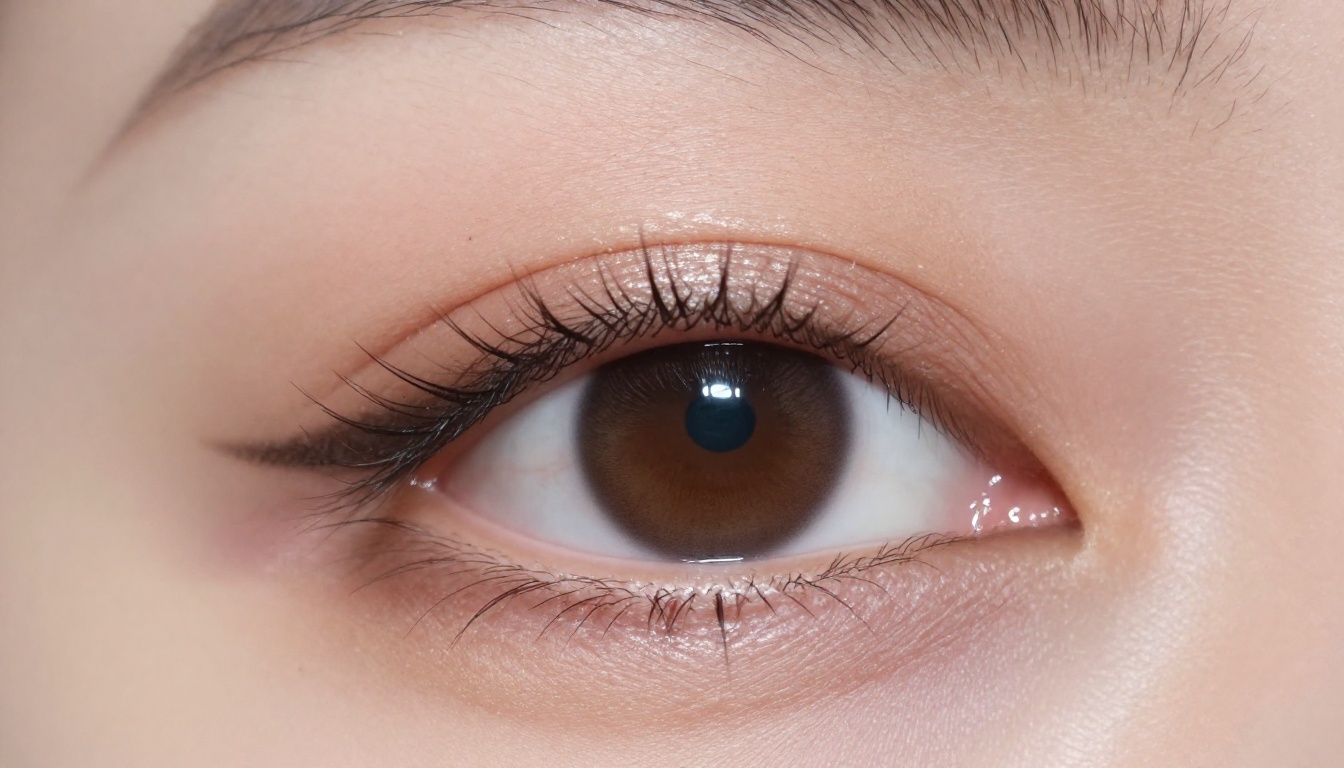
Soft glam sits between natural and dramatic: champagne shimmer on the lids, a thin brown liner, defined lashes and a rose lip. It photographs well, so it is a common choice for dinners, weddings and profile photos.
The detail that matters here is the eye. Ask for the shimmer to stay on the lid and for the liner to follow the natural lash line. If the preview smears color across the brow bone, rewrite the prompt with a tighter instruction.
Bold Red Lip and Liner
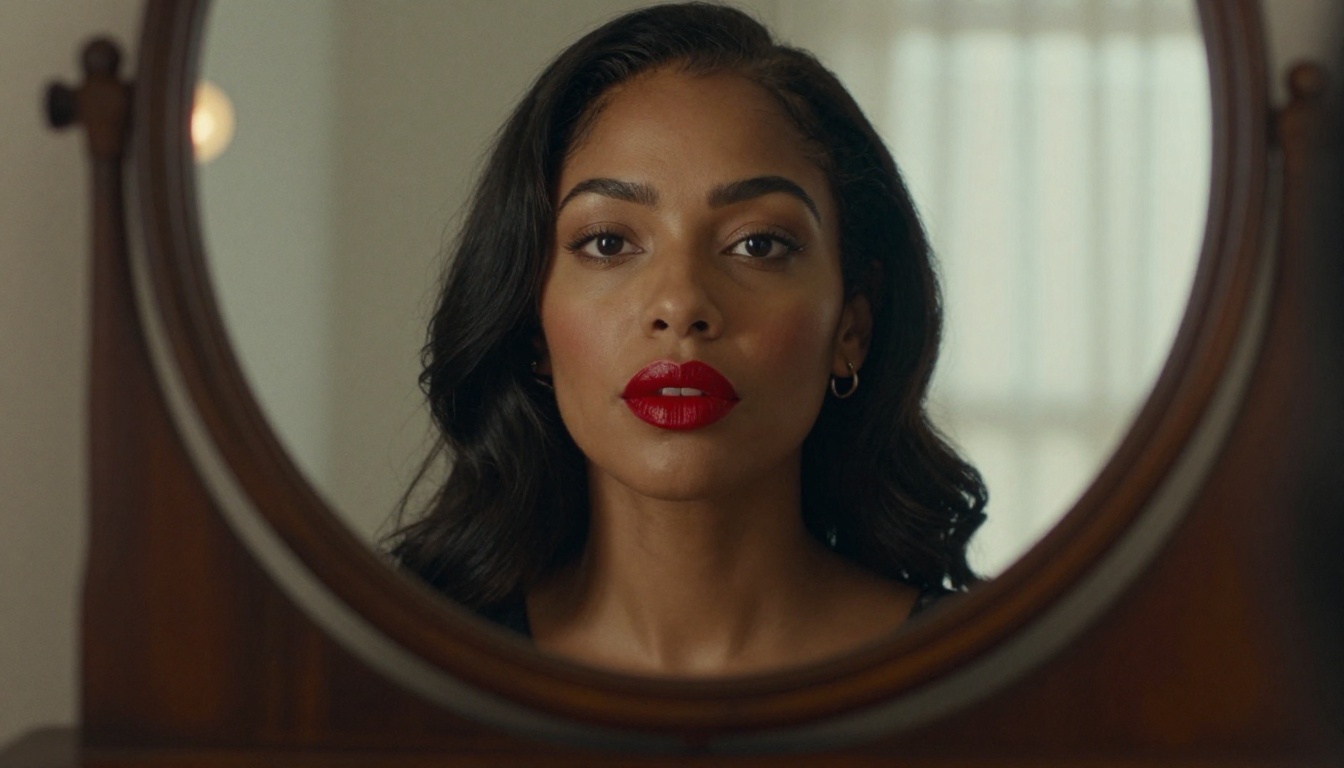
A classic red lip is the best color test, because your eye catches a wrong undertone immediately. Blue-based reds brighten teeth and suit cool undertones, while orange-based reds warm the face and suit golden or olive skin. Try both on the same photo and compare.
Pair the red with a clean wing and nothing else. When the lip is the star, keep cheeks and lids quiet, and the preview will look balanced instead of crowded.
Match Shades Without Guessing
A try on shows you how a color looks on screen, and screens differ. Use the preview to narrow the choice, then confirm in daylight with a real swatch. A few habits make the preview far more reliable.
Foundation and Undertone
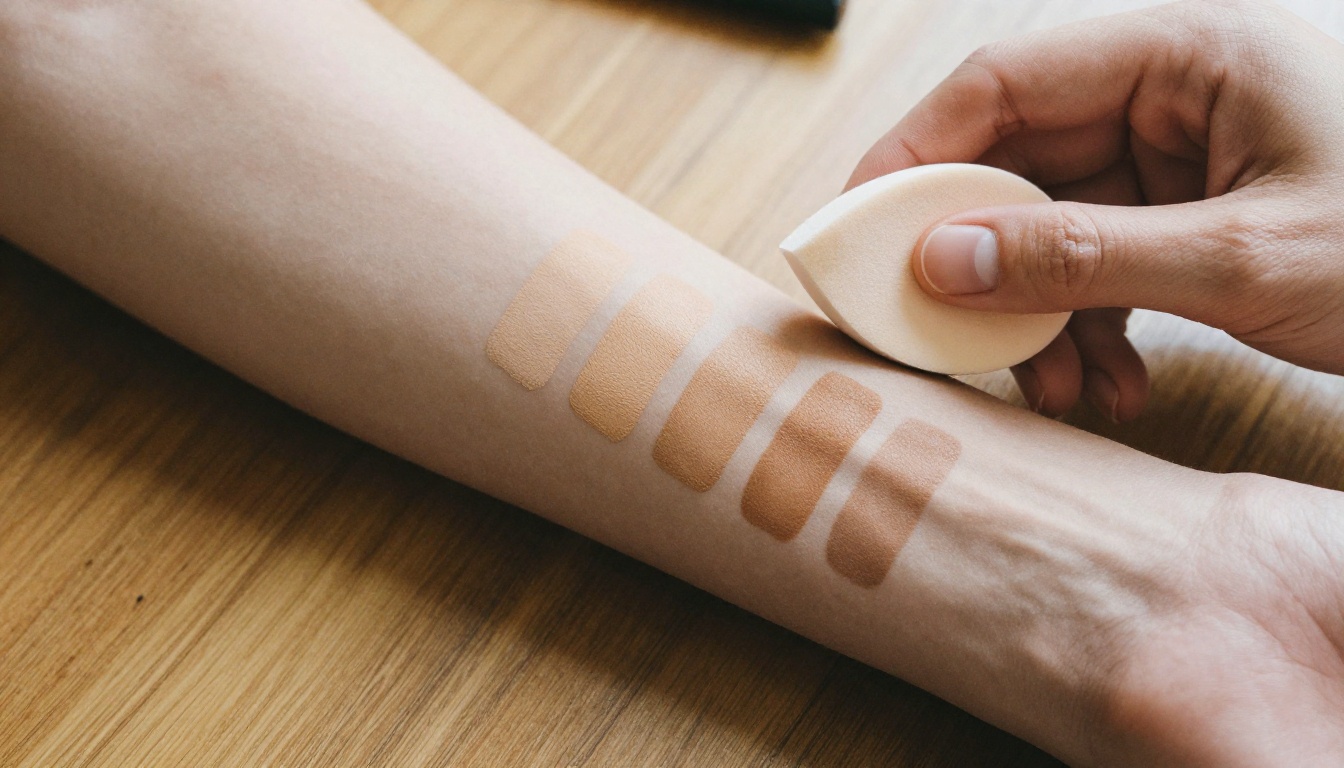
Foundation is the toughest product to preview, because a correct match disappears into the skin. Check three things before you trust a result:
- Compare the jaw and neck. If the face looks lighter or darker than the neck in the preview, the match is wrong.
- Judge undertone, not depth. Cool undertones lean pink or blue, warm ones lean golden, and neutral ones sit between. If gold jewelry flatters you more than silver, you probably run warm.
- Use daylight photos. Indoor bulbs shift color. A selfie taken near a window gives the cleanest reading.
Lipstick Across Skin Tones
Lip color is where try on tools shine, since the lips are a clear, well-defined region. Use the table below as a starting point, not a rule. Personal taste and undertone beat any chart.
| Skin depth | Shades that often read well | Shades to test carefully |
|---|
| Light | Soft rose, peach nude, cherry red | Very pale beige nudes that wash out |
| Medium | Terracotta, rose brick, warm berry | Muted pastels that look chalky |
| Deep | Wine, plum, true red, chocolate brown | Frosty light pinks that look ashy |
💡 Tip: save your three best previews in one folder. Seeing them side by side makes the winner obvious and keeps you from buying a fourth lipstick that looks like the other three.
How to Use Image Editor Pro
PicassoIA Image Editor Pro is an editing model that works from a written prompt. You upload up to three reference images, describe the change you want, and get a polished edit back in a few seconds. Edits are unlimited, so you can run dozens of lipstick and eyeshadow variations on one photo without a daily cap.
Pick the Right Photo
The source photo decides the quality of the result. Choose a picture where:
- Your face looks straight at the camera or turns only slightly.
- Daylight falls evenly on both cheeks, ideally from a window.
- Hair stays off the lips and eyes.
- No beauty filter or heavy retouching has been applied.
A sharp photo with bare or light makeup gives the editor clean skin to work with.
Write the Makeup Prompt
Think in the same categories as a real makeup bag: base, cheeks, eyes, brows, lips. Name each product, the shade and the finish, then tell the model what must stay the same.
A reliable formula is: action + product + shade + finish + placement + what to keep. Three prompts you can copy and adjust:
- "Apply a satin rose-brick lipstick and soft peach blush to the woman in image 1. Keep her face shape, skin texture, hair, background and lighting unchanged."
- "Add champagne shimmer eyeshadow on the lids and a thin brown eyeliner along the upper lash line. Do not change the lips or skin."
- "Apply the lipstick color and eyeshadow from image 2 to the woman in image 1. Keep everything else identical."
The third prompt uses the reference image feature. Upload a photo of a look you admire as image 2, and the editor borrows its colors while your face stays yours.
Set Output Options
The default settings work for most try ons, but a few are worth adjusting:
| Setting | Recommended value | Why it helps |
|---|
| Aspect ratio | match_input_image | Keeps your photo's original framing |
| Number of outputs | 2 | Gives you two variations per run to compare |
| Seed | Fixed number | Lets you reproduce a result you like |
| Output format | PNG or JPG | PNG for the sharpest detail, JPG for sharing |
| Output quality | 95 | Keeps lip and lash edges clean |
Compare Variations and Refine
Change one thing per run. If the lipstick is right but the blush is too strong, keep the same seed and only rewrite the blush line. Words like subtle, medium and dramatic control intensity better than long descriptions.
When you have two or three winners, place the original next to each result. Your eye will spot a color that looks artificial far faster in a side-by-side than in isolation.
Other Models Worth Pairing
A full look is more than makeup. These models fill the gaps around it, and each one runs from the same PicassoIA workspace:
- P Image Try On: dresses a person photo in up to six garments while keeping face, pose and body shape intact. It handles clothing, not cosmetics, so run your makeup edit first and then style the outfit.
- Qwen Image Edit Plus LoRA Skin: built for skin retouching, useful for evening out tone after a makeup edit without erasing texture.
- Flux Kontext Change Haircut: lets you test a new haircut alongside the makeup, since cut and color change how a lipstick reads.
- Flux Kontext Filters: applies a photo style to the finished image, handy for a warm film look before posting.
- Seedream 4.5 and Nano Banana Pro: generate model portraits from text, useful when you want look inspiration and have no clean selfie handy.
Mistakes That Ruin a Try On
Most disappointing previews come from the same few errors:
- Starting from a filtered selfie. A smoothed photo gives the editor no skin to work with, and the result looks plastic.
- Judging color in the wrong light. A warm lamp turns every pink into coral. Check the preview next to a window.
- Changing everything at once. Five new products in one prompt makes it impossible to tell which one failed.
- Ignoring undertone. A shade that looks great on a friend can clash with your skin. Compare at least two undertones.
- Treating a preview as a guarantee. Screens differ, so confirm any purchase with a swatch in daylight.
- Skipping privacy checks. Before uploading a face photo to any tool, read what it does with the image and delete the upload if you do not want it stored.
💡 Rule of thumb: a believable try on keeps your freckles, your pores and your lighting. If the tool changes those, the color information cannot be trusted either.
Start Testing Your Own Looks
You already know which shades you like in theory. The faster way to find out which ones suit you is to see them on your own face, so pick one selfie, write one prompt and run it. Try a natural look, a soft glam look and a red lip on the same photo, then compare the three side by side.
Open Picasso IA and start with Image Editor Pro. Edits are unlimited, so nothing stops you from trying a seventh eyeshadow or swapping coral for berry. Save your favorite previews, share them with a friend who has an honest opinion, and buy only the products that survived the test.


