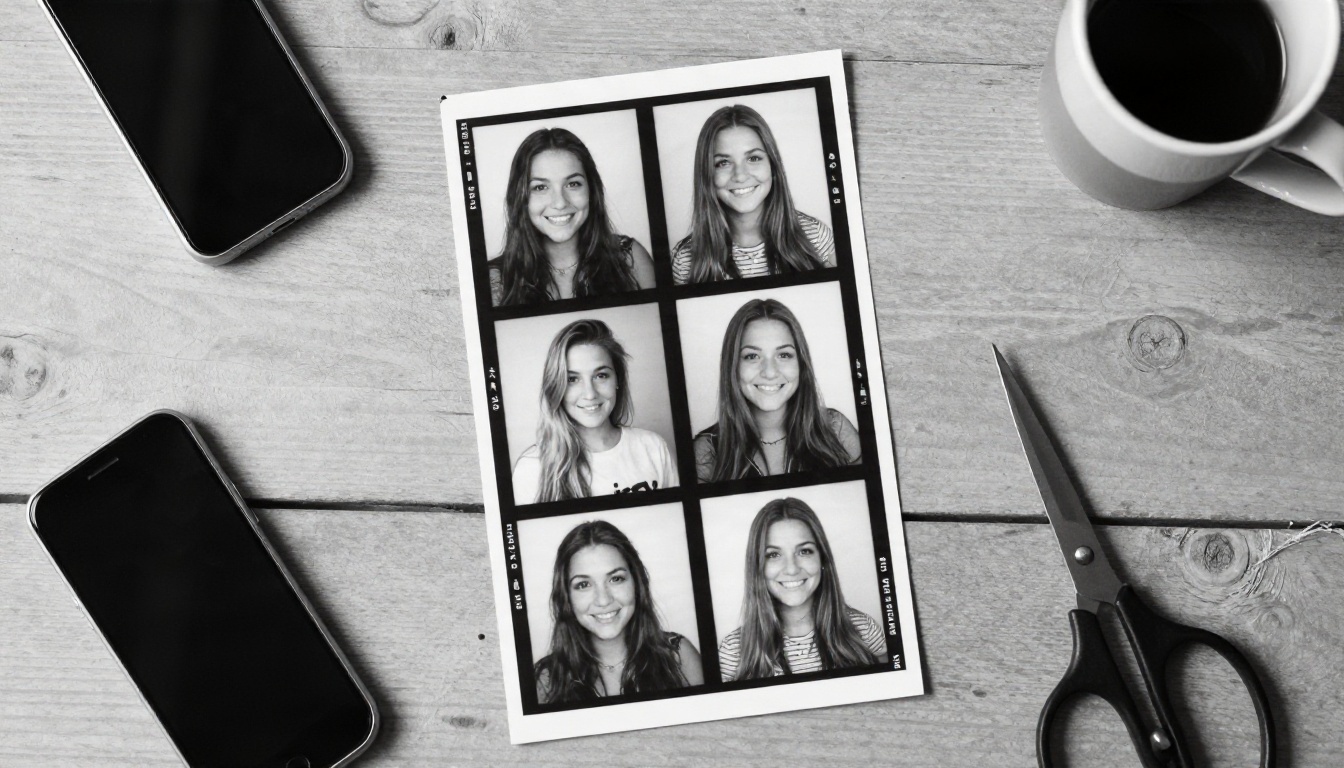
The old photo booth gave you four blurry frames, a damp strip of paper and a story to tell. An AI photo booth gives you the same thrill, minus the line at the mall, and adds something the curtain never could: you pick the look. Retro film, a crisp LinkedIn headshot, a snowy holiday card, a 1970s diner. One selfie in, a finished strip out, usually in under a minute.
If you searched for a free online app, you probably want three things: a tool that does not bury you in watermarks, prompts you can paste and tweak, and honest examples of what the results look like. That is exactly what this article delivers. You will see how the process works, which styles hold up under scrutiny, which prompts produce clean faces, and where the free tiers stop being free.
💡 Quick answer: upload a well lit selfie, choose a style or write a short prompt, generate four frames, then pick the best one or arrange them as a strip. The whole thing takes about as long as a real booth session.
What an AI Photo Booth Does
From Curtain Booth to Browser
A classic booth takes a fixed number of exposures on a timer. An AI photo booth works differently. You supply a photo of your face, the model reads the identity, lighting and pose, and then it paints a new image around you that matches a style or prompt. Some apps then lay several results into a vertical strip, a grid or a postcard, which is where the booth feeling comes from.
Three ideas sit underneath almost every tool:
- Reference photo: your face is the anchor, so quality here decides everything.
- Style or prompt: the text or preset that sets clothing, setting, lighting and mood.
- Layout: a strip, a grid or a single frame, usually with a thin border and film grain.
Why Free Tools Hit Limits
Generating images costs real compute, so every free app has a catch. From a quick look at what is out there right now, the common free offers include browser tools from Dreamina, MyEdit, Pokecut and Sogni, plus Photobooth AI, which gives a small number of free credits at signup and sells style packs afterwards. Many free tiers cap daily credits, add a watermark, or lock the better styles behind a plan. These details change often, so check current terms before you plan an event around any of them.
💡 Tip: if a free app watermarks the output, regenerate the same prompt in an image model with no watermark. The prompts in this article work in any text to image tool.
How the Free Online App Works
Whatever service you pick, the flow is nearly identical. Here is what happens at each step and where people usually go wrong.
Step 1: Upload a Clear Selfie
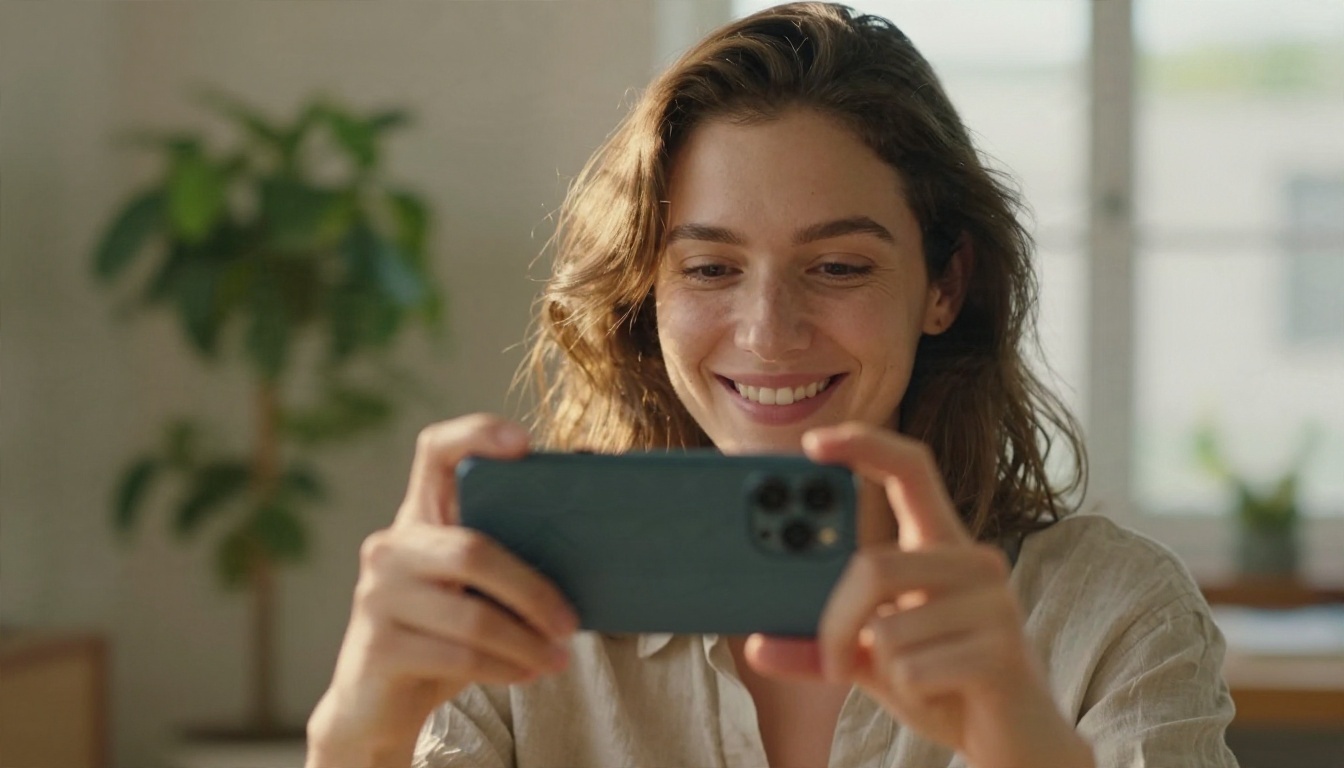
Face toward a window, phone at eye level, no sunglasses, no heavy filter. Soft daylight from the side beats a ring light every time because it keeps skin texture and gives the model shape to work with. A neutral or slight smile gives the most flexible result. If you wear glasses, include one photo with them and one without.
Step 2: Pick a Style
Presets are the fast lane. They bundle clothing, background, color grade and grain into one click. If your app offers a style library, scan for categories like vintage, headshot, seasonal and fashion. If it offers a custom prompt field, skip the presets once you have a feel for the tool, because your own words give you more control.
Step 3: Add a Prompt
A good photo booth prompt is short and visual. Name the setting, the clothing, the light and the camera feel. Avoid abstract words like "beautiful" or "amazing", which tell the model nothing. We cover full prompt formulas in a later section.
Step 4: Generate the Strip
Produce four variations, not one. Faces differ slightly between generations, and the best frame is rarely the first. Pick the winner, or keep all four and arrange them vertically for that booth look. Add a thin white border and mild grain if the app does not do it for you.
Styles Worth Trying
Not every style survives contact with a real face. After testing a range of looks, these are the ones that consistently produce believable, flattering results.
Professional Headshot
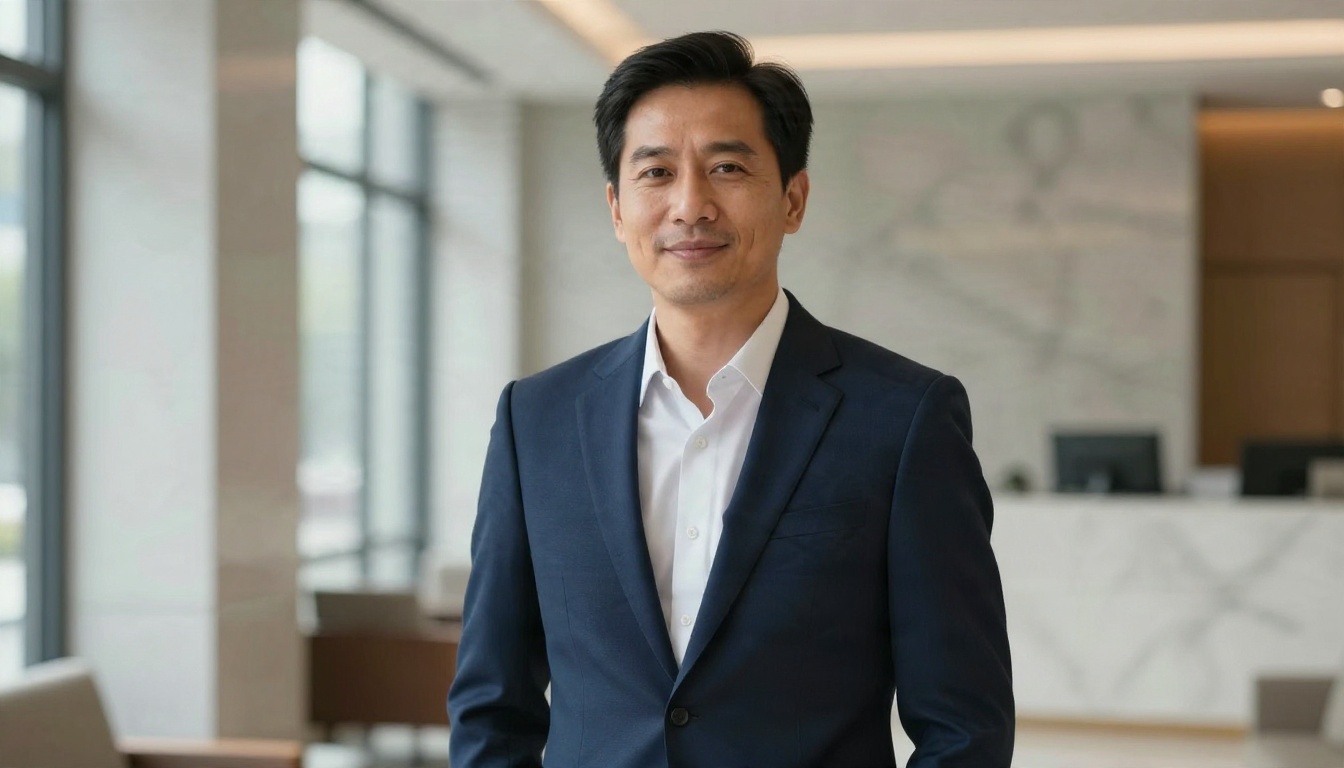
The most useful style by far. Navy suit, soft window light, blurred office behind you. It replaces a studio session for profile photos, resumes and speaker bios. The trick is restraint: ask for natural skin texture and mild contrast, not glossy retouching.
Retro Film Strip
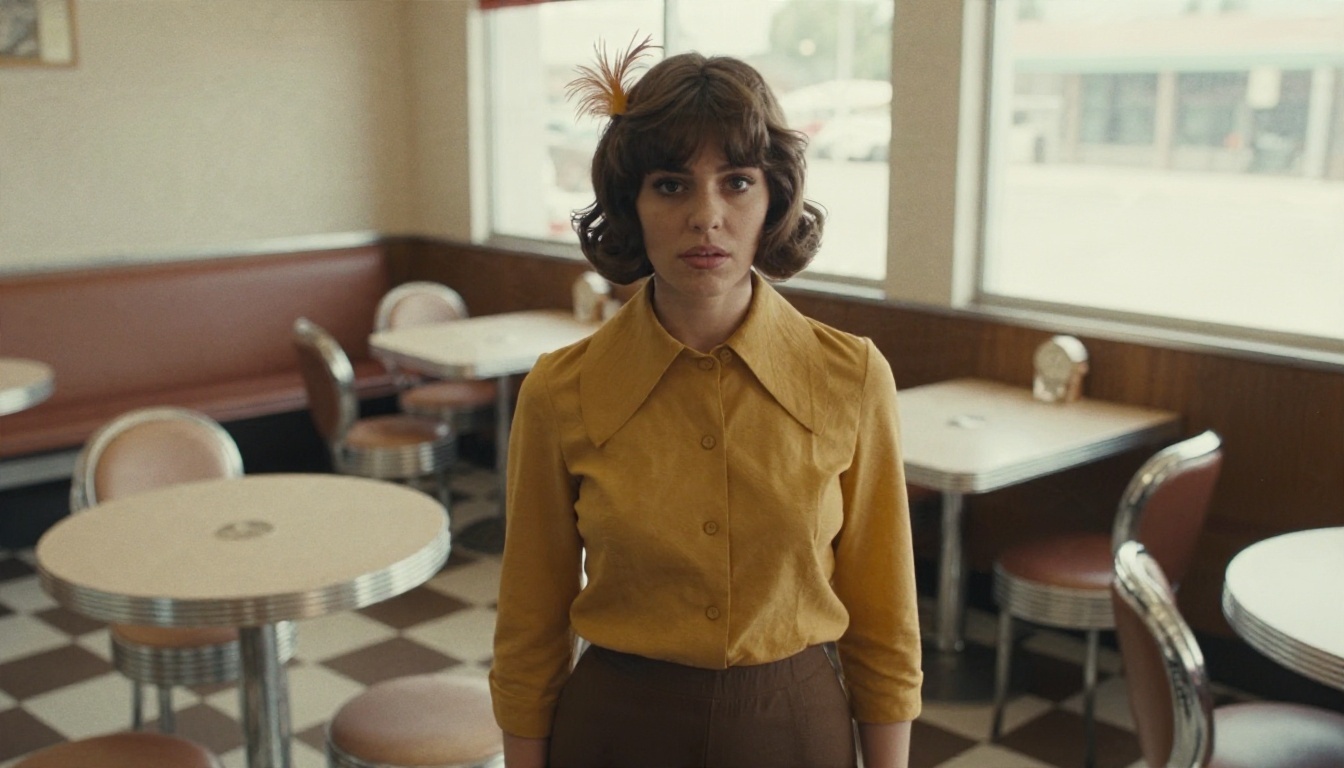
This is the style that feels most like a real booth. Warm faded color, soft focus, visible grain, a light leak at the edge. Seventies, eighties and nineties looks all work, and the fashion cues (wide collars, feathered hair, denim jackets) give the model strong anchors. Dreamina, for example, ships a retro preset built on film grain and a slight overexposure, and its Korean four frame strip look is modeled on the "Life4Cuts" booths that took off in Seoul.
Street Style
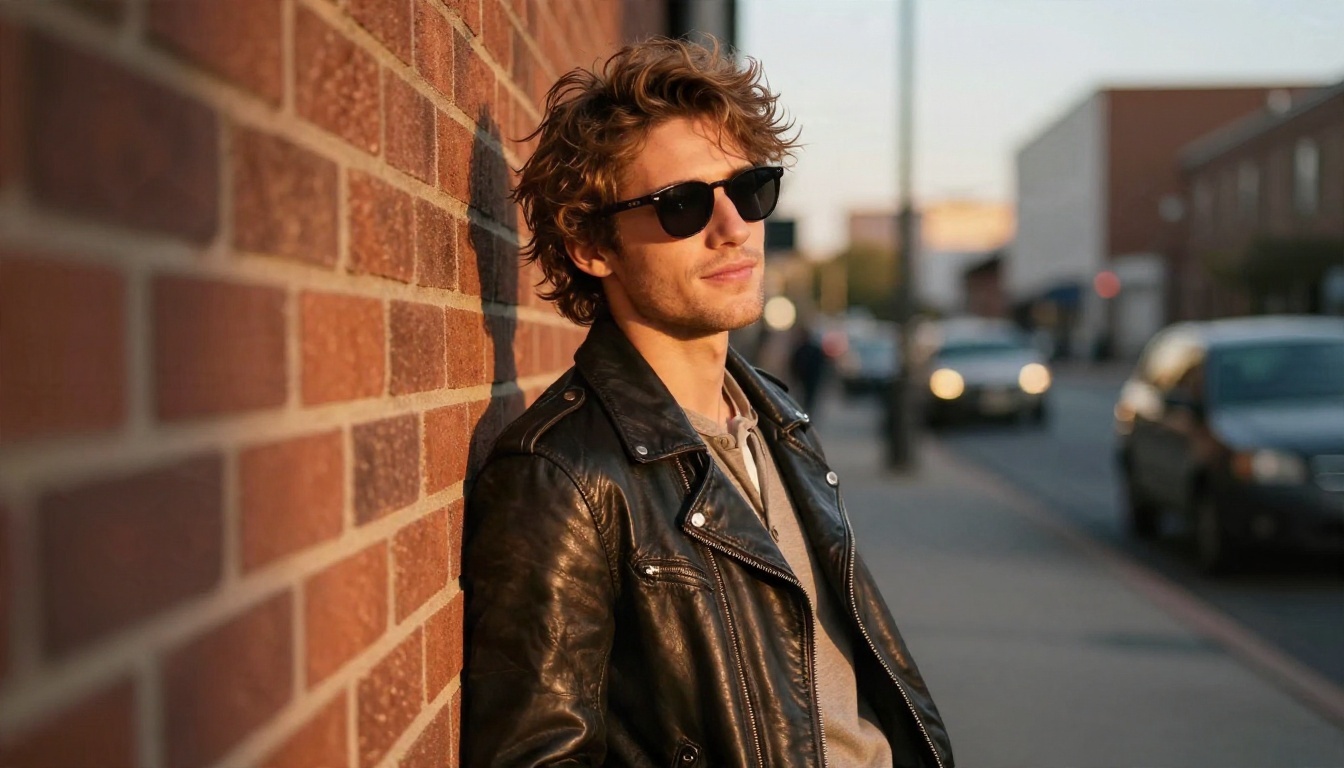
Leather jacket, brick wall, golden hour. This one suits dating profiles and social avatars. It rewards a confident expression and a slightly off center pose, which you can request in the prompt.
Holiday Card
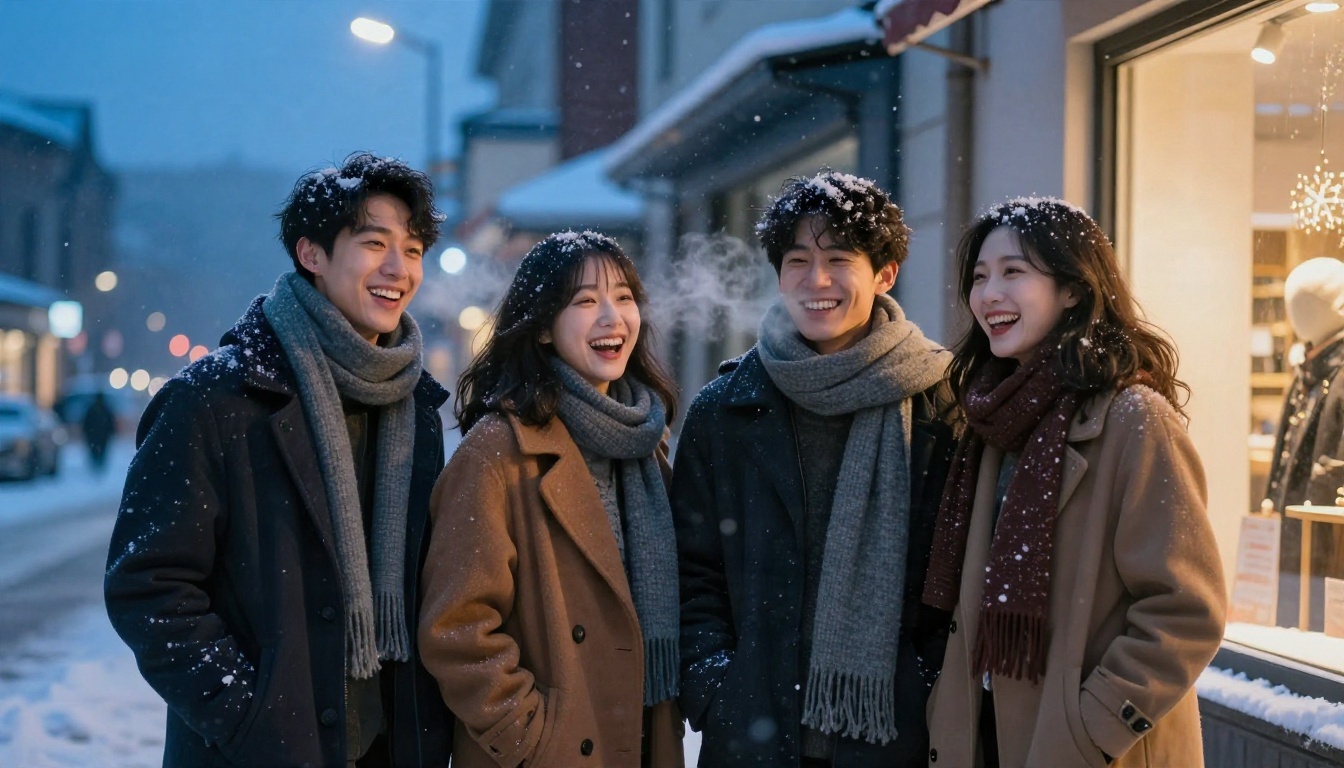
Group shots are where AI photo booths earn their reputation, because you can place everyone in the same snowy street without anyone leaving their house. Upload each person separately if the app allows it, or use one shared photo and keep the clothing instruction identical for the whole group.
Style Comparison at a Glance
| Style | Best for | Lighting cue | Difficulty |
|---|
| Professional headshot | Resumes, profiles | Soft window light | Easy |
| Retro film strip | Social posts, parties | Warm, slightly overexposed | Easy |
| Street style | Dating, avatars | Golden hour backlight | Medium |
| Holiday card | Family, friends | Shop window warmth | Medium |
| Wedding corner | Events, guest favors | Mixed tungsten and daylight | Medium |
| Family portrait | Keepsakes | Dappled afternoon light | Easy |
Prompts You Can Copy
Prompts work best when they follow one order: subject, setting, light, camera, texture. Paste these, swap the details in brackets, and run four variations.
Retro Strip Prompt
Photo booth strip of me as a [age] person in a 1970s [mustard blouse], seated in a vintage diner booth, warm faded film colors, soft flash from the front, slight overexposure, visible film grain, thin white border, 50mm lens, candid laugh.
Why it works: the fashion item gives the era, the flash gives the booth feel, and "candid laugh" prevents the stiff mannequin smile.
Headshot Prompt
Professional headshot of me in a [navy suit], standing in a bright office lobby, soft window light from the left, blurred glass and marble background, natural skin texture, relaxed half smile, 85mm lens, shallow depth of field.
Group Prompt
Four friends in matching [wool coats and scarves] on a snowy street at dusk, laughing together, warm shop window light on faces, soft blue twilight behind, breath visible in cold air, 35mm lens, holiday card composition.
Prompt Mistakes to Skip
| Mistake | What goes wrong | Better version |
|---|
| "Make me look amazing" | Vague, generic output | Describe clothing and light |
| Five styles in one prompt | Muddy, confused image | One era, one setting |
| No lighting cue | Flat, plastic skin | Name direction and quality of light |
| Asking for text on signs | Garbled letters | Leave text out, add it afterwards |
| Over polished skin words | Waxy, uncanny face | Request natural skin texture |
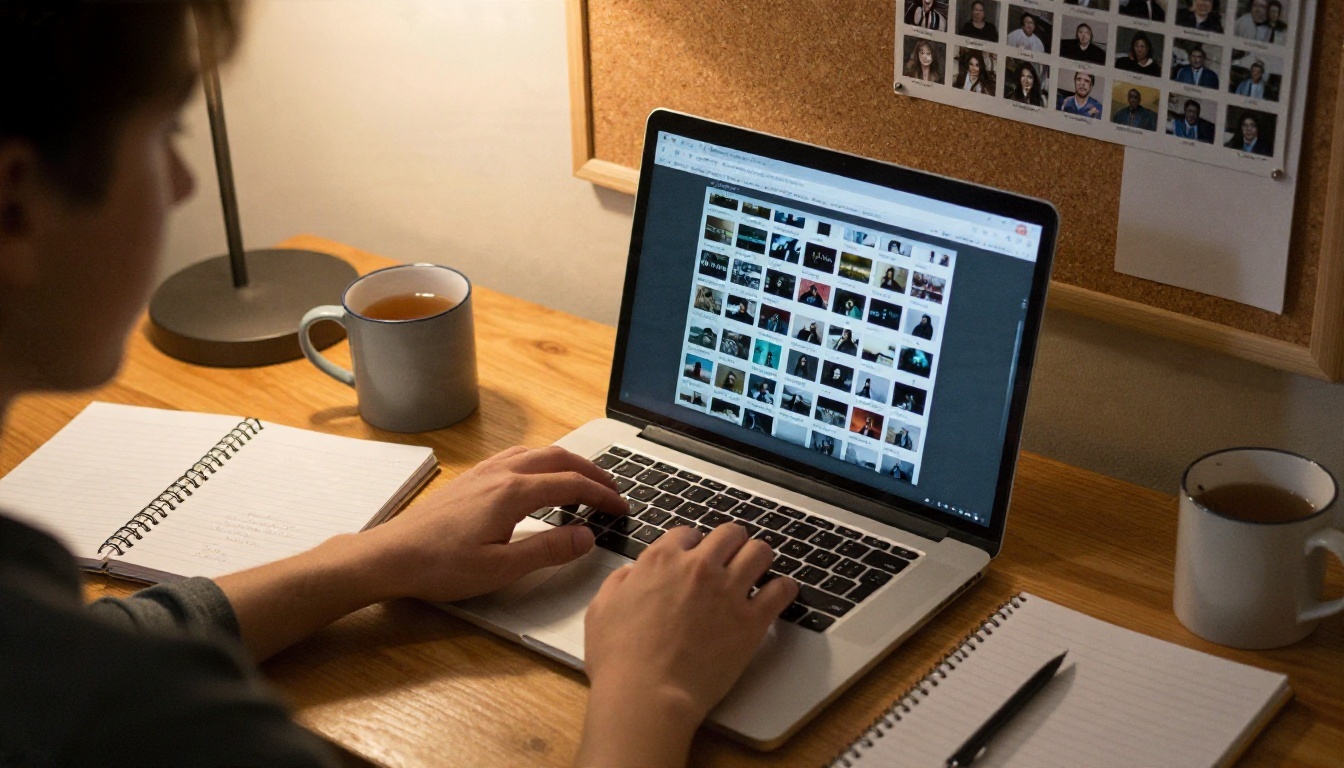
💡 Tip: keep a notebook of prompts that worked. Reusing the exact wording with a new style word changed ("1990s" instead of "1970s") is the fastest way to build a full series.
Real Examples by Occasion
Weddings and Events
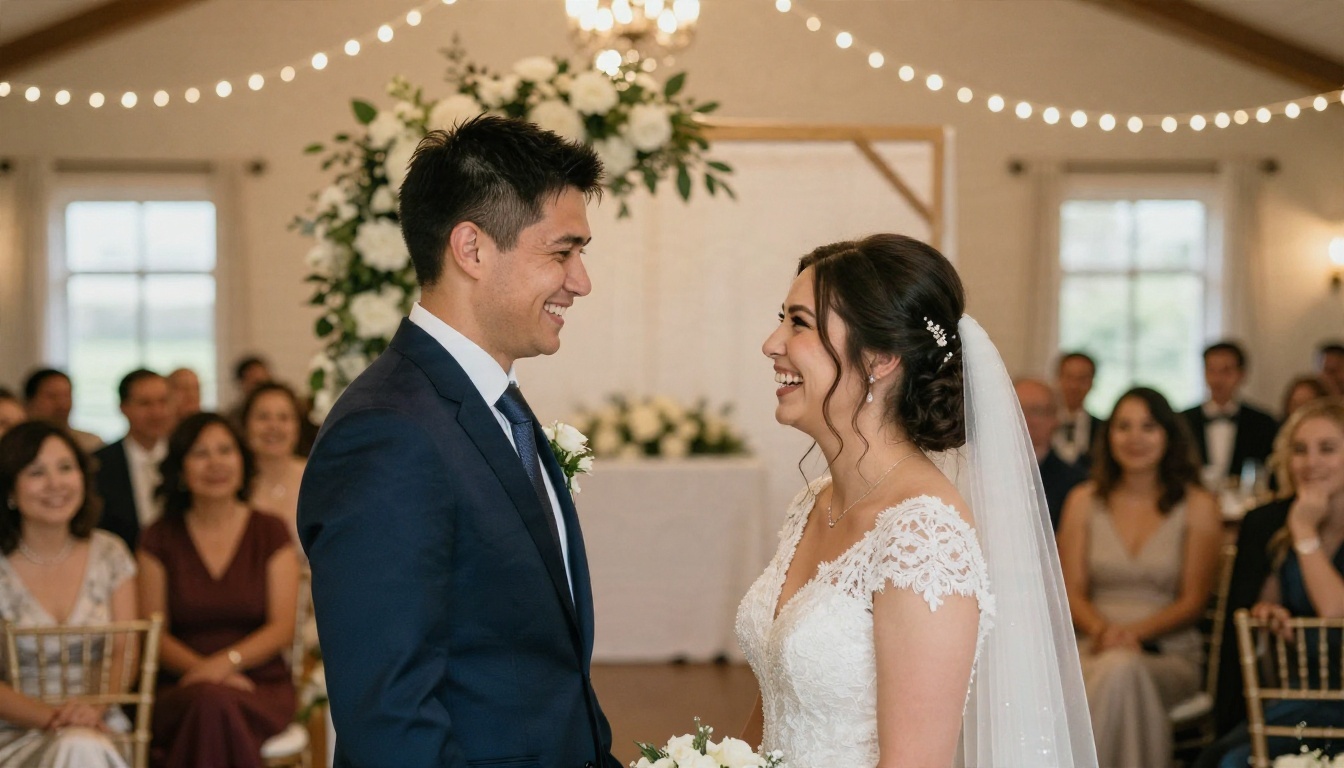
Event hosts have turned AI photo booths into a guest activity: guests snap a selfie on a tablet, pick a style, and receive a share link. For a wedding photo corner, a warm, candid look with string lights and florals pairs well with the venue and keeps faces flattering under mixed lighting. If you run one, test your prompt with a few volunteers of different ages and skin tones before the day, because a style that flatters one face can flatten another.
Family Memories
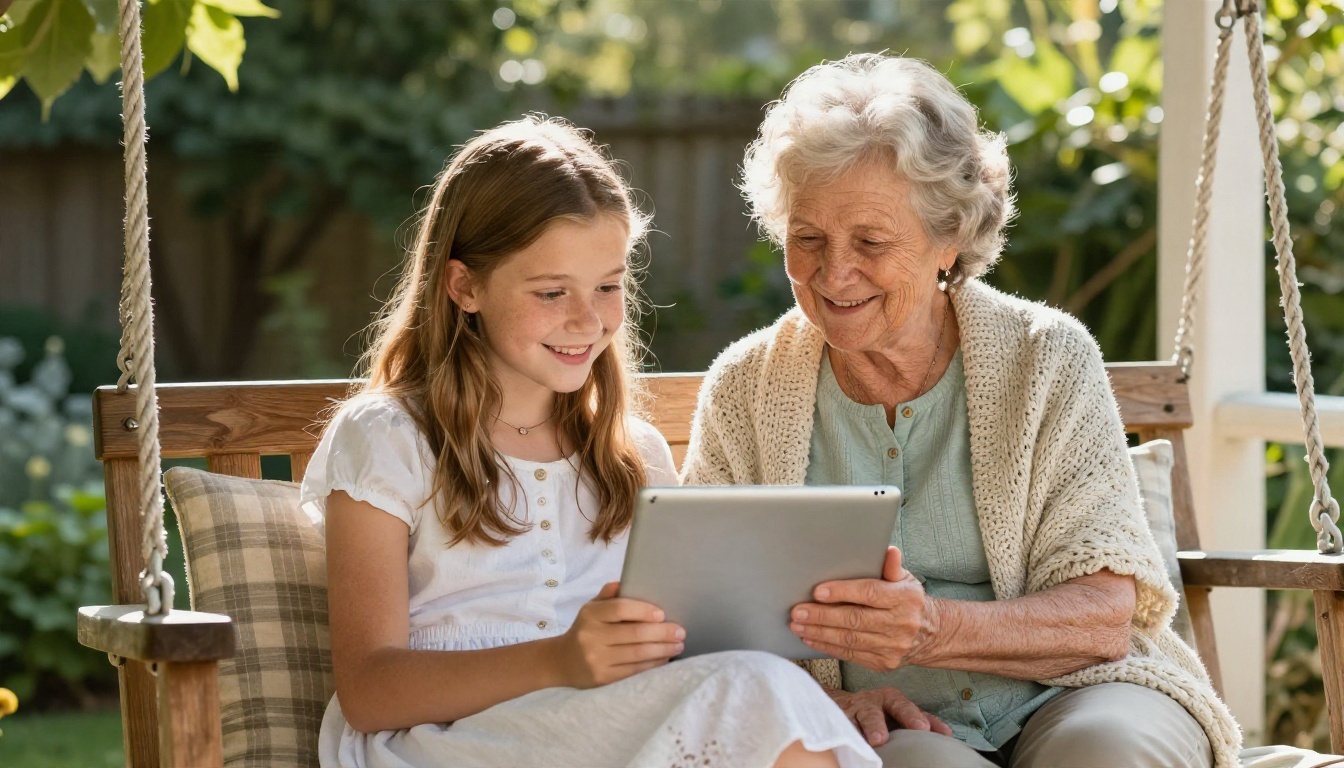
Not every use is glamorous. Some of the best results come from simple, warm settings: a porch swing, a knitted shawl, an afternoon in the garden. Grandparents and teenagers laughing at the same screen produce the kind of frames that end up on a fridge. These also work as gift prints, since soft light and natural expressions survive printing better than heavy effects.
Best Models for the Job
If a browser app feels restrictive, you can get the same effect directly from an image model on PicassoIA, with more control and no template limits. Here is how the most useful ones line up for photo booth work.
Handy Add Ons
A few specialized tools fill the gaps that a general model misses:
- P Image Try On puts a specific outfit on you, ideal for the headshot style when you want an exact jacket.
- Change Haircut swaps hairstyles, useful for the retro looks that depend on a feathered or bobbed cut.
- Generate Background replaces the backdrop while keeping you untouched, which is handy for event photo corners.
- P Image Trainer trains a custom LoRA on your own photos, so your face stays consistent across a whole series.
A Simple Workflow
- Open PicassoIA Image Editor Pro and upload your selfie.
- Paste one of the prompts above and change the bracketed details.
- Generate four variations and pick the best face.
- If the background looks off, swap it with Generate Background.
- For a final polish at higher detail, rerun your favorite frame in Seedream 4.5 or Nano Banana Pro.
- Stack the four frames vertically in any image editor, add a thin white border, and export.
Free vs Paid Photo Booth Apps
| Factor | Free web apps | Paid apps and event tools | Image models on PicassoIA |
|---|
| Cost per image | Free, limited credits | Subscription or per event | Flexible, depends on model |
| Watermarks | Common | Usually removable | None on your own outputs |
| Prompt control | Presets, some custom | Full, with templates | Complete freedom of wording |
| Face consistency | Medium | High | High with reference or LoRA |
| Event features | Rare | QR sharing, printing | Build your own flow |
| Best for | Quick fun | Hosted parties | Creators who want quality |
The honest take: free apps are great for a quick laugh and a share. When you want a headshot you will actually put on a resume, or a photo strip that looks like it came from a darkroom, a direct image model gives you cleaner skin, more believable light and no template stamp.
Privacy and Consent
Your face is personal data. Before uploading a selfie, check how the service stores and deletes photos. Only upload other people's faces with their permission, and keep family photos of children off tools you do not trust. If you run a booth at an event, tell guests plainly what happens to their pictures.
Common Fixes
- Face looks different: upload a sharper reference and describe the same hairstyle in the prompt.
- Skin looks waxy: add "natural skin texture, visible pores" and remove words like "flawless".
- Hands look odd: crop or pose so hands are out of frame, or ask for a hand in a pocket.
- Colors look too clean: add film grain, faded color and a mild light leak.
Make Your Own Strip Today
You do not need a booth, a line or a coin. You need one good selfie, a prompt from this article and about two minutes. Start with the retro strip prompt, run four variations, and see which frame feels most like you. Then switch the decade, swap the clothes, change the lighting, and watch the same face show up in a dozen believable worlds.
Ready to try it? Open PicassoIA Image Editor Pro for unlimited online editing, or pick a sharper engine like Seedream 4.5 when you want print quality. You can browse every option at picassoia.com/en/all-models. Make a strip for yourself, make one for a friend, and send it before the coffee gets cold. Picasso IA is built for exactly this kind of experiment, so try a few wild prompts and keep the ones that make you laugh.


