You type one sentence, wait a few seconds, and a photograph appears that never existed before. That is what it means when people say they want an AI to produce an image, and in 2027 it no longer takes a design degree, a camera, or a paid subscription. A browser tab and a decent prompt are enough.
The catch is that the gap between a muddy, plastic-looking result and a picture you would happily publish comes down to small choices: which tool you open, how you describe the light, and what you tell the model to leave out. This article walks through all three. You will see how the technology works in plain language, which free online tools are worth your time, a reusable prompt formula, and nine photorealistic examples with the thinking behind each one.
💡 Quick answer: Pick a current text-to-image model, describe subject, setting, light, lens and texture in one or two sentences, generate four variations, and refine the best one instead of starting over.
How AI Produces an Image
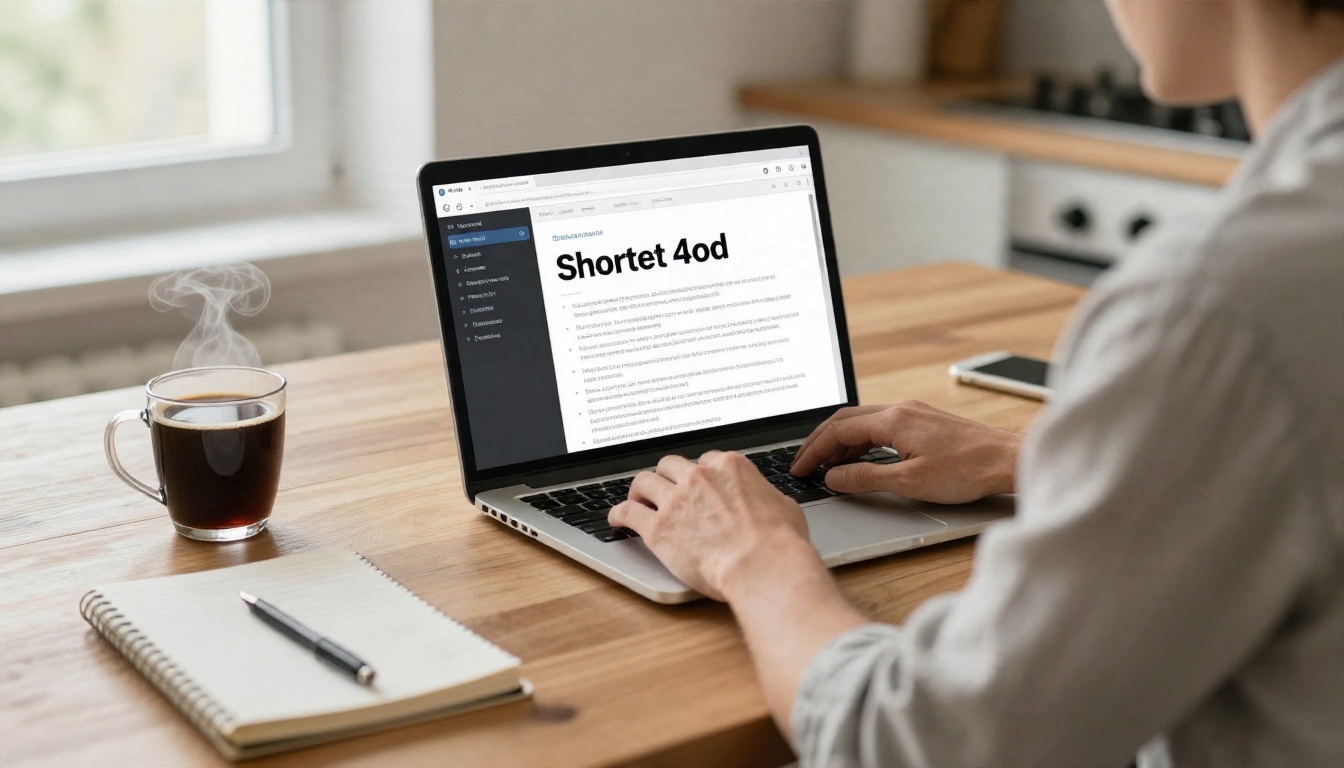
From Text to Pixels
Modern image generators are trained on enormous collections of pictures paired with descriptions. During training, the model sees a photo gradually buried in noise and practices removing that noise step by step until the original returns. Repeat that billions of times and the model gets very good at one trick: starting from pure static and sculpting it into a picture that matches a sentence.
When you press generate, your prompt is converted into numbers that steer that noise-removal process. Each step nudges the static a little closer to something that fits your words. Twenty to fifty steps later, you have a finished image. Fast models compress this into a handful of steps, which is why some tools return a picture in two or three seconds.
What a Prompt Really Does
A prompt is not a command in the programming sense. It is closer to a brief you would hand a photographer. The model does not "know" what you meant, it predicts what an image described like that usually looks like. If you write "a woman in a cafe," you get the statistical average of every cafe photo it has seen. If you write "a woman reading at a window seat, rain on the glass, soft grey daylight, 50mm lens," you get something specific.
That is why vague prompts feel disappointing. The model fills every gap you leave with the most common choice, and the most common choice is usually bland.
Why Photorealism Got Easier
Three things changed in the last couple of years. Models got much better at hands, text and small objects. They started to respect camera language such as aperture, focal length and film stock. And resolution jumped, with several current models producing sharp 2K and 4K output straight from the prompt. A pore on a cheek or a thread in a sweater now survives enlargement, which used to be the giveaway.
Dozens of generators exist, but they are not interchangeable. Some are fast and forgiving, some are slow and obsessive about detail, and some are built for editing rather than creating from scratch. Here are the ones that consistently earn a place in a daily workflow.
Seedream 4.5 for Detail
Seedream 4.5 is the tool to open when you want crisp 4K output with convincing skin, fabric and surface texture. It follows long, descriptive prompts closely, which makes it a good match for the formula later in this article. Portraits, fashion and product shots tend to come out cleaner on the first try than with lighter models.
Nano Banana Pro for Control
Nano Banana Pro is strong at following instructions, handling small amounts of text inside an image, and keeping a subject consistent when you tweak the prompt. If you plan to generate, adjust and regenerate several times, it responds well to that loop. Its lighter sibling, Nano Banana, is useful for quick edits and experiments.
Imagen 4 and Z Image Turbo for Speed
Imagen 4 produces natural, balanced photographs with realistic lighting and is a reliable all-rounder. When you want volume rather than perfection, Imagen 4 Fast and Z Image Turbo return results in seconds, ideal for testing ten prompt ideas before committing to one.
What "Free" Usually Means
Free access almost always has a catch, and it helps to know the usual ones before you start.
| Limit | What it means in practice |
|---|
| Daily or monthly credits | You can generate a set number of images, then wait or upgrade |
| Lower resolution | Free output may be capped below 4K |
| Queue priority | Free users wait longer at busy hours |
| Usage rights | Some tools restrict commercial use on free plans |
| Watermarks | A few services stamp the corner of free images |
💡 Tip: Before you build a project around an image, check the tool's terms for commercial use. It takes one minute and saves an awkward conversation later.
Other models worth bookmarking include GPT Image 2 for prompt accuracy and layout, Qwen Image 3 Pro for photorealistic scenes, and Flux 2 Klein 4B Base for people who like to experiment with styles and fine-tuning.
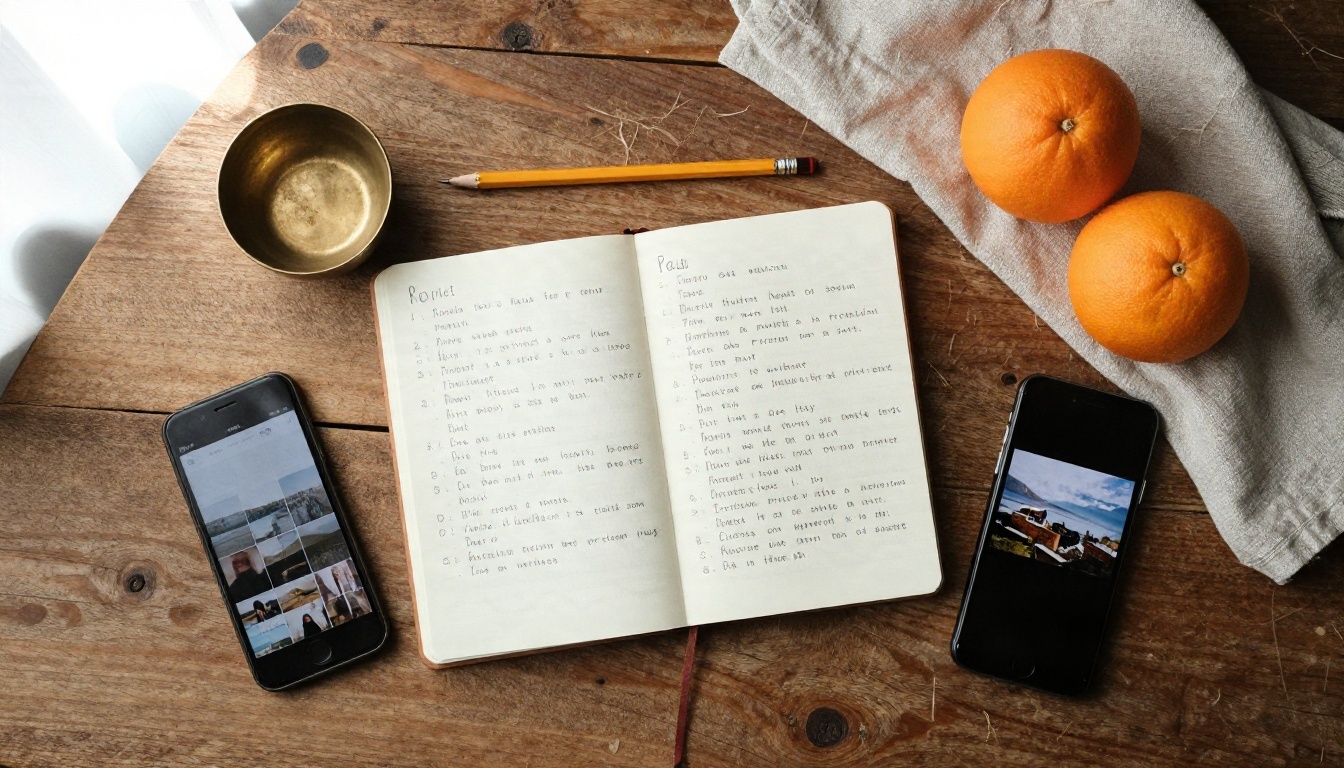
The Five Part Structure
Good prompts for photographs follow the same order a photographer would think in. Write them as flowing sentences, not a pile of keywords.
- Subject and action: who or what, doing what.
- Setting: where, with two or three concrete background details.
- Light: direction, quality and time of day.
- Camera: angle, lens and depth of field.
- Texture and mood: surfaces, grain, color palette.
A filled-in example: "A baker dusting flour over a wooden counter, small village bakery with copper pans on the wall, warm morning light from the left, 50mm lens at f/2, close three-quarter angle, visible flour dust in the air, subtle film grain." Every clause removes a guess from the model.
Weak Prompt vs Strong Prompt
| Weak prompt | Strong prompt |
|---|
| a dog in a field | A golden retriever sitting in a wildflower meadow at late afternoon, backlit fur, 70mm lens at f/2, shallow depth of field |
| nice kitchen | Bright farmhouse kitchen with white oak shelves, copper kettle on the stove, soft overcast daylight from a side window, 24mm lens |
| old man portrait | Close portrait of an elderly fisherman, deep wrinkles, white stubble, golden hour light from the left, 85mm lens at f/1.8 |
Words That Help and Words That Hurt
Helpful: specific lens lengths, "overcast daylight," "window light from the left," "film grain," "visible skin texture," "shallow depth of field."
Harmful: piling on adjectives such as "ultra, hyper, mega, 8K, masterpiece" without describing anything. These words rarely add detail and often push the model toward an over-smoothed, glossy finish.
Prompt Examples With Results
Each example below follows the formula above. Read the prompt idea, look at the result, and notice which phrase produced which effect.
Product Shot
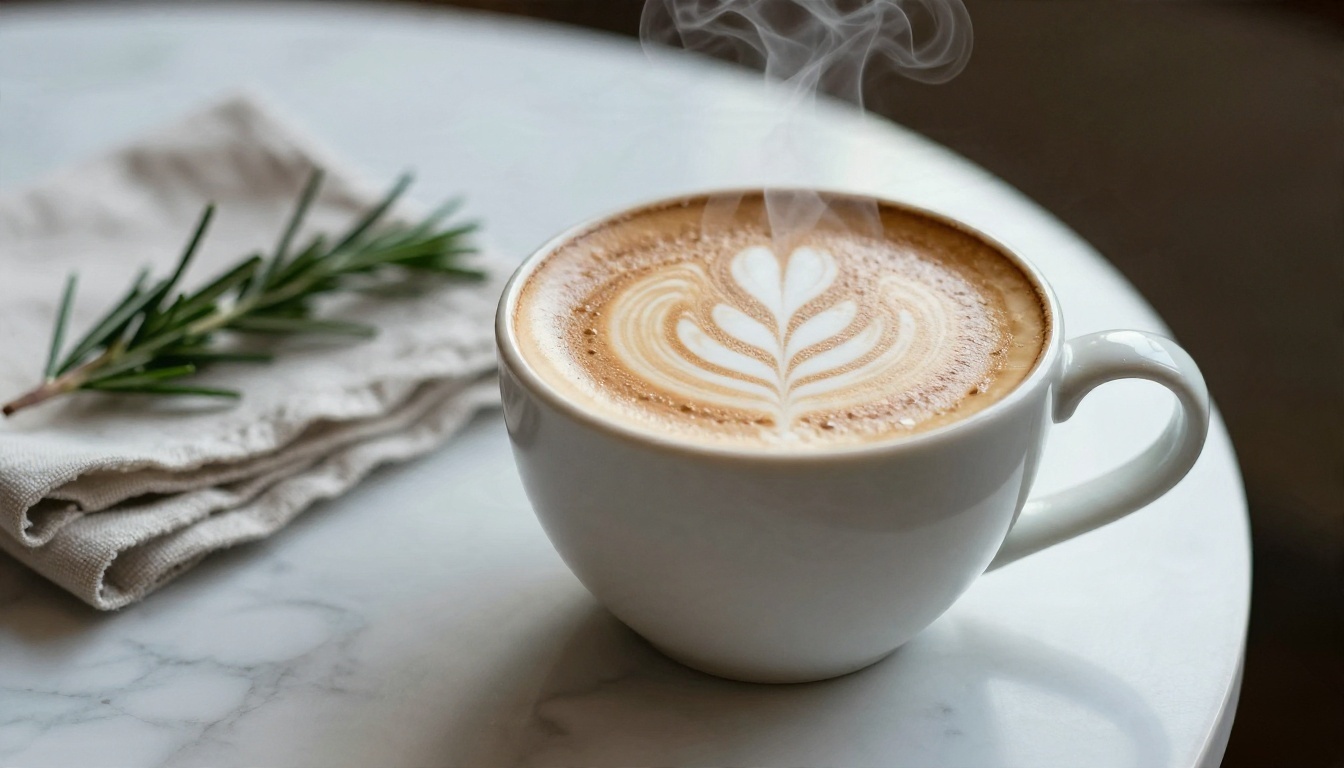
Prompt idea: Low-angle close-up of a ceramic coffee cup with latte art on veined white marble, folded linen napkin and a sprig of rosemary beside it, soft window light from the right, 100mm macro lens at f/2.8, creamy cafe background, film grain.
What makes it work: the macro lens and low angle create that magazine-style intimacy, while the side light gives the foam and glaze real dimension. Small props such as the rosemary and napkin make the scene feel staged by a person, which is exactly what stock-style product photos need.
Landscape
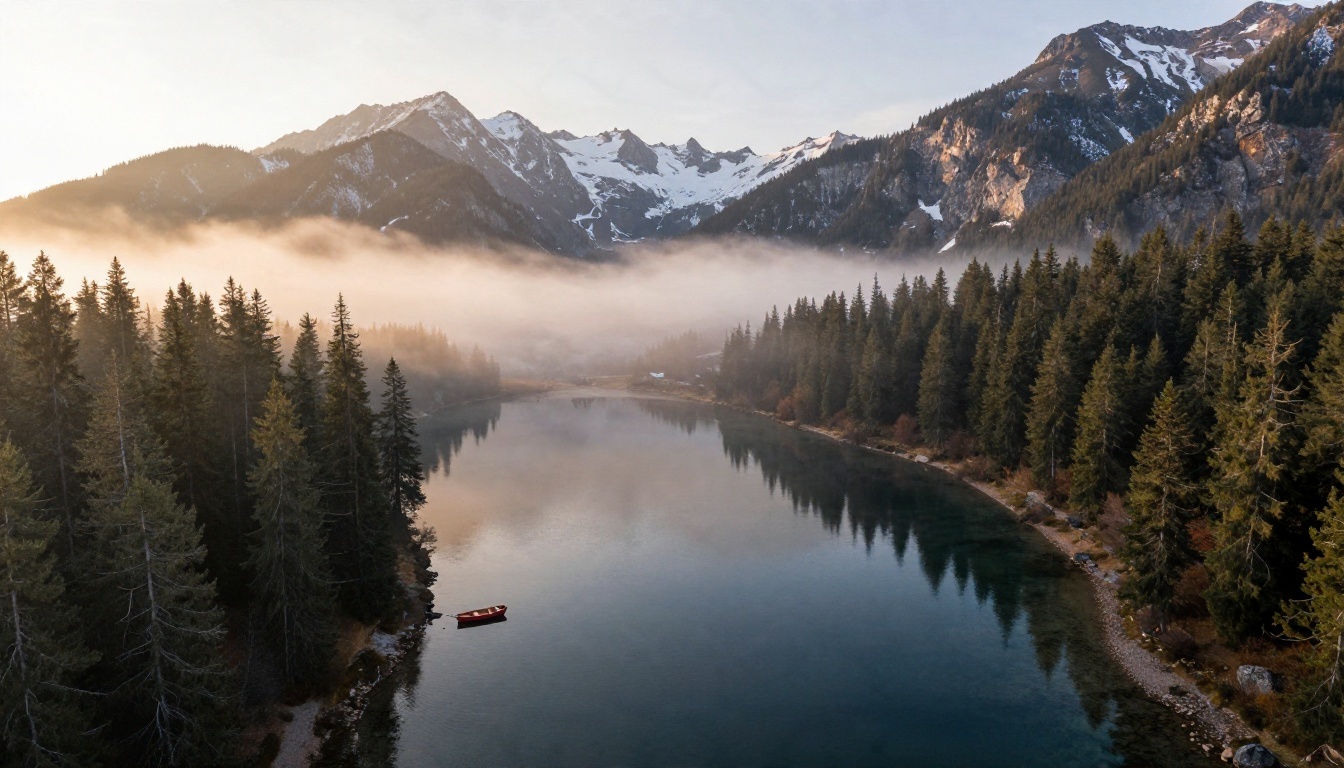
Prompt idea: Aerial wide shot of a misty alpine lake at sunrise, dark pine forest, snow-dusted peaks, tiny red wooden rowboat near the shore, low golden light skimming the water, drone view with a 24mm lens.
The small red boat is the trick here. A single contrasting object gives the eye a place to land and gives the scene a sense of scale. Landscape prompts without a human-scale detail tend to look like wallpaper.
Portrait
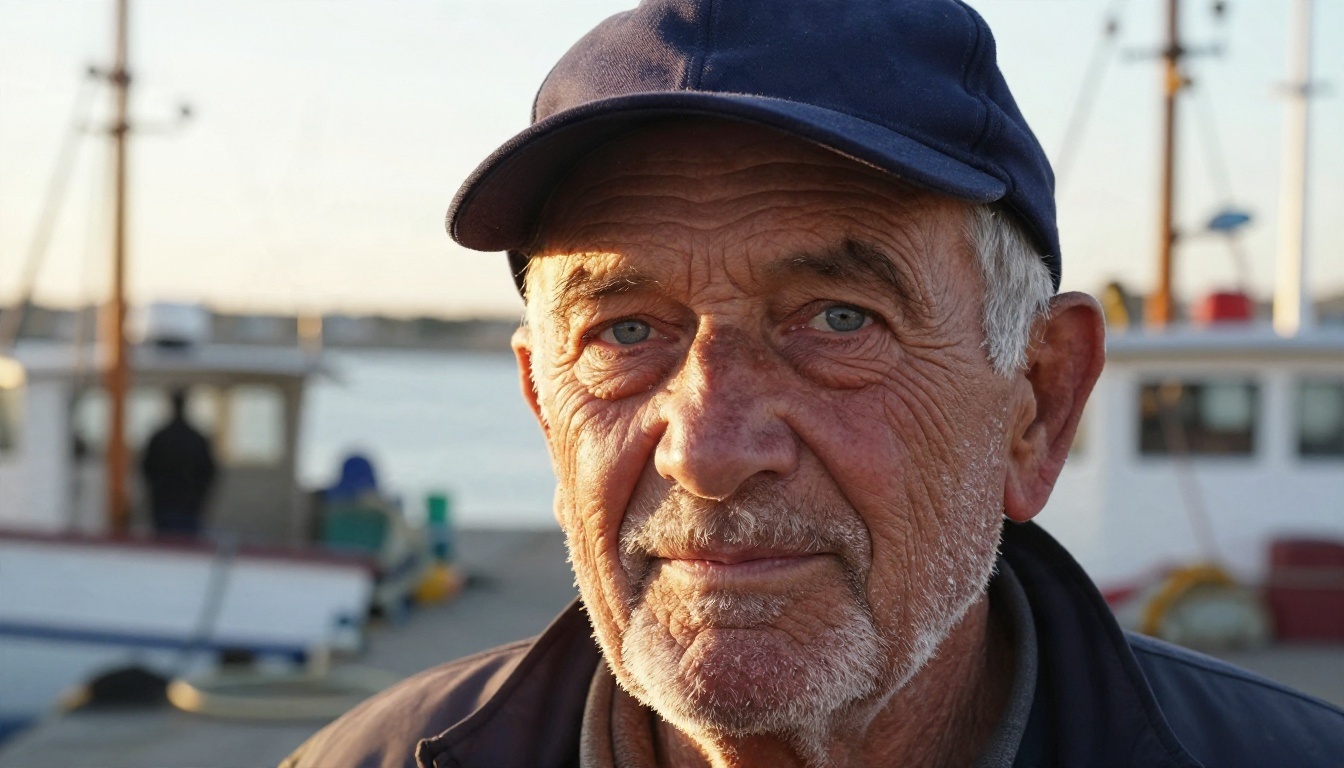
Prompt idea: Tight close-up portrait of an elderly fisherman with deep wrinkles, white stubble and pale blue eyes, navy wool cap, harbor dock at golden hour, warm sunlight from the left, blurred boats behind, 85mm lens at f/1.8, visible pores.
Portraits reward specificity about age, features and skin. Phrases such as "visible pores" and "salt in his beard" push the model away from airbrushed faces. The 85mm focal length is a classic portrait choice and the model picks up on that association.
Interior
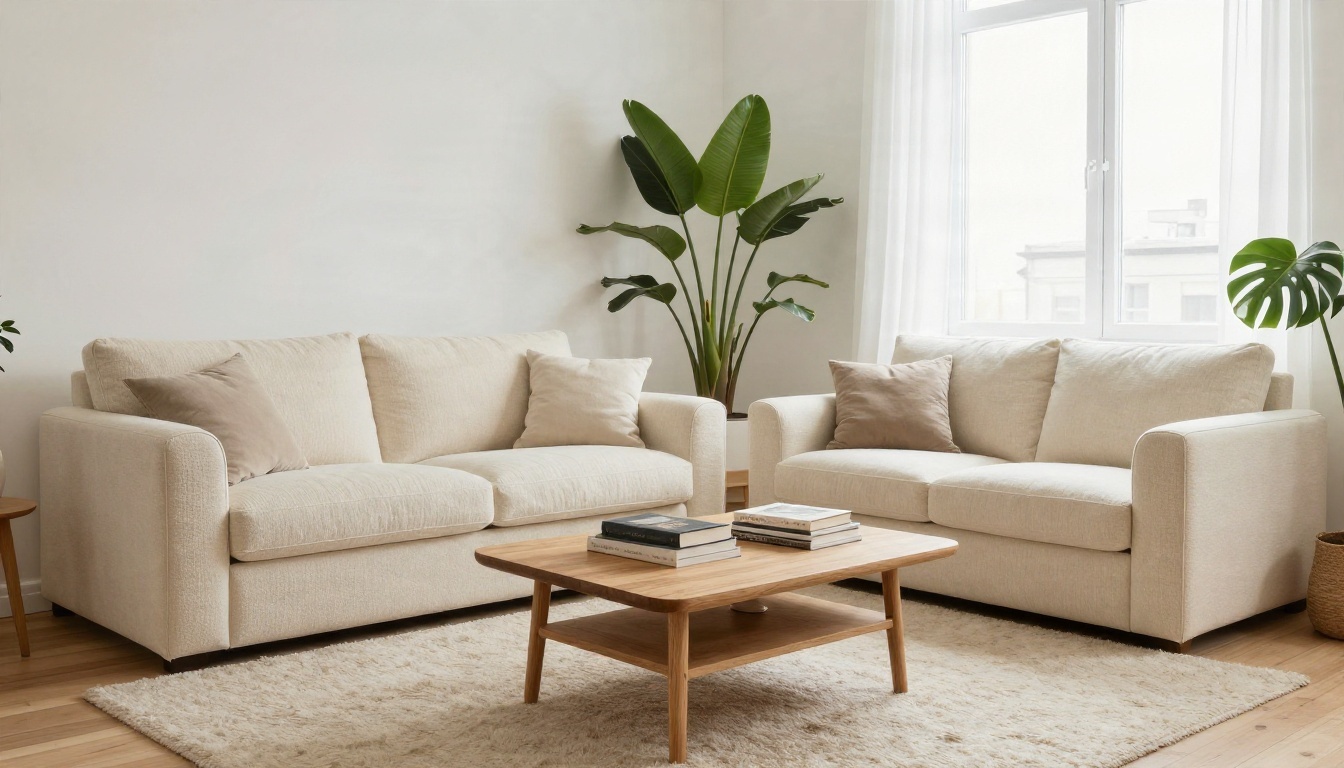
Prompt idea: Wide eye-level interior of a bright Scandinavian living room, bouclé cream sofa, oak coffee table, tall green plants, large window with sheer curtains, soft overcast daylight from the right, wool rug fibers and wood grain visible, 24mm lens at f/5.6.
Interior prompts live and die by materials. Naming bouclé, oak and wool tells the model what each surface should feel like. A smaller aperture such as f/5.6 keeps the whole room sharp, which is how real architectural photographers shoot.
Street Scene and Light
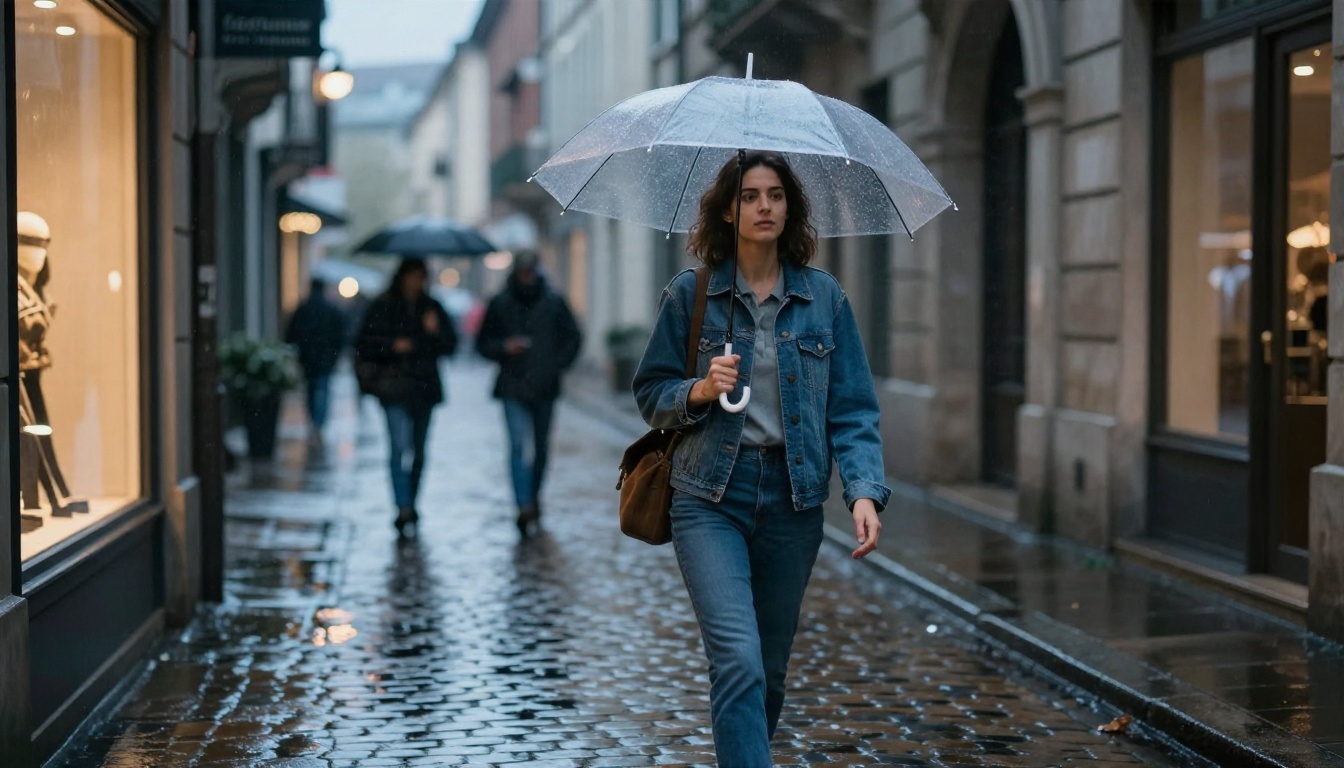
Prompt idea: Medium shot of a woman in a denim jacket walking down a rain-washed European cobblestone street at dusk, clear umbrella, warm shop window light reflected in puddles, blurred street lamps behind, soft blue hour sky, 50mm lens at f/1.4.
This one is all about mixed light. Warm shop windows against a cool blue sky is a combination photographers chase, and spelling it out gives the model a clear color story. The wet cobblestones double the effect by reflecting every light source.
Pet in Nature
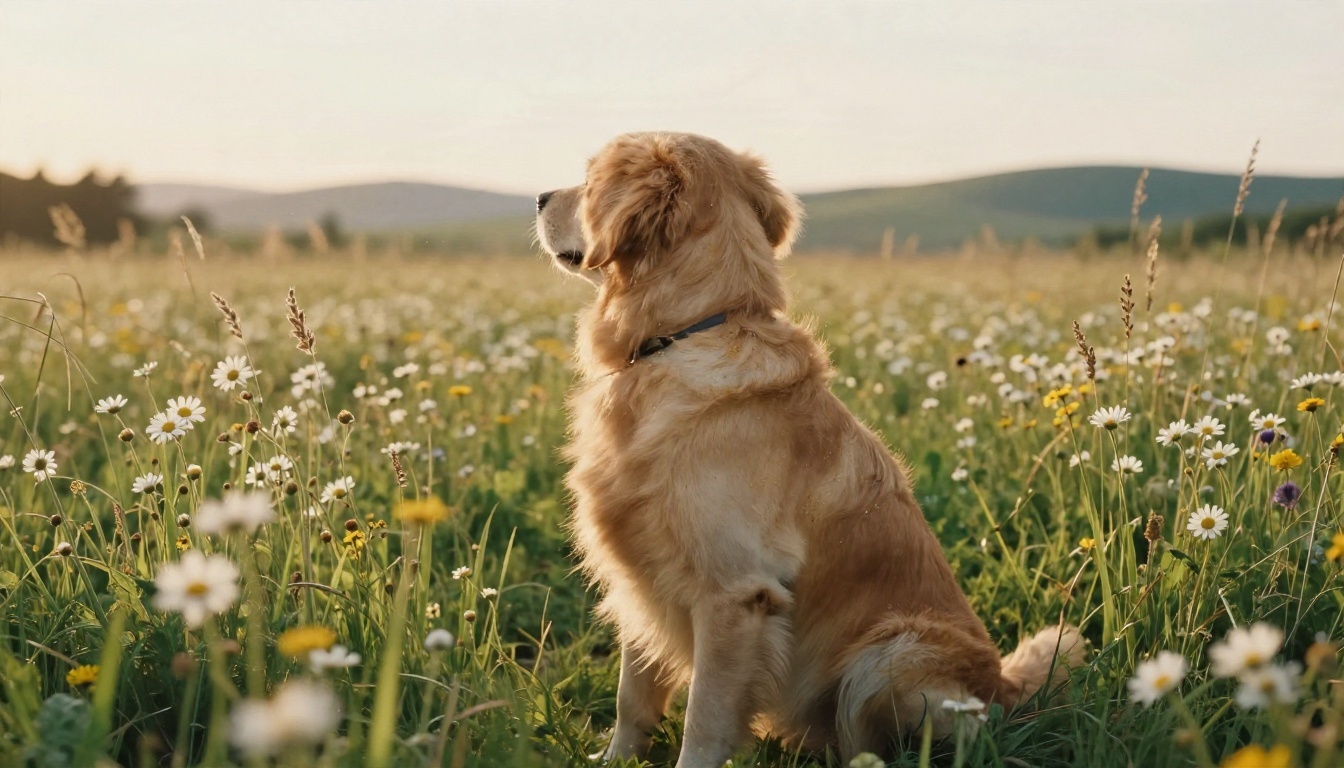
Prompt idea: Low-angle shot of a golden retriever sitting in a wildflower meadow at late afternoon, backlit fur with warm rim light, tall grass and daisies in the foreground, hazy hills behind, 70mm lens at f/2.
Animals look best when you describe backlight and fur detail. Rim light makes each strand glow softly without any special effects, and putting grass in the foreground adds depth. Shooting from a low angle makes the dog feel heroic rather than small.
Mistakes That Ruin Results
Asking for Too Many Things
A prompt with six subjects, three locations and four moods confuses the model. It tries to satisfy everything and delivers a muddle. Keep one main subject per image. If you need a group scene, describe the arrangement clearly: who stands where, who looks at what.
Ignoring Light
If your prompt says nothing about lighting, you get flat, even illumination that reads as fake. Always name a source and a direction. "Window light from the left" or "low sun behind the subject" is enough.
Forgetting Variation
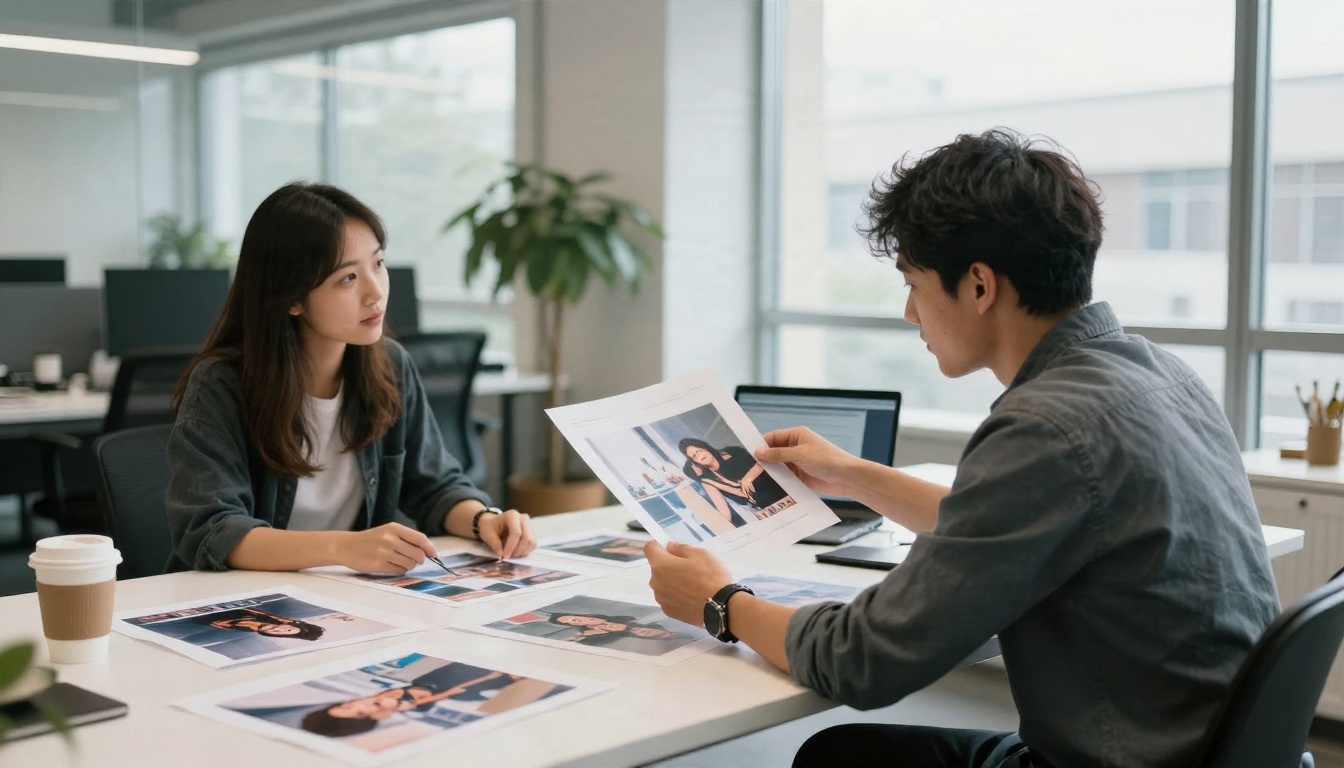
Never judge a tool by a single generation. Run four to eight variations and compare them side by side, the way the two colleagues in the photo above are comparing prints. The best image is often the third or fourth, and the differences between them teach you which phrases matter.
Starting Over Instead of Refining
When an image is 80% right, do not rewrite the prompt from zero. Change one thing: the lens, the time of day, one prop. Small controlled changes tell you what each word does, and you get to your result faster.
Chasing Perfect Text
Short words like "OPEN" or "BAKERY" on a sign usually work, long sentences often do not. If text matters, pick a model that handles lettering well and keep it to one or two words.
Edit, Upscale and Refine
Producing the first image is only part of the work. A good workflow treats generation as a draft and finishes the picture with editing tools.
Inpainting lets you paint over one area and regenerate only that part. It fixes a hand, replaces a prop or changes a shirt color without touching the rest. Outpainting extends the canvas, useful when a landscape needs more sky for a banner. Upscaling with super resolution tools doubles or quadruples the pixel size so a social-media image can become a print.
For conversational edits, PicassoIA Image Editor Pro lets you upload a picture and describe the change in plain words, which is faster than masking by hand. If you want scored, high-resolution output, Riverflow v2.5 Pro is worth a test, and Seedream 5 Pro is another sharp option for 2K work.
| Task | Best approach |
|---|
| Fix a small detail | Inpainting with a short description |
| Change the whole mood | Regenerate with a new light description |
| Add more room around a subject | Outpainting |
| Prepare for print | Super resolution upscale |
| Swap an object | Object replacement edit |
Rights and Safety Checks
Before you publish or sell anything, run through a short checklist.
- Real people: do not generate images that imitate a real person without their permission.
- Brands and logos: avoid putting trademarks in your images unless you own them.
- Disclosure: many platforms and clients now ask you to label AI-made visuals. A short note is cheap and builds trust.
- Terms of use: confirm whether your plan allows commercial use.
- Sensitive subjects: keep scenes tasteful and avoid anything that could mislead viewers, such as fake news photos.
💡 Rule of thumb: If you would not be comfortable explaining the image to the person in it, do not publish it.
Try It Yourself Today
You now have everything required to produce your first image: a sense of how the technology works, a shortlist of tools, a five-part prompt formula, and nine examples to borrow from. The fastest way to improve is to run the experiment.
Here is a simple plan for your next ten minutes:
- Open Seedream 4.5 or Nano Banana Pro on PicassoIA.
- Copy one of the prompt ideas above and swap in your own subject.
- Generate four variations and pick the strongest.
- Change only the light, regenerate, and compare.
- Send the winner to the editor for a final touch.
Do that three times and you will have a personal sense for which words produce which looks. Browse the full model list at picassoia.com/en/all-models, pick a tool that matches your project, and start creating your own photorealistic images on PicassoIA today.


