You have a script, a deadline, and a client who needs to "see it" before they sign off. Hand-drawn thumbnails take days, stock photos never match your story, and the one freelance illustrator you trust is booked until March. This is exactly the gap an AI storyboard generator with pictures fills: you describe a shot, the model returns a photographic frame, and within an afternoon you have a full sequence you can pin to a wall.
The catch is that most people stop at the first frame. Frame one looks great. Frame two shows a different woman with different hair, a jacket that changed color, and a street that belongs to another city. A storyboard only works when the same character survives from shot to shot, so this article focuses on that problem first, then on the prompts, the models and the workflow that make a sequence hold together.
Why Storyboards Need Pictures
A storyboard is a communication tool. Its job is to get a director, a cinematographer, a client and an editor to picture the same thing before anyone books a crew. Stick figures can do that for a simple action beat, but they fail the moment the conversation turns to mood, lighting or costume.
Sketches vs photographic frames
Hand sketches are fast and flexible, and nothing replaces them for a rough first pass. Photographic AI frames solve a different problem: they show how the shot will actually feel. You can see the rain on a jacket, the warm spill of a shop window, the depth of field a 85mm lens would give you. Clients react to those details, and approvals come faster when nobody has to imagine them.
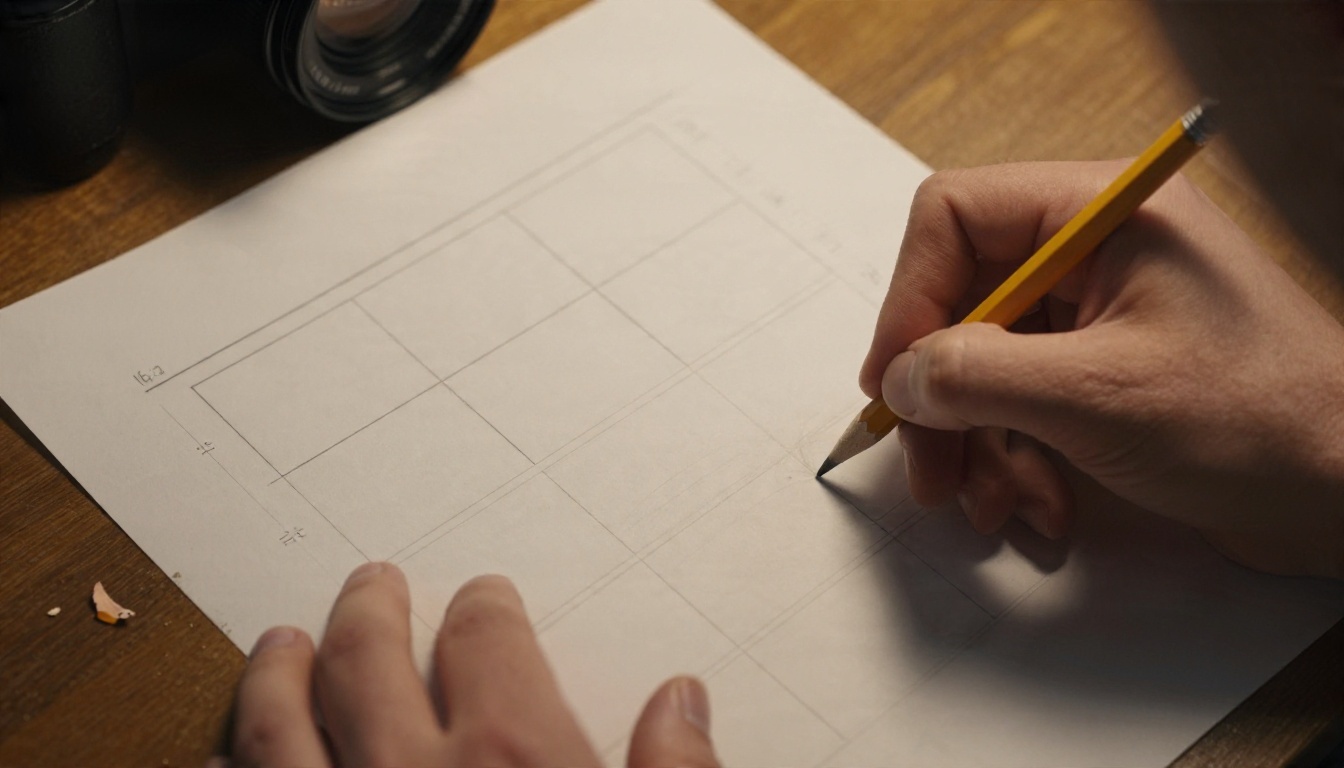
💡 Tip: Keep the pencil. Use it to plan the shot list and the rough composition, then let the generator turn each line of that list into a finished picture.
What a good frame must show
Every storyboard frame should answer five questions at a glance:
- Who is in the shot and what are they wearing?
- Where are they, and what time of day is it?
- How far is the camera: wide, medium or tight?
- From which angle: eye level, low, high, over the shoulder?
- Which light shapes the scene: soft window, hard backlight, tungsten, overcast?
If your prompt answers those five questions, the picture usually does too. Skip one and the model fills the gap with a guess, which is where inconsistency creeps in.
How an AI Storyboard Generator Works
Under the hood, an image model turns text (and optionally a reference picture) into a new image. For storyboards, three behaviors matter more than raw image quality.
Text to frame
The simplest mode: you type a shot description and receive a frame. It is perfect for establishing shots, locations and props, where nothing needs to match a previous image. Models such as Seedream 4.5 handle detailed, photographic prompts well and are a strong starting point for the first frame of a sequence.
Reference image locking
This is the feature that makes sequences possible. You upload an image of your character and ask the model to place that same person into a new scene. Reference-based models such as Nano Banana and Nano Banana Pro accept an input picture along with your instruction, so the face, hair and wardrobe carry over while the camera, location and lighting change.
Editing instead of regenerating
Sometimes frame six is perfect except for a coffee cup in the wrong hand. Regenerating from scratch risks losing everything that worked. Instruction-based editors such as Flux Kontext Fast and Qwen Image Edit Plus change only what you describe and leave the rest of the picture alone.
Keeping Characters Consistent Across Frames
Consistency is not one setting. It is a small set of habits that you repeat for every shot. Here is the routine that works.
Build a character sheet first
Before you storyboard anything, generate a single neutral reference portrait of your protagonist: front-facing, even light, plain background. Add one three-quarter view and one profile if the model allows. This image becomes the anchor you feed back into every later generation.
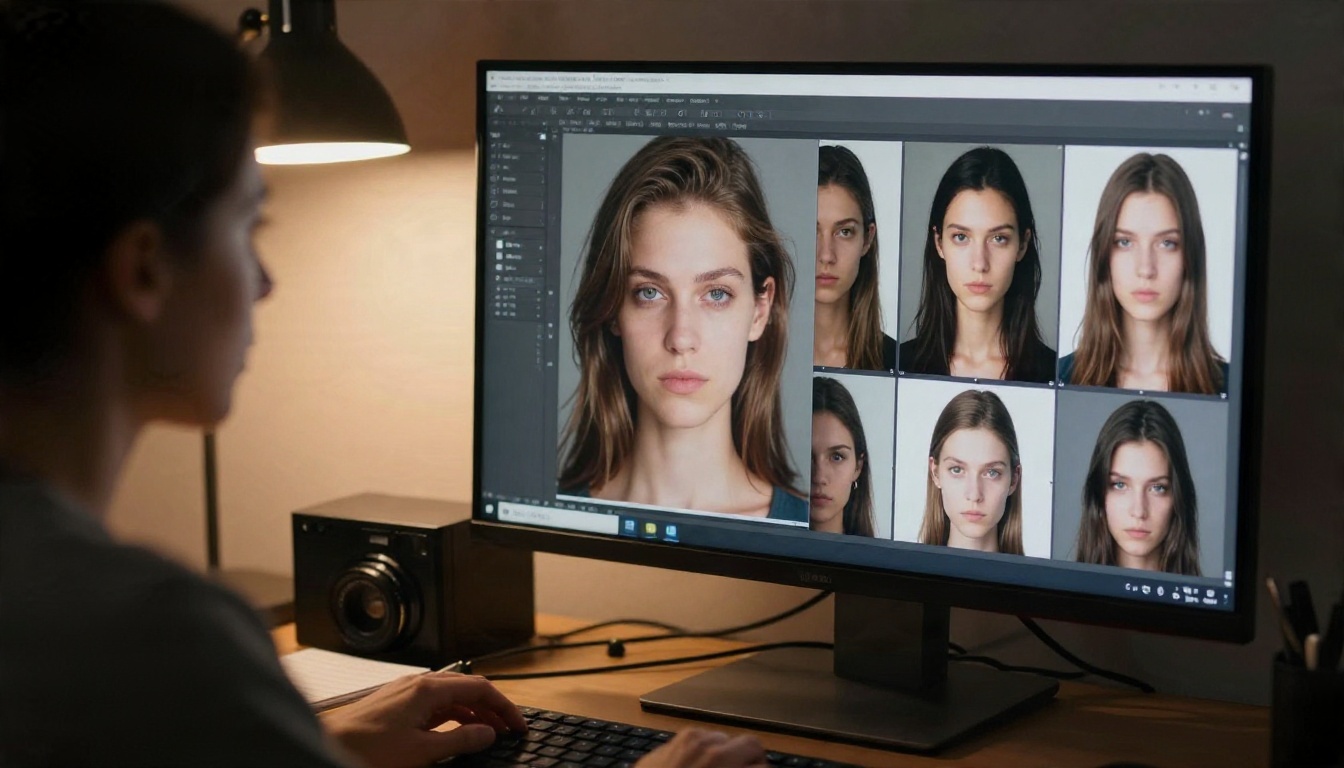
A strong character description is short and concrete. For the examples in this article, the protagonist is always described the same way:
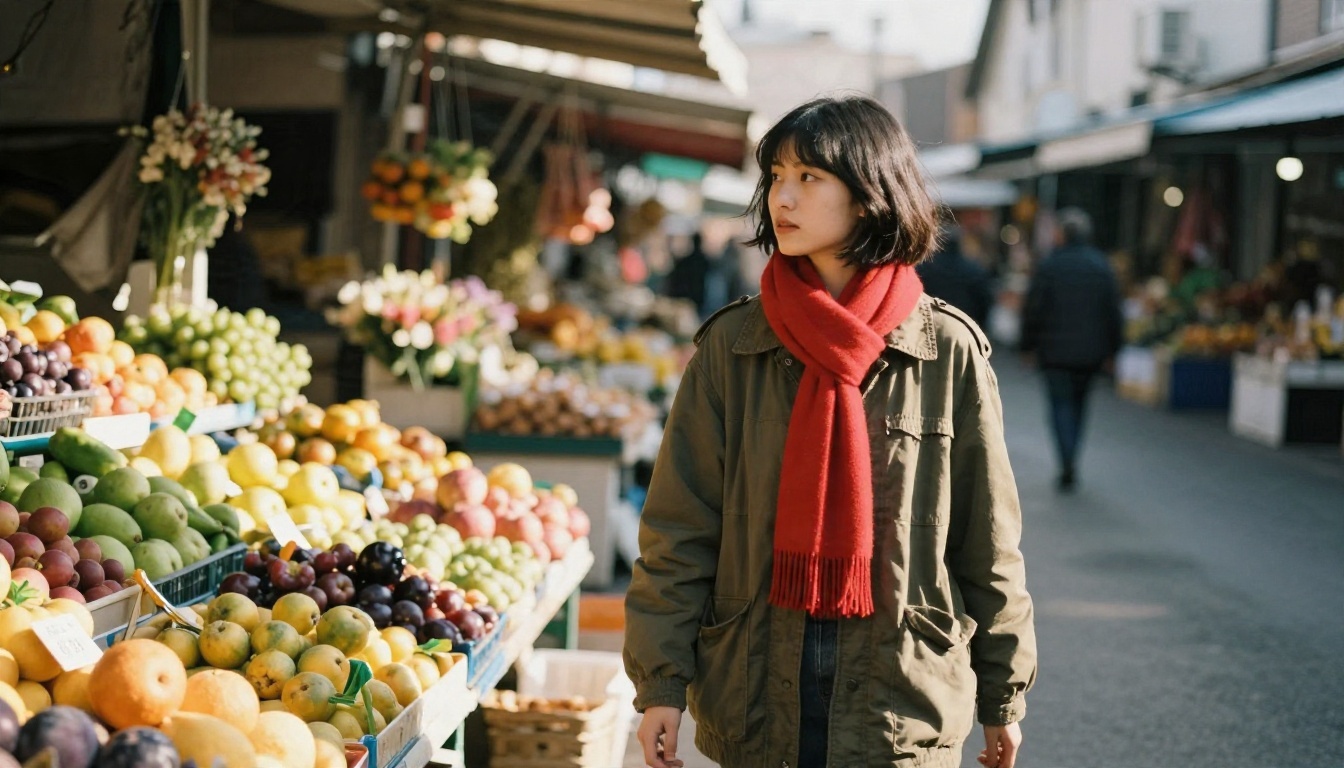
a young woman with a short dark bob, olive green utility jacket, red wool scarf, brown eyes, light freckles
Copy and paste that line into every prompt. Do not paraphrase it. "Dark bob" in one prompt and "black short hair" in the next is enough to nudge the model toward a different face.
Lock the wardrobe
Costume is the fastest visual signal that two frames show the same person. Pick one distinctive accent, in this case the red scarf, and keep it visible in every shot. When the face drifts slightly between frames, viewers still read the character correctly because the accent stays constant.
Reuse the same reference
Always attach the original character sheet, not the previous frame. If you chain frame two from frame one, frame three from frame two, and so on, small errors compound. By frame eight the character has quietly become someone else. Anchoring every frame to the same source image prevents that drift.
Fix drift with targeted edits
When a frame is close but not right, use an editor instead of rerolling. Ask for a single change, such as "keep the same woman and scene, make the scarf red wool and add light freckles". Short, specific edit instructions beat long rewrites.
💡 Tip: Generate three variations of each shot and keep the one where the face matches your reference best. Three tries is usually enough, and it is cheaper than fixing a mismatch later.
Prompts That Work for Each Shot
A reliable prompt follows a fixed order: subject, action, setting, light, camera. The consistent character line goes first so the model weights it heavily. Below are four shot types with the frames they produced.
Wide establishing shot
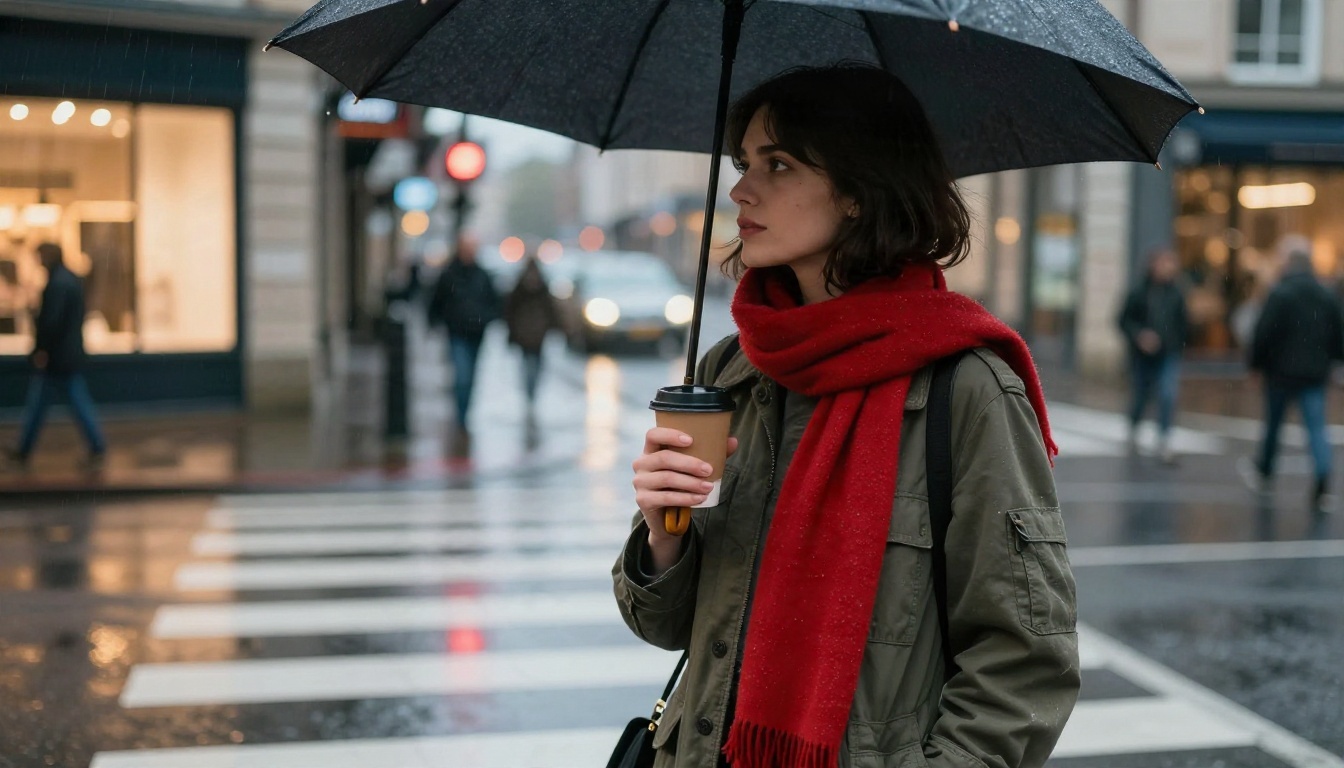
Wide frames place your character in the world. Mention the weather, the time of day and a few background elements, but keep the character description intact.
Prompt pattern: a young woman with a short dark bob, olive green utility jacket, red wool scarf, standing at a rainy city crosswalk at dusk, wet asphalt reflecting streetlights, warm shop window glow from the left, 85mm f/1.8, Kodak Portra 400 grain
Close-up for emotion
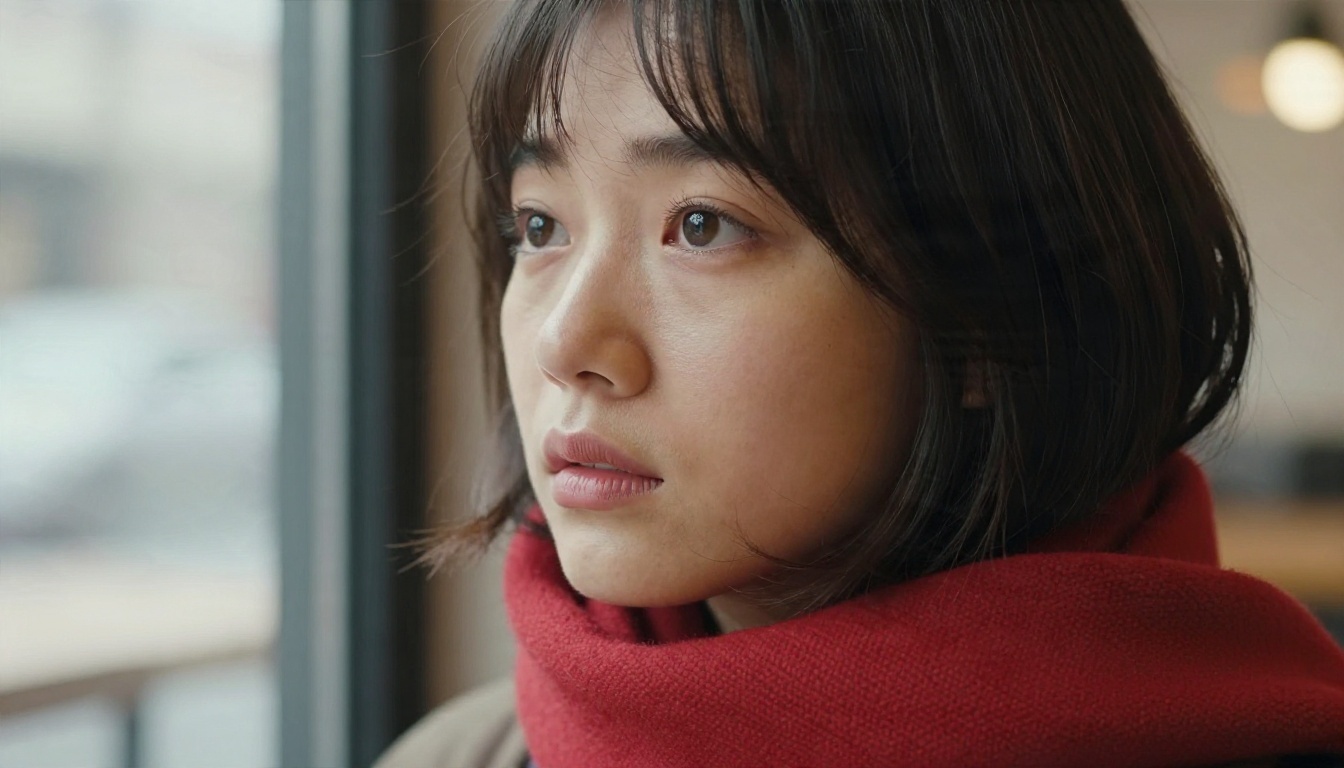
Close-ups carry the emotional beat. Ask for the eye line, the light direction and a long lens. Shallow depth of field keeps the background simple, which also reduces the chance of continuity errors.
Prompt pattern: close-up of a young woman with a short dark bob and red scarf, eyes looking off-camera with a hint of worry, cafe window seat, soft window light from the right, 100mm f/2, fine skin texture
Low-angle hero shot
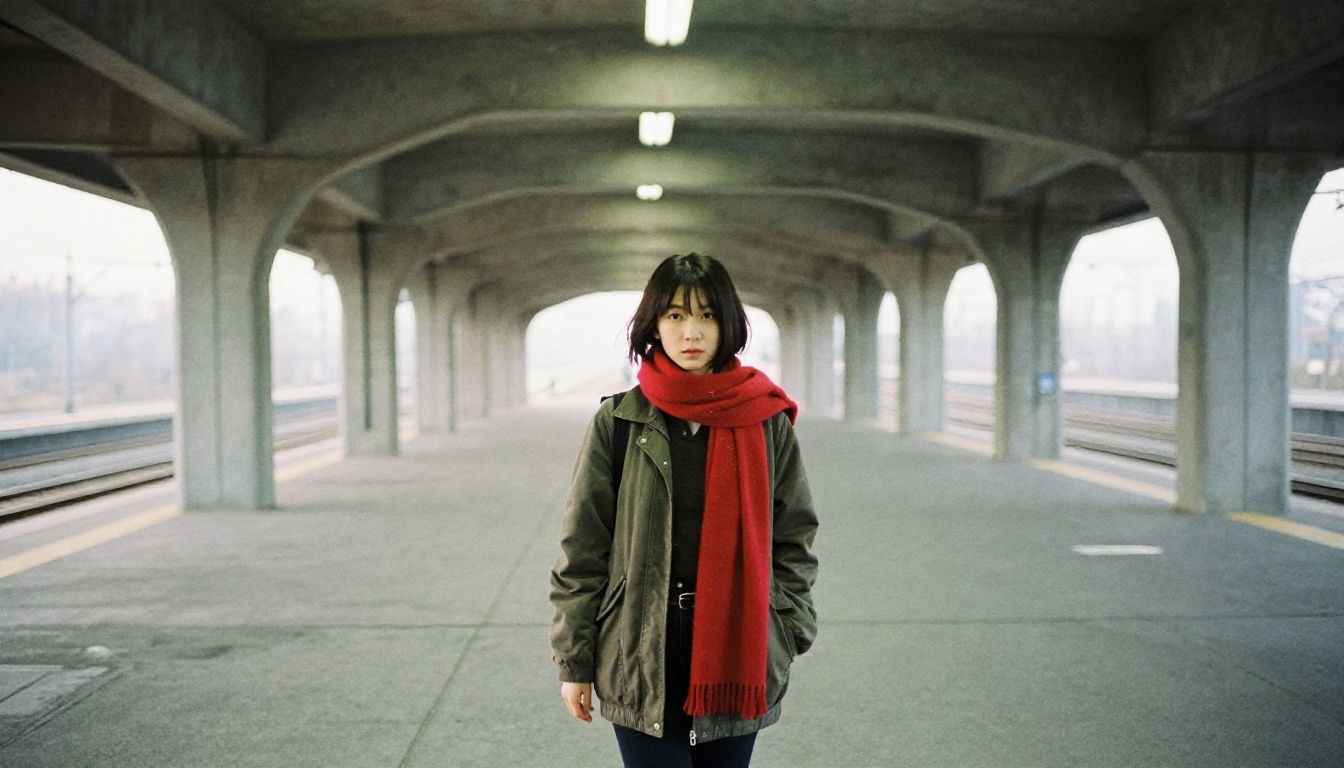
Low angles add power and momentum. A wide lens and a strong backlight make the subject read instantly, even when the face is small in the frame.
Prompt pattern: low-angle shot of a young woman with a short dark bob, olive jacket, red scarf, striding toward camera along an empty train platform, cold backlight from an arched skylight, 24mm f/4
Over-the-shoulder dialogue
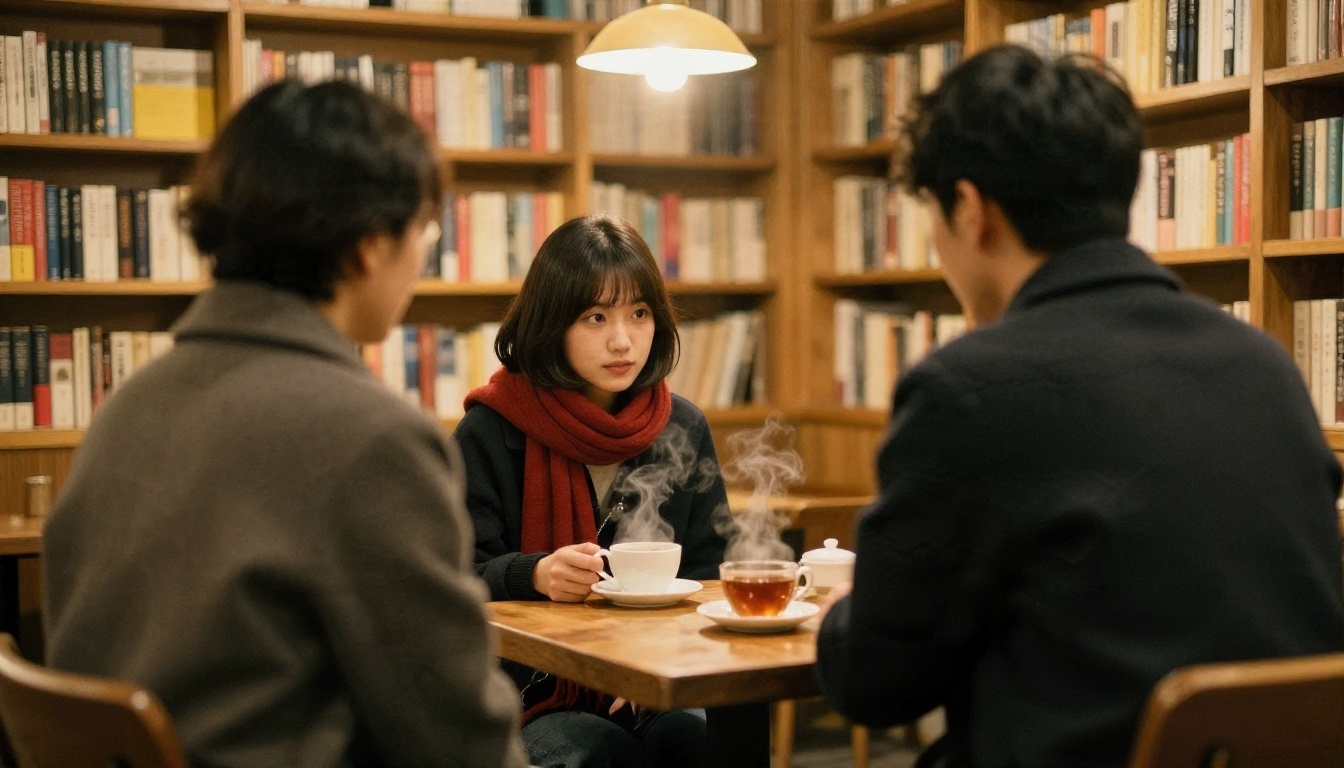
Dialogue scenes need a second character. Describe the new person briefly, from behind, and keep your protagonist's line unchanged. The foreground figure should be soft and simple so the model spends its effort on the face you need to match.
Prompt pattern: over-the-shoulder shot from behind a man in a charcoal coat, facing a young woman with a short dark bob and red scarf at a small wooden table in a bookshop cafe, warm tungsten lamp above, 50mm f/1.4
Quick reference table
| Shot type | Lens range | Light to request | Best use |
|---|
| Wide establishing | 24 to 35mm | Weather, time of day | Setting the location |
| Medium | 50mm | Soft window or practical lamps | Action and dialogue |
| Close-up | 85 to 100mm | Side light with catchlight | Emotion and reaction |
| Low-angle | 20 to 28mm | Backlight, haze | Power and arrival |
| Over-the-shoulder | 50mm | Warm practical light | Conversations |
| Profile tracking | 70mm | Low side sun | Movement and transitions |
How to Use Nano Banana on PicassoIA
A reference-based workflow is the quickest way to get a full sequence. Here is the routine, using Nano Banana as the example. The same steps apply to Nano Banana Pro if you want higher resolution output.
- Open the model page and choose the image generation tool.
- Upload your character sheet as the reference image. Use the neutral portrait with even light.
- Paste your fixed character line at the start of the prompt, then add the action, location, light and lens.
- State what must stay the same. A short phrase such as "same woman, same jacket, same red scarf" reinforces the match.
- Set the aspect ratio to 16:9 so every frame matches a film screen.
- Generate two or three variations and pick the one where the face matches best.
- Number and save the frame, then repeat for the next shot, always attaching the original character sheet.
💡 Tip: Keep a text file with your character line, your location line and your light line. Pasting the same words every time is the cheapest consistency tool you have.
If you want to start from text alone for the first frame, try Seedream 4.5 or Seedream 5 Pro and then switch to a reference model once you have a face you like.
Planning the Sequence Like a Director
Pretty frames are not a storyboard until they are in the right order with the right purpose. Spend ten minutes on structure before you generate anything.
Write the shot list first
List each shot in one line: number, shot size, angle, action. A three-minute scene often needs only 12 to 18 frames. Mix the sizes: if three wide shots sit back to back, the sequence feels flat even when each frame is lovely.
Keep the screen direction steady
If your character walks left to right in frame one, she should keep walking left to right in frame two. Add the direction to each prompt ("walking from left to right"). Models do not track the 180-degree rule on their own, so you have to state it.
Match the light across a scene
Frames in the same scene need the same time of day. Write the light once, such as "late afternoon sun from the left", and paste it into every prompt of that scene. Mixed lighting is the second most common reason a sequence looks stitched together.
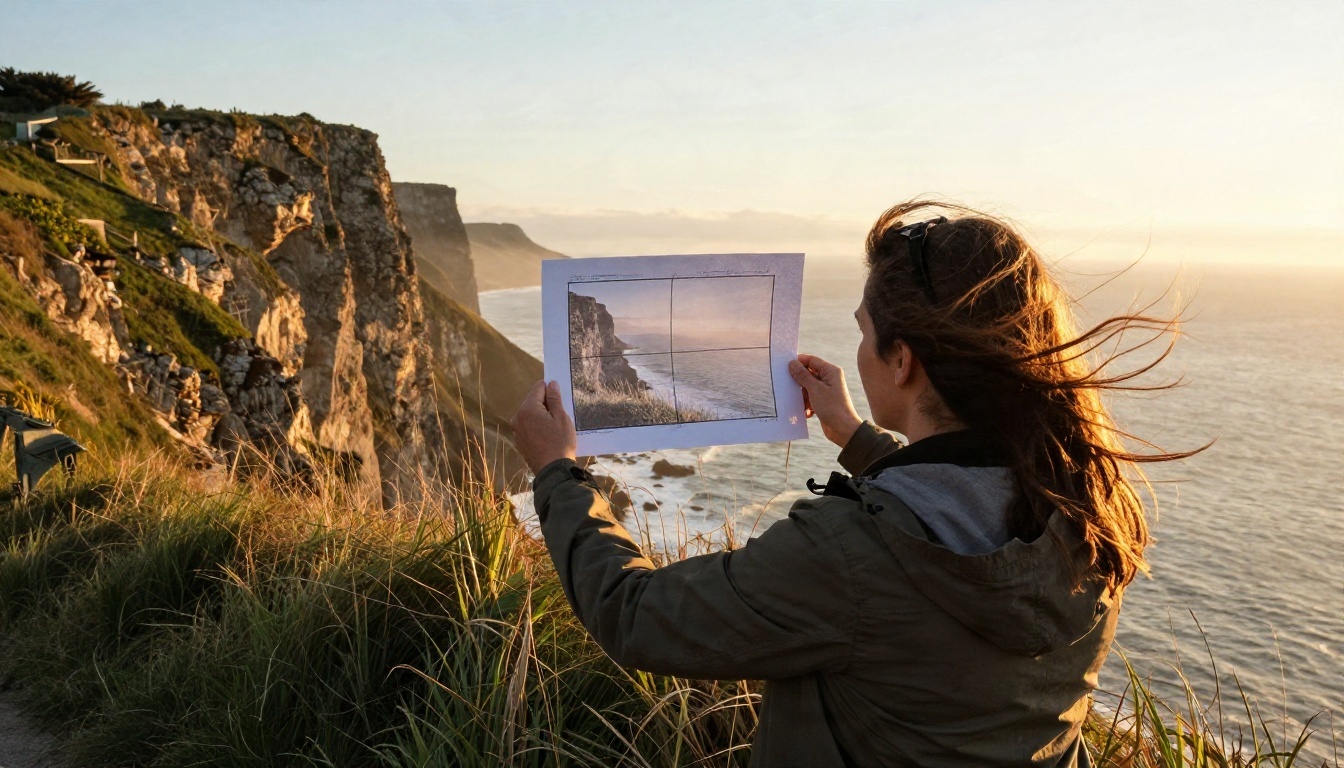
💡 Tip: Compare your frames with the real location when you can. Holding a printed frame up at the site shows quickly whether the framing you planned is actually possible.
Models Worth Trying
Different models suit different stages of the work. This table sums up where each one fits.
A sensible pipeline: draft with a fast model, lock the character with a reference model, fix details with an editor, and only then render final frames at full resolution. If a client wants to see motion, feed approved frames into Kling v3 Video to build a rough animatic. The full catalog is on the PicassoIA all models page.
Common Mistakes to Avoid
Most failed storyboards share the same handful of problems.
Changing the description between prompts
Rewording the character is the number one cause of drift. Treat the character line like a contract: same words, same order, every time.
Chaining frames from the previous frame
Always return to the original character sheet. Chaining feels logical but compounds small errors.
Overloading a single prompt
Ten props, three characters and four lighting sources in one prompt gives the model too much to juggle. Keep each frame to one subject, one action and one light.
Ignoring continuity props
A coffee cup that switches hands or a scarf that disappears breaks the illusion. Keep a short continuity list beside your shot list and check each frame against it.
Skipping the review pass
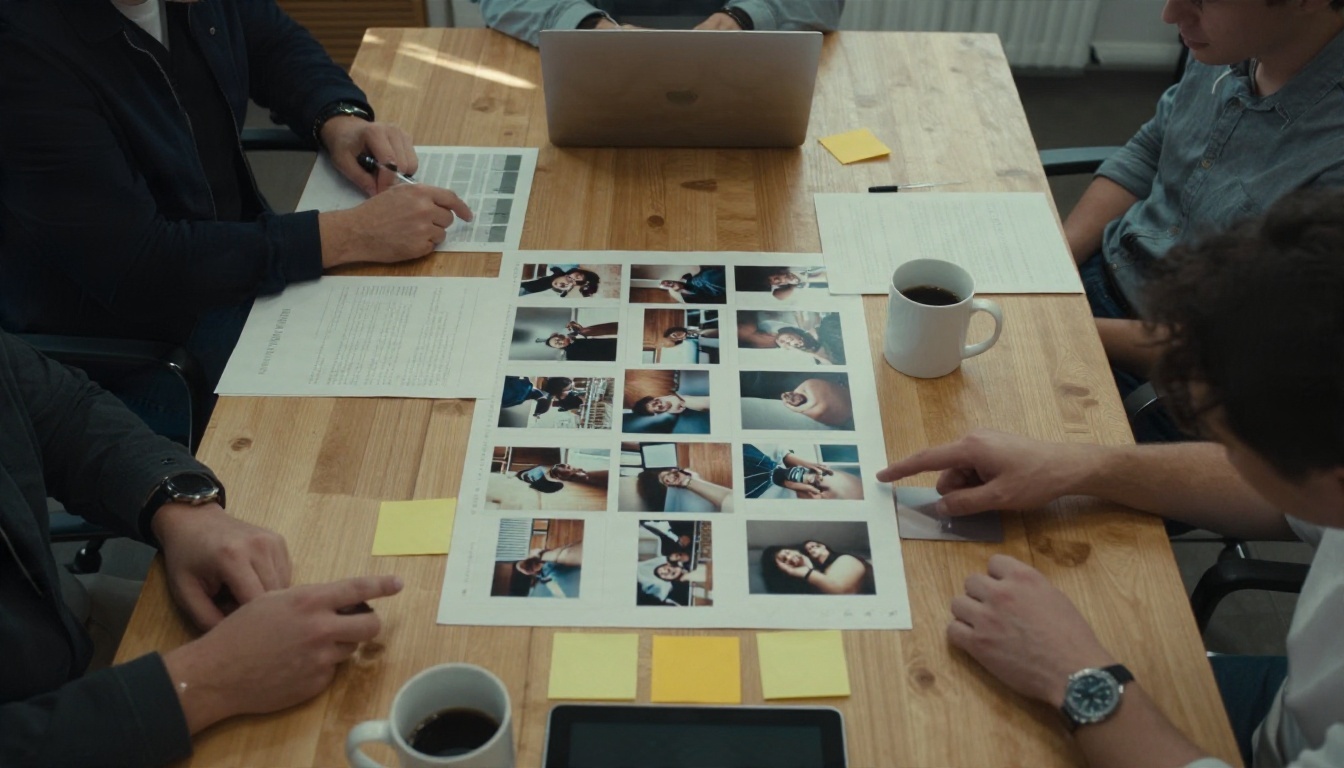
Lay every frame out in order before showing anyone. Problems you miss one at a time are obvious in a grid, and fixing a single frame with an editor takes under a minute.
Start Your Own Storyboard Today
You now have the full routine: a fixed character line, a reference portrait, a repeatable prompt order, a shot list that varies size and angle, and an editor for the last small fixes. The first sequence takes the longest. By the third, your character line and light line are saved, and a 12-frame scene comes together in a single sitting.
Open PicassoIA, generate your protagonist's reference portrait with Seedream 4.5, then carry that face through your first five shots with Nano Banana. Try one wide shot, one close-up and one low angle, and compare how well the face holds. If the match is good, build out the rest of the scene. If it drifts, tighten your character line and try again. The experiment costs minutes, and the result is a storyboard your whole team can react to before a single camera rolls.


