Most creators pick a filter the way they pick a coffee order: out of habit. Then they wonder why one clip gets 400 views and the next gets 40,000. The filter is rarely the whole story, but it decides something important in the first two seconds: whether a stranger stops scrolling. This article looks at the filter styles that consistently earn comments, shares and rewatches, and shows you how to build free AI versions of those effects yourself, with prompts you can copy today.
I tested these looks on short vertical clips across food, travel, dance, beauty and talking-head content. Some results surprised me. The flashiest effects were often the weakest performers, while quiet, tasteful looks with a clear visual hook kept people watching.

What Makes a Filter Work
A filter is a promise. It tells the viewer what kind of video they are about to watch before a single word is spoken. A warm film look says "nostalgic story." A clean glow says "tutorial or routine." A reveal transition says "wait for it."
Watch Time Beats Looks
The reason a filter performs has less to do with how pretty it is and more to do with how long it keeps someone watching. A filter earns its place when it does one of three things:
- Creates curiosity (a transition or morph that makes people stay to see the payoff)
- Sets a mood fast (color grading that signals the topic instantly)
- Invites a reaction (an effect that makes viewers want to try it, so they comment or duet)
If a filter does none of those, it is decoration. Decoration does not move numbers.
The First Two Seconds
Opening frames carry most of the weight. A strong filter changes something visible right away: a color shift, a light flare, a subtle zoom, a face effect that responds to a blink. A static look that only becomes interesting at second six is already too late.
💡 Tip: Record your first two seconds with and without the filter, then compare them side by side on your phone. If you cannot tell which one is more interesting at a glance, the filter is not helping.
7 Filter Styles That Get Shares
Not every style fits every niche. Here are the looks I would reach for first, why they work, and what to avoid.
Soft Glow Beauty Look
This is the quiet workhorse. It lifts highlights, evens out tone and adds a gentle warmth without turning skin into plastic. Viewers read it as "polished but real," which is exactly the zone where people leave comments like "what are you using?"
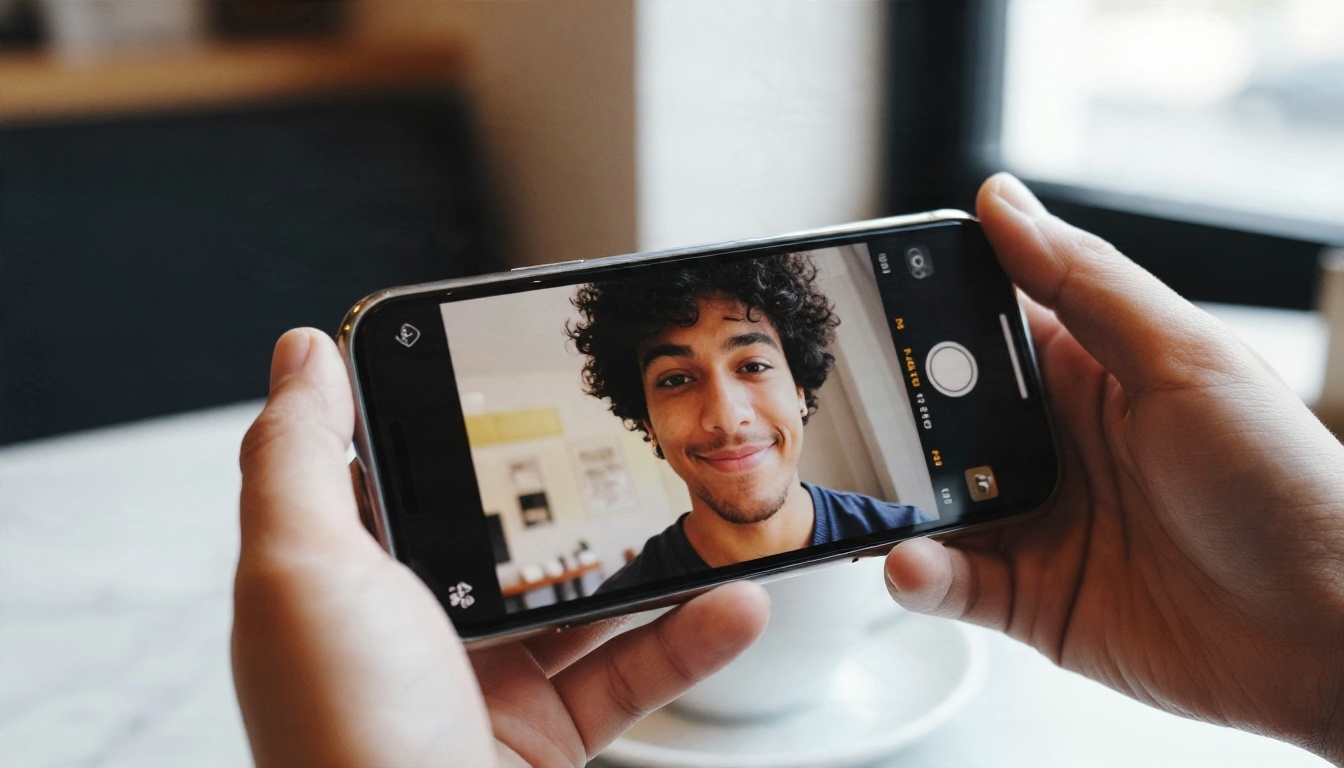
The mistake to avoid is heavy smoothing. When pores, freckles and fine lines vanish completely, viewers notice, and the comment section turns from compliments into debate about whether the clip is edited. Keep skin texture visible and push only warmth and brightness.
Retro Film Grain
Grain, slightly faded blacks and warm tungsten tones remain one of the most reliable styles. It works especially well for storytelling, outfit videos, music edits and "day in my life" clips because it adds emotional weight to ordinary footage.
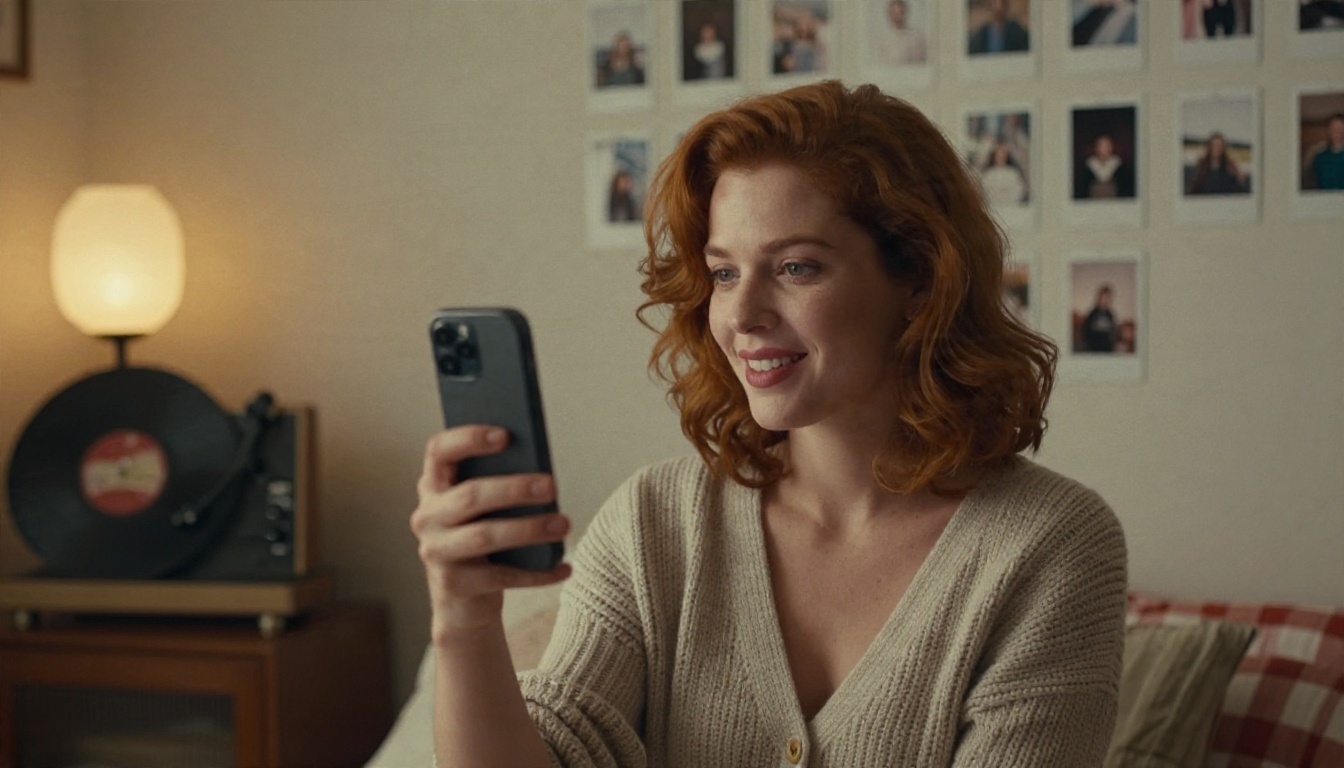
Film looks also hide small imperfections in lighting and phone sensor noise. That makes them forgiving when you are filming in a dim room at night.
Dance and Trend Effects
Effects tied to a current trend are shortcuts to discovery. People search for and tap on an effect they have seen, and your clip lands next to dozens of similar ones. The catch is competition: you need a twist, such as a different location, a costume change at the beat, or an unexpected camera angle.
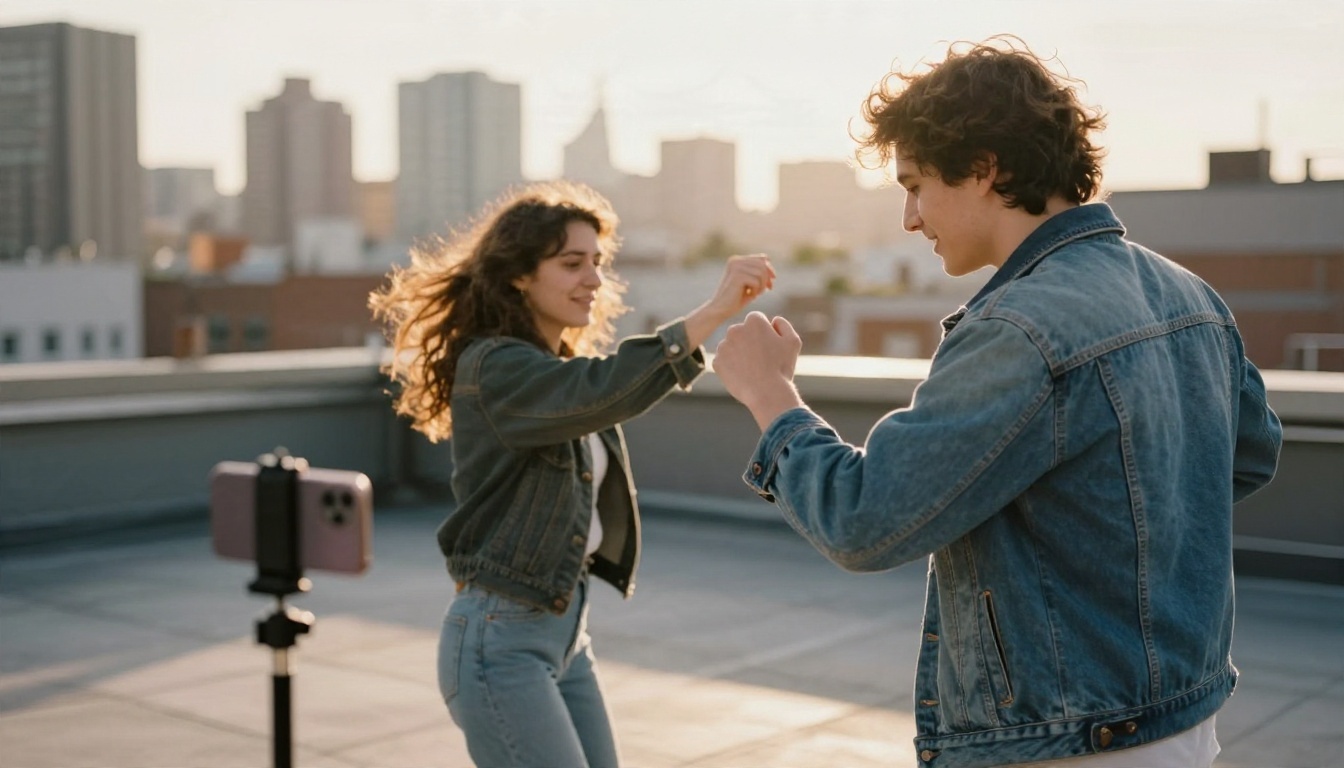
Shooting from a low angle makes movement feel larger and gives the clip a more cinematic feel than the usual chest-height selfie.
Food and Product Reveals
Food content lives on texture. A subtle brightness lift, a slight contrast boost and a slow push-in on steam or a pour can double the appetite appeal of the same dish. Product reveals work the same way: a clean lift, a gentle highlight sweep, and a final frame that shows the item clearly.
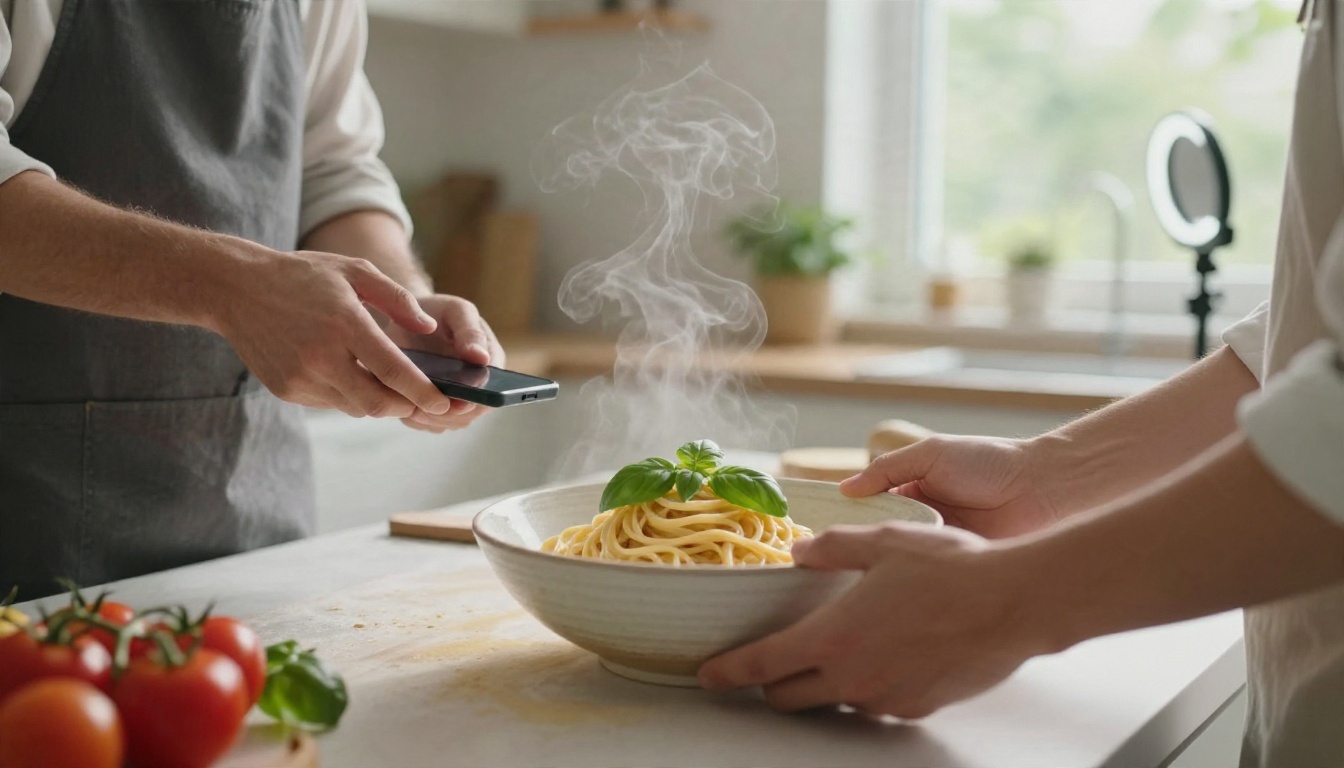
Avoid heavy color shifts on food. A blue or green cast on a plate is a fast way to make viewers scroll away.
Travel Transitions
Wind, a hand swipe, a spin or a jump can all trigger a scene change from one location to the next. The effect is simple, but the repeated "where are we going next" loop is powerful for watch time. Viewers stay to see the next place.
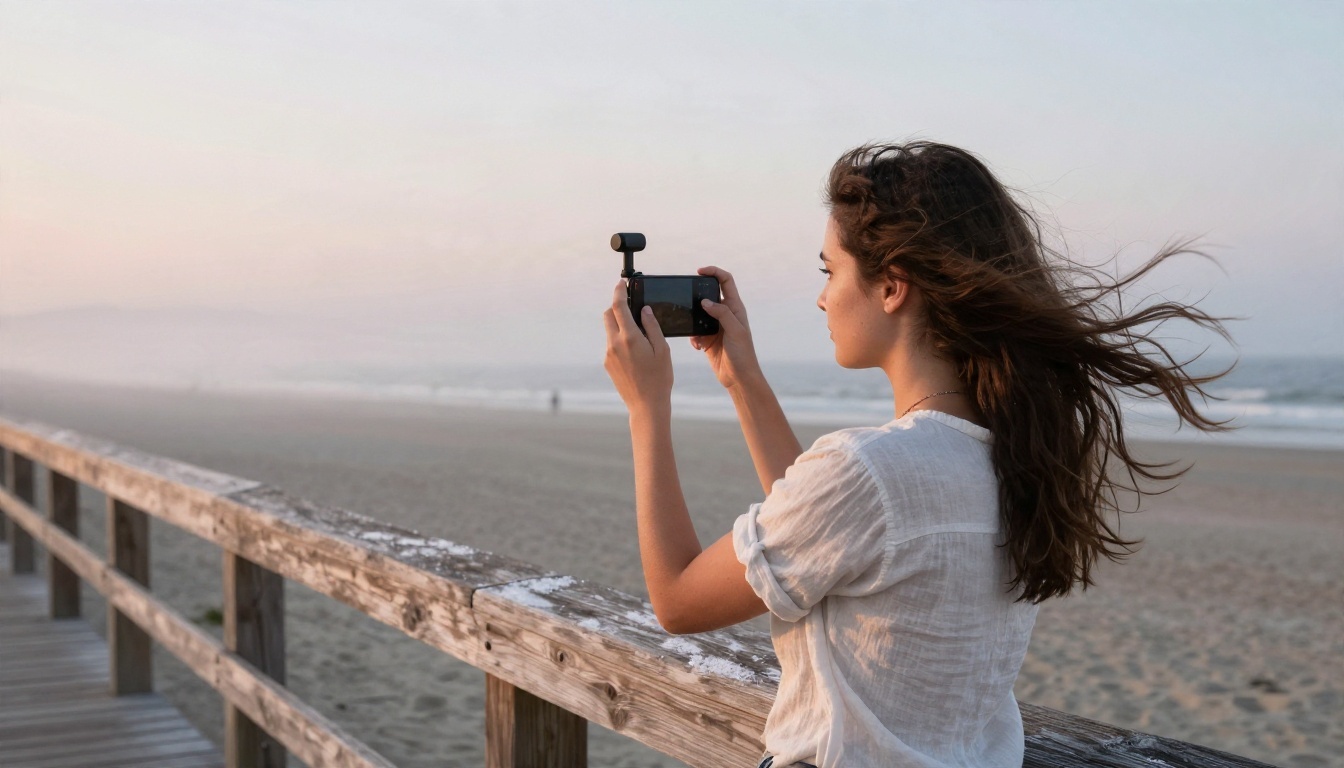
For the strongest result, end each shot with a clear movement toward the camera or off-frame, and start the next shot with the matching movement. Matching motion makes the cut feel invisible.
Free AI Prompts You Can Copy
You are not limited to whatever the app puts in its effects tray. You can build your own look with an image model, then animate it with a video model. Here are three prompts that consistently produced usable results.
Prompt for a Glow Portrait
"Close-up portrait of a young woman by a window, soft warm skin tone, natural freckles visible, gentle highlight on cheekbones, light haze, shallow depth of field, 85mm lens, Kodak Portra 400 color, subtle film grain, photorealistic."
Use it as a base frame, then animate it with a short motion prompt such as "slow push-in, hair moves slightly in the breeze, eyes blink once."
Prompt for a Transition
"Start on a woman in a sunlit apartment looking at the camera, she raises her hand to cover the lens, cut to the same woman on a beach at sunrise walking toward the camera with her hand lowering. Smooth handheld movement, natural light, realistic textures."
This kind of "hand cover" transition is easy to repeat in real life, and the AI version helps you prototype the idea before shooting.
Prompt for a Retro Look
"Handheld video of a woman dancing in a small bedroom lit by a warm lamp, faded black levels, soft halation on highlights, visible film grain, slight lens vignette, nostalgic mood, realistic skin texture."
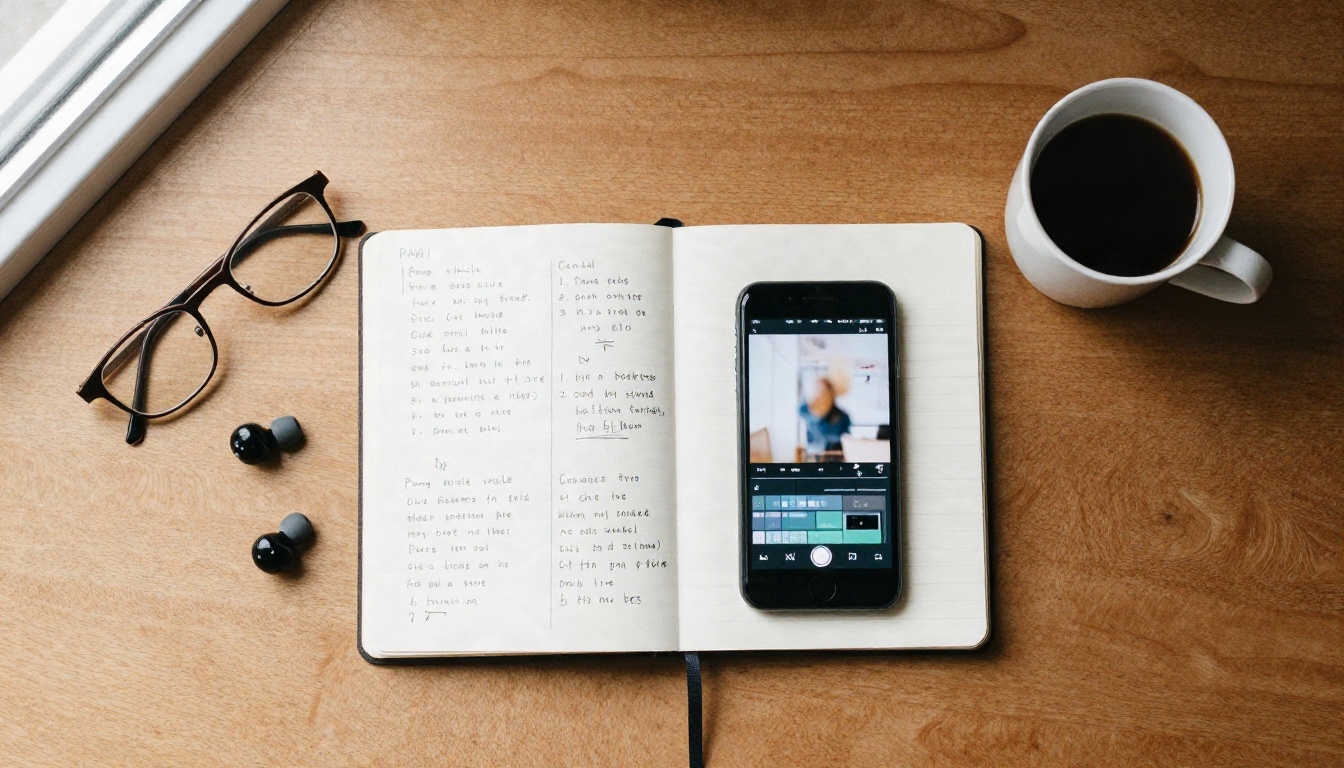
💡 Tip: Write one prompt per idea and keep a running notebook. Reusing a proven prompt with one small change is faster than inventing a new look every day.
How to Build Effects on PicassoIA
PicassoIA has no single "TikTok filter" button, and that is actually an advantage. You can combine tools to build a look that nobody else is using. Here is a workflow that works well for short vertical clips.
Step by Step Workflow
- Create the base image. Use Nano Banana Pro or Seedream 4.5 with one of the prompts above. Choose a vertical aspect ratio if the tool offers it.
- Animate it. Send the image to Wan 2.7 I2V or Kling v3 Video and describe the motion in plain language: what moves, how the camera moves, and what the light does.
- Restyle real footage. If you already filmed a clip, use Modify Video or P Video Edit to apply a new look or change details with a text prompt.
- Sharpen the result. Run the final clip through Video Upscale so it holds up on large phone screens.
- Add sound. Generate a short track with Music 2.6 or add synced effects using Video To SFX v1.5.
Picking the Right Model
| Goal | Model to try | Why it fits |
|---|
| Fast base image | Nano Banana Pro | Quick, clean results for portraits and product shots |
| Longer, polished clips | Seedance 2.5 | Handles longer video with consistent motion |
| Animate a still | Wan 2.7 I2V | Turns one frame into a moving shot |
| Cinematic motion | Kling v3 Video | Smooth camera movement and realistic detail |
| Restyle your own footage | Modify Video | Changes the look of a clip you already shot |
| Talking-head dubs | Lipsync Speed | Syncs new audio to an existing face |
💡 Tip: For fast daily posting, Seedance 2.5 Lite is a free option that generates clips up to 10 seconds, which is plenty for a short vertical post.
Filter Types Compared
Here is a quick view of what each style is good for and how much effort it takes to make.
| Style | Best for | Effort | Risk |
|---|
| Soft glow | Beauty, routines, talking head | Low | Over-smoothed skin |
| Retro film | Stories, outfits, music edits | Low | Muddy shadows in dark rooms |
| Trend effect | Dance, challenges | Medium | Crowded niche |
| Food reveal | Recipes, cafes, products | Medium | Unnatural color cast |
| Travel transition | Trips, local guides | High | Mismatched motion |
| AI morph | Before and after, concept clips | High | Odd artifacts around hands |
| Background swap | Skits, explainers | Medium | Rough edges around hair |
For background swaps, Remove Background gives a clean cutout, and Generate Background fills the space behind your subject with a scene that matches your lighting.

Mistakes That Kill Reach
Overdoing the Smoothing
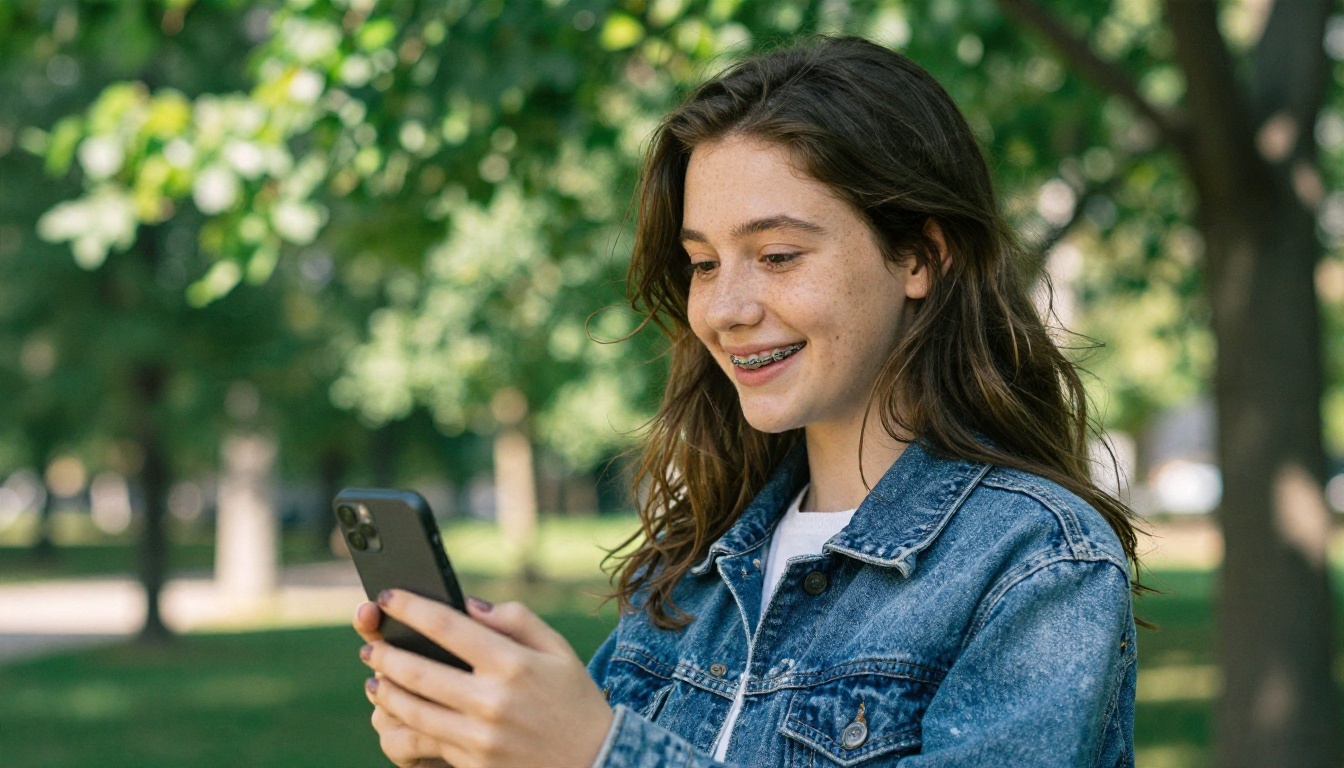
Heavy beautification filters are the most common error. Viewers are good at spotting them, and the comments quickly move from the content to the editing. Keep skin natural, and let the lighting do most of the work.
Ignoring Sound
A good filter on a silent or generic clip falls flat. Sound is half of the experience. Pair visual effects with a beat, a voice line or a small sound cue at the moment the look changes. A whoosh on a transition or a soft chime on a reveal makes the effect feel intentional.
Stacking Too Many Effects
One strong effect beats three weak ones. When a clip has a face filter, a color grade, a zoom, a glitch and a text overlay, nobody knows where to look. Choose a single hero effect and let everything else support it.
Forgetting the Caption
A filter gets the stop. The caption gets the comment. Ask a direct question, give a small challenge or name the effect so people can ask for the recipe. "Which look is better, 1 or 2?" outperforms a caption that just says "new filter."
A Simple Testing Routine
You do not need a big budget or a big team. You need a repeatable process and a bit of patience.
Run One Variable at a Time
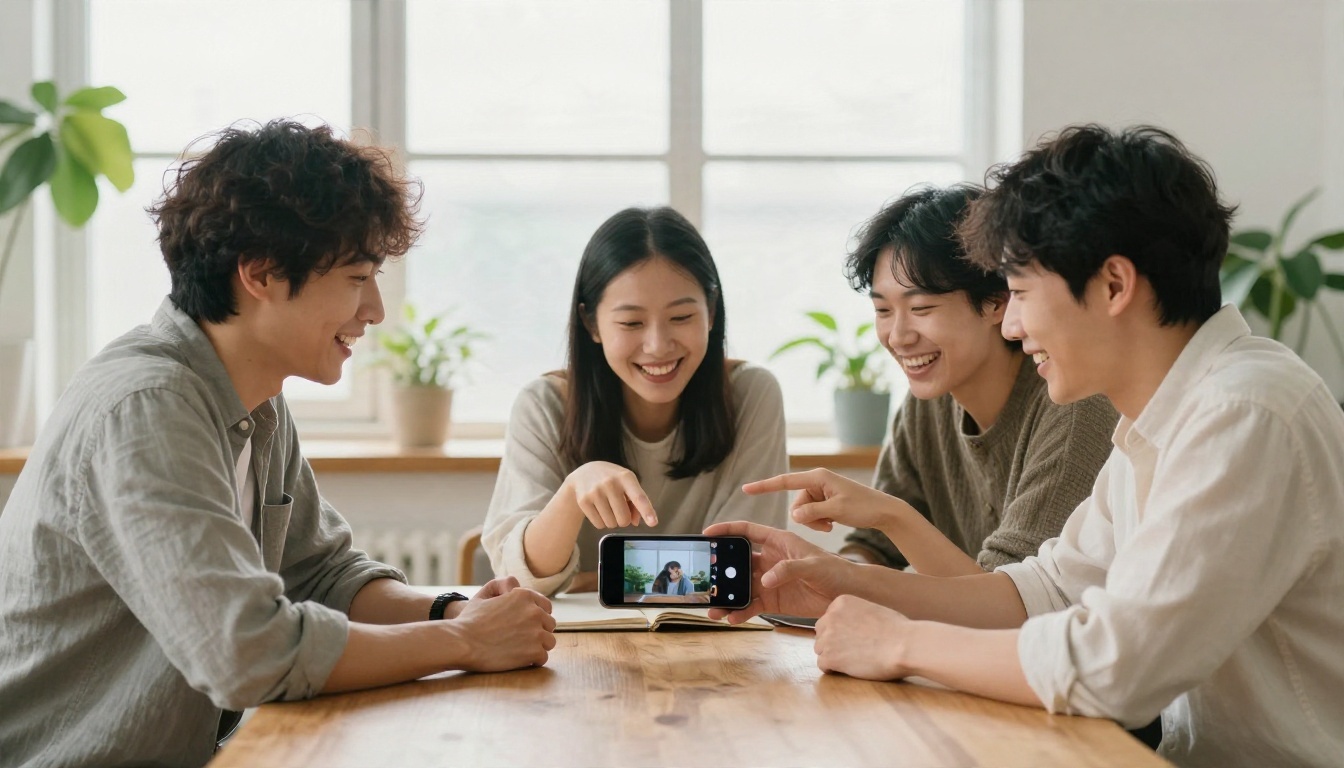
Post the same idea twice with only one change, for example the same recipe clip with a warm grade and then a neutral grade. If you change the music, the hook and the filter all at once, you will never know which one moved the numbers.
Track What Matters
Watch these numbers for each test:
- Average watch time, which tells you whether the opening hook works
- Share count, which tells you whether the look has social value
- Comment tone, which tells you whether people are talking about your content or your editing
- Rewatch rate, a strong sign that the effect is satisfying
Build a Small Library
After two or three weeks you will have a handful of looks that reliably work for your audience. Save the prompts, the settings and the model you used. A personal library of five to ten tested looks is worth more than a hundred trending effects you tried once.
💡 Tip: If you post in several languages, Lipsync Precision can dub one clip so the same visual effect reaches more audiences without reshooting.
Quick Prompt Recipes by Niche
Here are a few short, tested starting points. Swap in your own subject and setting.
| Niche | Starter prompt idea |
|---|
| Beauty | Soft window light, warm skin, visible freckles, gentle push-in, natural grain |
| Fitness | Low angle, golden hour, motion blur on a jump, crisp sweat detail, handheld energy |
| Food | Overhead pour, steam rising, warm contrast, slow push-in, shallow depth of field |
| Travel | Wide coastal shot at sunrise, wind in hair, smooth gimbal pan, soft pastel sky |
| Fashion | Street corner, long shadows, outfit change at the beat, film grain, natural color |
| Education | Clean desk, soft side light, slow zoom on a notebook, calm tone, neutral palette |
Keep prompts short at first. Once a look works, add detail about lens, lighting direction and texture. Longer prompts give more control, but only after you know what the base idea does.
Make Your Own Effects Today
The best TikTok filter is rarely the one everybody else is using. It is the one that matches your topic, loads your first two seconds with something worth watching, and feels like you. With a few prompts and a couple of PicassoIA models, you can design that look yourself instead of waiting for a trend to come around.
Start small. Generate one base frame with Nano Banana Pro, animate it with Seedance 2.5 or Kling v3 Video, and post it next to your usual clip. Compare the numbers after a few days. Then keep what works and drop what does not.
Ready to try? Open PicassoIA, pick a prompt from this article, and build your first custom effect. You can also browse every available tool at picassoia.com/en/all-models and mix them in ways nobody else has tried yet.


