You typed "make me a waifu" into an image generator, and you got a stiff face, six fingers and a hairstyle that changed every time you pressed the button. That's the normal first result. The good news is that a waifu is just a character with a clear set of traits, and an AI image model responds very well once you describe those traits in the right order. This article walks you through the whole process: where to make one for free, a prompt formula you can copy, character ideas that work, and the exact settings that keep results sharp and repeatable.
What an AI Waifu Maker Does
A waifu maker is any text to image tool that turns a written description into a portrait of a fictional character you've designed. You describe the hair, eyes, outfit, mood and place. The model draws the rest. There's no sketching skill involved, and a free online tool is enough to get started.

Waifu Means a Fictional Adult Character
The word comes from anime fandom and describes a fictional character someone feels attached to. For image generation, keep one rule: every character you make is an adult. Write "adult woman" or give a clear age such as "24 year old" in the prompt. It keeps the output consistent, and it keeps your project on the right side of every platform's content policy.
Anime Look or Photoreal Look
Most people picture a flat, illustrated anime face. Modern models can also build the same character as a realistic portrait, as if a real person were cosplaying her. Both are valid. The images in this article use the photoreal route because it shows how much detail a good prompt controls: skin texture, fabric weave, light direction and lens blur. If you want the illustrated look, swap the camera language for style words like "cel shaded anime portrait" and keep everything else the same.
💡 Tip: Pick one look per project. Mixing "anime illustration" and "85mm photograph" in the same prompt makes the model average the two, and the face usually comes out uncanny.
Free Online Maker Setup
You don't need to install anything. A browser, a model and a prompt box are the whole toolkit.
Pick a Model First
Different models have different strengths, and choosing the right one saves you dozens of retries. Here is how the main options on PicassoIA compare for character work.
| Model | Best for | Speed | Notes |
|---|
| Seedream 4.5 | Detailed portraits, outfits, lighting | Fast | Strong prompt following and clean faces |
| Z Image Turbo | Quick drafts and many variations | Very fast | Great for testing ten ideas in a few minutes |
| Nano Banana Pro | Editing, keeping a face across scenes | Medium | Good at changing outfit or setting while keeping identity |
| Qwen Image 3 | Photorealistic portraits | Medium | Natural skin and soft light |
| Imagen 4 | Clean, balanced compositions | Medium | Reliable with long descriptions |
| Flux 2 Klein 9B Base LoRA | Styled looks with LoRA support | Fast | Useful when you want a specific art style |
For a first attempt, start with Seedream 4.5 for quality and Z Image Turbo for speed. Run the same prompt through both and keep the one you prefer.
Write the First Prompt
Open the model page, paste a short description and generate. Don't write a novel yet. A first pass like this is enough:
"Adult woman, long silver hair in twin tails, violet eyes, navy sailor uniform, cafe terrace, golden hour, 85mm portrait."
You'll get something usable. Then you refine one trait at a time, which is far easier than trying to fix ten things at once.
Generate and Compare
Create four images per round and pick a winner by looking at three things: the eyes, the hands and the hair edge. If those three are clean, the rest can be polished. If one fails, change only that part of the prompt and run again.
Random word lists give random results. A fixed order gives you control. Models pay the most attention to the start of a prompt, so the order matters.
The Six Slot Structure
Build every prompt from these six slots, in this order:
- Subject: adult woman, age, expression, pose
- Hair and eyes: colour, length, style, accessories
- Outfit: garment, fabric, colours, small details
- Setting: place, time of day, objects around her
- Light: direction, softness, colour temperature
- Camera or style: lens, depth of field, film look, or the illustration style
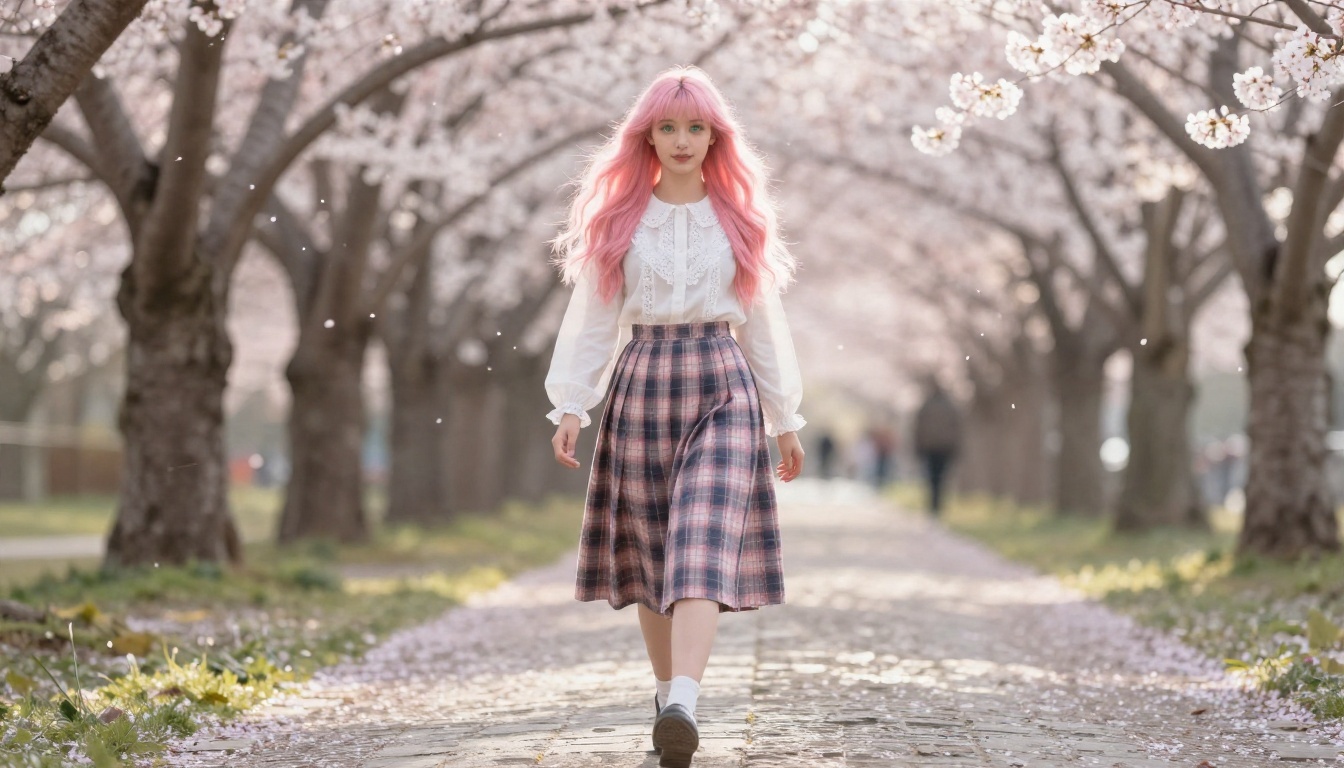
Here's the formula filled in for the pink haired image above:
"Adult woman, soft smile, walking. Long pastel pink hair, green eyes. White lace trimmed blouse, plaid skirt. Cherry blossom path, morning, petals falling. Backlight from the right, glowing hair edge. 35mm lens, low angle, Kodak Portra 400 film grain."
💡 Tip: Name a fabric and a texture whenever you can. "Cotton blouse with visible weave" produces a more believable result than "white shirt".
Ready Prompts to Copy
Paste these into any model above and change the colours to your taste.
| Character | Prompt |
|---|
| Cafe sweetheart | Adult woman, silver lilac twin tails with red ribbons, violet eyes, navy sailor uniform, matcha latte, sunlit cafe terrace, golden hour rim light, 85mm f/1.8, film grain |
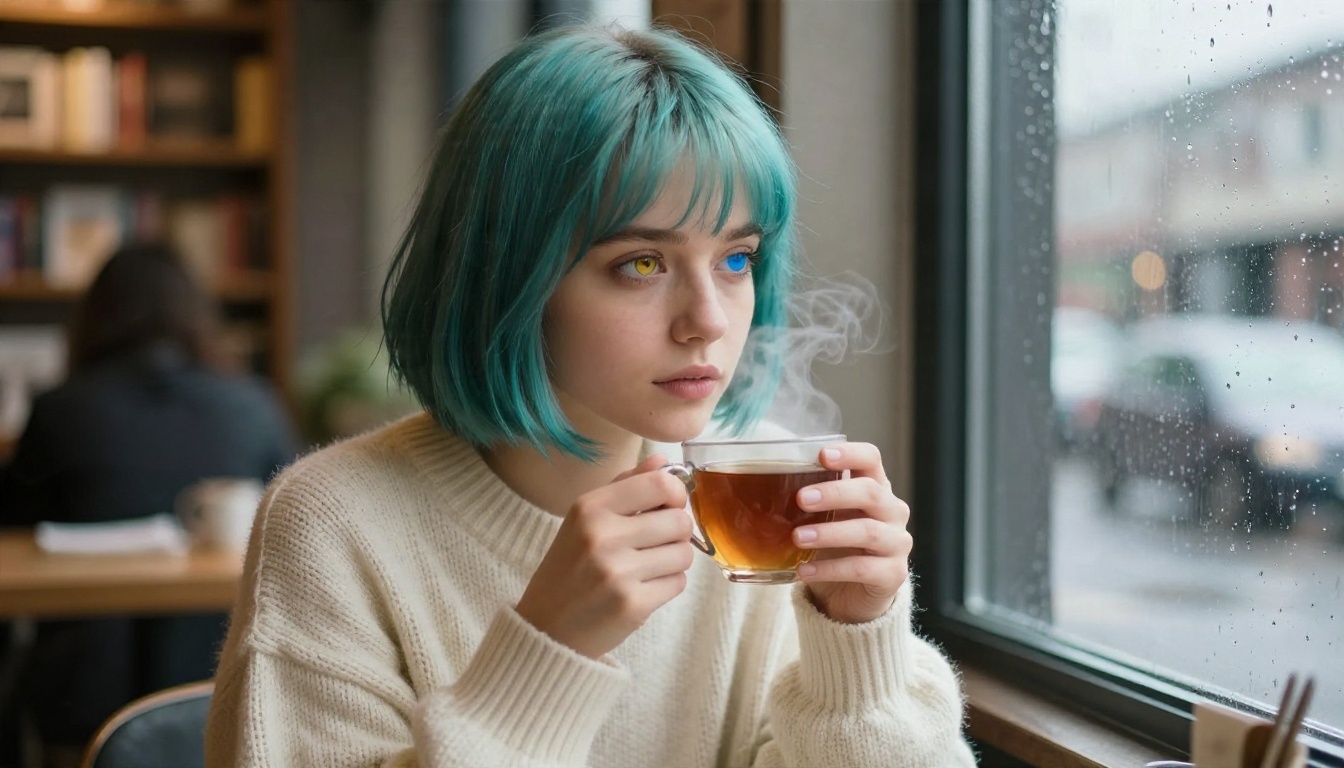
| Rainy day reader | Adult woman, short teal bob, golden and blue eyes, cream knit sweater, bookstore cafe window, rain on glass, soft overcast light, 85mm, shallow depth of field |
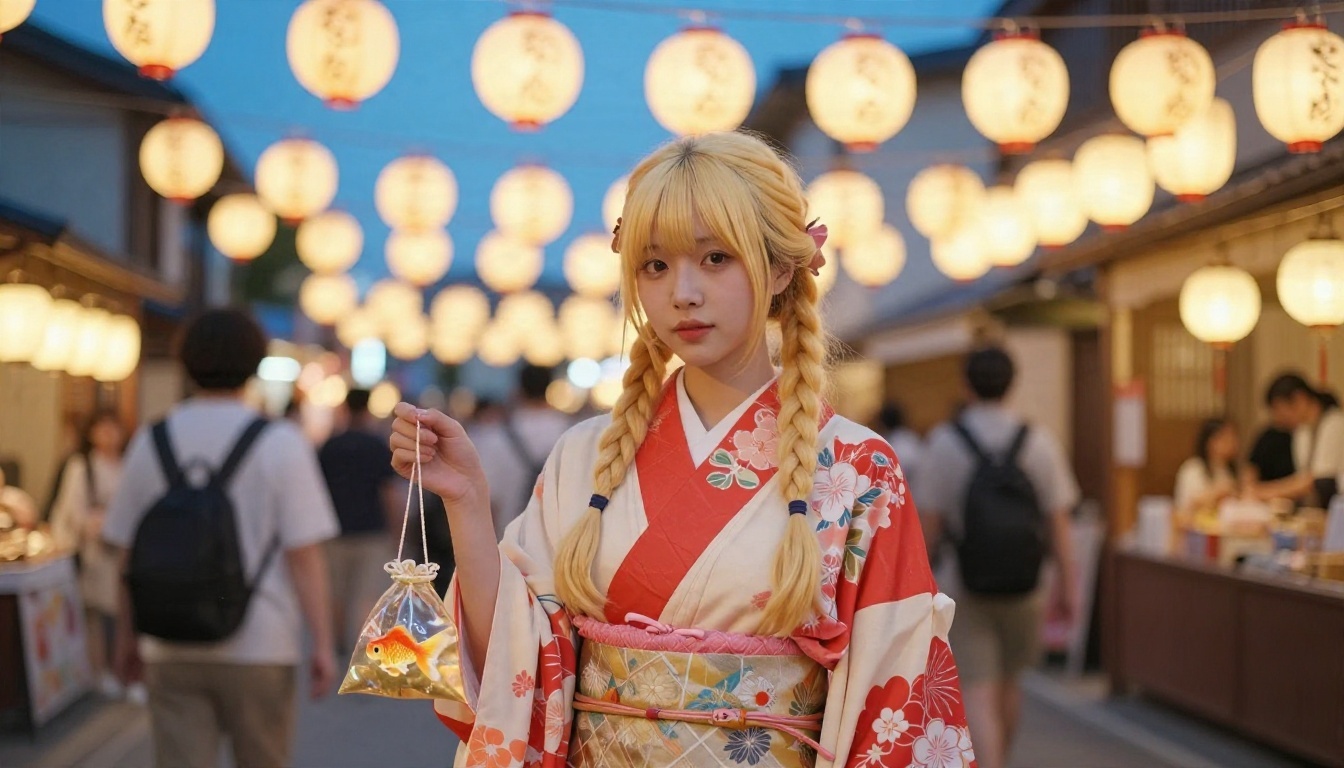
| Festival girl | Adult woman, blonde twin braids, red and cream floral yukata, summer festival street, paper lanterns, blue hour, 35mm f/1.8, gentle bokeh |
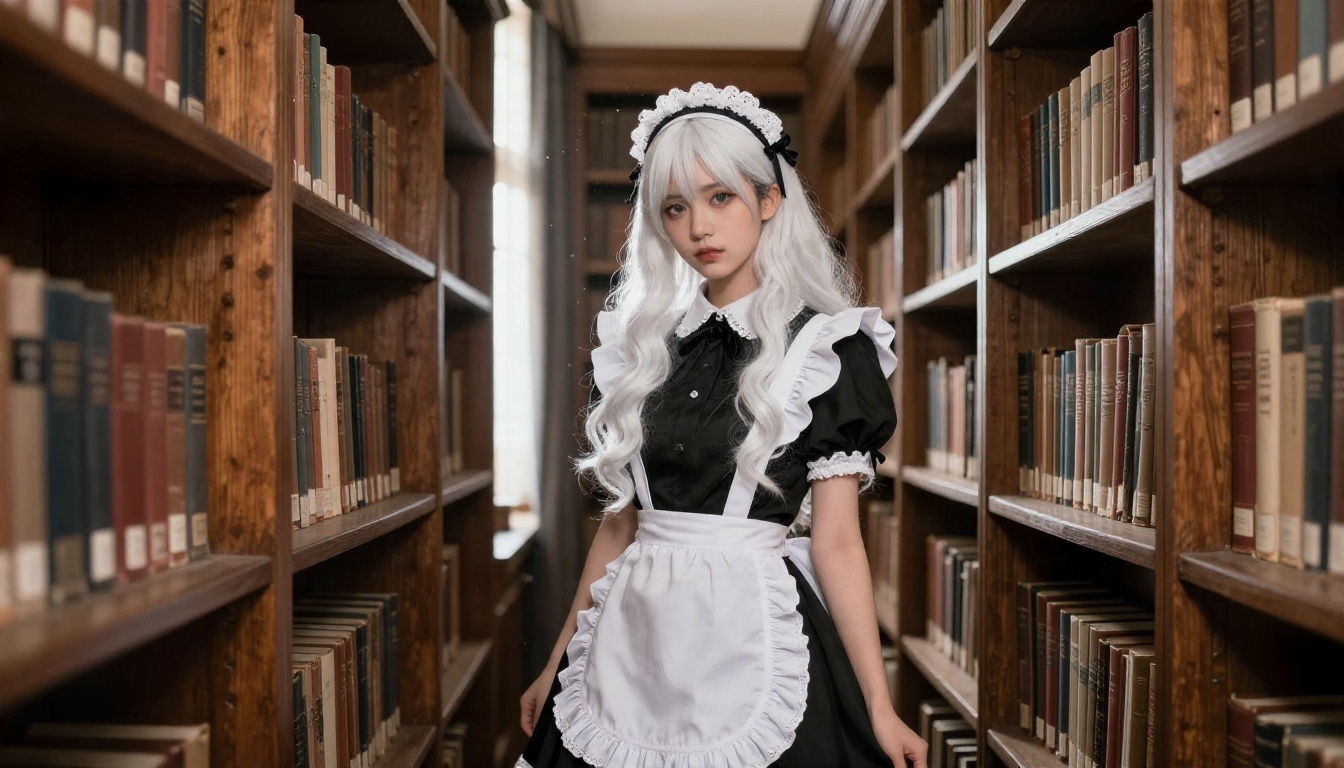
| Library elegance | Adult woman, long wavy white hair, black dress with white apron and lace headband, old library corridor, dust in window light, slight low angle, 35mm |
Character Ideas by Archetype
Archetypes give you a starting point so you aren't staring at a blank prompt box. Each one has a built in mood, a colour palette and a typical setting.
The Calm Warrior
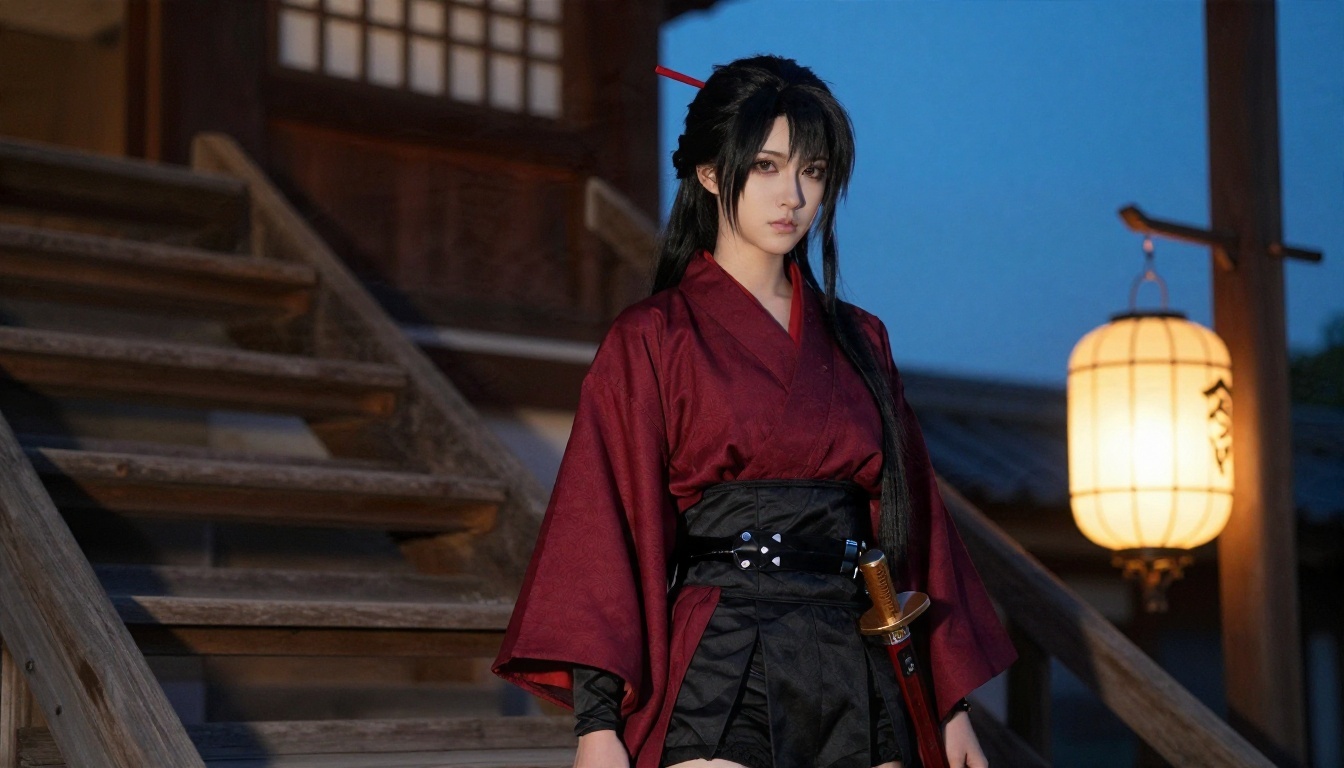
Long black hair, a red hairpin, a dark kimono style jacket and a prop sword. Set her on old temple steps at dusk with warm lantern light on one side and cool sky on the other. The contrast between warm and cool light does most of the storytelling. Use words like "calm", "steady gaze" and "lacquered wood" to keep the face serious but not angry.
The Quiet Bookworm
Short hair in a cool shade such as teal or lavender, an oversized sweater and a window with rain. Soft overcast light from one side keeps skin smooth. This is the easiest archetype to get right, and a good first project because the lighting is forgiving.
The Gothic Elegant
White or silver hair, black and white clothing, lace details and old wood. A narrow shaft of light from a high window gives the scene drama without any special effects. Ask for a slightly low camera angle to give her presence.
The Sporty Best Friend
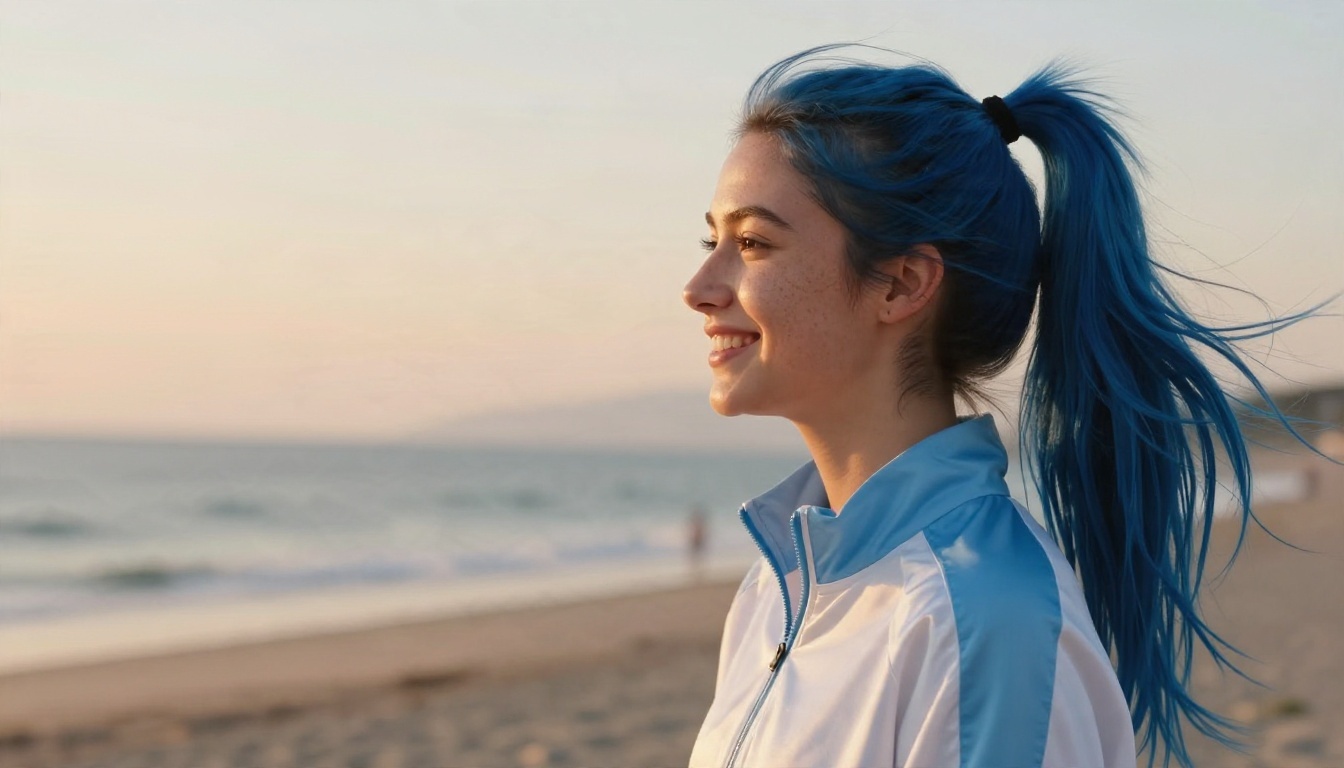
A high ponytail, a bright track jacket, a seaside promenade and warm sunset light. Candid laughing expressions work best here, so write "laughing, looking away from camera" rather than "posing".
The Festival Beauty
Traditional clothing such as a yukata, lanterns overhead, and a blue hour sky. Mention embroidery or floral print so the model renders the pattern instead of a flat colour. Small props, like a goldfish bag or a paper fan, make the scene feel lived in.
💡 Tip: Not sure which to choose? Write down three adjectives for the personality first (shy, bold, playful), then pick the archetype that matches and let the outfit follow.
Plan the Character Before You Generate
The best results come from a short character sheet. Five minutes of planning saves an hour of retries. Write down the name, age, personality, a three colour palette, one signature accessory, and two favourite places. Then you just reuse those words in every prompt.
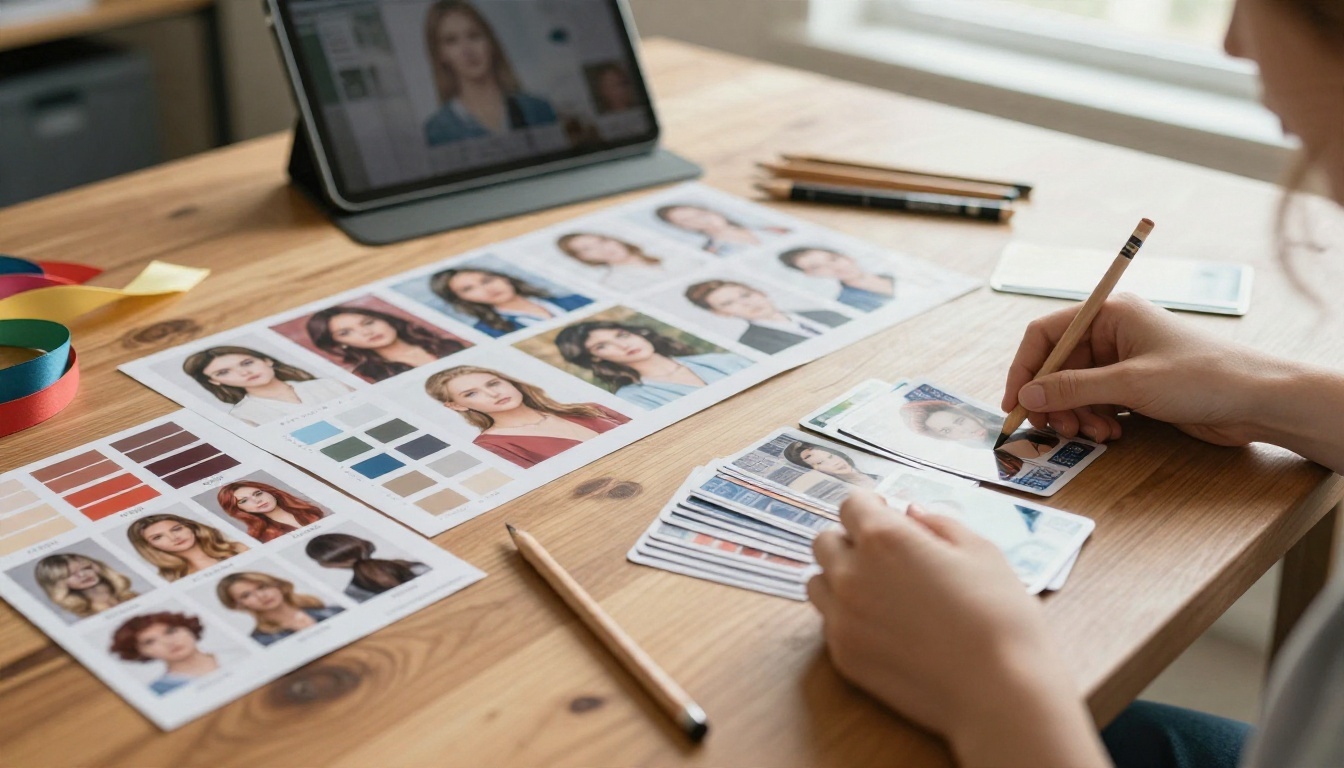
A simple sheet looks like this:
| Field | Example |
|---|
| Name | Mio |
| Age | 24 |
| Personality | Calm, curious, a little shy |
| Palette | Silver, violet, navy |
| Signature item | Red hair ribbons |
| Favourite places | Cafe terrace, night market |
Every field becomes a phrase you can paste. "Mio, adult woman, silver hair with red ribbons, violet eyes" becomes the first line of every prompt, and the model starts to treat it as one identity.
Best Settings for Sharp Results
Settings are where most beginners lose quality. A great prompt with the wrong ratio still gives a squashed face.
Aspect Ratio and Resolution
Match the ratio to the shot:
| Shot type | Ratio | Why |
|---|
| Face portrait | 3:4 or 4:5 | Fills the frame with the face |
| Full body | 2:3 or 9:16 | Gives space for outfit and legs |
| Scene and mood | 16:9 | Room for setting and light |
| Square profile image | 1:1 | Works as an avatar |
If a model offers a 2K or 4K option, use it for finals and stay at the default for drafts. Drafts should be fast. Finals should be sharp.
Seed, Steps and Guidance
The seed is the number that decides the starting noise. Same prompt plus same seed gives nearly the same image. When you find a face you like, write down the seed and change only one phrase at a time. That's how you make controlled edits instead of rolling the dice again.
If the model exposes steps, 25 to 35 is a good range for most work. Going higher rarely helps and slows you down. Guidance (also called CFG) controls how literally the model follows your words. Low values feel dreamy but drift away from the prompt. Very high values look harsh and over processed. A middle value is the safest place to stay.
Lighting Words That Help
Light changes the mood more than any other element. These phrases are reliable:
- Golden hour backlight: warm glow on the hair edge
- Soft overcast window light: smooth skin, calm mood
- Lantern light with blue sky: warm and cool contrast
- Dust motes in a sunbeam: depth and atmosphere in interiors
Fix the Most Common Problems
Almost every bad result falls into one of a few categories. Here are the fixes.
Blurry or Waxy Faces
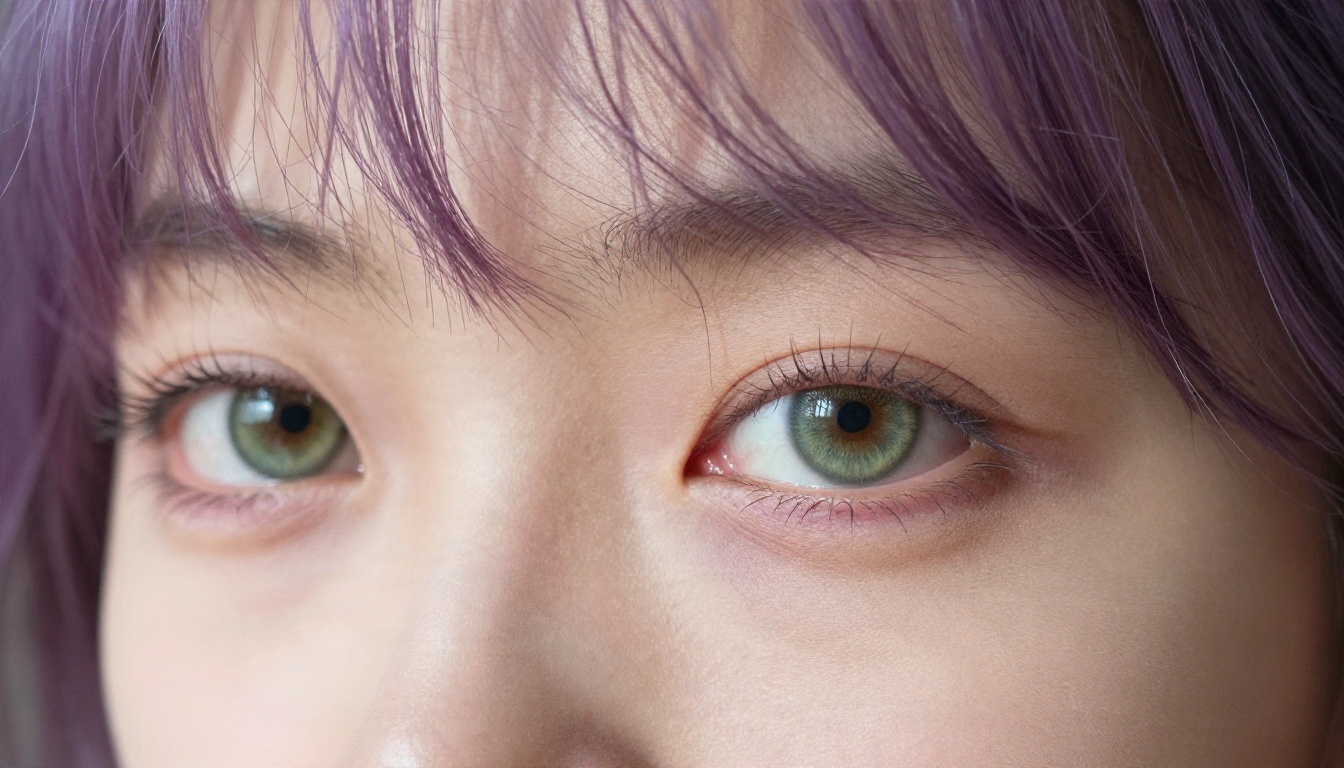
This usually means the prompt asked for too many things at once. Shorten it, keep the six slots, and add "visible skin texture, fine pores" for realistic output. For illustrated styles, add "clean linework" instead. If it still looks soft, run the image through a super resolution model and compare.
Strange Hands
Hands are hard for every model. Avoid prompts that need complex finger positions. Let her hold a cup, a bag or a ribbon, because simple grips render far more often than open palms or intertwined fingers. You can also frame the shot from the waist up and hide the problem altogether.
Eyes That Don't Match
If one eye is violet and one is green by accident, name the colour once and add "both eyes the same colour". For deliberate heterochromia, write "left eye gold, right eye blue" explicitly.
Outfit Drift
When the clothes keep changing, you've described them too loosely. Replace "school uniform" with "navy sailor uniform, white piping, red neckerchief". Specific beats general every time.
Keep the Same Character Everywhere
One portrait is fun. A character you can place in five different scenes is a project. There are three dependable ways to hold identity steady.
- Reuse the character sheet text word for word at the start of every prompt.
- Reuse the seed while changing only the setting.
- Edit instead of regenerating. Upload your favourite image to an editing model such as Nano Banana Pro and ask it to change the background or outfit while keeping the face.
For teams that want a stable style across dozens of images, Qwen Image LoRA Trainer Legacy lets you train a custom style from your own reference images.
💡 Tip: Save your best prompts in a plain text file with the seed beside each one. Within a week you'll have a personal library that beats any prompt list you find online.
Make Your Own Waifu Today
You now have everything required: a model, a six slot prompt, an archetype, a character sheet and the settings that keep the result sharp. The fastest way to get better is to run small tests. Change one word, press generate, compare, repeat.
Open PicassoIA, pick Seedream 4.5 for polished portraits or Z Image Turbo for rapid drafts, paste one of the prompts from the table above and make it yours. Give her a name, a colour palette and a favourite place, then build a small set of scenes around her. When you want to try other options, browse the full list of tools at picassoia.com/en/all-models and see which one fits your style best.


