You need a profile photo by tomorrow. A studio session costs a few hundred dollars, your best selfie has a messy kitchen behind it, and every "free" tool you try wants an email, a card, or a subscription before it shows you a single pixel. That is the moment people search for a free AI headshot generator with no sign up, and it is also the moment they get burned by blurred previews, hidden watermarks and a counter that says "0 credits left."
This article sorts out what is actually free, what the preview stage hides, which limits show up in practice, and how to get a result that looks like a real photographer shot it. It also shows a way to build your own headshots on PicassoIA when a free tool runs out of allowance.
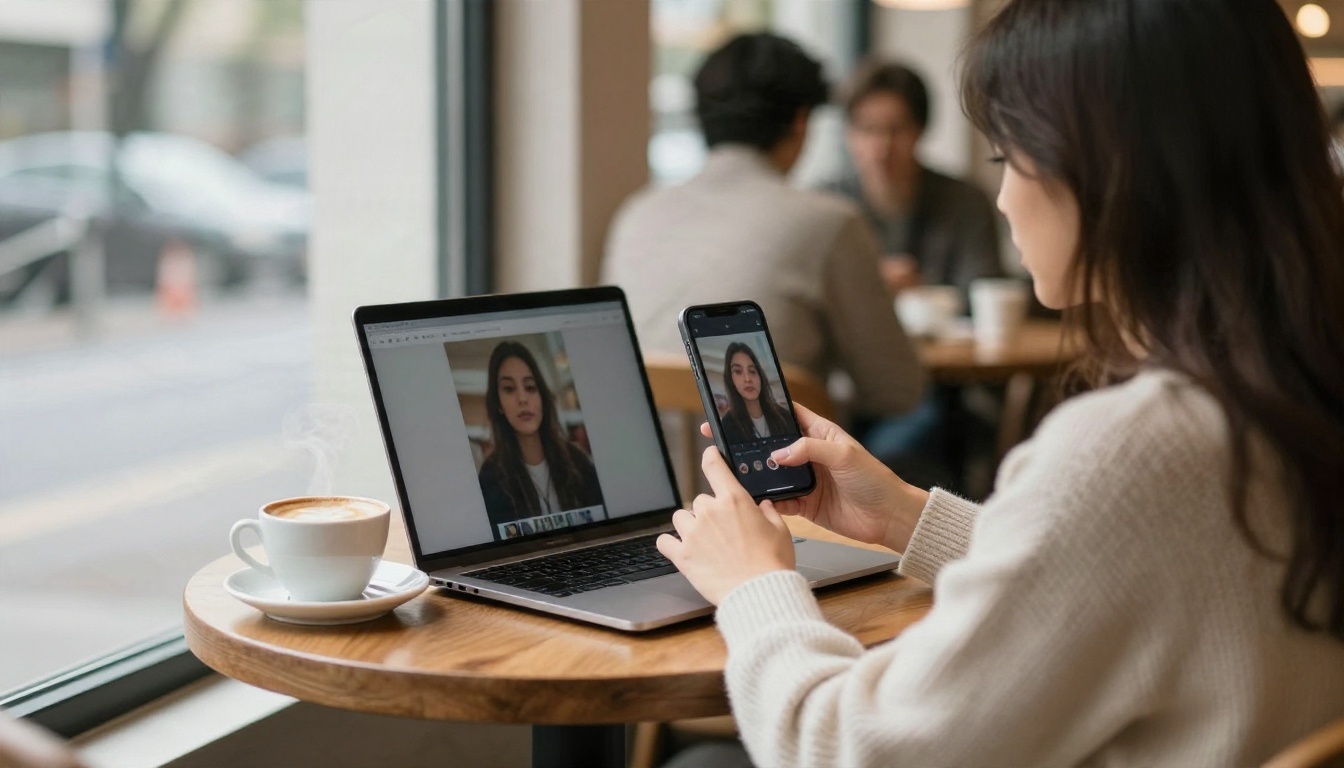
What "No Sign Up" Really Means
The phrase sounds simple, but it hides at least three different deals. Before you upload your face anywhere, it helps to know which deal you are getting.
The Three Types of Free
| Type | What you get | Typical catch |
|---|
| True no sign up | Upload, generate, download, no account | Small daily allowance, shared servers, queues at peak hours |
| Free preview | Result shown on screen without an account | Blurred, cropped, low resolution or watermarked until you pay |
| Free after sign up | A few starter credits once you register | Credits often cover only one or two headshots |
From what recent comparisons report, a handful of tools really do let you try without an account. Magic Hour advertises roughly three free headshots per day with no login. Upsampler advertises no sign up and no watermark, backed by a daily allowance on shared GPUs. Botdog lets you make your first headshot without logging in, then offers a few more per week once you register. Pixelbin's lawyer headshot page mentions up to three HD results per month.
💡 Tip: Treat every number above as a vendor claim. Allowances change often, and affiliate-style comparison blogs repeat stale figures. Test with one photo before you plan a whole week around a limit.
Why Tools Ask for Accounts
Generating a headshot costs real GPU time. A tool that lets anonymous visitors run unlimited requests would be drained by bots in hours. So the account wall, the credit counter and the daily cap are not just greed. They are how a free tier survives. Knowing that makes the limits easier to predict: the more open the tool, the smaller the allowance.
Free Preview vs. Final Download
The free preview is the part where most people lose an afternoon. You upload a photo, wait, and see a promising face. Then the download button asks for payment.
Blurred and Watermarked Previews
Some tools show a softened or low resolution version and keep the sharp file behind a paywall. Others give you a clean image but stamp a small mark in a corner. One comparison noted that Fotor adds a small watermark on free exports, while Canva's free tier generally does not but limits how many images you can make.
Look for these signs before you spend time:
- Resolution stated on the page. If it never mentions pixels, expect a small file.
- "Preview" wording on the result screen. That usually means the full version is locked.
- A countdown or "unlock" button next to the download. That is a paywall in disguise.
- Zoom behavior. Zoom into the eyes and hair. If it turns to mush, the file is a thumbnail.
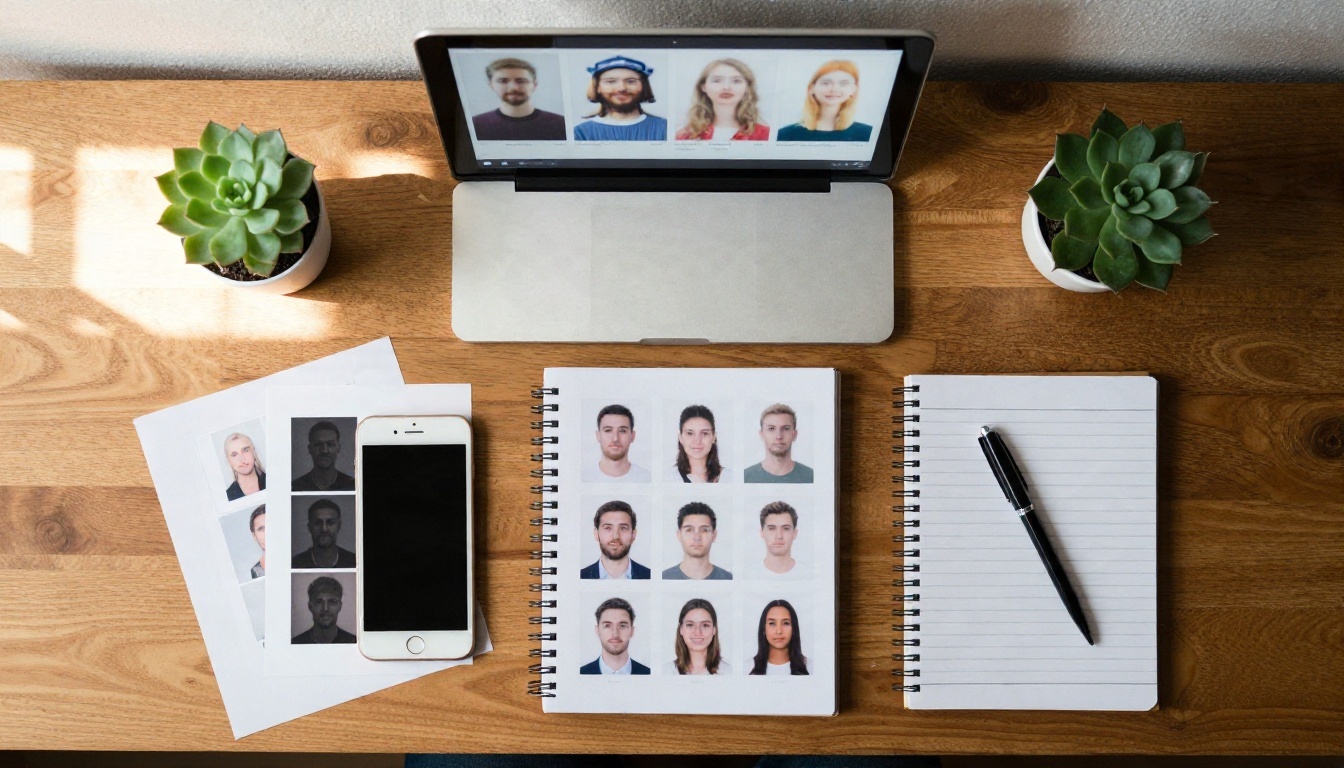
Daily Caps and Queues
Even when the file is clean, the cap decides how useful the tool is. Three generations per day sounds fine until you realize that two of them will have odd hands, a strange collar or a face that looks slightly off. A realistic plan is one usable image out of every three tries, so a three per day cap often means one headshot per day at best.
Real Limits You Will Hit
Here is how the limits tend to look across free headshot tools. Use it as a checklist when you compare them.
| Limit | What it looks like | How much it hurts |
|---|
| Daily generations | 1 to 5 per day | Medium, retries burn the quota |
| Monthly HD downloads | About 3 per month on some tools | High if you need several styles |
| Resolution | 512 to 1024 pixels on free | High for print and large LinkedIn banners |
| Watermark | Corner mark on free exports | High for resumes, low for drafts |
| Style choices | One or two backdrops locked | Medium |
| Batch size | One photo at a time | Low |
| Queue time | Seconds to many minutes | Medium |
| Data retention | Unclear on many sites | Depends on your comfort level |
A few details worth knowing:
- Sign up credits are small. One tool reportedly gives ten credits on registration, and its own FAQ says that is enough for two headshots. One reviewer who tried it reported receiving no credits at all.
- Free usually means shared hardware. At peak hours, the same photo can take ten seconds in the morning and several minutes in the evening.
- Limits reset by clock, not by calendar. Many "daily" allowances reset at midnight UTC, which might be the middle of your afternoon.
💡 Tip: If you only need one good image, spread your free tries across two or three different tools. Each one has its own look, and you will see a wider range of results than if you hammer the same page.
Does It Look Professional?
A free tool can absolutely make a believable headshot. The difference between "believable" and "obviously AI" comes down to a few things you can check in ten seconds.
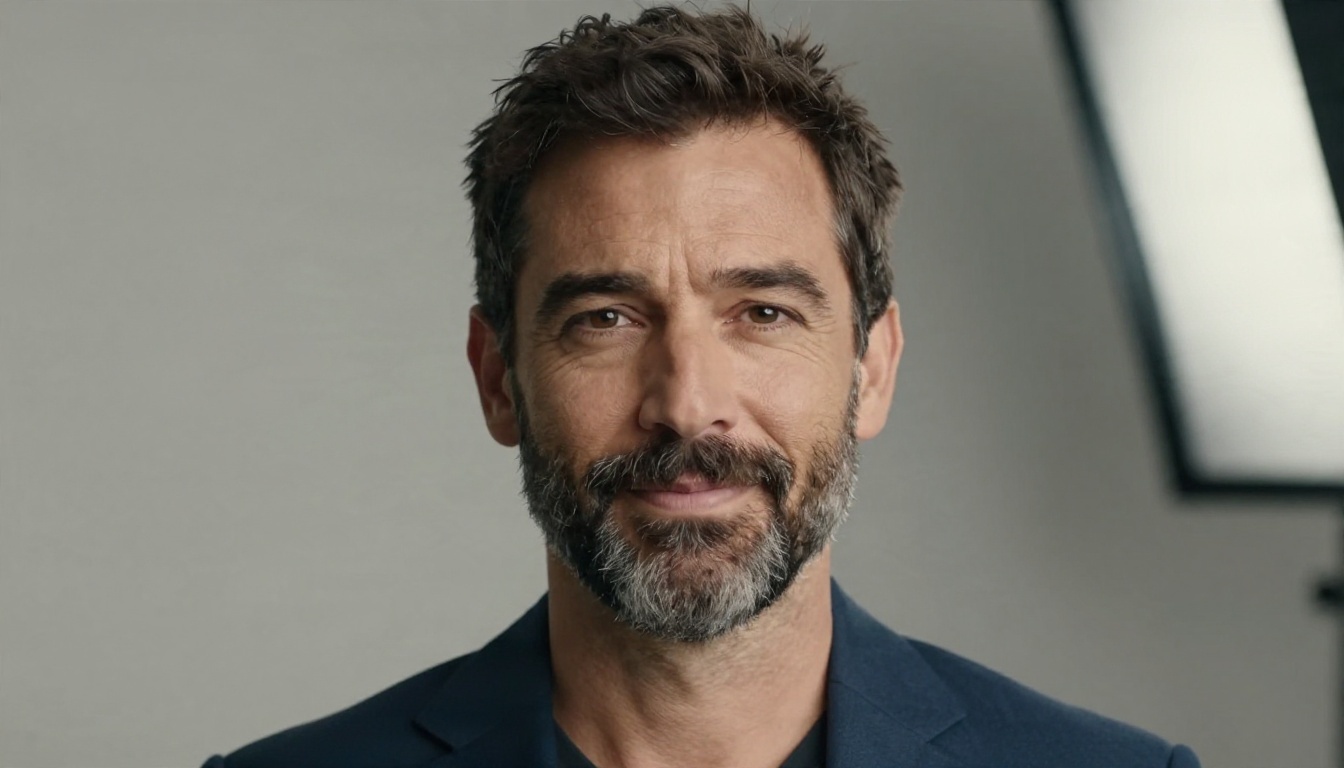
Skin, Eyes and Light
The best results keep pores, fine lines and small asymmetries. The weak ones smooth everything into plastic. When you review an output, check:
- The eyes. Both should have a small, matching highlight, and the pupils should be the same size.
- The skin. Natural texture around the nose and cheeks is a good sign. A porcelain finish is a warning.
- The light direction. Shadows under the chin and nose should agree with the brightest side of the face.
- The hairline. Flyaway hairs and soft edges look real. A hard, cut-out edge does not.
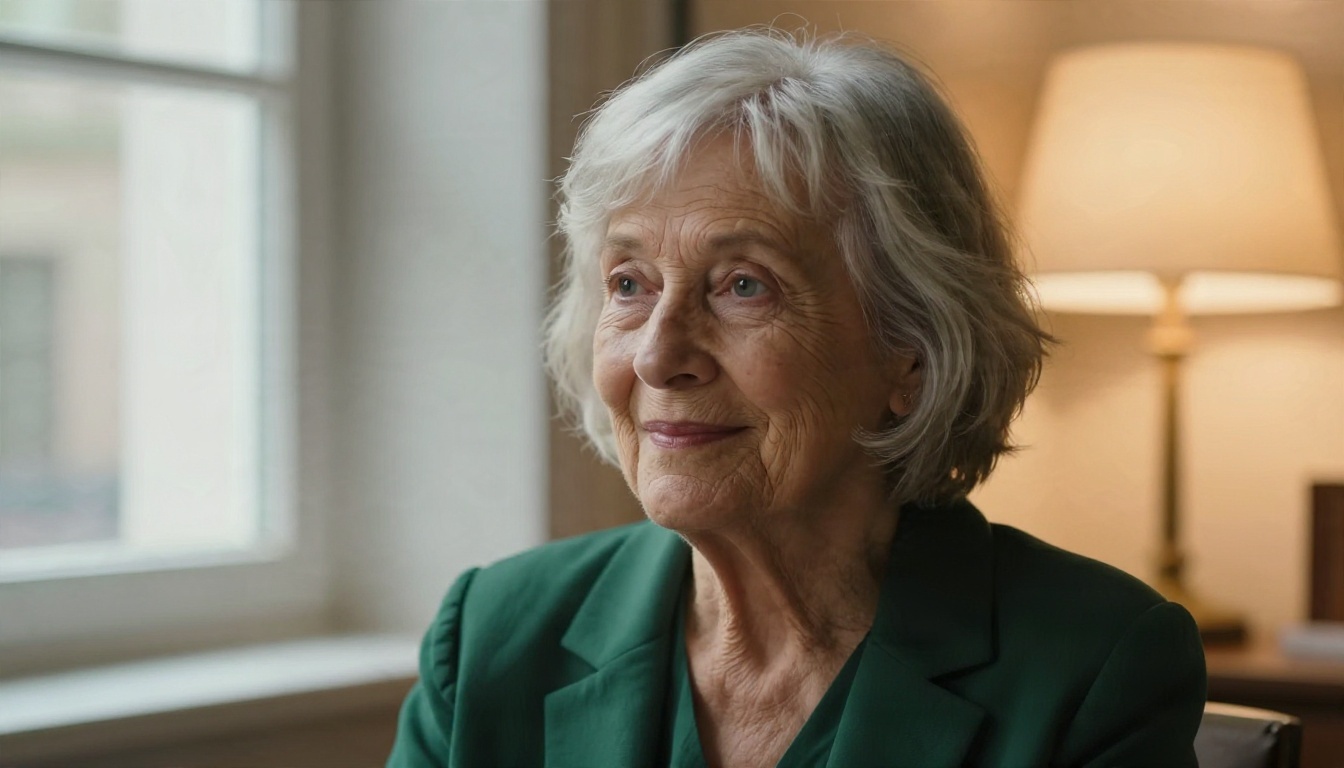
Clothing and Backdrop
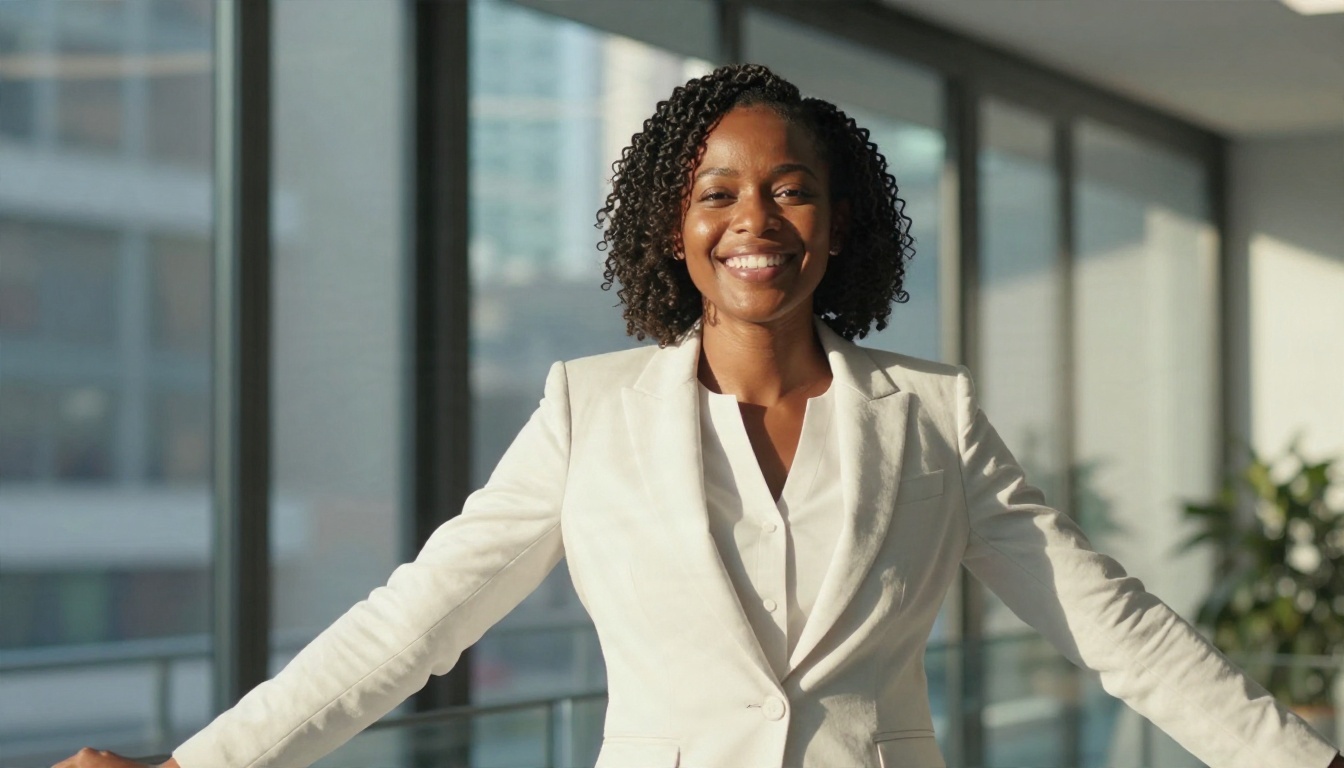
Free generators love to give everyone the same navy suit and the same gray gradient. That can work, but it makes your photo blend into a sea of identical profile pictures. Ask for something that matches your field: an open collar shirt for a designer, a white blazer for a consultant, a knit sweater for a teacher.
| Profession | Outfit that works | Backdrop that works |
|---|
| Lawyer, finance | Dark suit, white shirt | Neutral gray or soft office blur |
| Startup, tech | Open collar shirt, plain sweater | Brick, bookshelf or soft window light |
| Healthcare | Clean white or soft blue top | Plain light wall |
| Creative, freelance | Textured layers, one accent color | Natural light, outdoor greenery |
| Real estate, sales | Blazer, warm smile | Street or lobby with soft blur |
Photos That Give Better Results
The generator can only work with what you give it. A bad source photo wastes a free try, and free tries are scarce.
Source Photo Checklist
- Face fills about half the frame. Not too far, not a nostril close-up.
- Eyes open, looking at the lens. Side glances confuse the model.
- One person only. Crops of group photos create odd edges.
- No sunglasses, no hat, no heavy filters. Remove anything that hides your face shape.
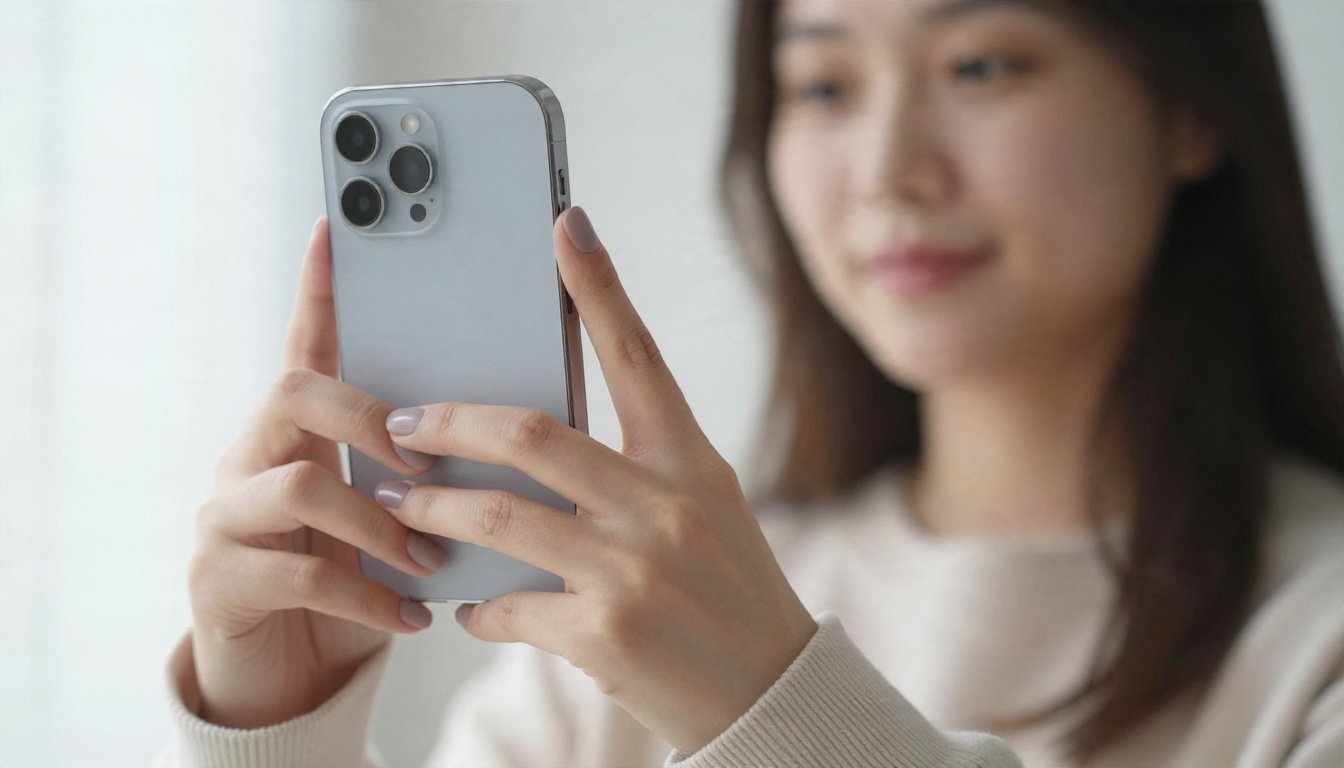
- Sharp focus. Wipe the phone lens, hold still, and use the rear camera if you can.
- Two or three angles if the tool lets you upload more than one.
Lighting at Home
You do not need a studio. Stand facing a window, with the daylight hitting your face from the front or slightly to the side. Avoid overhead lamps, which dig shadows into your eye sockets. A white wall behind you gives the model a clean edge to work with. If the sun is harsh, a thin curtain does the job of a softbox.
💡 Tip: Take your source photo at eye level. A phone held low makes the jaw look heavy, and the generator tends to keep that geometry.
Make Headshots on PicassoIA
Free tools are fine for a quick test. When you need more tries, more control over the look, or a larger file, a general image platform gives you room to experiment. PicassoIA has several models that work well for portrait and headshot style images. I am not claiming a specific free allowance here, so check the platform for current limits and sign up requirements before you plan around it.
Step by Step Workflow
- Open the editor. Start with PicassoIA Image Editor Pro, described as an unlimited online AI photo editor.
- Upload your best source photo. Use the checklist above.
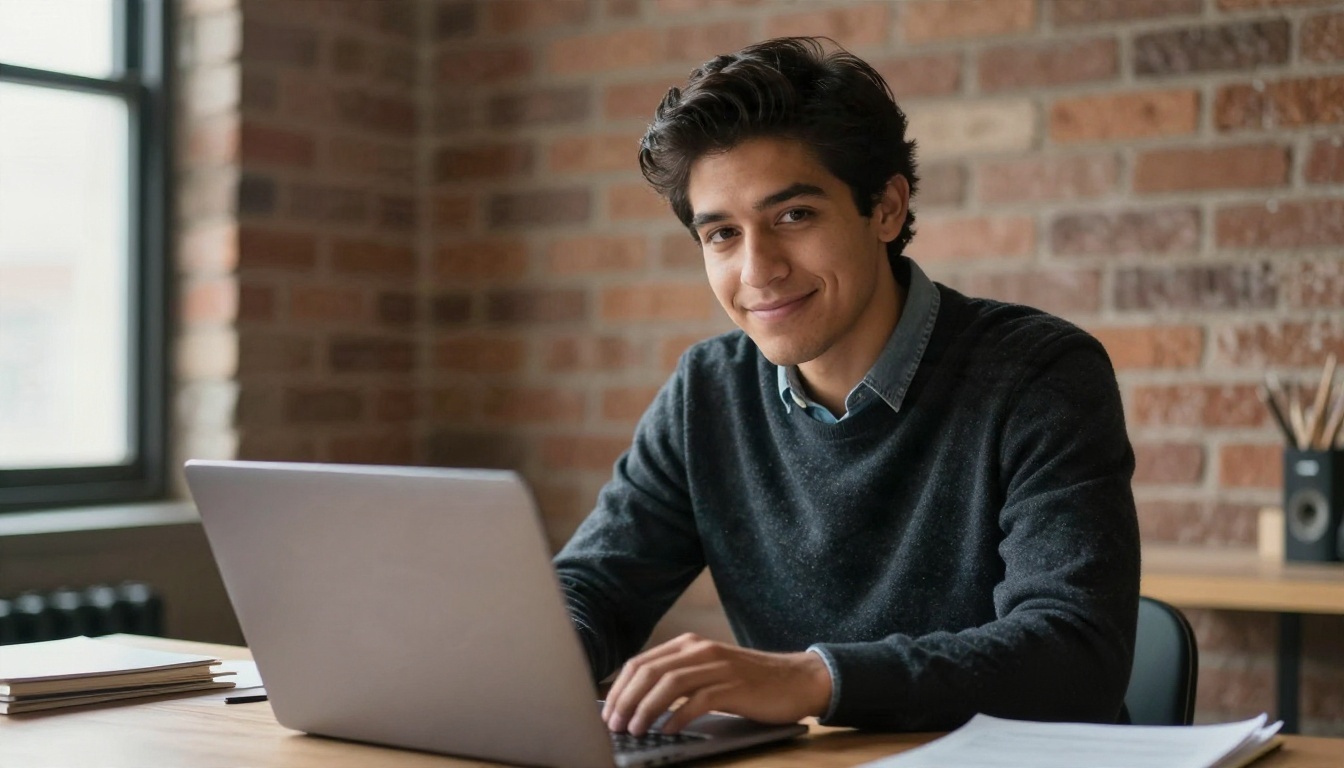
- Describe the result in plain words. For example: "professional corporate headshot, charcoal blazer, soft window light from the left, light gray background, natural skin texture, 85mm lens."
- Generate several versions. Do not stop at the first one. Pick the one where your eyes and jawline still look like you.
- Fix small things separately. Use Remove Background for a clean cutout, or Generate Background to place yourself in a neutral office.
- Upscale the winner. Real ESRGAN can enlarge an image up to 4x so it holds up on a resume or a speaker page.
Prompt Tips That Matter
- Name the light. "Soft window light from the left" beats "good lighting."
- Name the lens. "85mm, shallow depth of field" nudges the model to a classic portrait look.
- Ask for texture. Words like "natural skin texture, fine pores" fight the plastic finish.
- Keep clothing simple. Patterns can warp. Solid colors survive better.
- Say what to avoid. "No heavy retouching, no smoothing, no exaggerated smile."
Models Worth Trying
Team Headshots and Consistency
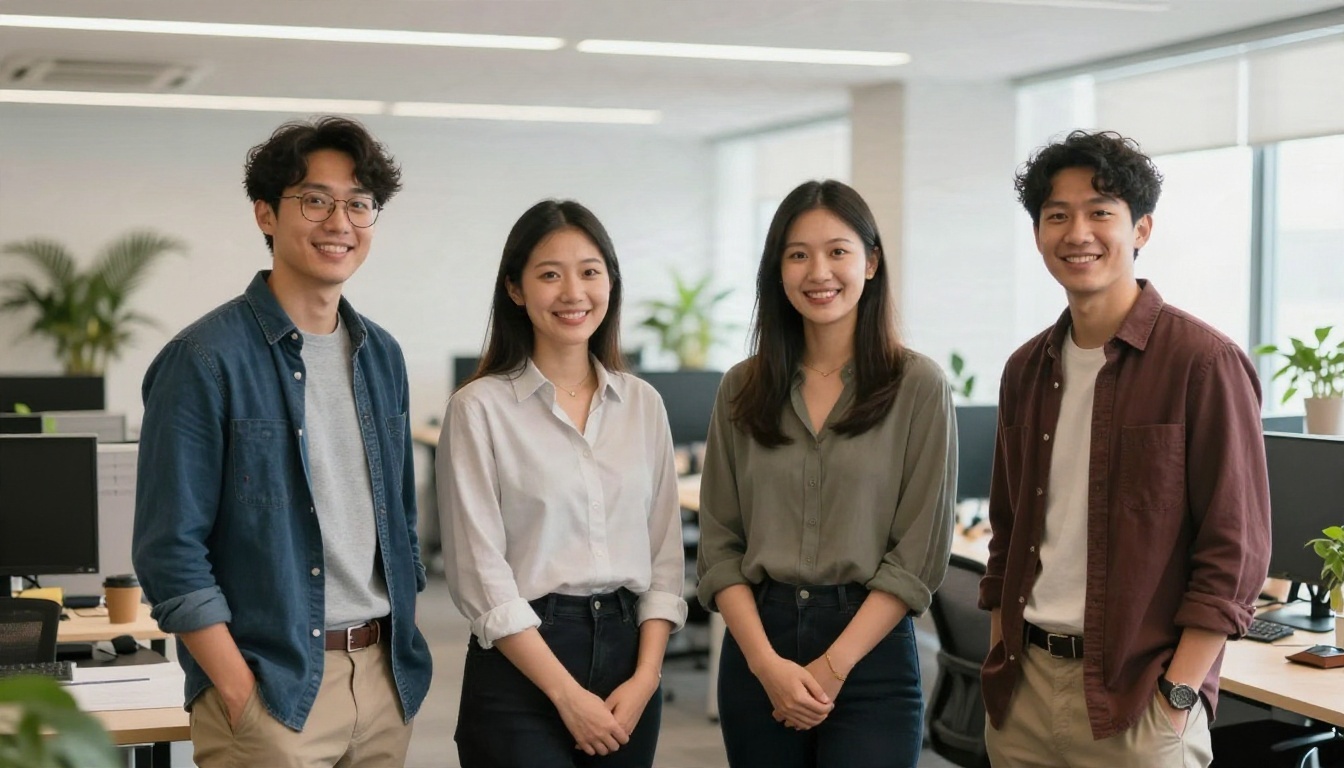
Hiring pages and "About us" sections look strange when every photo has a different crop, backdrop and light. If you are building headshots for a small team, set the rules once and reuse them.
One Style Sheet
Write a short style sheet and paste it into every prompt: backdrop color, light direction, crop (head and shoulders), and clothing tone. Using the same words for each person makes the set look like it came from one afternoon.
Free Tools Struggle Here
A "3 per day" cap multiplies by headcount. For a team of eight, you are looking at days of waiting, and different tools will drift in style. A platform where you control the prompt and can run several tries in one session is a better fit for a group.
Privacy and Honest Use
Your face is personal data. A "no sign up" tool does not mean "no data." Before uploading, check three things.
What Happens to Your Upload
- Retention. Does the site say how long photos are stored, or that they are deleted after processing?
- Training. Does it say uploads may be used to improve the model?
- Deletion. Is there a clear way to remove your images?
If the page does not answer these, treat the upload as public and use a photo you would be comfortable sharing.
Where AI Headshots Fit
An AI headshot is a polished version of you, not someone else. Keep it recognizable: same face shape, same age, same general look. A profile photo that does not resemble you in a video call creates awkward moments and can damage trust. Some platforms and employers also ask for authentic photos, so read the rules of the place where you will post it.
💡 Tip: Compare the output with a recent photo of yourself side by side. If a friend would hesitate for a second, regenerate.
A Simple Plan for Today
If you want a headshot in the next hour, here is a realistic order of operations:
- Take three source photos near a window, at eye level, with a neutral expression and a smile.
- Try one no sign up tool for a quick preview. Do not pay for anything yet.
- Check the file at full zoom. Look for plastic skin, odd collars and mismatched eyes.
- If the free allowance runs out, move to a platform where you can generate more versions and control the prompt.
- Remove or replace the background, upscale the best result, and save it in two sizes: a square crop for profile pictures and a wider crop for banners.
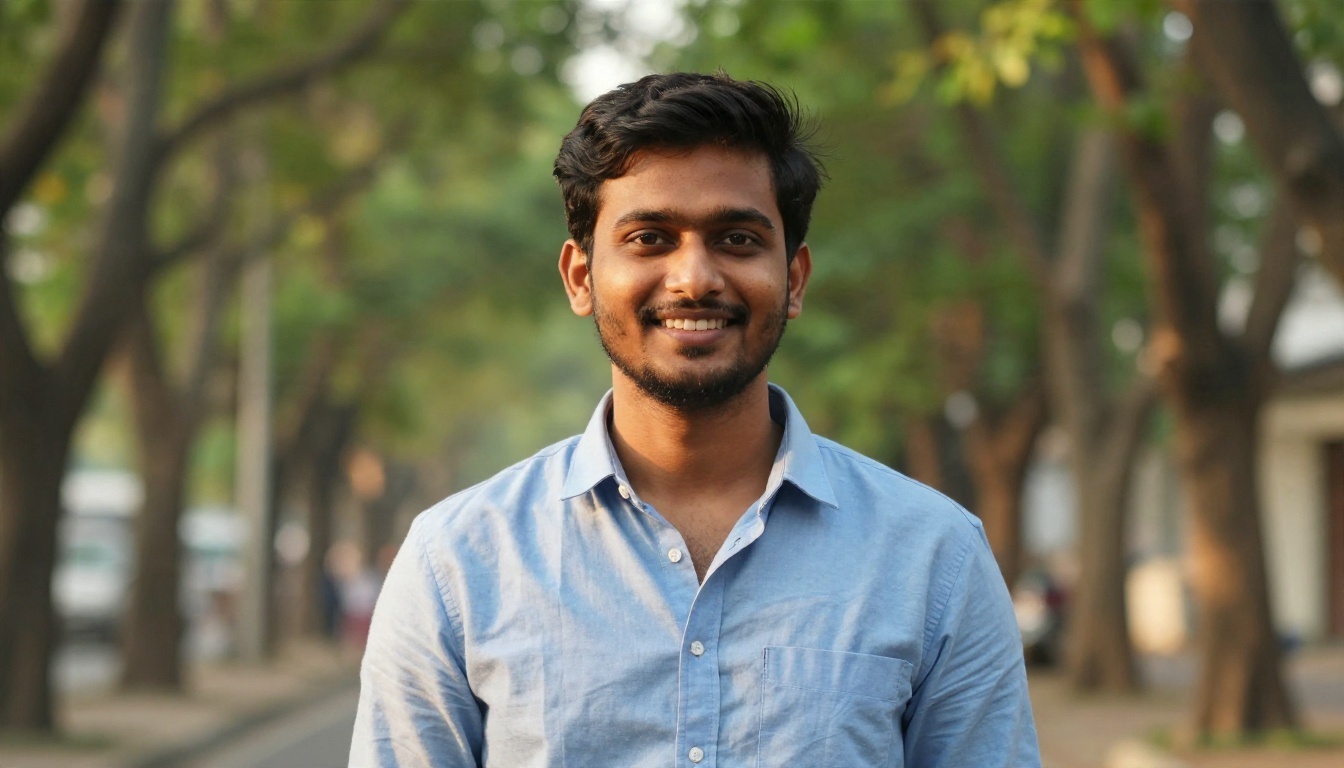
Try Your Own Headshot Now
Free AI headshot tools are good for a quick look, but the real limits are small allowances, locked downloads and little control over style. A few careful steps with your source photo and prompt matter more than any single tool.
Open PicassoIA Image Editor Pro, upload your best selfie, and try three or four versions with different outfits and backdrops. Then test Seedream 4.5 for extra detail, and finish with Real ESRGAN for a sharp final file. You can browse every option at picassoia.com/en/all-models. Make a few, pick the one that looks most like your best day, and post it.


