Most AI portraits stop at the shoulders for a reason. Add legs, hands and shoes to the frame and the model has to get dozens more details right at once: stance, balance, proportions, fabric, footwear, and where the person actually stands. A good full body AI generator handles all of that in one pass, and the best part is that you can run one free online without installing anything.
This article walks through what these tools really do, the prompts that produce clean head to toe results, nine photorealistic examples you can copy, and the settings that make the difference between a warped figure and a believable one. Every example image below was generated with the same approach described in the text.
What a Full Body AI Generator Does
A full body AI generator is a text to image model (or an image editor built on one) that creates a complete person from head to feet in a single frame. You type a description, pick an aspect ratio, and the model draws the figure, the clothes, the pose and the environment together.
The result can be a fashion shot, a character reference, a lifestyle photo, a product model image or a concept for a story. If you want to try it right now, the Seedream 4.5 model on PicassoIA is a strong place to start.
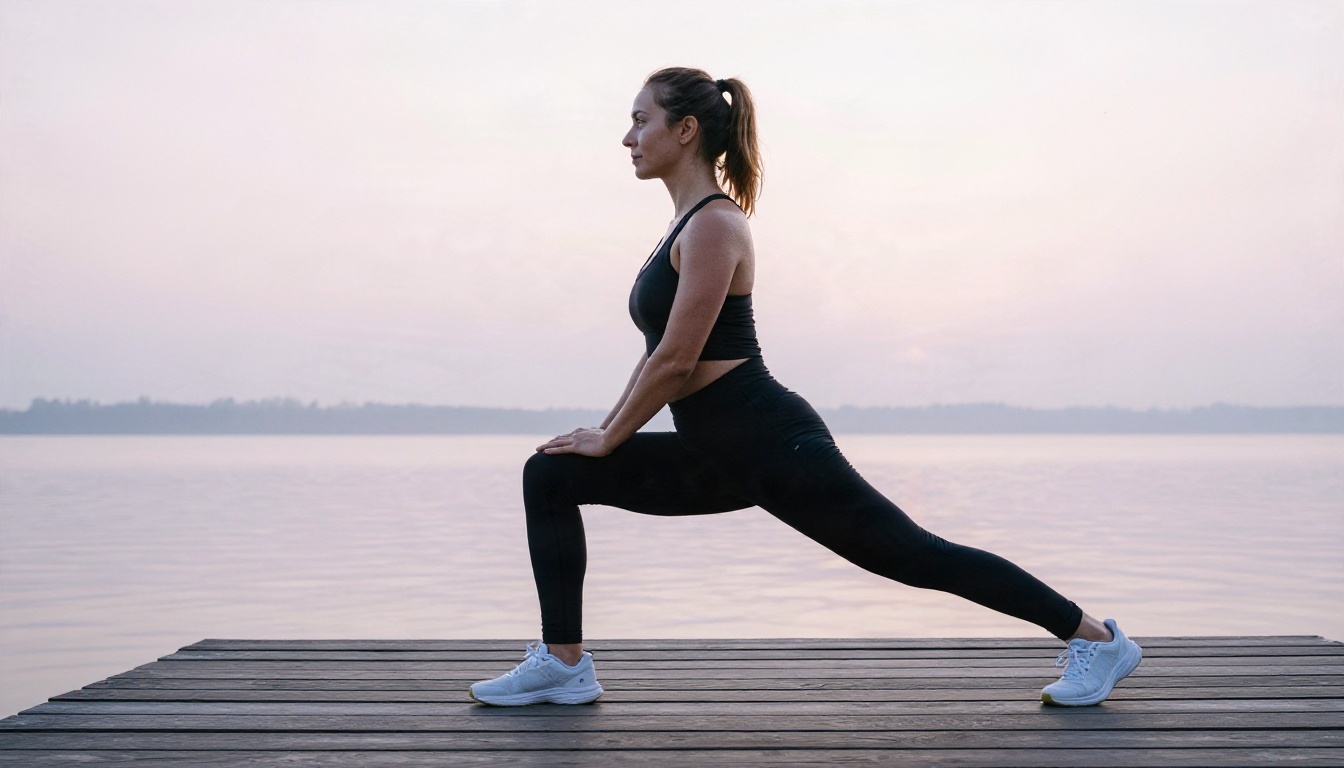
Why Head to Toe Is Hard
A portrait gives a model a face, some shoulders and a blurred background. That is a small canvas, so there is little room for error. A standing figure spreads the same number of pixels across a much larger body, which means:
- Faces get smaller, so eyes and teeth lose detail.
- Hands appear at odd angles, often with the wrong finger count.
- Feet are cropped or merged with the floor.
- Legs can stretch or shrink when the model guesses at perspective.
- Clothing has to stay consistent from collar to hem.
Newer models handle this far better than the ones from two years ago, but the way you prompt and the settings you choose still matter a lot.
Free Online Limits to Expect
Free tools are generous but not unlimited. Expect a daily or monthly allowance of generations, a cap on output resolution, and sometimes a queue during busy hours. A few things stay worth checking before you commit to any tool:
- Is the output resolution high enough for a full body shot (see the settings section)?
- Can you choose the aspect ratio yourself?
- Does the tool let you edit an existing image, not only generate from text?
- Are commercial uses allowed for what you create?
💡 Tip: Generate at a modest size first, pick the best composition, and only then upscale. It saves your free allowance for the images that matter.
Prompts That Actually Work
The biggest mistake with full body images is writing a prompt that describes a face. If the text focuses on eyes, makeup and hair, the model frames the shot closer. You have to tell it, in plain words, that the camera is far enough away to see shoes.
The Five Part Formula
Every strong full body prompt answers five questions, in this order:
| Part | What to write | Example |
|---|
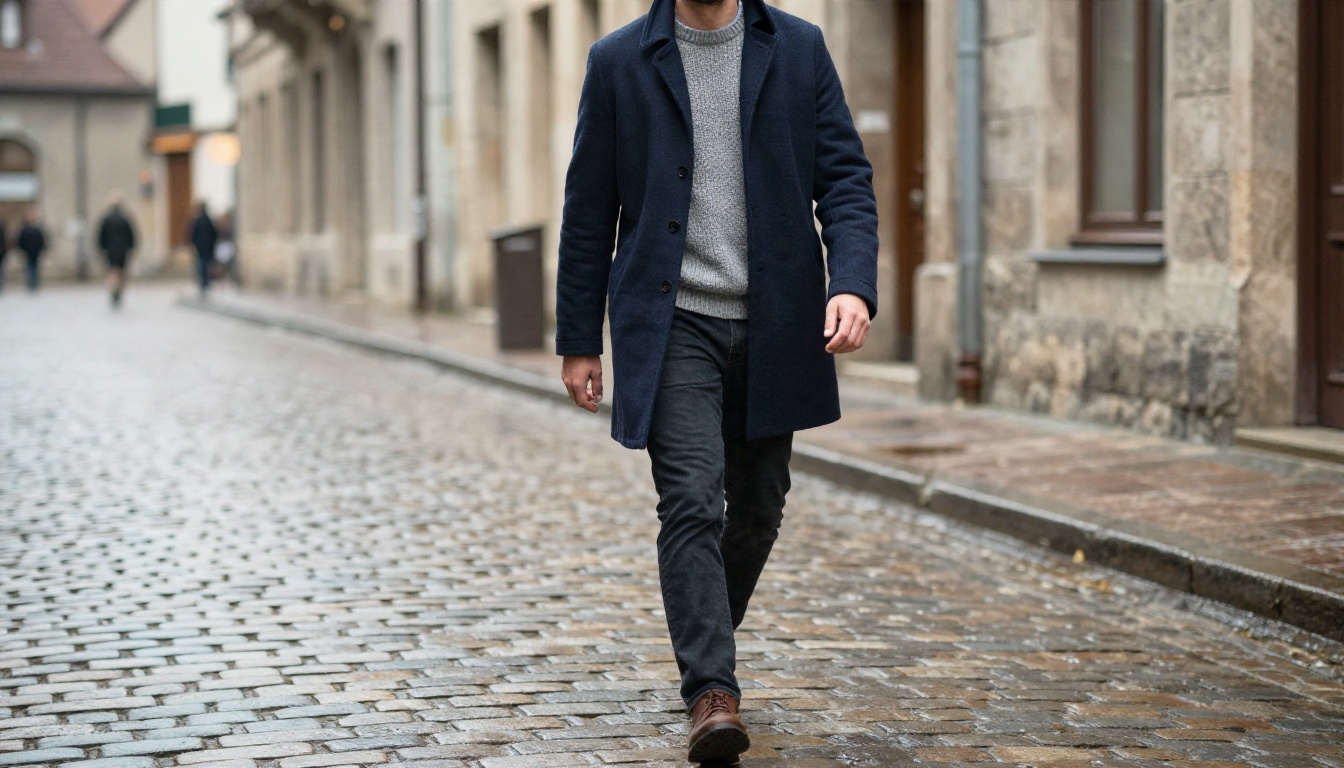
| Subject and pose | Who, doing what, with which stance | Man in his thirties walking mid stride, natural arm swing |
| Outfit, head to toe | Every layer, ending with shoes | Navy wool overcoat, grey sweater, dark jeans, brown leather boots |
| Setting | A real place with depth | Quiet cobblestone street in a European old town |
| Light | Direction, softness, time of day | Overcast soft morning light from above |
| Camera | Distance, angle, lens | Eye level, 35mm lens, whole body visible |
Words That Force Full Framing
Some phrases push the model to pull the camera back. Use two or three of them in every prompt:
- "full body shot, head to toe"
- "entire figure visible including shoes"
- "shot from four meters away" (a distance in meters works better than "wide")
- "space above the head and below the feet"
- "standing on" + a surface, which anchors the feet
Also name the footwear. A prompt that ends with "white leather sneakers" almost always shows the feet, because the model needs to draw them.
Ready Prompts to Copy
Paste these as they are, then swap the outfit or the place.
Fashion on a rooftop:
Full body editorial photograph of a young woman standing on a city rooftop terrace at golden hour, cream linen blazer, olive trousers, white leather sneakers, relaxed stance with weight on one leg, shot at 50mm from four meters, soft warm light from the left, visible skin texture, Kodak Portra 400 film grain.
Studio reference:
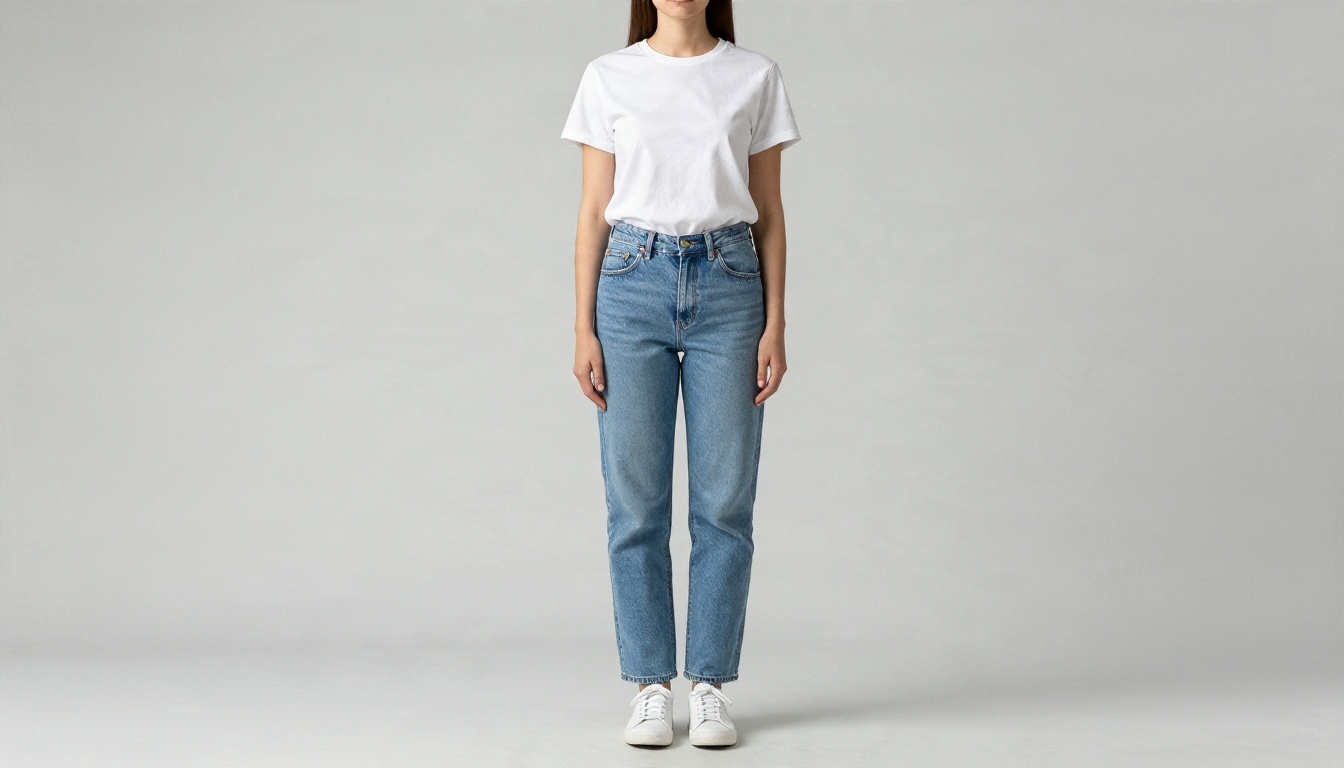
Full body studio photograph, woman in a white t-shirt, light blue jeans and white sneakers, arms relaxed at her sides, plain grey paper backdrop, even soft box lighting, 70mm lens at chest height, symmetrical front view.
Outdoor lifestyle:
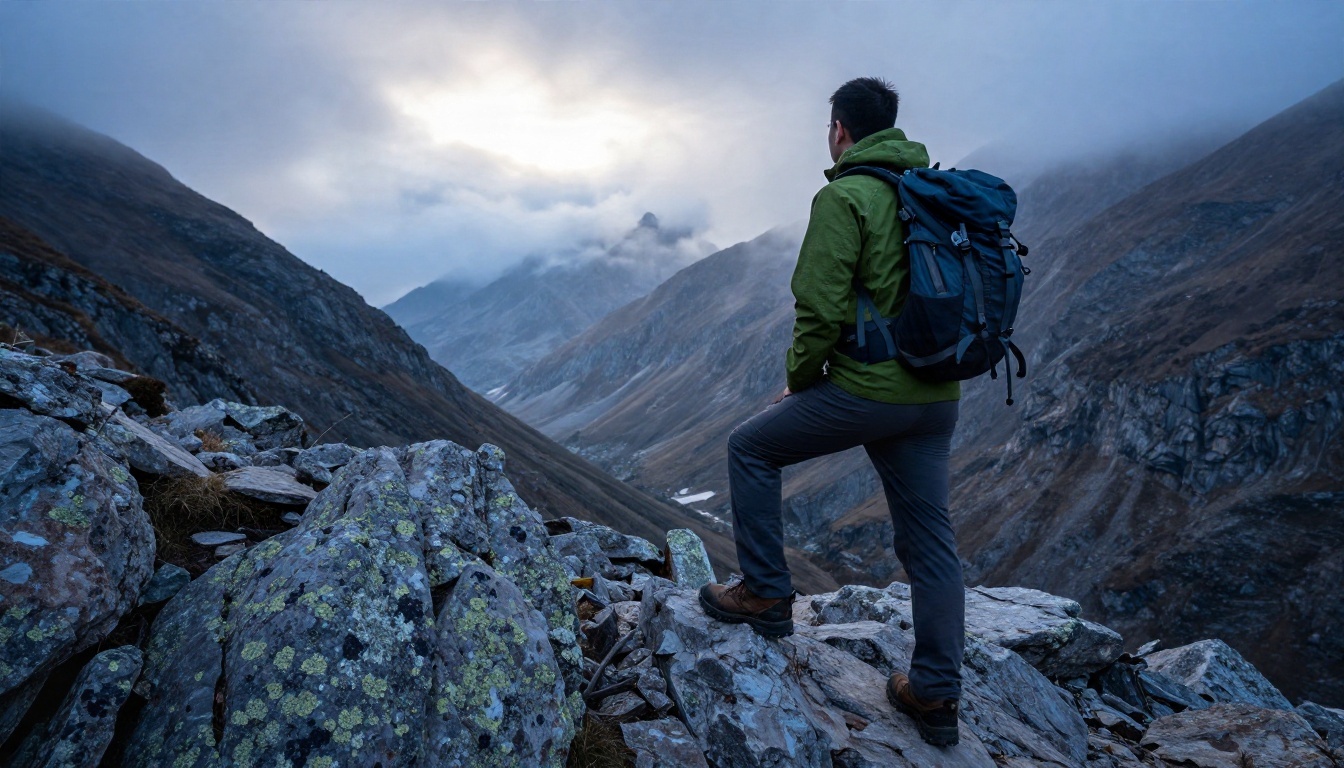
Full body photograph of a hiker with a small backpack on a rocky ridge, green technical jacket, grey pants, brown boots, one boot on a boulder, cool morning light from behind, 28mm lens from slightly below, entire figure visible.
💡 Tip: Add "photorealistic, natural skin texture, fine film grain" to avoid the plastic, over smoothed look that many models default to.
Examples by Pose and Setting
Pose and camera angle change the entire feel of a full body image. These examples show how the same method adapts to very different scenes.
Seated Poses and Interiors
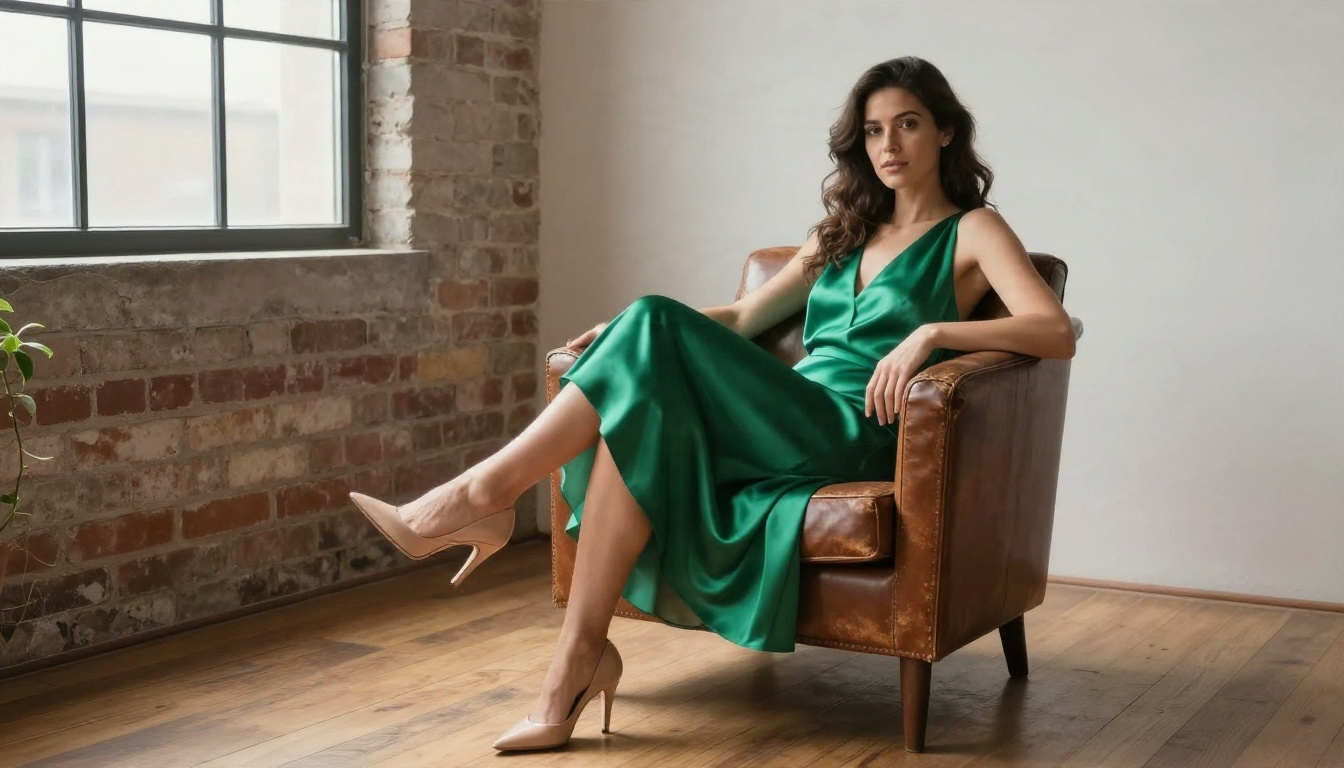
Seated shots are tricky because legs fold and overlap with furniture. The trick is to describe the chair, the leg position and the hands separately. The image below came from a prompt that named a worn leather armchair, crossed legs, an emerald satin dress and nude heels, with a large window on the left for soft light.
Aerial and Beach Scenes
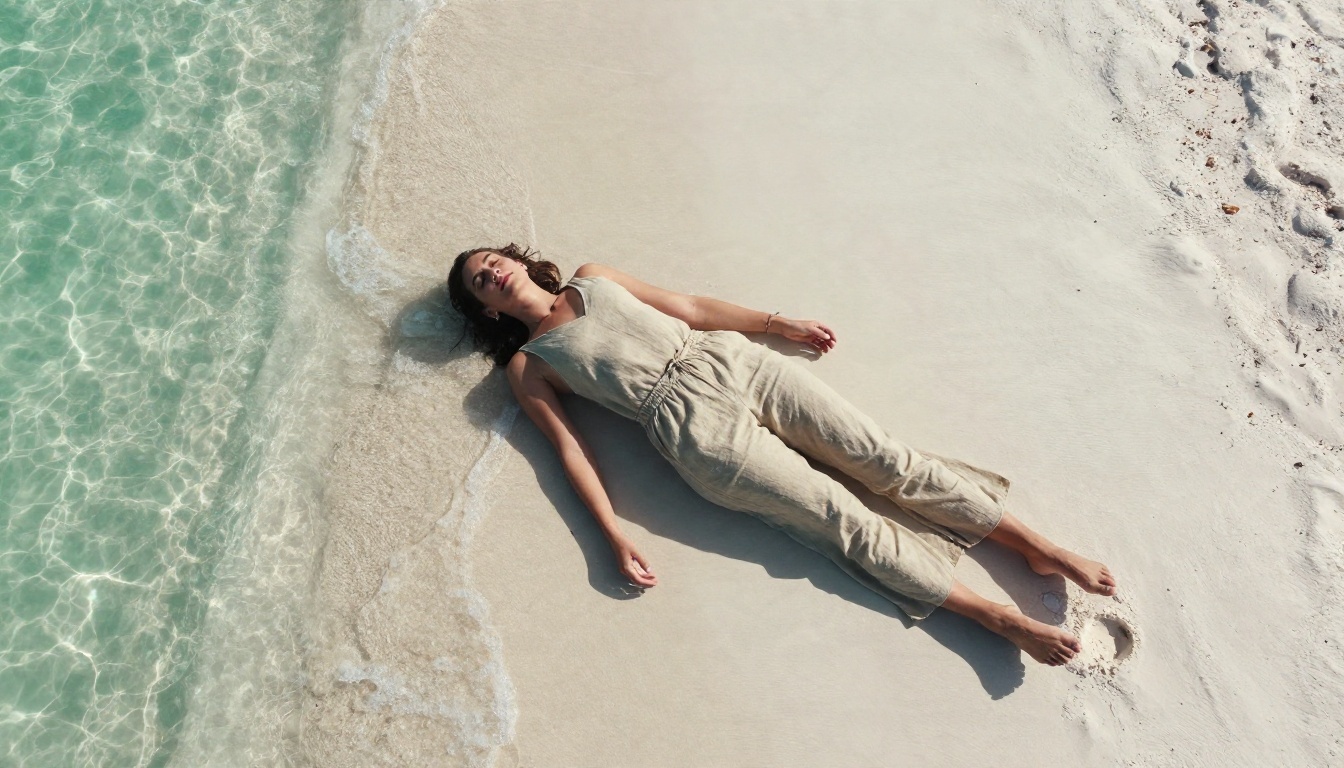
A high angle looking straight down changes the geometry, so describe it plainly: "aerial view from directly above, drone, 35mm." The model then draws the body flat against the sand with correct foreshortening. Mention the edge of the water or a shell for scale.
Fashion and Editorial Looks
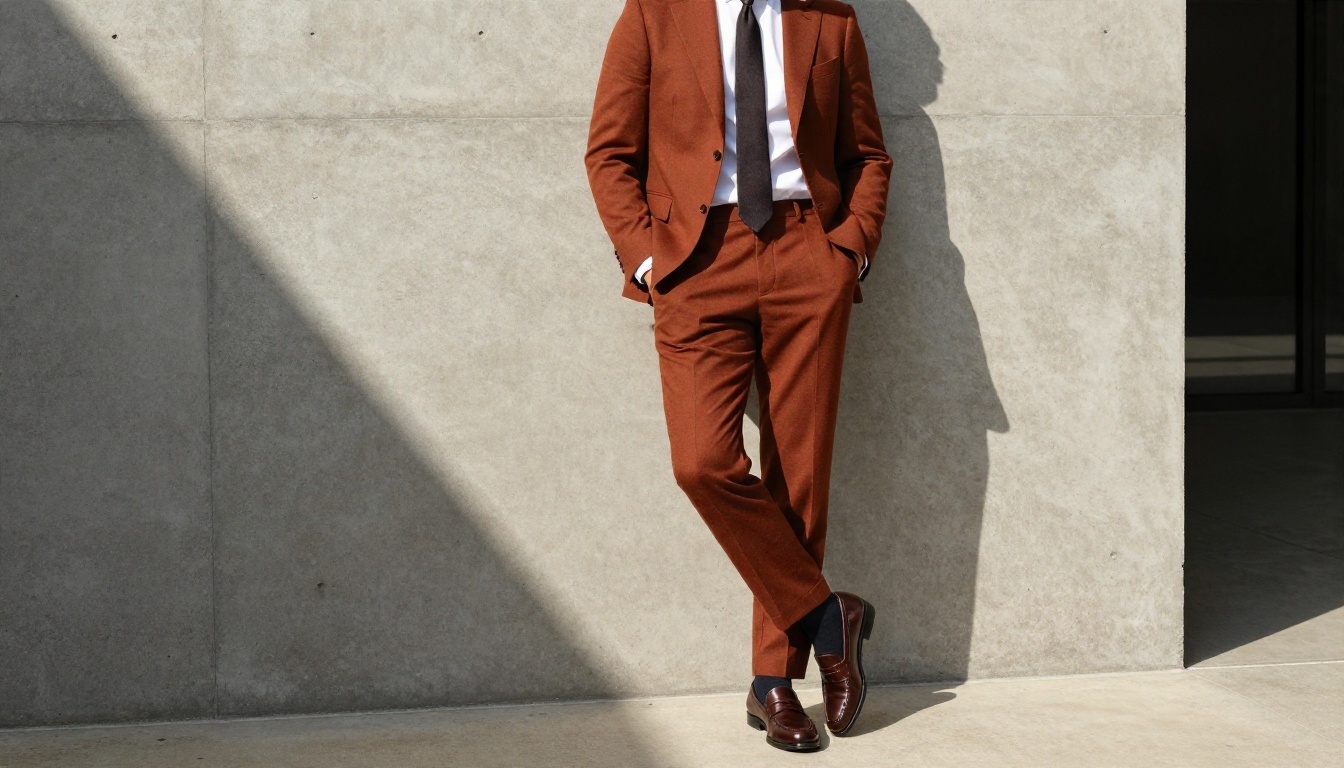
For clothing, the more specific you are with fabric, the better the folds look. "Rust colored wool suit, white shirt without tie, polished brown loafers" gives a far stronger result than "man in a suit." Hard sunlight from one side adds a diagonal shadow that makes the image feel like a real campaign photo.
Nature and Golden Hour
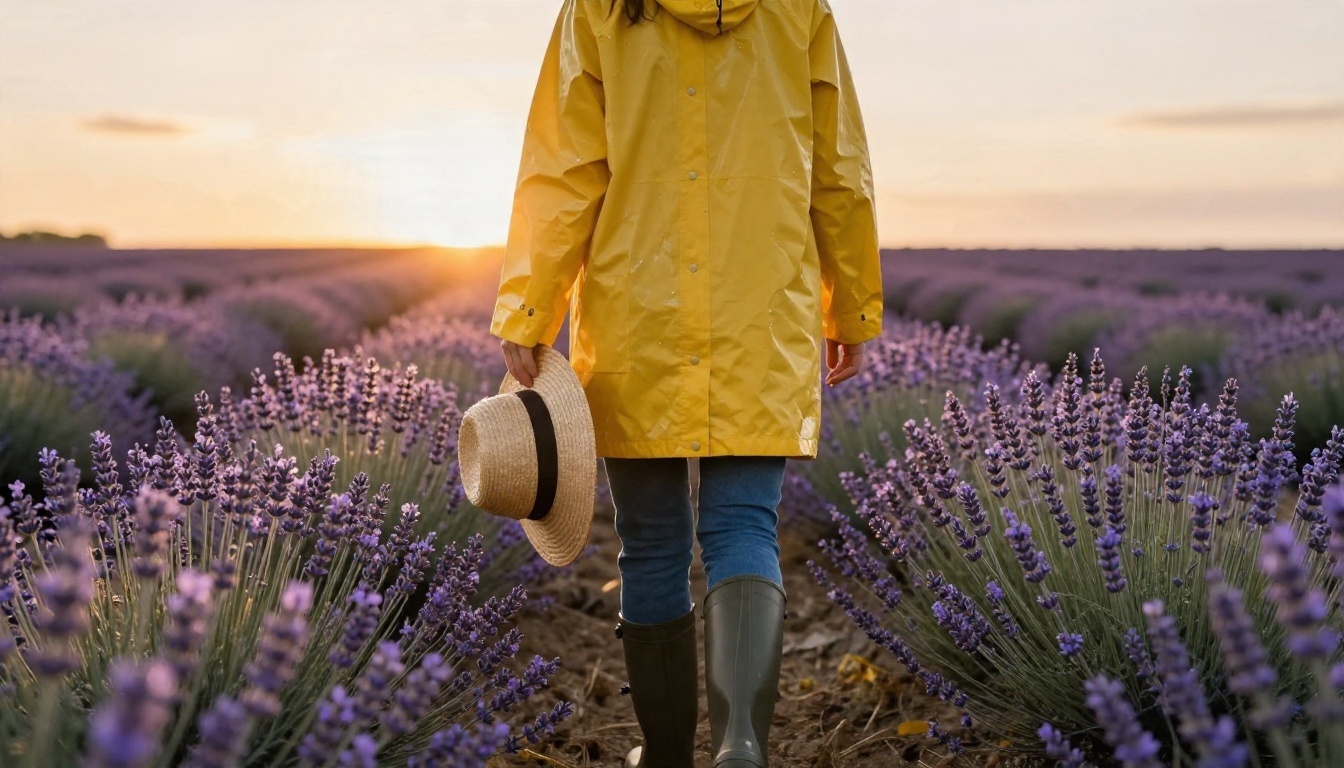
Long lenses work well for outdoor scenes. A 135mm telephoto from ten meters compresses the background and keeps the whole figure sharp while the lavender field melts into soft color. Backlight at sunset adds a golden rim around hair and clothes.
Candid Street Photography
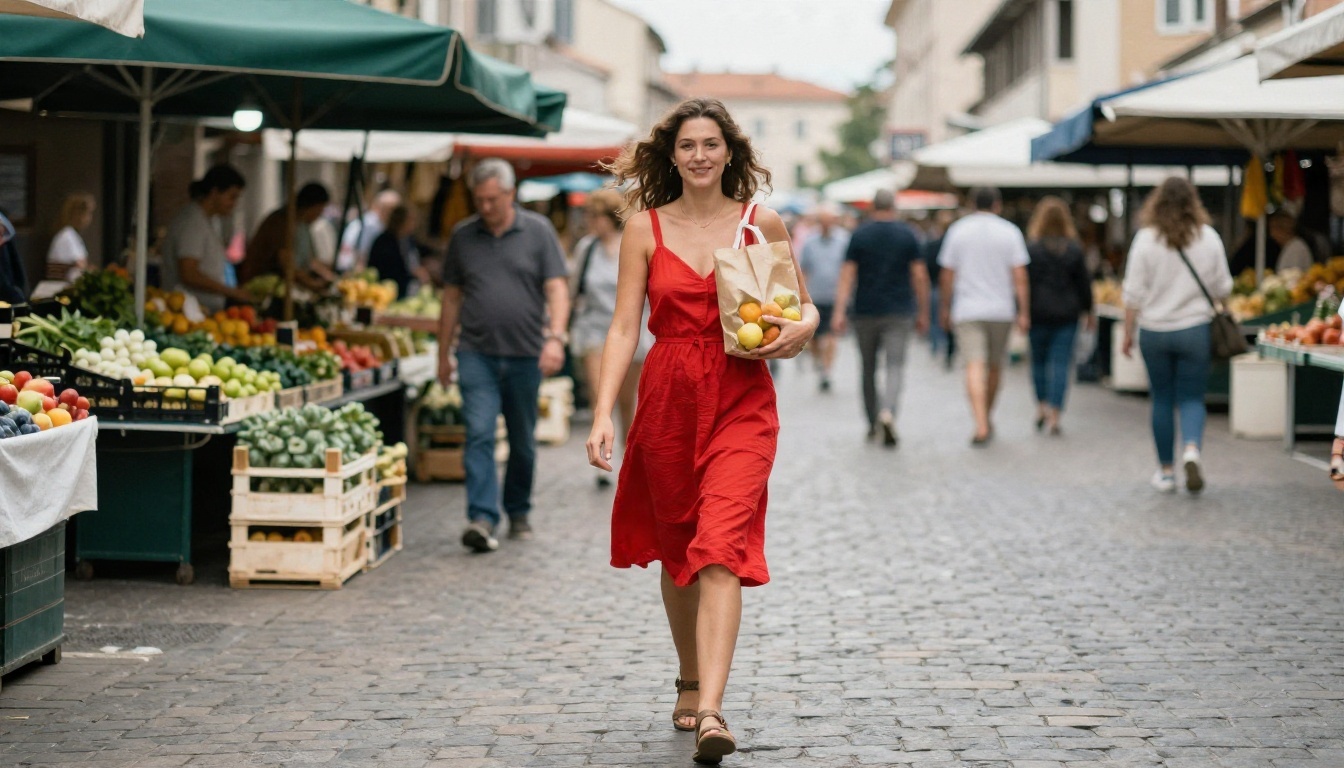
To avoid stiff, posed looks, describe an action: "caught mid step," "holding a paper bag of fruit," "dress moving in a light breeze." Motion and a prop give the model a reason to vary the body position, which looks far more natural than a standing mannequin.
Best Settings for Clean Results
Prompts get most of the credit, but the generation settings decide whether a good prompt turns into a good image. Here is what to set, and why.
Aspect Ratio and Framing
Full body people are tall, so a vertical ratio fits them naturally. But a wider frame is often better for storytelling, because it shows the environment.
| Goal | Ratio | Why |
|---|
| Fashion or lookbook | 3:4 or 2:3 | Fills the frame with the figure |
| Social stories and reels | 9:16 | Fits phone screens, but needs a tight outfit description |
| Scenic lifestyle | 16:9 | Room for the environment, as in the hiker image |
| Character reference | 4:3 or 1:1 | Easy to crop and compare poses |
💡 Tip: In a narrow vertical frame, the model sometimes crops feet to fit. Add "space below the feet" to the prompt to prevent that.
Resolution and Upscaling
A figure that fills the whole frame has far less face detail than a portrait at the same pixel count. That is why resolution matters more here. Generate at 2K if the model supports it, or generate at a standard size and upscale afterward with Real ESRGAN, which enlarges images up to 4x while keeping skin and fabric texture sharp.
Steps, Guidance and Seeds
If your tool exposes these settings, use them like this:
- Steps: a moderate number is usually enough. Very high values rarely add detail and slow you down.
- Guidance (prompt strength): keep it in the middle. Too high creates harsh contrast and odd limbs. Too low ignores your outfit description.
- Seed: when a result is close to perfect, keep the seed and change only one word in the prompt. This is the fastest way to fix a small problem.
- Batch size: generate four at a time and pick the best anatomy rather than polishing a weak one.
Models Worth Trying
Different models excel at different parts of the job. All of these are available on PicassoIA, so you can compare them with the same prompt.
| Model | Best for | Notes |
|---|
| Seedream 4.5 | Sharp, high resolution people | Strong with clothing detail and up to 4K output |
| Nano Banana Pro | Realistic scenes and edits | Good at keeping outfits consistent |
| Z Image Turbo | Fast drafts | Ideal for testing many poses quickly |
| Imagen 4 | Natural, photographic light | Clean skin and environment realism |
| Qwen Image 3 | Photorealistic portraits and figures | Follows long, detailed prompts well |
| Flux Kontext Fast | Editing an existing photo | Change clothes, pose or background |
A simple workflow: draft with Z Image Turbo, choose the best composition, then regenerate the winner in Seedream 4.5 or Imagen 4 for final quality. If you need a variation of a result you like, send it to Flux Kontext Fast and ask for a change in plain language, such as "make the coat dark green."
Fixing Hands, Feet and Proportions
Even the best model produces a few flawed images. Knowing the usual failures saves a lot of regenerating.
Hands and Fingers
Hands cause the most complaints. Three habits help:
- Give the hands a task or a hiding place. Pockets, a bag strap, a hat or a coffee cup all work.
- Keep them away from the camera. Hands near the lens look larger and attract errors.
- Name the count only when needed. "Five fingers" can help, but too many hand details can backfire.
Cropped Feet and Warped Legs
If feet are missing, move the camera back in the text, add "space below the feet," and name the shoes. If legs look too long or short, lower the camera angle in the prompt (for example, "shot at waist height") and avoid ultra wide lenses like 14mm, which stretch the edges. A 35mm to 85mm range gives natural proportions.
Face Detail at a Distance
A small face can look soft or distorted. Two fixes: upscale the image afterward, or crop and regenerate only the face area through an editing model. Both approaches keep the body you already like.
Keeping the Same Person Across Images
Creating one great image is easy. Creating ten images of the same person is harder, and it matters for brand mascots, stories, ads and social accounts.
- Write a fixed character sheet and paste it in every prompt: age, hair, skin tone, build, signature clothing.
- Start from a neutral reference image, like the studio front view above, then use an editing model to change the pose or setting.
- Change only one variable at a time: either the outfit, or the place, or the angle.
- Keep the seed when the model offers it.
If you plan to produce many images of one character, a trained LoRA style model such as Flux 2 Klein 4B Base is another route, since it can be fine tuned toward a specific look.
💡 Tip: Save your best prompts in a note with the seed and model name. Reusing a proven prompt beats rewriting from scratch.
Make Your First Full Body Image Today
You now have everything needed to produce a believable head to toe image: a five part prompt, framing words that pull the camera back, a sensible aspect ratio, and fixes for the usual problems.
Open PicassoIA, pick Seedream 4.5 or Z Image Turbo, paste one of the prompts above and change the outfit and location to your own idea. Run four versions, keep the strongest, and upscale it. Then try a new pose, a new angle or a new setting and see how far one good prompt can go. The more you experiment with the platform, the faster your own library of reliable prompts will grow.


