How to Make Porn with Stable Diffusion: Free Local Setup, Prompts, and Settings
A hands-on walkthrough for running Stable Diffusion on your own computer at no cost: hardware tiers, a six step install, prompt formulas for adult glamour imagery, sampler and CFG settings, safety rules, and faster cloud options on PicassoIA.
Most people who type this question into a search bar expect a magic button. There isn't one. What exists is better: an open model you can run on your own computer, for free, with no subscription, no usage cap and nobody reading over your shoulder. This article walks through How to Make Porn with Stable Diffusion: Free Local Setup, Prompts, and Settings in plain terms. You will see the hardware you need, the install steps, the prompt formulas that give believable adult glamour images, the sampler and CFG numbers that stop things from looking plastic, and the rules that keep the whole thing legal and safe. Everything here stays at the suggestive, magazine-style level: lingerie, swimwear, boudoir lighting, implied intimacy. That is the part of the workflow that transfers to any tool, and it is where the quality lives.
Why Local Stable Diffusion Wins
Cloud generators are convenient, but they come with filters, queues and monthly bills. Running Stable Diffusion on your own machine flips that arrangement. You own the checkpoint files, you decide the settings, and the only limit is how fast your graphics card renders.
Free Means Free
The model weights are open. The interfaces, ComfyUI, Stable Diffusion WebUI Forge and Automatic1111, are open source too. Once the download finishes, every image costs you a few seconds of electricity. People who generate hundreds of test frames per session notice this fast, because adult glamour work is mostly iteration: ten rough drafts for one keeper.
Privacy Stays on Your Disk
Nothing leaves your computer. Your prompts, your seeds, your failed drafts and your finished images sit in a folder you control. For a lot of adults this matters more than price. No account, no upload history, no policy changes arriving by email.
💡 Tip: Treat local generation like a darkroom. Keep a dedicated output folder, turn off cloud sync for it, and back it up to an encrypted drive if you want to keep your work.
Hardware You Actually Need
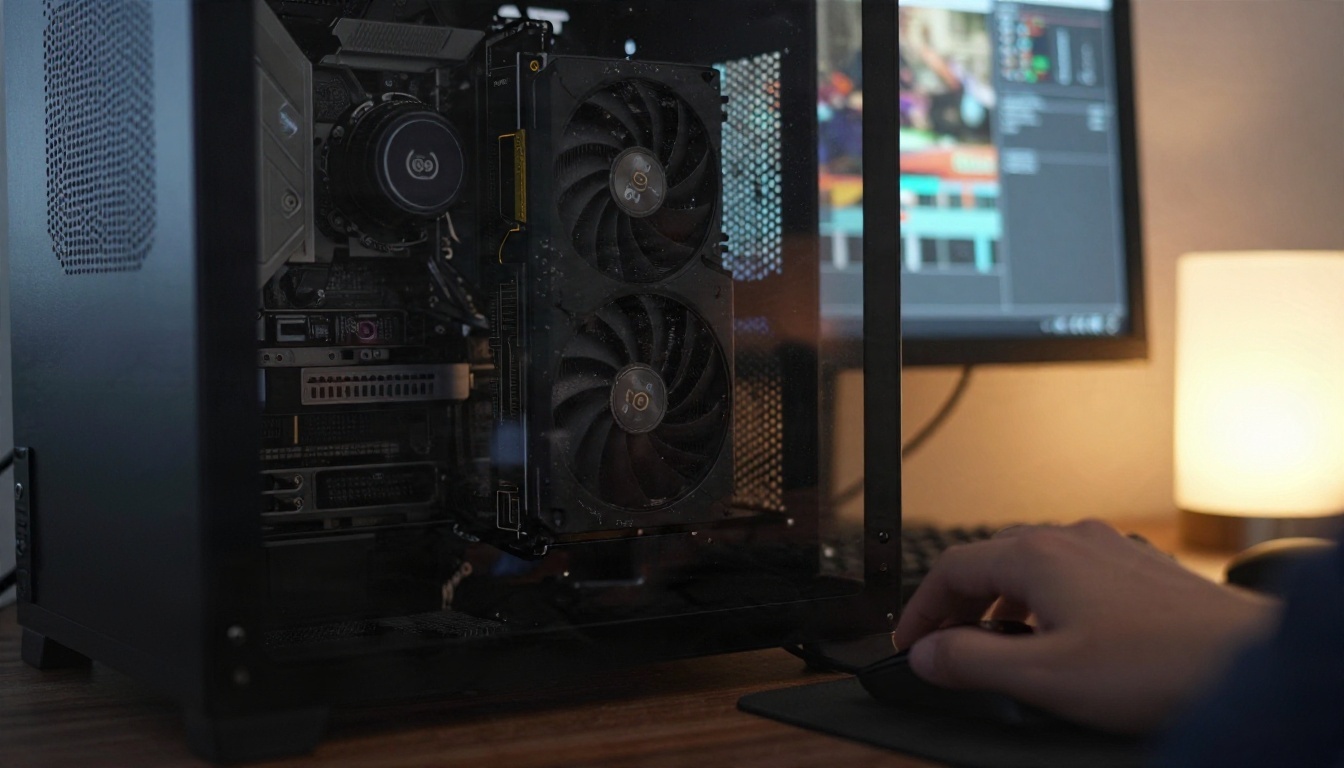
The graphics card decides almost everything. Video memory, called VRAM, is the number to watch. System RAM and CPU matter far less.
VRAM Tiers
Community benchmarks and hardware write-ups put the practical floor for SDXL class models at around 8 GB of VRAM, with 12 GB or more making life comfortable at 1024 by 1024 pixels. Older SD 1.5 checkpoints run on much less. Figures vary by source and by interface, so treat this table as a rough planning tool, not a promise.
VRAM
What works
Typical experience
4 GB
SD 1.5 checkpoints at 512 by 768
Slow, needs Forge or low-VRAM flags
6 to 8 GB
SD 1.5 comfortably, SDXL with tweaks
Usable, expect occasional memory errors
12 GB
SDXL at 1024 by 1024
Smooth, room for upscaling
16 to 24 GB
SDXL with LoRAs, Flux class models, batches
Fast and flexible
Apple Silicon Macs with plenty of unified memory can also render images locally through apps built for them, though they are generally slower than a comparable Nvidia card.
Storage and RAM
Plan on at least 50 GB of free SSD space. A single SDXL checkpoint weighs roughly 6 to 7 GB, LoRA add-ons are small, and your output folder grows quickly. 16 GB of system RAM is a sensible minimum, 32 GB is better when you load several models.
Free Local Setup in 6 Steps
This is the sequence that works on Windows and Linux. The details of buttons shift between versions, but the order does not.
Pick Your Interface
You have three realistic choices.
ComfyUI: node based, the most flexible, handles memory cleverly. Steeper curve but the best long term pick.
Stable Diffusion WebUI Forge: familiar tabbed layout, tuned for low VRAM cards. A good first interface.
Automatic1111: the classic, with the biggest pile of tutorials and extensions, though it is heavier on memory than Forge.
If you have never touched any of them, start with Forge. If you enjoy tinkering, go straight to ComfyUI.
Install and Add a Checkpoint
Install current Python and Git, or use the one-click packages the interface projects publish.
Download the interface, extract it to a short path such as C:\ai\forge, and run the launcher script.
Wait for the first launch to fetch dependencies. It can take 10 to 20 minutes.
Download a photorealistic checkpoint from a model hosting community such as Civitai or Hugging Face and place it in the models/Stable-diffusion folder.
Refresh the checkpoint dropdown in the interface and select it.
Open the text to image tab, type a short test prompt, and press generate.
For realistic adult glamour work, look for checkpoints tagged "photorealistic" and "portrait", from SD 1.5 or SDXL families. Read each model's license and its content notes before you use it. Some prohibit commercial use or specific content types.
First Test Render
Use a plain prompt: "portrait photo of an adult woman, soft window light, 85mm, film grain". If a clean image appears in under a minute, your install is healthy. If you get out of memory errors, lower the resolution to 768 by 768, enable the low VRAM or medvram option, and try again.
⚠️ Common mistake: Downloading five checkpoints on day one. Pick one, learn how it responds to your prompts, then add more.
Prompts That Produce Adult Glamour
Good adult imagery is mostly good photography language. The model has seen millions of fashion shoots, boudoir sessions and swimwear campaigns. Speak to it like a photographer, not like a search engine.
The Prompt Formula
Build every prompt in the same order. Models weight early words more, so put the most important ideas first.
Slot
What to write
Example
Subject
Age, look, mood
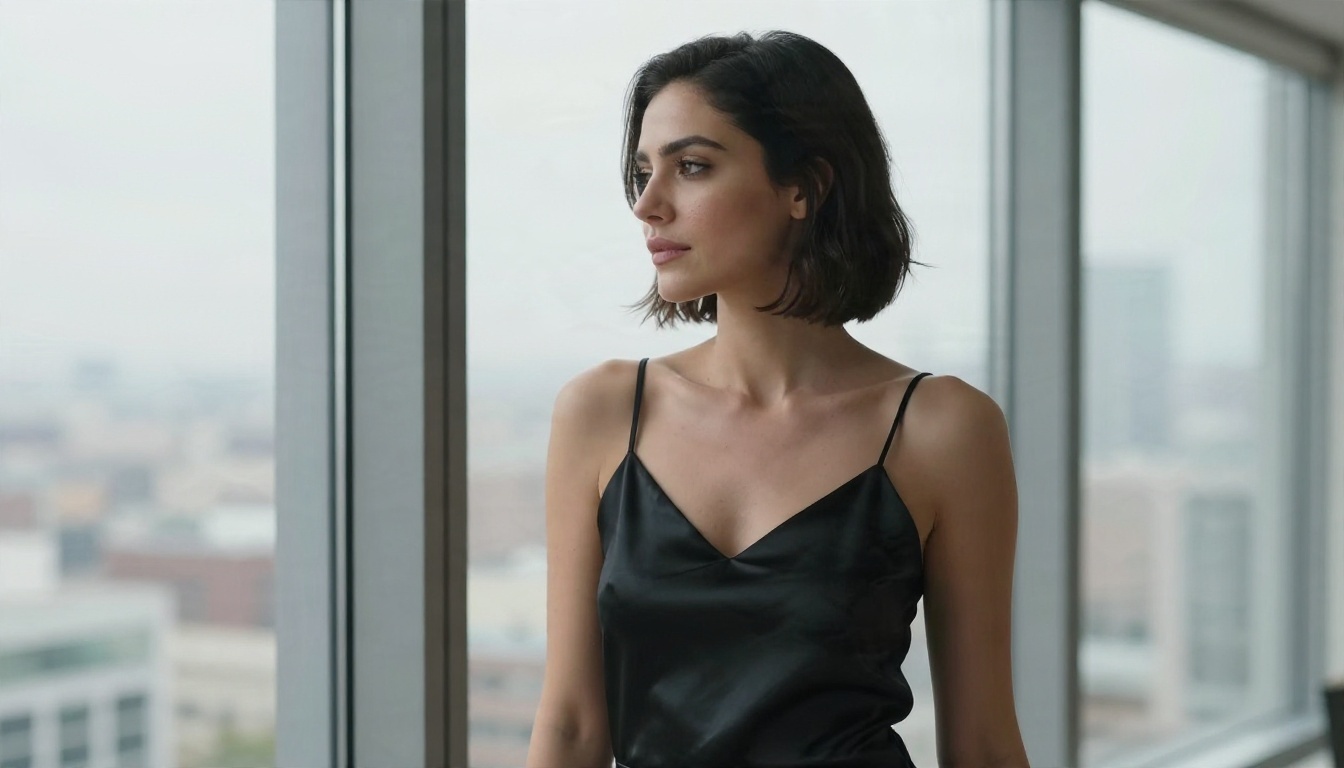
adult woman in her late twenties, dark bob, confident expression
Wardrobe
Fabric and fit
black satin slip dress, thin straps
Pose and framing
Angle, distance
three quarter view, medium shot, head turned
Setting
Place and props
modern apartment, floor to ceiling window
Light
Direction and quality
soft overcast daylight from the left
Camera
Lens and film look
85mm f/1.8, shallow depth of field, Kodak Portra 400
Texture
Skin and fabric
visible skin pores, satin sheen, fine film grain
Always state an adult age in the subject slot. It anchors the model toward mature faces and it is a non-negotiable rule, covered in the safety section below.
Three starter prompts you can paste and adjust:
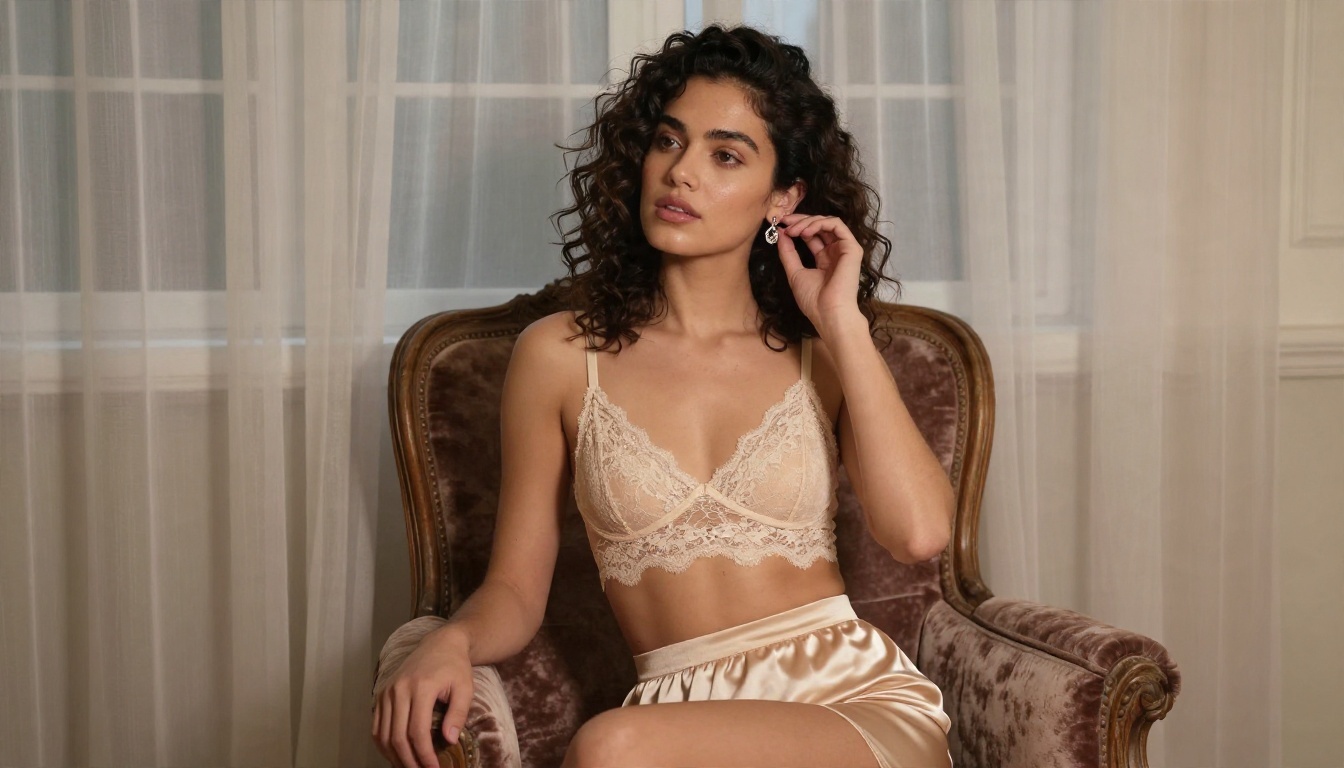
Boudoir: adult woman, late twenties, curly dark hair, champagne lace bralette, velvet armchair, sheer curtains, soft window light from the right, 50mm f/1.8, film grain
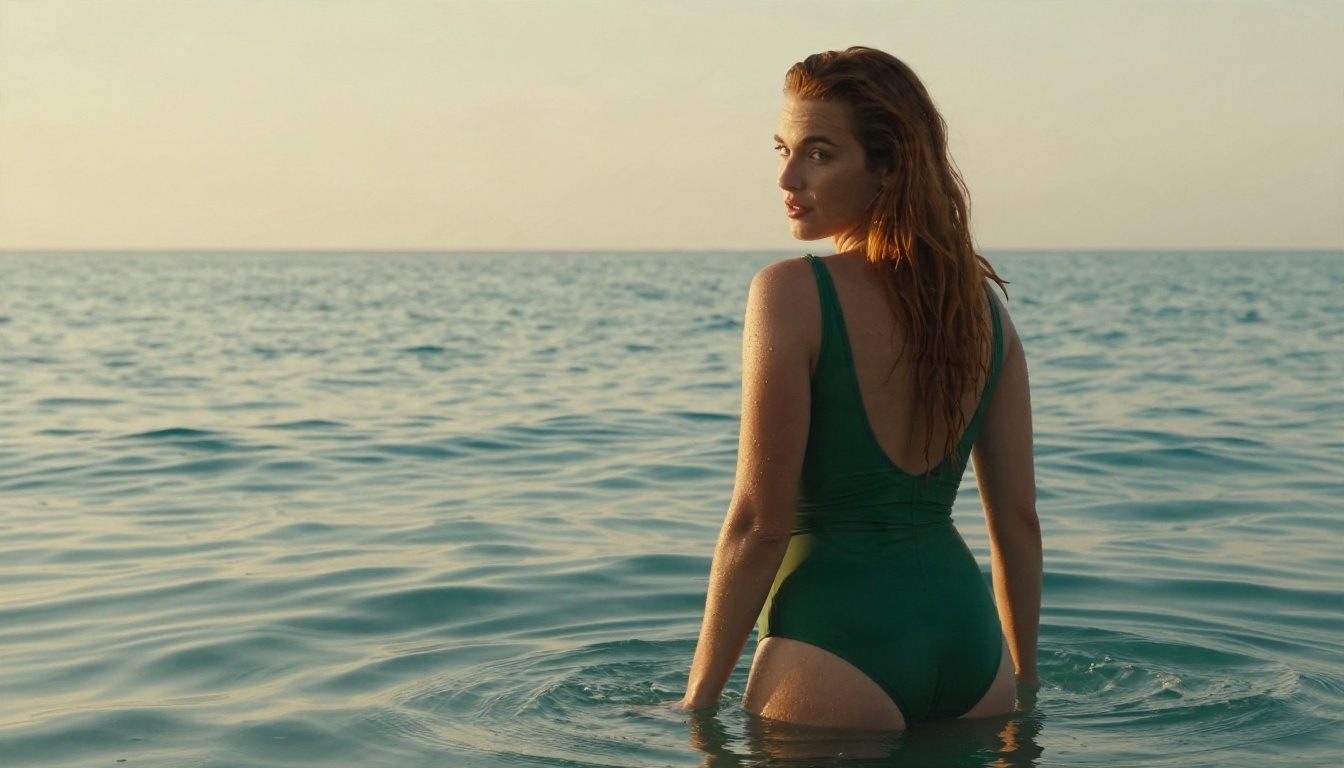
Swimwear: adult woman, thirties, auburn hair, deep green two piece swimsuit, waist deep in calm sea, golden hour rim light, 70mm f/2.8, warm tones
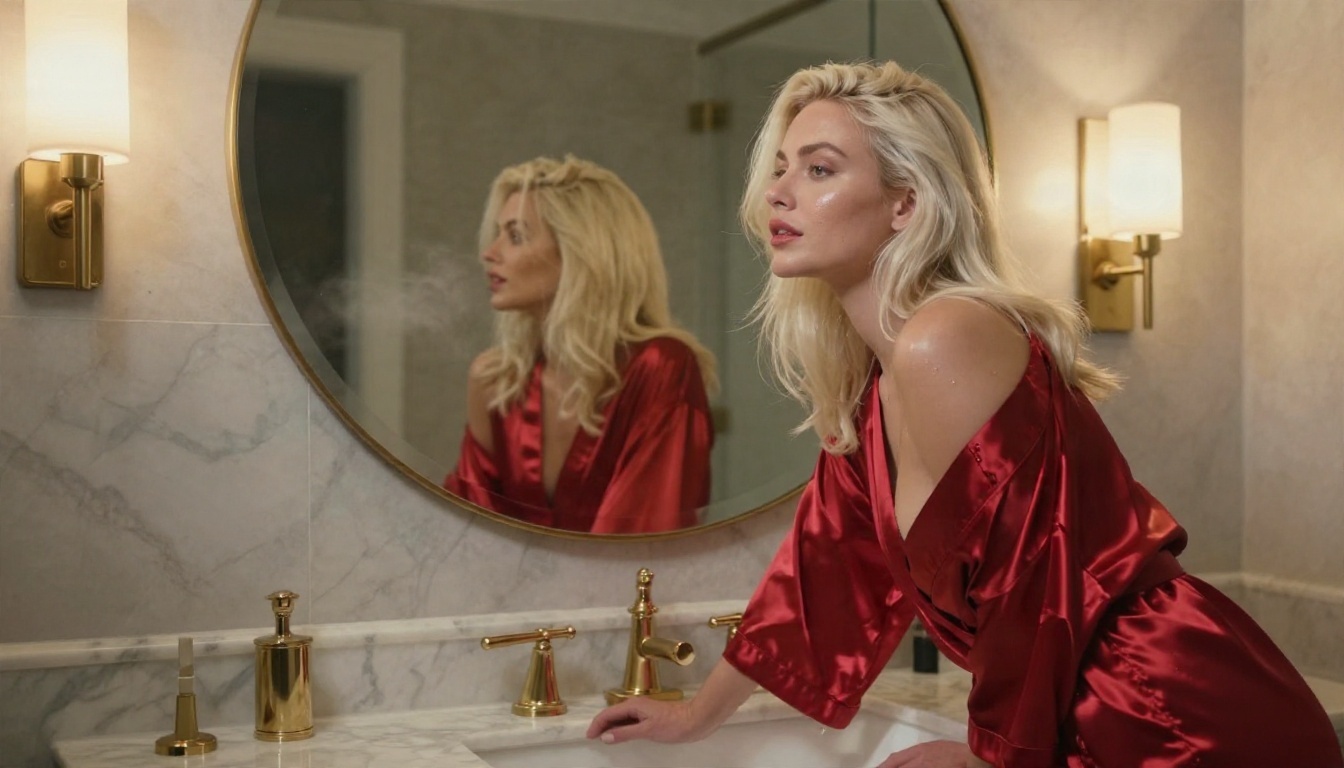
Luxury glamour: adult woman, early thirties, platinum hair, red satin robe, marble bathroom, warm sconce light, 35mm f/2, steam haze
Negative Prompt Starter
The negative field tells the model what to avoid. It is where most "plastic skin" and "extra finger" problems get solved.
cartoon, illustration, 3d render, plastic skin, airbrushed, blurry, lowres,
extra fingers, deformed hands, bad anatomy, watermark, text, signature,
oversaturated, child, young, teen
The last three terms are deliberate. They push the model away from youthful faces, which protects you and keeps your output where it needs to be.
Settings That Matter
Prompts get the headlines, but settings decide whether the result looks like a photograph or a wax figure.
Sampler, Steps, CFG
These are reliable defaults for photorealistic checkpoints:
Setting
SD 1.5 realistic
SDXL realistic
Sampler
DPM++ 2M Karras
DPM++ 2M Karras or DPM++ SDE
Steps
25 to 32
28 to 35
CFG scale
6 to 7.5
4 to 6
Base resolution
512 by 768
832 by 1216 or 1024 by 1024
Clip skip
1
1
Too high a CFG makes skin look crunchy and oversaturated. Too low and the model ignores your prompt. Move in steps of 0.5 and change one value at a time.
Resolution, Hires Fix, Inpainting
Do not ask for a huge image directly. Models trained at 512 or 1024 pixels produce duplicated limbs and stretched faces when pushed past their native size. Instead:
Generate at the native size, in a portrait ratio such as 2:3.
Turn on Hires fix with an upscale factor of 1.5 and a denoising strength between 0.35 and 0.45.
Use a face restoration extension such as ADetailer to sharpen eyes and lips.
Use inpainting to repaint hands, jewelry or a stray strap while leaving the rest of the image untouched.
Lock the seed when you like a composition, then vary only the prompt.
💡 Tip: A LoRA is a small add-on file that nudges a checkpoint toward a style, such as film photography or a lighting look. Keep its weight between 0.6 and 0.9. Above 1.0 it tends to overpower the face.
Rules You Should Not Bend
This is the section people skip, and the one that matters most. Adult content made with AI is legal in many places, but only inside firm limits.
Adults only. Every subject must be an adult, in the prompt and in the result. Delete any image where the subject could pass for a minor, even by accident. Never keep or share it.
Fictional people only. Do not generate images of real individuals, celebrities, coworkers or exes. Non-consensual deepfakes are illegal in a growing number of countries and platforms ban them outright.
Check local law. Rules on adult content, AI labelling and distribution differ by country and by state.
Mind the platform. Posting the output on social networks, stock sites or marketplaces is governed by their policies, not by your local install.
Respect model licenses. Some checkpoints forbid certain uses. Read before you publish.
Label it. If you share AI imagery, say it is AI generated.
How to Use Stable Diffusion on PicassoIA
Local setup rewards patience, but not everyone has an 8 GB card or an afternoon to spare. Stable Diffusion on PicassoIA lets you run the same family of model in the browser, so you can test prompts before committing to a local install.
Cloud generation trades the privacy of a local disk for speed and zero setup, so many people use both: local for private experiments, the browser for quick drafts and edits. You can also inpaint, outpaint and upscale finished images on the platform, and remove backgrounds when you want a clean composite.
Approach
Cost
Setup time
Speed
Best for
Local Forge or ComfyUI
Free after hardware
1 to 2 hours
Depends on your GPU
Privacy, custom LoRAs
Stable Diffusion on PicassoIA
Browser based
Minutes
Fast
Testing prompts, no GPU needed
Seedream 4.5 and Image Editor Pro
Browser based, unlimited editing
Minutes
Very fast
Polished glamour results
Make Your Own Images Today
You now have the full loop: a free local install, a prompt formula, tested sampler and CFG values, a negative prompt that protects you, and a set of rules to stay on the right side of the line. Pick one checkpoint, run twenty test renders, and keep a note of what changed between each one. That habit alone separates the people who get magazine-quality results from the people who get uncanny ones.
If you want to skip the install and see results in minutes, open Seedream 4.5 or PicassoIA Image Editor Pro, paste one of the starter prompts above, and start experimenting. Every model on the platform lives at picassoia.com/en/all-models, so you can compare them side by side and build the workflow that fits you.