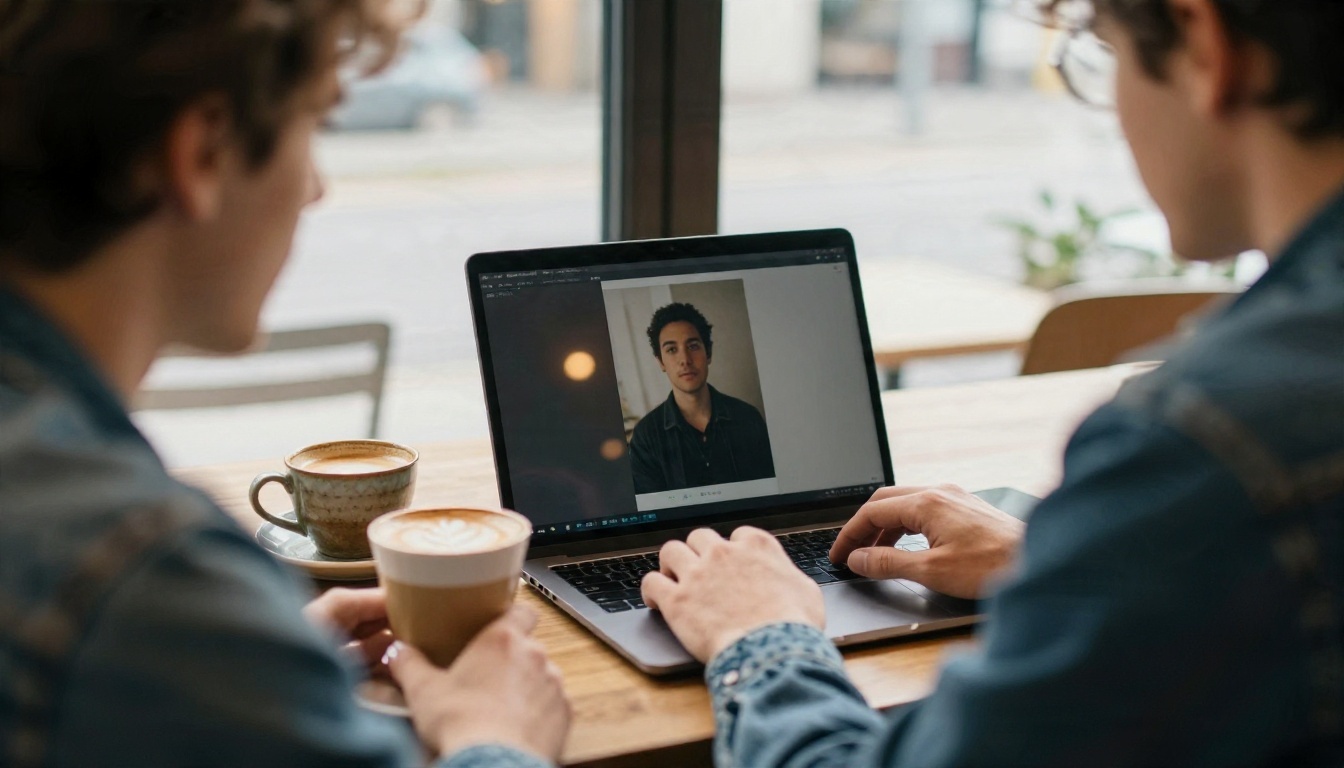
Write Seedream 4.0 prompts that produce natural poses, believable light and sharp 4K detail. This article gives copy-ready examples, pose reference methods, resolution and aspect ratio settings, and the fastest free way to test the model online.
Most people type five words into an image generator, get a stiff stock photo back, and blame the model. With Seedream 4.0, the real problem is almost always the prompt. This model rewards people who write like a photographer briefing a crew: who is in the frame, what the body is doing, where the light comes from, and which lens is on the camera. Give it that, and you get skin with pores, fabric with weave, and poses that look caught rather than staged.
Below you will find a repeatable prompt formula, pose reference methods that actually hold up, ready-to-copy examples, the settings worth changing, and a free way to run all of it in your browser.
What Seedream 4.0 Does Best
Seedream 4.0 is ByteDance's text-to-image and image editing model, and it sits in an interesting spot: fast enough to iterate on, sharp enough for print. You can try Seedream 4 on PicassoIA with 1K, 2K or 4K output, reference images and short natural-language edits.
Where it shines
Photographic realism. Skin texture, fabric, glass and stone come out convincing when the prompt names the material.
Natural-language editing. You can hand it a photo and write one sentence, such as "change the jacket to dark green leather", and it keeps the face and pose.
Multi-reference input. Up to ten input images can anchor subject, style or composition.
Large output. Up to 4096 pixels on the long side, which is enough for large prints.
Consistent batches. Sequential generation can return several related images in one run.
Where it slips
It is not a mind reader. Vague prompts get generic answers. Crowded scenes with many small hands can still produce odd fingers. Long strings of unrelated style words ("epic, stunning, masterpiece, ultra detailed") tend to flatten results rather than improve them. And if you need text inside the image, keep it to one or two short words.
💡 Rule of thumb: describe what a camera would record, not what you feel about the picture. "Soft window light from the left" beats "beautiful atmospheric lighting" every time.
The Prompt Formula That Works
After a lot of test runs, one structure keeps producing the most predictable results. Think of it as a shot list written in a single paragraph.
Order matters: subject first
Put the subject and its action in the first sentence. The model weighs early words heavily, so "a woman in her thirties leaning against a brick wall, arms folded" gives a stronger anchor than burying that detail after a paragraph of scenery.
Use this order:
Subject and action: who, what they are doing, what they wear.
Pose detail: weight, limbs, head angle, gaze.
Environment: location, background elements, time of day.
Light: direction, softness, color temperature.
Camera: lens length, aperture, angle, distance.
Texture and finish: skin, fabric, film grain, color palette.
Prompt layer
Weak version
Strong version
Subject
"a model"
"a woman with freckles, dark wavy hair, cream linen shirt"
Pose
"posing"
"weight on left leg, right hand on hip, chin turned to window"
Light
"nice lighting"
"soft daylight from a tall window on the left, gentle falloff"
Camera
"high quality photo"
"50mm f/1.8, eye level, shallow depth of field"
Finish
"ultra detailed"
"visible skin pores, linen weave, subtle film grain"
Light and lens do the heavy lifting
Light direction and lens choice change the feel of a picture more than any adjective does. A few reliable pairings:
85mm f/1.8 for portraits with creamy background blur.
35mm f/2 for environmental shots where the surroundings matter.
100mm macro f/4 for products and fine texture.
24mm f/8 for wide, sharp architectural frames.
For light, name the source and the side: "window light from the left", "low sun from behind creating a rim light", "overhead diffused daylight". Naming a film stock such as Kodak Portra 400 nudges the color toward warm, natural skin tones.
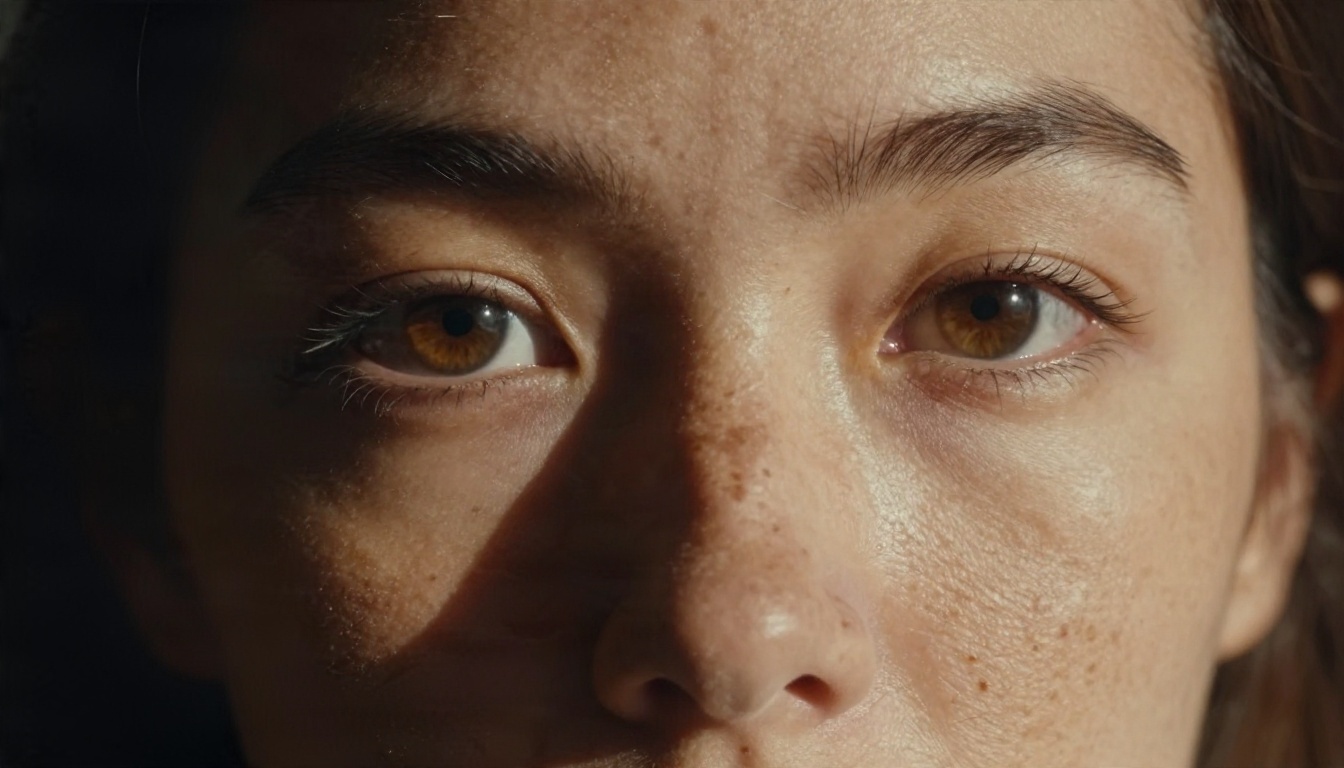
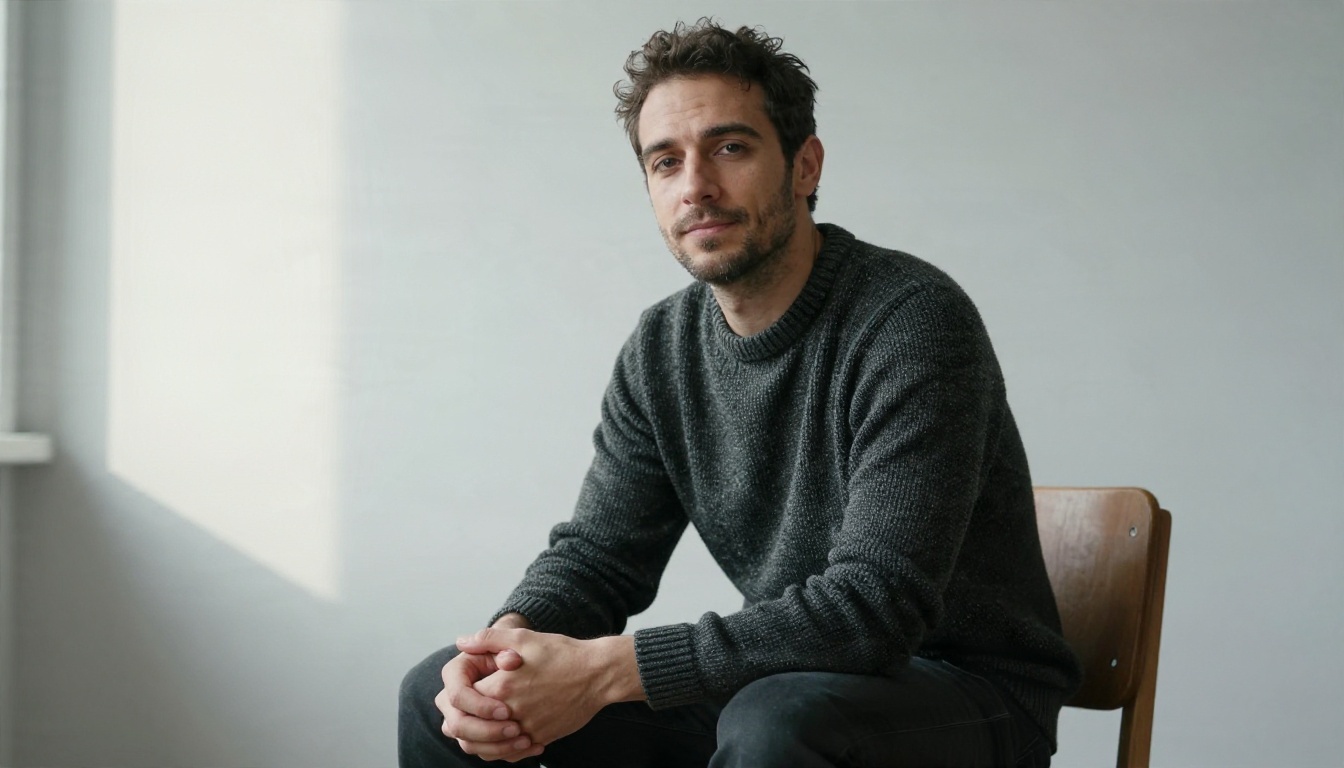
The portrait above follows the formula with "classic Rembrandt lighting, a small triangle of light on the shadowed cheek, single window light from upper left, 100mm f/2". Four phrases, and the lighting reads exactly as intended.
Pose References That Actually Work
Poses are where most prompts fall apart. "A woman posing" tells the model nothing about the body. You have two reliable routes: describe the pose in plain body language, or feed a reference image.
Describe the body, not the vibe
Break the pose into parts a physical therapist would recognize: where the weight sits, what each arm does, where the head points and where the eyes look. Compare these two:
Weak: "a confident pose"
Strong: "standing in contrapposto with weight on the left leg, right hand resting on the hip, left arm relaxed, chin turned slightly toward the window, eyes on the lens"
Here is a quick pose vocabulary you can reuse.
Pose
Prompt phrasing that works
Relaxed standing
"weight on one leg, free hand in a pocket, shoulders loose"
Walking
"mid-stride, one arm swinging naturally, looking over the shoulder"
Seated casual
"sitting sideways on a stool, elbows on knees, hands loosely clasped"
Leaning
"back against a brick wall, one foot flat on the wall, arms folded"
Close portrait
"head tilted slightly, chin down, eyes up to the lens"
Over the shoulder
"back to camera, head turned three-quarters toward the viewer"
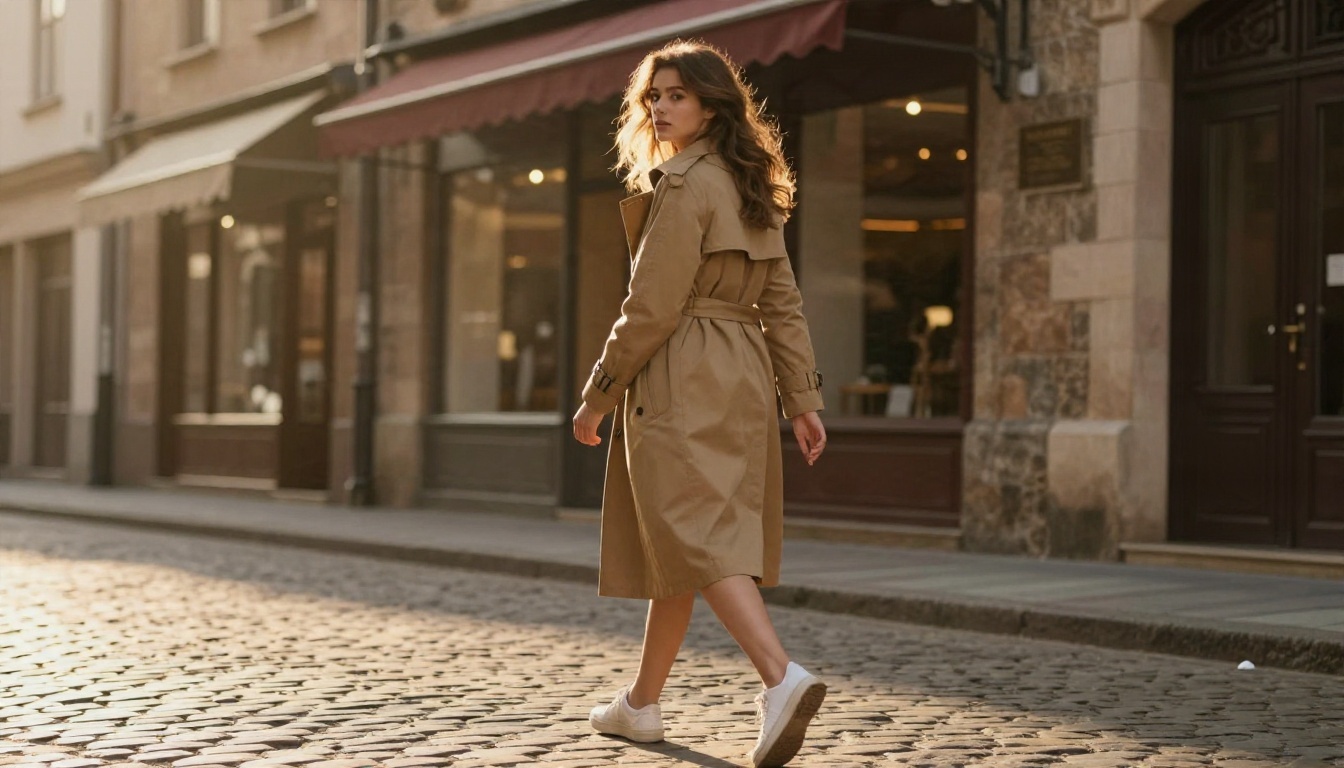
The walking shot above came from a single sentence about stride, arm swing and a look back, plus "low sun from behind creating a rim light". No reference photo was needed.
Add a reference photo for exact poses
When the pose has to match something specific, upload a reference. Seedream 4.0 accepts one to ten input images, and the prompt tells it what to borrow. Three methods work well:
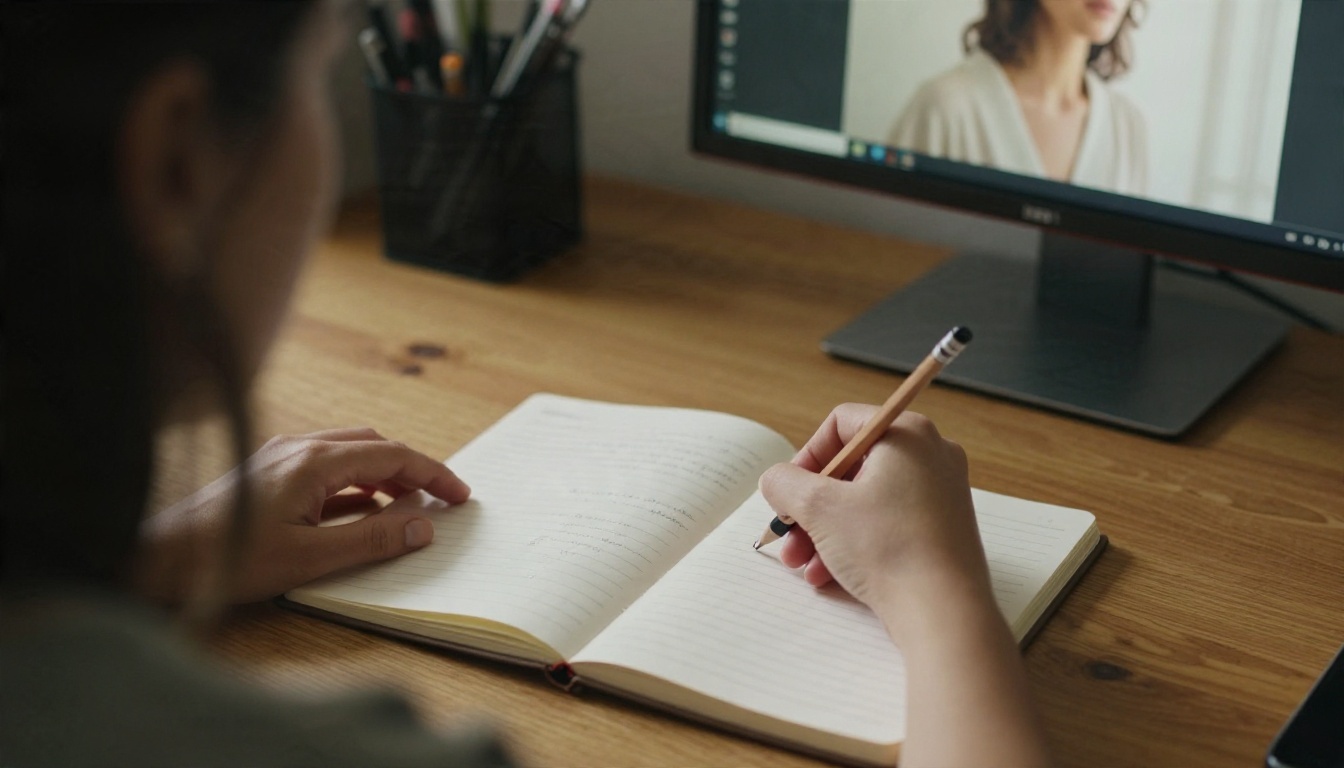
Photo of a real person. Shoot a friend or yourself in the stance you want, upload it, and write: "Use the pose and camera angle of the reference. Replace the person with a woman in a camel trench coat on a cobblestone street."
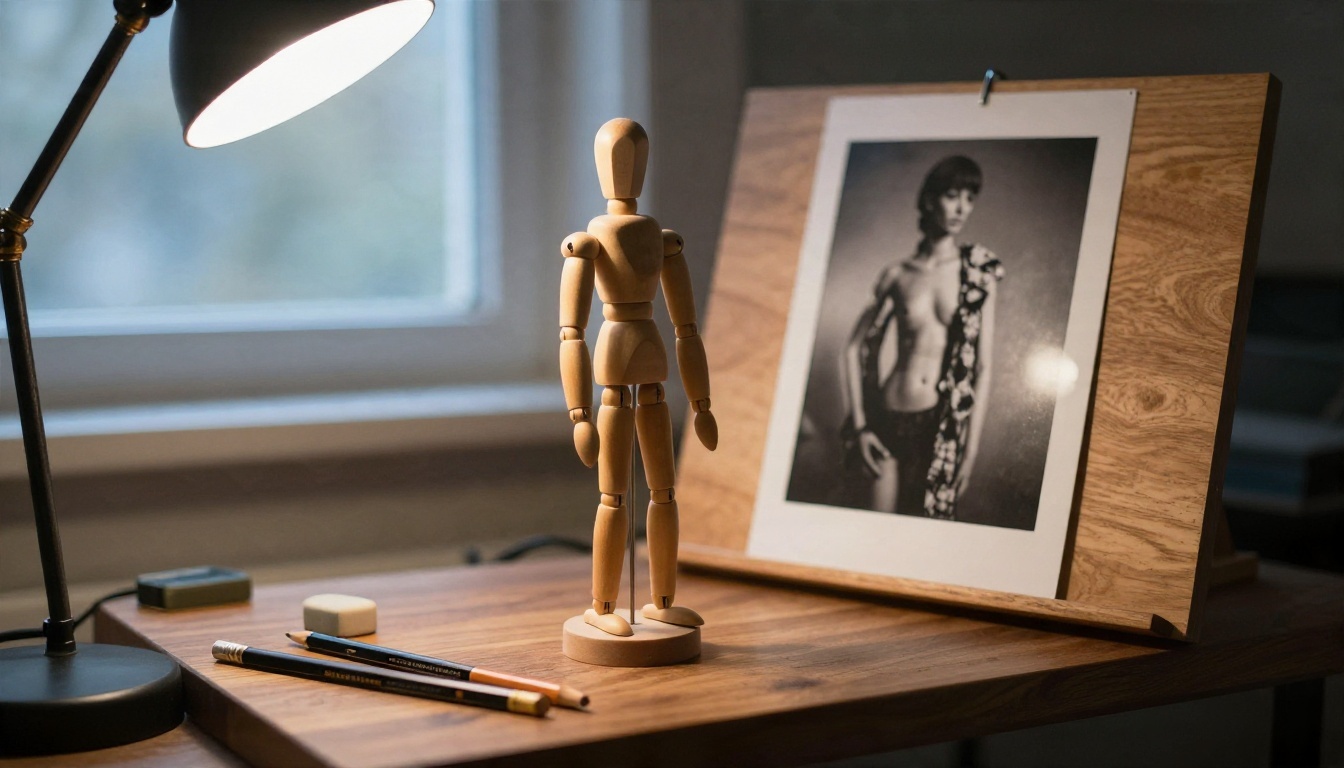
Wooden mannequin or line sketch. A cheap artist's mannequin photographed from the right angle gives clean limb positions. Say "follow the body position of the mannequin, render as a real person".
Two references. One for pose, one for style or outfit. Label them in the prompt: "pose from the first image, color palette from the second".
💡 Tip: keep the reference background plain. Busy backgrounds leak into the result, and you end up with stray objects you never asked for.
If a second pass is needed to fix a hand or a collar, Qwen Image Edit Plus is a handy companion for targeted corrections.
Prompt Examples to Copy
Paste these, then swap the nouns. Each follows the six-layer formula.
Editorial portrait
A woman in her late twenties with warm olive skin and loose dark wavy hair stands in contrapposto, weight on her left leg, right hand on her hip, chin turned toward a tall window on the left. Cream linen shirt, tan trousers. Seamless warm grey paper backdrop. Soft daylight from the left with gentle shadow falloff and a faint rim light on her hair. 50mm f/1.8, eye level, shallow depth of field. Visible skin pores, linen weave, subtle film grain, Kodak Portra 400 color.
Product shot
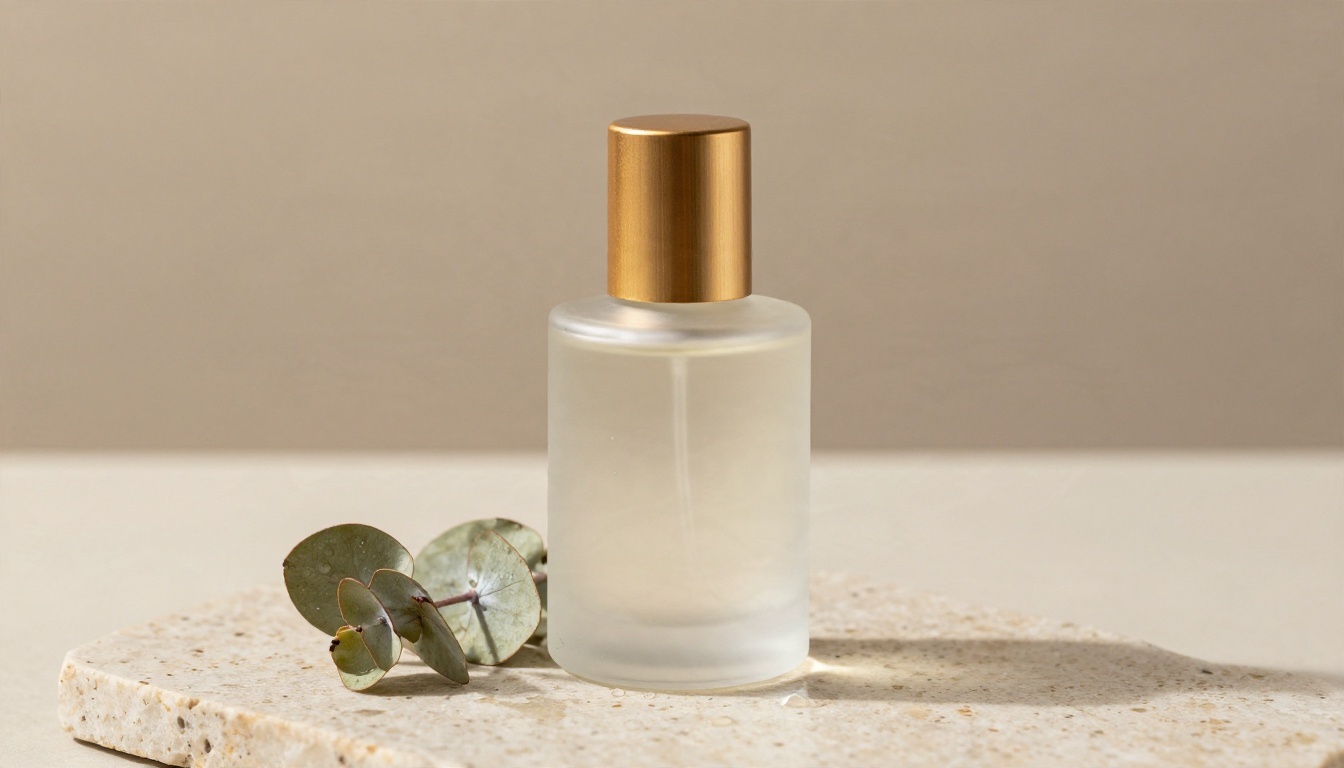
A frosted glass perfume bottle with a brushed gold cap on a slab of pale travertine, a single dried eucalyptus branch beside it, tiny water droplets on the stone. Diffused daylight from the right, soft shadow falling left, beige seamless background. 100mm macro lens, f/4, crisp glass reflections and visible stone pores. No text.
Street scene with movement
A young woman walking on a sunlit cobblestone street at golden hour, mid-stride, one arm swinging, looking back over her shoulder at the camera. Camel trench coat, white sneakers. Old stone buildings and warm shop awnings behind her. Low sun from behind creating a rim light in her hair. 70mm f/2.8, three-quarter angle from slightly below. Visible fabric texture, natural skin, film grain.
Notice what these prompts leave out: no "masterpiece", no "8K ultra HD best quality" pile-up. They spend every word on something the camera can see.
Settings That Matter
The prompt does most of the work, but a few settings decide whether the result is a quick draft or a print-ready file.
Resolution: draft at 2K, finish at 4K
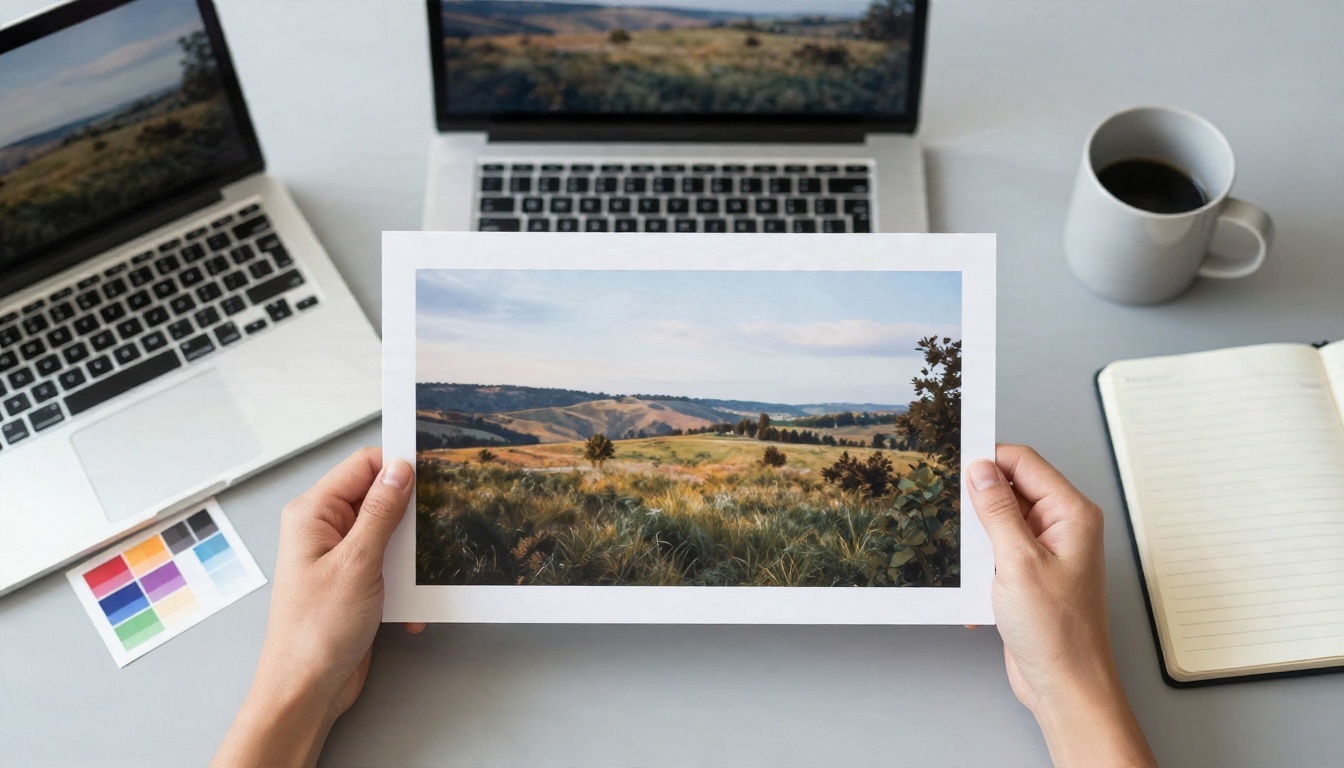
The model offers 1K (1024px), 2K (2048px), 4K (4096px) and a custom width and height between 1024 and 4096. Typing "4K" into the prompt text does not change the output size. Use the size setting instead.
Setting
Best for
Trade-off
1K
Fast concept checks, thumbnails
Fine detail is limited
2K (default)
Social posts, web, most iterations
Balanced speed and sharpness
4K
Prints, large banners, close crops
Slower, uses more credits
Custom
Unusual crops, wallpapers
Stay within 1024 to 4096
A practical workflow: write the prompt, run it at 2K until the pose and light are right, then rerun the winning prompt at 4K. You keep the cost of experimenting low and only pay for full size once.
Aspect ratio and sequential batches
Choose the aspect ratio before you generate, not after. Options include 1:1, 4:3, 3:4, 16:9, 9:16, 3:2, 2:3 and 21:9.
3:4 or 2:3 for portraits and fashion.
16:9 for blog headers and video thumbnails.
9:16 for stories and vertical posts.
1:1 for product tiles.
21:9 for cinematic wide shots.
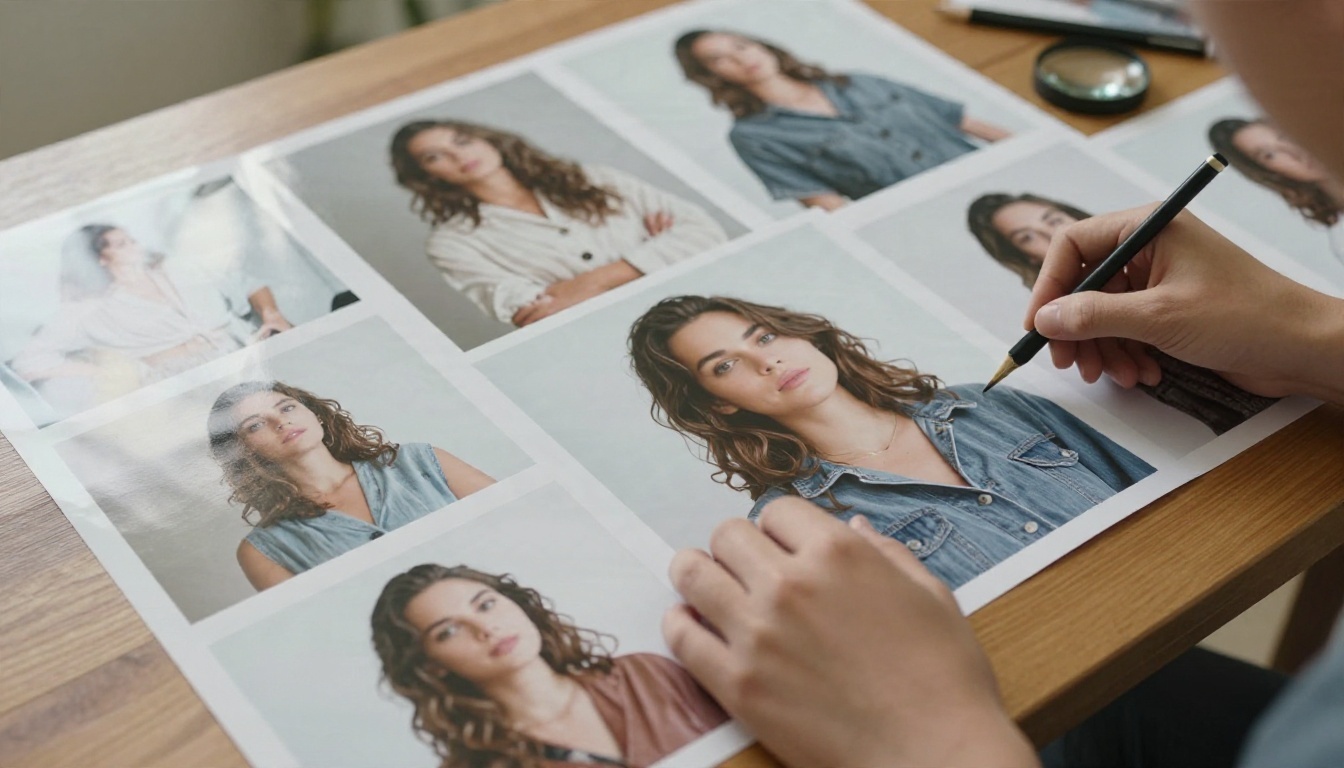
The sequential setting lets the model produce several related images from one prompt, up to 15 in total including your inputs. It is useful for a character in different poses, a product in several colors, or storyboard frames. Write the prompt as a series: "the same woman in four poses: standing, walking, seated, leaning, same outfit, same studio light".
How to Use Seedream 4 on PicassoIA
Here is the quickest path from prompt to finished image.
Paste your prompt into the Prompt field. Start with one of the examples above.
Set size to 2K for drafts. Switch to 4K for the final run.
Pick an aspect ratio. Leave it on "match input image" only if you are uploading a reference.
Optional: add up to ten reference images for pose, outfit or style.
Optional: set sequential generation to auto and raise max images for a series.
Generate, compare, and change one variable at a time: pose first, then light, then lens.
💡 Iteration tip: keep a notes file of prompts that worked. Reusing a good prompt and changing only the location is far faster than starting from scratch.
If you want a newer option for the same kind of work, Seedream 4.5 is also available, along with Seedream 5 Pro and Seedream 5 Lite. The same prompt structure carries across all of them.
Free Access and Smart Credit Use
You do not need a local install or a GPU. The model runs online, and PicassoIA lists Seedream 4 as free to try, so a new user can test prompts without paying up front.
To stretch free usage:
Draft small. Run 1K or 2K until the composition is right.
Change one thing at a time. If you rewrite the whole prompt, you cannot tell what helped.
Reuse seeds and references. Keeping an input image fixed gives you consistency between runs.
Batch with sequential mode when you need variations, instead of running the same prompt five times.
Other models worth pairing
No single model wins every job. These are good partners when Seedream 4.0 is not the right fit:
Two habits separate good results from great ones. First, write the pose as body mechanics. Second, treat light like a character in the scene. Everything else is polish.
Try It Yourself
Pick one example from this article, paste it into Seedream 4, and change only the location. Then change only the light. Then swap the pose using a quick phone photo as reference. In four or five runs you will have a feel for how the model reads your words, and a prompt library that fits your own style.
Ready to try? Open Seedream 4 on Picasso IA, run your first prompt at 2K, and see how far a well-built paragraph can go. When you want more options, browse every model at picassoia.com/en/all-models.