Generate imagesVisual EffectsLarge Language Models
5 Prompt Tips for Better Eye Contact in AI Art That Actually Work
Getting AI models to produce believable eye contact is one of the hardest challenges in portrait generation. These five prompt strategies cover gaze direction, catchlights, iris detail, lighting control, and focal length to give your AI portraits real emotional presence and human connection.
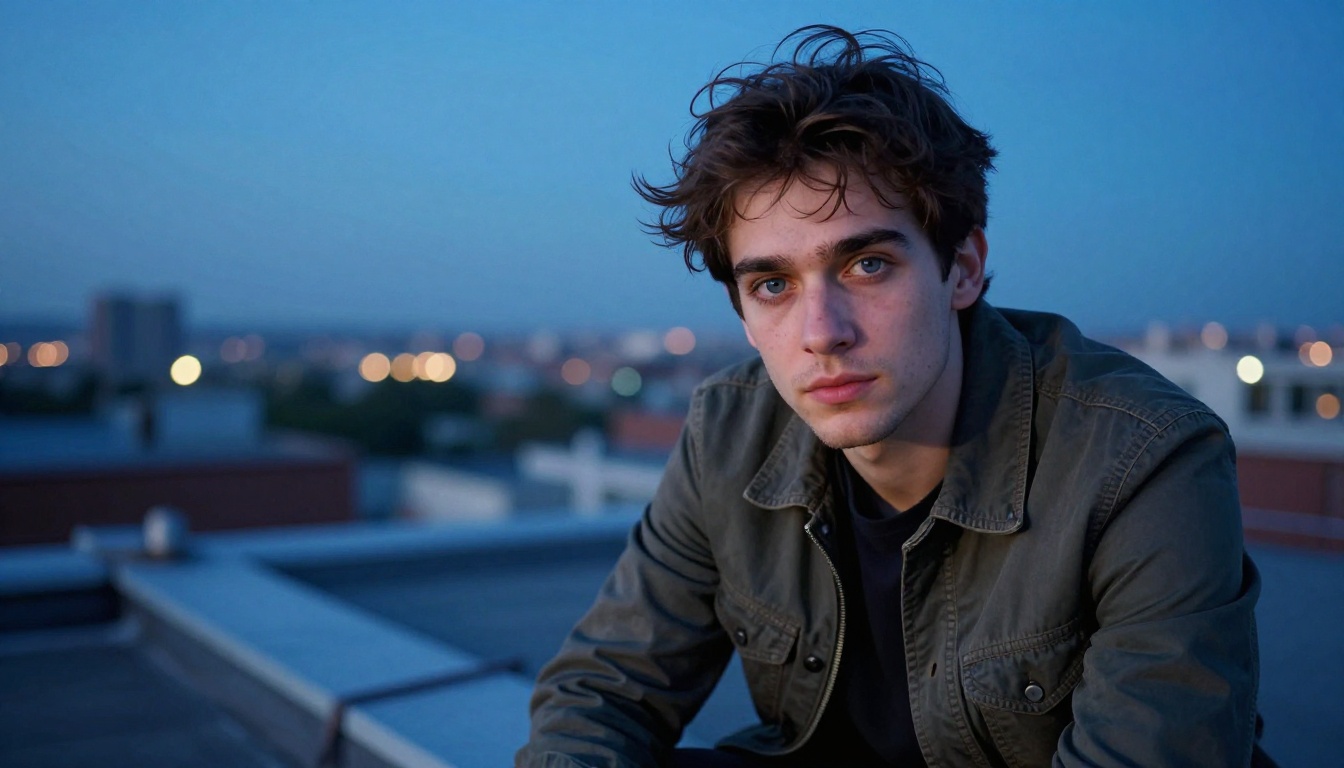
The eyes make or break any AI portrait. You can prompt for perfect skin, beautiful lighting, and ideal composition, but the moment your subject's gaze drifts off to the side or stares blankly into nowhere, the whole image collapses. That disconnect is one of the most frustrating problems in AI image generation, and it has a specific cause: most prompts don't give the model enough information about where and how the eyes should point.
This is not a hardware problem or a model limitation you have to accept. It's a prompting problem. With the right language, you can force nearly any image model to produce sharp, emotionally connected eye contact that feels like the subject is genuinely looking at you. Here are five concrete prompt strategies that consistently produce results.
Why Eye Contact Breaks in Most AI Portraits
The gaze problem is structural
When you prompt for a "portrait of a woman," the model makes a thousand micro-decisions. Where are the eyes pointing? What expression carries the gaze? How intense is the contact? Without specific instructions, the model averages its training data, and most photos in training datasets show subjects looking slightly off-camera, toward an implied interviewer, or simply away from the lens.
This produces the classic AI portrait failure: eyes that seem pointed at your face but feel vacant, or a slight leftward/rightward drift that reads as the subject looking past you. The fix is to override these defaults with precise language.
What AI models miss automatically
Models like Seedream 4.5, Flux Redux Dev, and Qwen Image 3 are excellent at replicating photographic styles, but they need granular guidance on three things that define believable eye contact: direction, light, and depth. When you provide that guidance explicitly, the results change dramatically.
Tip 1: Be Anatomically Specific About Gaze Direction
"Direct eye contact" is not specific enough
Phrases like "eye contact" or "looking at camera" are among the most common portrait prompts, and they produce inconsistent results because they're too vague. The model interprets them loosely. A much more reliable approach is to describe the exact gaze geometry with anatomical precision:
💡 Instead of "making eye contact," try: "looking directly into the camera lens with both pupils centered on the lens axis"
This locks the gaze direction in a way the model interprets geometrically. You're not asking for a feeling. You're describing a physical relationship between eyes and lens.
Effective gaze-direction phrases that produce consistent results:
gaze fixed directly at the viewer
pupils aligned with the camera axis
eyes pointed straight into the lens with no lateral drift
direct frontal eye contact, no off-axis deviation
subject staring directly into the camera, both eyes symmetrically aimed at the lens
Camera angle changes how the gaze reads
The angle you shoot from also affects how the gaze reads emotionally. A slightly low angle with the subject looking slightly downward to meet the lens creates dominance and presence. An aerial shot with the subject looking straight up creates vulnerability and openness. A straight-on shot at eye level creates equality and intimacy.
Add the camera position explicitly and reference it against the subject's eye line:
camera at eye level, subject looking directly forward into lens
low angle shot, subject gazing slightly downward to make eye contact
overhead aerial, subject looking straight upward at camera
Tip 2: Always Prompt for Catchlights
What catchlights actually do
Catchlights are the small specular highlights reflected in the cornea and iris from the light source. In real photography, they appear naturally. In AI generation, they're frequently missing or placed incorrectly, which is a major reason AI eyes read as lifeless and flat.
A single, well-placed catchlight transforms a vacant stare into a living gaze. The light source reflected in the eye gives the brain immediate information: this eye is wet, three-dimensional, and real.
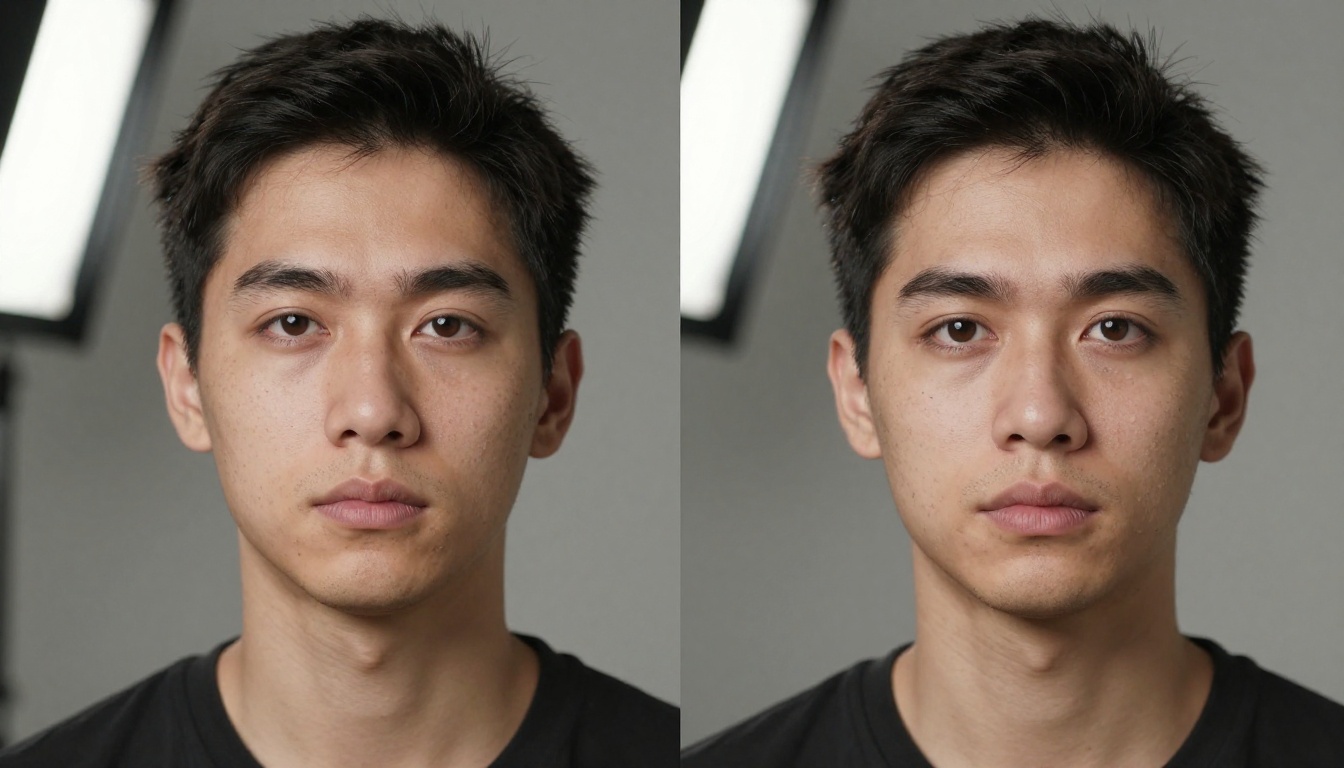
Without catchlight prompt
With catchlight prompt
Eyes appear flat and matte
Eyes appear wet and three-dimensional
Gaze feels unfocused
Gaze feels present and alive
Subject looks vacant
Subject looks engaged and real
Iris looks painted
Iris looks photographed
How to prompt catchlights precisely
Describe both the light source and its reflection location in the iris:
💡 Try: "single specular catchlight visible in upper-left of both irises, reflected from softbox positioned at 45 degrees above left"
Additional catchlight prompt phrases:
bright catchlight dot visible at 10 o'clock position in each iris
soft window light creating a rectangular catchlight reflection in both eyes
golden hour sunlight catchlight in upper right of irises
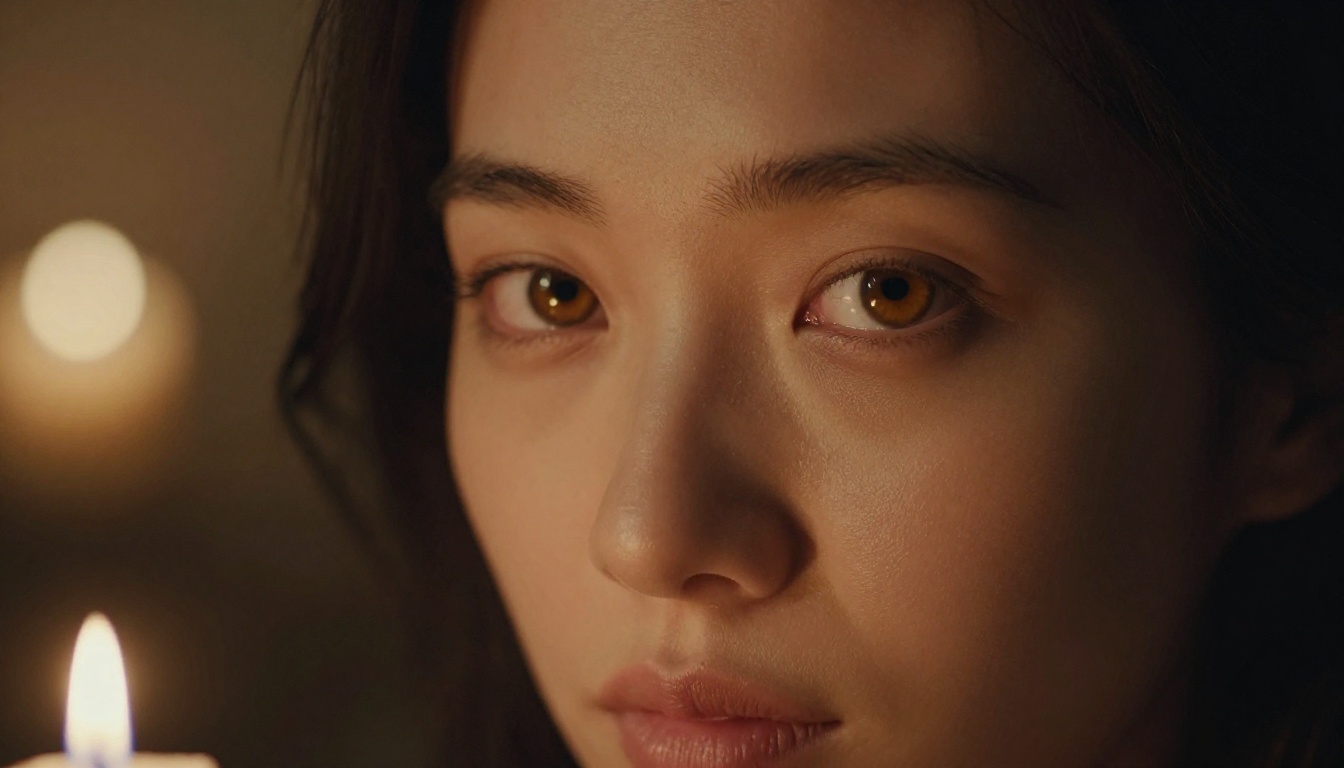
candle flame reflected as a tiny warm oval catchlight in the pupils
two-point lighting creating dual catchlights symmetrically placed in each eye
Models like Seedream 5 Pro and GPT Image 2.5 Flare respond particularly well to light-source specificity, and their catchlight accuracy improves markedly when you describe exact positions.
Tip 3: Describe the Iris in Detail
Fiber patterns and color depth
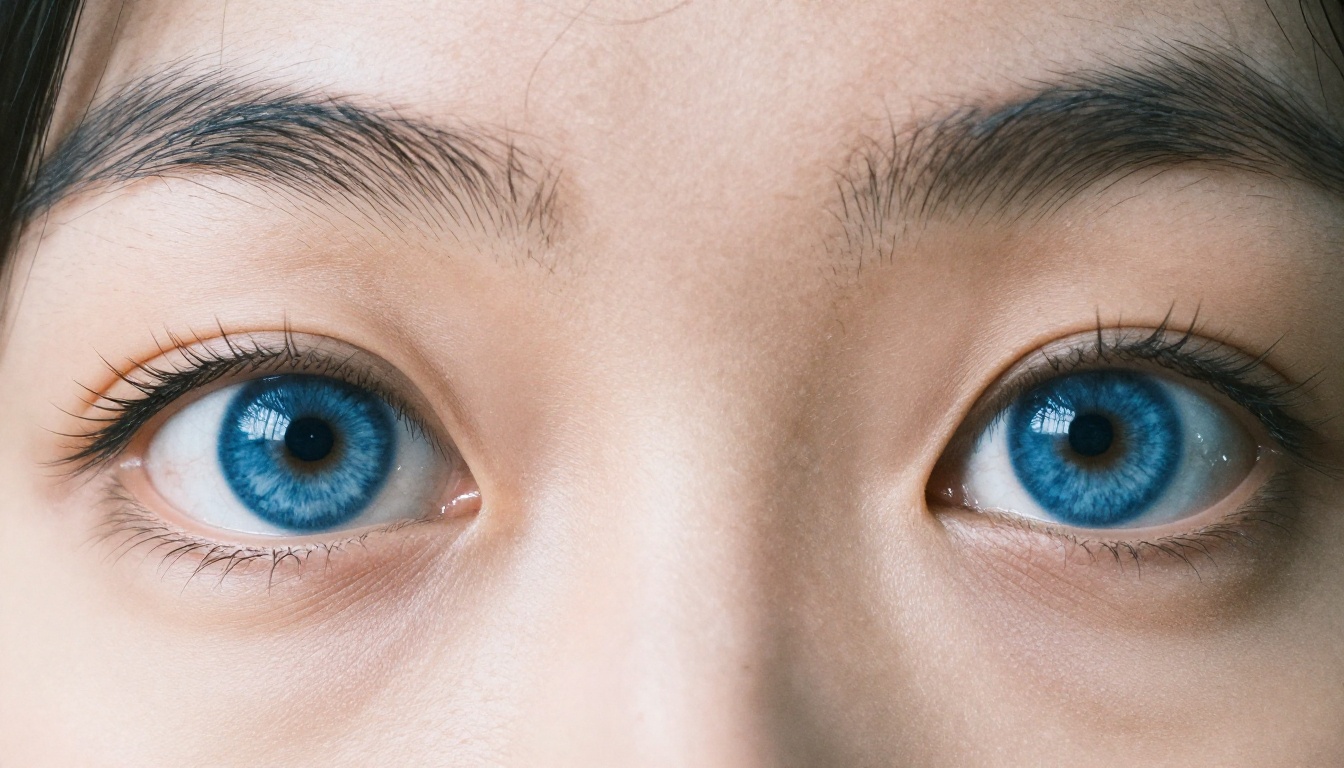
The iris is not a flat disk of color. It's a complex structure with radial fiber patterns, crypts, collarette rings, and tonal variation from the pupil edge to the outer limbal ring. When your prompt treats the iris as just "blue eyes" or "brown eyes," the model fills in a simplified version that reads as painted rather than photographed.
To get genuinely sharp, realistic irises, describe their micro-anatomy:
💡 Use: "intricate iris fiber patterns visible, radial striations from pupil to limbal ring, subtle tonal gradient from darker pupil edge to brighter mid-iris, fine capillary detail in whites of eyes"
This level of detail signals to the model that you want a close-up, technically accurate iris rendering, not a stylized approximation. The difference in output quality is substantial.
Prompt variations by eye color
For blue eyes:vivid blue-grey irises with fine radial fiber striations, darker outer limbal ring, lighter center, crystal-clear wet appearance, sharp macro iris detail
For brown eyes:warm amber-brown irises with visible fiber texture, dark limbal ring, lighter gold striations toward pupil, photorealistic wet surface shine
For green eyes:complex green-hazel irises with irregular fiber patterns, mixture of olive and gold tones, visible crypts and collarette ring, ultra-sharp macro detail
The Reve 2.1 and Hunyuan Image 2.1 models handle fine iris textures especially well due to their high-resolution training on photorealistic faces, making them strong choices for close-up portrait work.
Tip 4: Control the Lighting Direction for the Eyes
Why lighting shapes eye contact
Light direction controls where shadows fall around the eye socket, which directly influences how intense and directional the gaze appears. Flat, frontal lighting flattens the eye socket and reduces the perception of depth. Side lighting creates shadows that give the eye socket three-dimensionality, making the gaze feel like it projects outward toward you.
Three specific lighting setups that consistently produce compelling eye contact:
Rembrandt lighting:
A 45-degree light from one side, positioned slightly above eye level, creates a triangular highlight on the shadowed cheek. The near eye sits in slight shadow while the far eye catches full light. This creates dramatic, intimate eye contact.
Rembrandt lighting from upper left at 45 degrees, triangular highlight on right cheek, near eye in shadow, far eye fully lit with catchlight
Split lighting:
Light positioned exactly 90 degrees to the side divides the face in half. One eye is fully lit, one is in shadow. This creates intensity and a feeling of confrontation or deep sincerity.
split lighting 90 degrees from subject's left, half face illuminated, half in deep shadow, lit eye showing full iris detail and catchlight
Butterfly lighting:
A single light source directly above the subject's face, aimed downward, creates a small shadow under the nose. Both eyes catch the light equally. This is classic glamour and fashion lighting, producing even, wide-open eye contact.
butterfly lighting from directly above at 30 degrees downward angle, symmetrical shadows under nose and cheekbones, both eyes evenly lit with matching catchlights
Tip 5: Specify Camera Lens and Focal Length
Why focal length matters for eyes
Focal length affects perspective compression, which changes how the eyes relate to the rest of the face. A wide-angle lens (24mm) distorts facial proportions, making the nose appear larger and the eyes smaller relative to the face. A telephoto lens (85mm to 105mm) compresses perspective, keeping facial proportions natural and bringing the eyes into prominent, undistorted focus.
For portrait eye contact, one focal range stands above all others.
The 85mm rule for portraits
Portrait photographers have relied on 85mm as the standard focal length for decades because it:
Produces natural facial proportions without wide-angle distortion
Requires enough working distance that subjects feel relaxed and behave naturally
Creates beautiful background separation at wide apertures
Brings the eyes into ideal prominence without geometric distortion
Add this directly to your prompts:
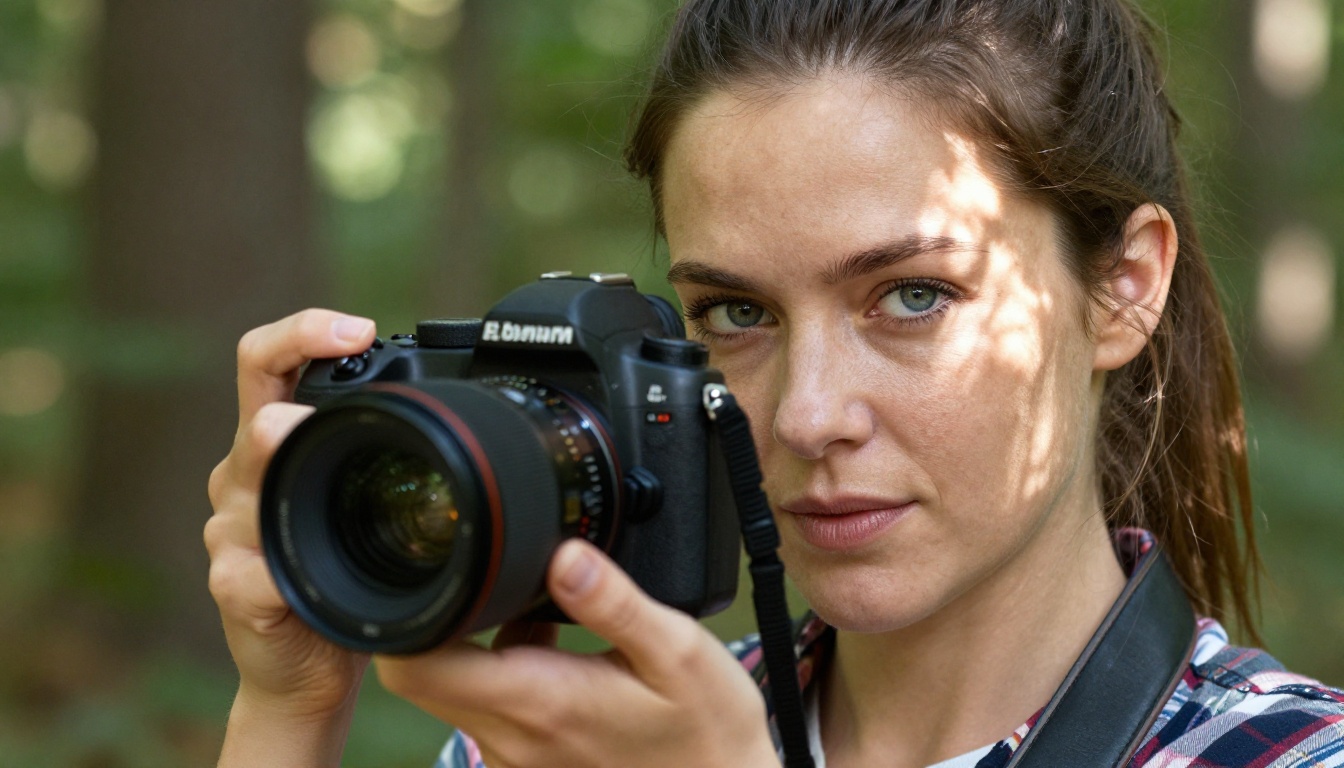
💡 "85mm lens, f/1.4 aperture, shallow depth of field, eyes in critical sharp focus"
Combine it with aperture for precise depth-of-field control:
Aperture
Effect on eye contact
f/1.2 to f/1.8
One eye in focus, dreamy intimate feel
f/2.0 to f/2.8
Both eyes sharp, background softly separated
f/4 to f/5.6
Eyes and face sharp, some background detail visible
f/8 and above
Full environmental detail, documentary feeling
The PicassoIA Image model and PicassoIA Image Editor Pro both process lens specification language reliably, incorporating focal length cues into perspective and depth-of-field rendering. Try running the same portrait prompt twice, once with 24mm wide angle and once with 85mm telephoto, and compare how the eyes read in each result.
How to Use Seedream 4.5 on PicassoIA for Eye Contact Portraits
Seedream 4.5 by ByteDance is one of the strongest models for photorealistic portrait generation on the platform, and it handles eye contact prompts with particular accuracy. Here is a step-by-step workflow combining all five tips:
Start the prompt with the subject description, then immediately lock the gaze direction:
Portrait of a woman in her late 20s, looking directly into the camera lens, pupils centered on lens axis, making strong direct eye contact
Step 3: Add catchlight and iris detail (Tips 2 and 3)
single catchlight at 10 o'clock position in both irises, fine radial iris fiber patterns visible, blue-grey iris with darker outer limbal ring, subtle tonal gradient
Step 4: Specify lighting (Tip 4)
Rembrandt lighting from upper left at 45 degrees, triangular highlight on right cheek, near eye in shadow, far eye fully lit, volumetric morning light
Step 5: Specify lens and add realism (Tip 5)
85mm lens f/1.8, shallow depth of field, eyes in critical sharp focus, bokeh background, photorealistic 8K RAW photography, Kodak Portra 400, natural skin texture with visible pores, film grain
When you assemble all five parts into a single prompt, each component does a specific job: gaze direction locks the axis, catchlight adds three-dimensionality to the cornea, iris detail adds close-up realism, lighting gives the eye socket depth and drama, and focal length normalizes facial proportions. The result is a portrait where the subject genuinely appears to be looking at you.
Best Models for Eye Contact Portraits on PicassoIA
Not all models render eye contact with equal fidelity. Here is how the strongest options on PicassoIA compare for portrait eye contact work:
Seedream 5 Pro sits at the top for technically demanding eye contact work, with its 2K output resolution providing enough pixel density to render individual iris fibers at full sharpness. For close-up portraits where the eyes dominate the frame, it is the first choice.
Reve 2.1 is a strong general-purpose option that responds well to lighting-direction prompts, making it ideal for Tip 4 workflows where precise shadow control matters most.
For refining specific details after generation, PicassoIA Image Editor Pro lets you inpaint the eye area specifically, rebuilding iris detail or adjusting catchlight position without regenerating the whole image.
All Five Tips Working Together
The power of these strategies compounds when you use them simultaneously. Individually, each one improves a specific aspect of eye rendering. Together, they push the model toward a fully realized, believable gaze that holds the viewer's attention.
Here is a summary of all five tips and the specific prompt language for each:
Tip
Problem it solves
Prompt language
1. Gaze direction
Eyes pointing off-axis
pupils aligned with camera axis, looking directly into lens
2. Catchlights
Flat, lifeless eyes
single catchlight at 10 o'clock position in both irises
3. Iris detail
Simplified, flat iris texture
radial fiber striations, collarette ring, tonal gradient, limbal ring
4. Lighting direction
Flat shadows, no eye-socket depth
Rembrandt lighting 45 degrees upper left, triangular cheek highlight
5. Focal length
Distorted proportions, soft eyes
85mm lens, f/1.8, eyes in critical sharp focus
Each tip also has an interaction effect. Tip 4 (lighting) feeds directly into Tip 2 (catchlights), since specifying the light source automatically tells the model where the catchlight should appear. Tip 5 (focal length) pairs naturally with Tip 3 (iris detail), since a longer lens with a wider aperture keeps the eyes in critical focus while softening the background, giving the iris detail maximum visual impact.
Start with Tip 1 and Tip 2 if you want quick, significant results. Add the others progressively and observe how each one changes the quality of the gaze. Within a few iterations, you will have a reusable prompt template for photorealistic eye contact portraits that works across multiple models.
💡 Pro tip: Save your assembled five-tip prompt as a template. Swap only the subject description, lighting style, or eye color across different generations. The structural prompt language for gaze, catchlights, iris, and lens stays consistent and keeps producing results.
Start Generating Right Now on PicassoIA
Everything in this article works best when you put it into practice. PicassoIA gives you access to over 90 text-to-image models in one place, with no installs and no technical setup required.
Start with Seedream 4.5 for portrait eye contact. Use the step-by-step prompt structure from the tutorial section. Adjust one variable at a time to see exactly how each tip changes the output. The difference between a vague prompt and a five-tip structured prompt is visible after a single comparison.
When you want to refine specific details like iris texture or catchlight position after generation, PicassoIA Image Editor Pro gives you targeted inpainting to rework just the eye area without touching the rest of the image.
Browse all available portrait and image generation models at picassoia.com/en/all-models. The platform's model catalog updates regularly, and eye contact rendering quality continues to improve with every new model release.