Bad poses are the fastest way to make AI art look fake. You can nail the lighting, get the skin texture right, and pick the best model, but if your character stands like a cardboard cutout with both arms hanging at their sides, the whole image collapses.
The problem is not the model. It is the prompt.
Every major text-to-image generator available today is capable of producing stunningly natural body language. The gap between a robotic figure and a compelling, lifelike pose comes down to how specifically you describe what you want. These 6 tricks will change how you write pose prompts, permanently.

Why Most AI Poses Look Wrong
The stiff figure problem
When you write a prompt like "a woman standing in a forest," you leave the model to decide everything about her stance. By default, most text-to-image systems take the path of least resistance: a neutral, symmetrical, front-facing stance that photographers call the mannequin.
The result is technically correct but visually dead. Both arms hang straight. Both feet point forward. The weight distributes perfectly between both legs. No tilt, no twist, no implied motion.
Real human posture is asymmetrical, weighted, and full of micro-decisions. One hip rises. One shoulder drops slightly. The head tilts a few degrees. These tiny deviations from perfect symmetry are what make a figure look alive.
What natural posture actually requires
Natural poses are built on three foundations: weight distribution, line of action, and body asymmetry. You need all three in your prompt, not just one. A pose that nails weight distribution but ignores the line of action will still feel static. The tricks below give you a system for covering all three consistently.
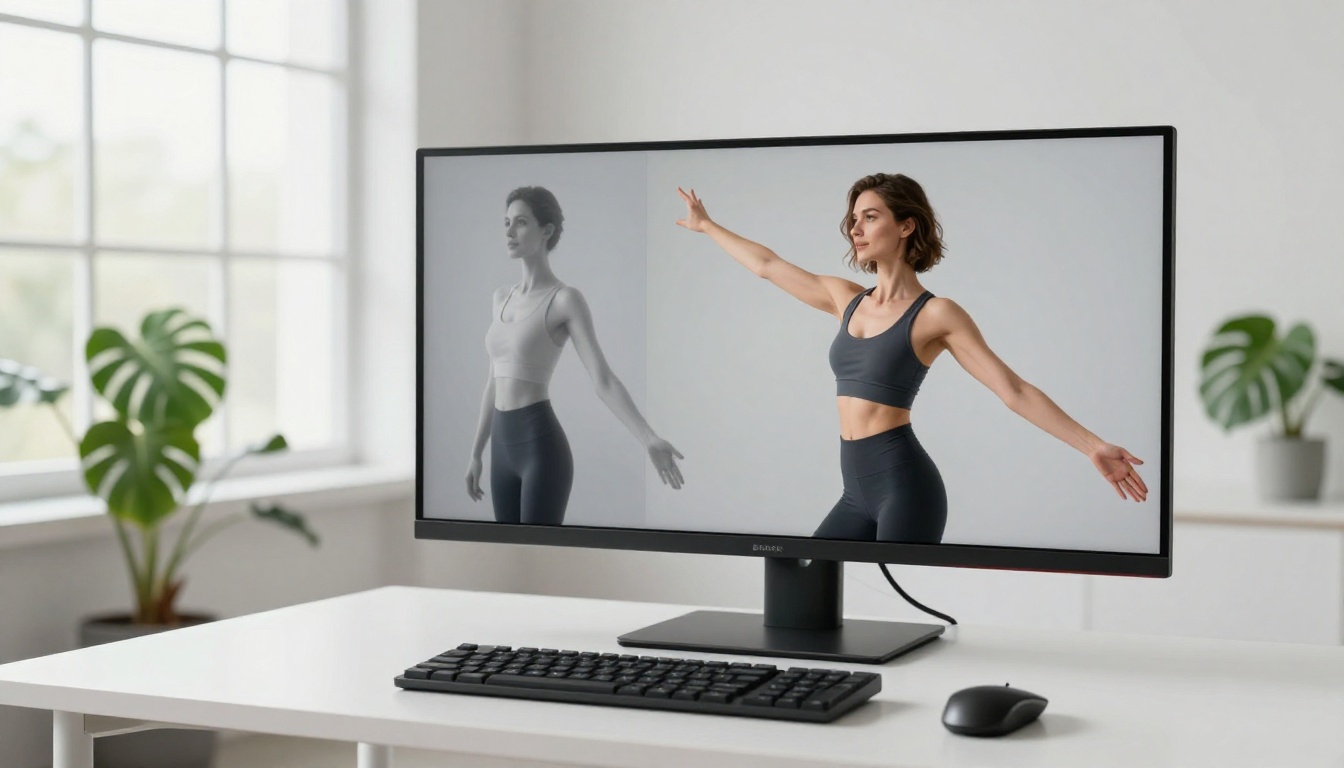
Trick 1: Describe Weight, Not Stance
Go beyond "standing" or "sitting"
The word "standing" tells the model nothing useful. Where is the weight? Which leg is bearing it? What does that do to the hip line? Try this instead:
💡 Replace generic stance words with weight descriptors. "Standing with weight shifted onto the right leg, left hip raised, slight forward lean in the torso" generates something completely different from "standing."
The classic Italian Renaissance solution is contrapposto: a stance where the weight rests on one leg, causing the opposite hip and shoulder to shift in counter-rotation. It has been the foundation of natural figure posing for 2,500 years, and it works equally well inside a text-to-image prompt.
The contrapposto formula
| Pose element | Weak prompt | Strong prompt |
|---|
| Stance | "standing" | "weight on right leg, left knee bent" |
| Hip line | none | "left hip elevated, slight lateral tilt" |
| Shoulder | none | "right shoulder dropped, counter to hip" |
| Head | "looking forward" | "head turned 15 degrees right, chin slightly down" |
| Arms | none | "right arm relaxed at side, left hand resting on hip" |
When you stack these five elements into a single prompt, you give the model a complete spatial description of the figure. Tools like Flux Dev and Flux Pro are built to follow precise spatial instructions, so this level of detail pays off directly in the output.
Trick 2: Use Reference Images
How img2img changes everything
Writing pose descriptions purely in text is powerful, but there is a faster path: start with a reference image. When you feed a real photograph as an image-to-image input, you offload the spatial problem entirely. The model can see the exact weight distribution, the exact limb angles, and the exact head position. Your text prompt then handles everything else: the style, the lighting, the setting, the character's appearance.
This is especially effective for complex dynamic poses. Writing "a figure mid-jump with knees bent and arms thrown upward and head tilted back" in text is possible but imprecise. A single reference photo of someone jumping communicates all of that instantly.
The img2img workflow on Flux Dev
Flux Dev has a built-in img2img mode. The workflow:
- Find or photograph a reference image with the pose you want
- Open Flux Dev and upload the reference as your input image
- Set
prompt_strength between 0.5 and 0.75 — this preserves the pose structure while allowing the model to change the character's appearance
- Write your text prompt describing the character, style, and setting
- Generate and compare
A prompt_strength of 0.5 keeps the pose very close to the reference. Raising it toward 0.8 gives the model more freedom to reinterpret. Start at 0.6 and adjust from there.
💡 Flux 1.1 Pro also accepts an image_prompt parameter via its Redux feature, which steers the composition toward a reference without fully replacing the text guidance. Good for looser reference matching with more creative freedom.
Trick 3: Add Camera Angle Always
Low angle vs. eye level vs. aerial
The camera angle in your prompt does not just change what you see. It changes the perceived posture of the figure entirely.
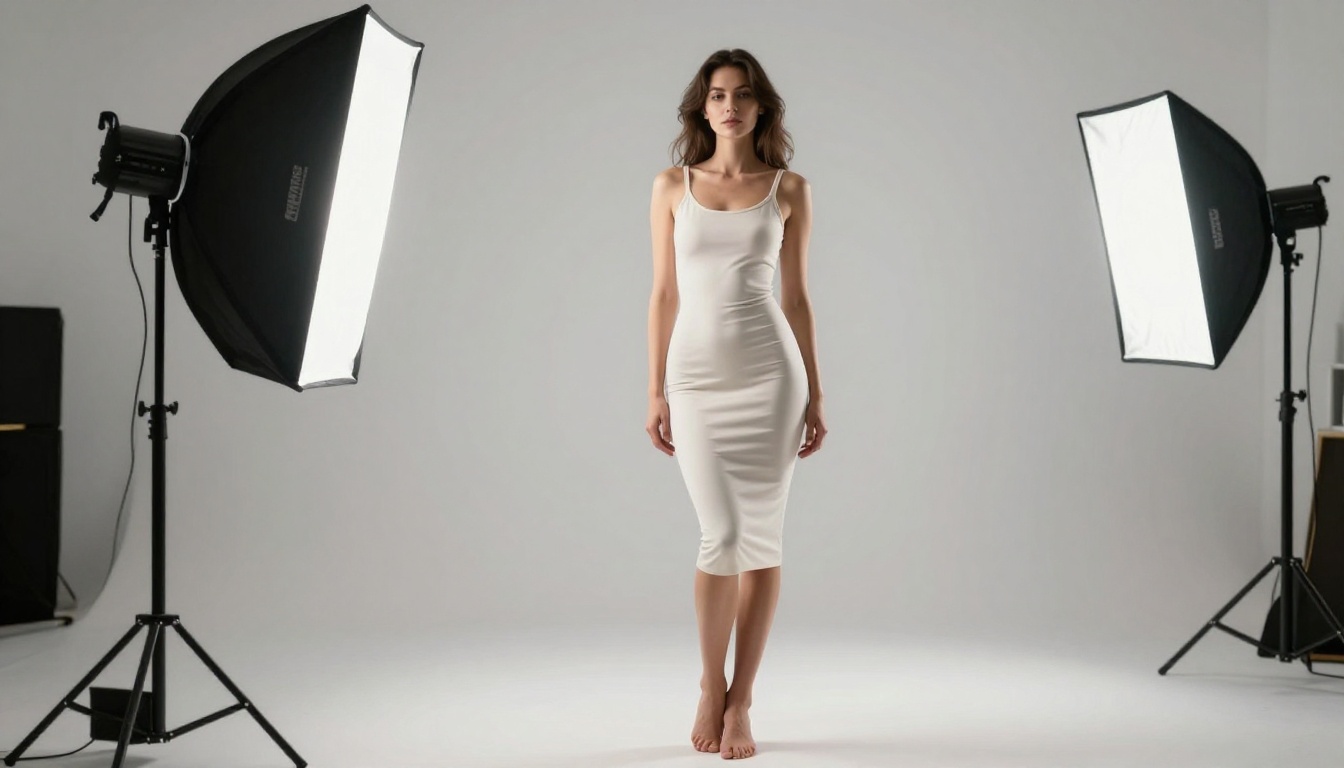
A low-angle shot makes any pose feel powerful and dominant. The same neutral standing pose photographed from knee height reads as authoritative and confident. An eye-level shot reads as neutral and relatable. A slight high-angle shot softens the same pose into something more vulnerable or approachable.
This is why two prompts with identical pose descriptions can produce figures that feel emotionally opposite. One says "low angle, shot from knee height, looking up at the figure" and the other says "eye level, neutral perspective." Same pose. Completely different psychology.
How perspective shapes perceived pose
- "Low-angle shot, 24mm wide lens" amplifies any pose into dominance. Use this for confidence, authority, and power stances.
- "Eye-level shot, 85mm portrait lens" renders the pose naturally and intimately. Use this for realistic portraits.
- "Slightly elevated angle, looking down at 15 degrees" softens the figure and makes the pose feel casual or relaxed.
- "Aerial overhead shot, directly above" flattens the pose entirely. Use this for flat lay and conceptual compositions.
When you use Seedream 3 for 2K resolution outputs, camera angle becomes even more critical because the extra resolution makes lens perspective visible. Write the focal length explicitly, like "85mm f/1.4" or "24mm f/2.8," to get the perspective right.

Trick 4: Study Anatomy for Better Prompts
The 5 pose rules photographers use
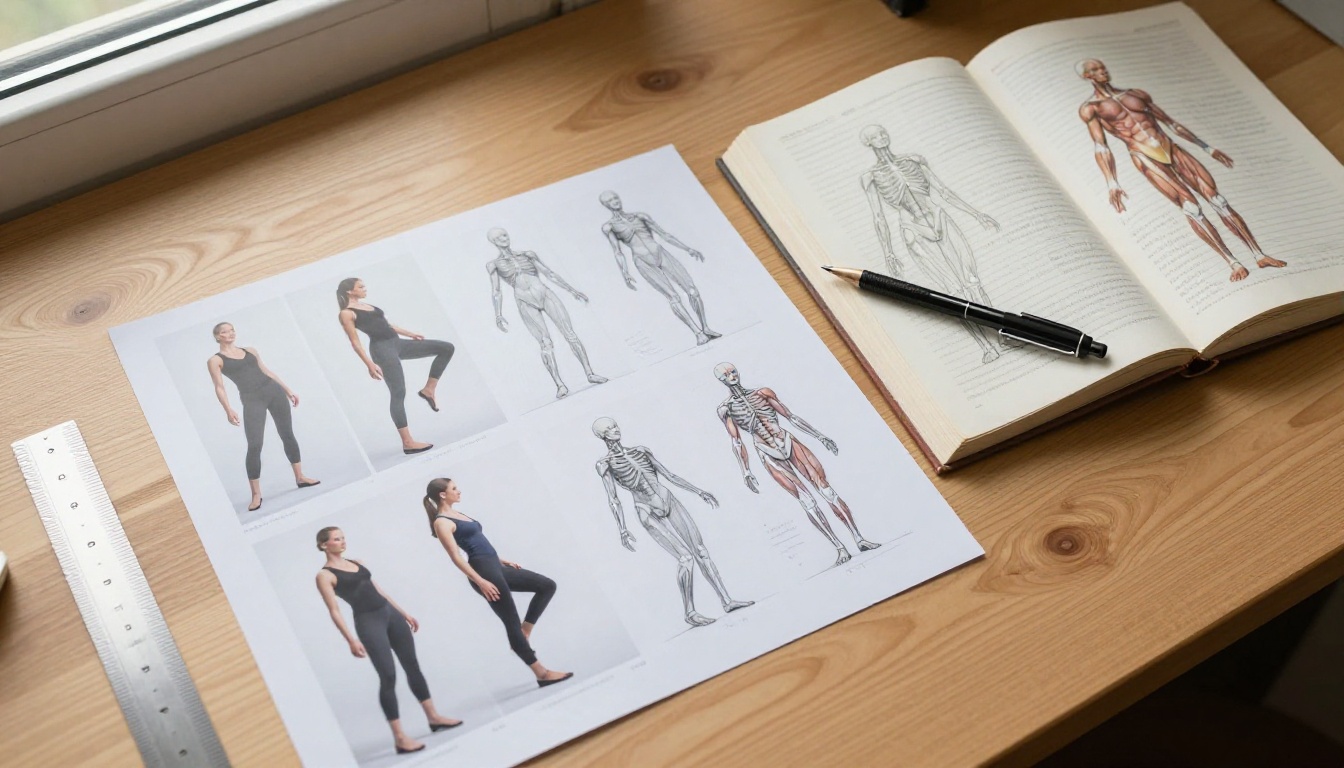
Professional photographers spend years studying what makes a pose feel natural. You can shortcut that by internalizing five rules they apply constantly:
- Bend something. A completely straight arm or leg almost always looks stiff. If you cannot describe a natural bend in a specific limb, add "slight bend at the elbow" or "soft bend in the knee" as a catch-all.
- Avoid matching limbs. Both arms in the same position, or both legs doing the same thing, reads as robotic. One limb should always differ from its pair.
- Connect the spine to the pelvis. Describe whether the torso is straight, slightly arched, or slightly rounded. The spine's relationship to the pelvis dictates how relaxed or tense the whole figure feels.
- Give the hands a job. Hands hanging uselessly are one of the most common AI pose failures. Describe exactly what the hands are doing: "left hand resting lightly on hip," "right hand holding jacket lapel," "fingers loosely interlaced."
- Tilt the head. A perfectly vertical head facing straight forward reads as unnatural in most poses. Even a 5-to-10 degree tilt creates life.
Weight distribution and body language
The position of the center of gravity tells the story of the pose. A figure with weight forward is engaged, active, or tense. A figure with weight back is relaxed, defensive, or casual. When you write your prompt, ask yourself: where is the weight? Then describe it explicitly with directional language.
💡 Use Stable Diffusion for rapid anatomy iteration. Its negative prompt support lets you exclude "stiff arms" or "unnatural stance" directly, which significantly accelerates the test cycle when you are calibrating a new pose type.
Trick 5: Lock the Seed, Iterate
What seed control actually does
When you generate an image without specifying a seed, the model picks a random starting point for its diffusion process. Every generation is a new roll of the dice. Changing one word in your prompt changes everything about the output, not just the element you modified.
Seed locking changes this. When you fix the seed number, you anchor the model to the same starting point. Now when you change "arms relaxed at sides" to "arms crossed over chest," only the arms change. The face, the lighting, the background, and the overall composition stay consistent. You are iterating on the pose in isolation.
This is how professional AI artists refine a character's posture across multiple generations without rebuilding the entire image from scratch each time.
The iterative refinement method
Step 1: Generate without a seed until you get a figure with a face, style, and setting you like. Note the seed from that output.
Step 2: Add that seed to your settings. Every run with the same prompt will now produce that same face in that same environment.
Step 3: Change only the pose-related words in your prompt. Keep everything else identical. Generate.
Step 4: Compare. Adjust pose descriptors until the posture matches your intent. Repeat.
Flux Pro and Flux Schnell both support seed-locked generation with highly consistent results. Flux Schnell is particularly useful here because its 4-step generation makes each iteration take seconds rather than minutes, so you can run 20 pose variations in the time it takes other models to run 3.
Trick 6: Use an LLM First
Prompt engineering with AI assistance
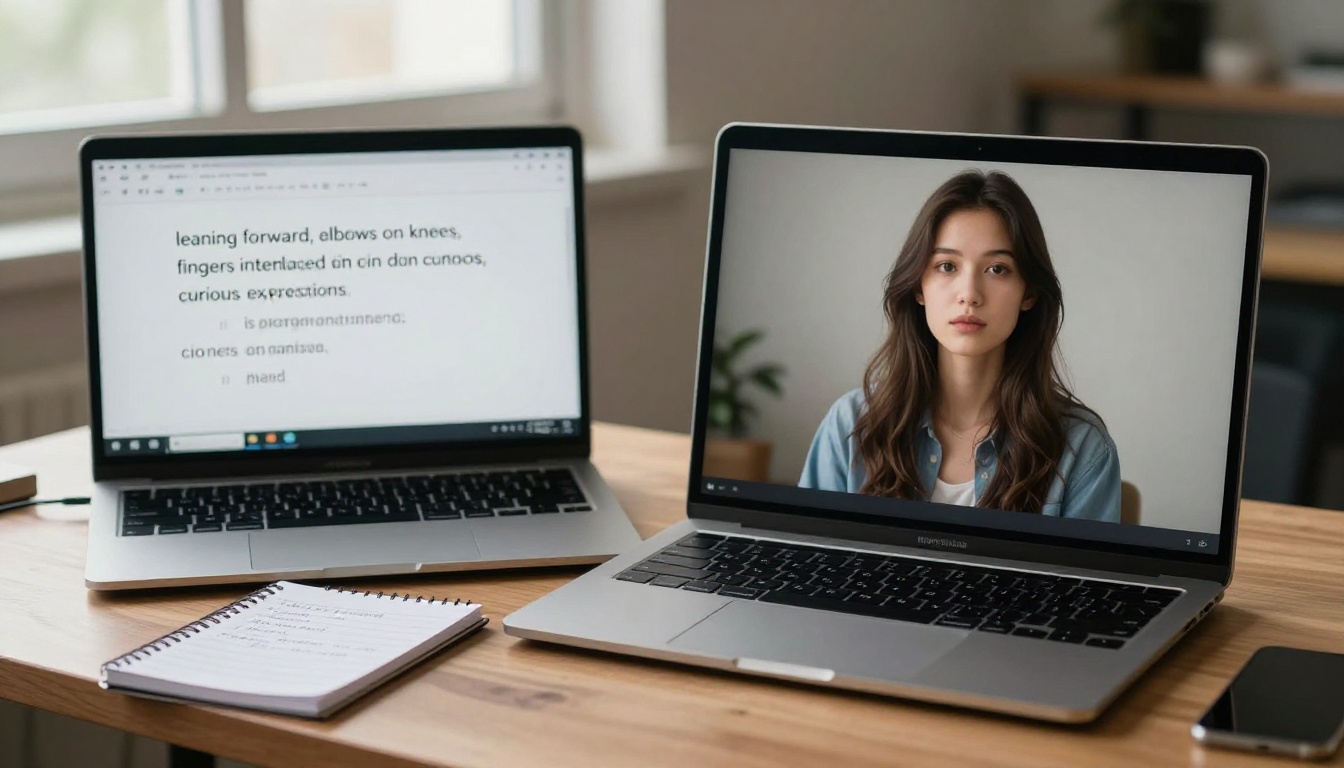
Here is a workflow most AI artists are not using yet: feed your rough pose idea to a large language model before sending it to an image generator, and let it translate your intention into structured, detailed prompt language.
You give the LLM your rough idea in plain language: "a person sitting on a chair, slightly tired, looking out a window." The LLM translates that into anatomically precise, spatially complete language: "seated upright in a wooden chair, body angled 30 degrees toward the window, left elbow resting on the armrest, right forearm resting across the thighs, torso slightly leaned forward from the hips, shoulders marginally rounded, head turned 45 degrees left toward the window with a soft contemplative downward gaze, hands relaxed with fingers loosely open."
The second version gives the image model something specific to work with. The first version leaves everything to chance.
How to feed an LLM your pose intent
Use any of the language models on PicassoIA for this, including GPT 5, Claude 4 Sonnet, or Gemini 3 Flash. Give the LLM this as your input:
"Convert this rough pose description into a precise, anatomically detailed prompt for a text-to-image generator: [your rough description]. Include: weight distribution, limb positions, torso angle, head tilt, hand positioning, and implied body language. Write in comma-separated prompt format."
The LLM handles the anatomy vocabulary, the spatial relationships, and the prompt structure. You focus on the creative intent. This division of labor is extremely efficient and consistently produces prompts that generate more natural figures than anything written freehand.
💡 Combine this with Trick 5. Use the LLM to write a precise pose prompt, generate a base image, note the seed, then ask the LLM for a series of pose variations of the same character. You get a consistent character in multiple refined poses within minutes, with no manual rewriting needed.
How to Run All 6 on PicassoIA
Step-by-step with Flux Pro
Here is the complete workflow combining all 6 tricks into a single session:
1. Build your base prompt using Tricks 1 and 4
Describe the weight distribution, contrapposto elements, and specific limb positions using the five anatomy rules. If the pose is complex, run it through GPT 5 or Claude 4 Sonnet first (Trick 6) before touching the image generator.
2. Add the camera angle using Trick 3
Append the focal length, camera angle, and perspective to the end of your prompt. This single addition often has more impact than any individual pose descriptor. Write it as: "shot from [angle], [focal length] lens, [aperture for depth of field]."
3. Upload a reference using Trick 2 (optional)
If you have a reference photo with the right pose, use Flux Dev's img2img mode with a prompt_strength of 0.6. This is the fastest path for complex dynamic poses.
4. Generate and note the seed
On your first good result, copy the seed value from the output. Everything from this point forward iterates from that anchor.
5. Apply Trick 5 to refine
With the seed locked, isolate and adjust one pose element at a time until the posture matches your intent. Change one descriptor per run so you can attribute each change to the specific element you modified.
Choosing the right model for your goal

Your Next Pose
Posture is a language. Every choice about where the weight sits, how the head tilts, what the hands do, and where the camera positions itself communicates something specific about the figure. The gap between a forgettable AI figure and one that feels genuinely alive comes down to how precisely that language gets written into the prompt.
These six tricks give you a complete system: describe the weight (Trick 1), use reference images (Trick 2), add camera angle (Trick 3), apply anatomy rules (Trick 4), lock the seed and iterate (Trick 5), and let an LLM sharpen the language before you generate (Trick 6).
The best way to internalize them is to run them on a real image right now. Pick a pose you have never been able to get right, open Flux Pro or Flux Dev on PicassoIA, and apply each trick one at a time. The results are immediate, and each iteration teaches you something that reading alone cannot.
Browse the full model library at picassoia.com/en/all-models and find the generator that fits your current project.


