AI video has become genuinely impressive. Models like Veo 3, Kling v3, and Seedance 2.5 can produce clips that stop people mid-scroll. But there is still a gap. You probably know it the moment you see it: the motion is slightly too smooth, the skin catches light like wax, a leaf sits perfectly still in a supposed wind, or a person walks with physics that feel just slightly off. These tells exist not because the models are bad, but because most people generate video the wrong way.
The good news is that fixing this does not require switching to a different model or spending more money. It requires a shift in how you approach the generation itself. These 6 methods address the root causes of artificial-looking AI video, and they apply whether you are using text-to-video, image-to-video, or any combination of both.
Why Most AI Video Still Looks Fake
Before getting into the fixes, it helps to name the problem precisely. AI video fails the realism test in three main categories:
- Motion artifacts: Objects move in ways that violate physics. Hair flows uniformly. Water ripples in repeating patterns. Crowds move in unison.
- Surface inconsistency: Skin, fabric, and material textures shift between frames. A sweater changes color slightly. A face loses a wrinkle mid-clip.
- Environmental stillness: Background elements are frozen while foreground elements move. Real environments have constant, layered motion at every depth.
All three of these problems are addressable through prompt construction, model choice, and post-processing. Here is how.
Way 1: Use Image-to-Video, Not Text-to-Video
This is the single biggest realism improvement most creators can make, and it requires no extra skill. Text-to-video models have to invent everything from scratch. Image-to-video models start from a fixed, photorealistic frame and animate outward from it. The base image anchors all the physics, lighting, and proportions.
Your base image is the foundation
When you provide a sharp, photorealistic image as the first frame, the model has a reference for exactly how light interacts with surfaces, what proportions the subject carries, and where shadows fall. This dramatically reduces the model's freedom to invent inconsistencies.
The best image-to-video models available right now include:
What makes a good source image
Not every photorealistic image works well as a base. The best source images have:
- Clear depth: Distinct foreground, midground, and background layers. Models animate depth separately, so defined layers reduce cross-contamination.
- Natural, directional lighting: Side lighting or rim lighting creates shadow gradients that anchor motion realistically. Flat, frontal lighting removes depth cues.
- Texture detail: Fine texture in fabric, skin, or surfaces gives the model something real to work with. Smooth, texture-free images tend to produce waxy animation.
💡 Generate your base image using a high-resolution text-to-image model first, then pass it to your image-to-video model. This two-step approach consistently beats direct text-to-video for realism.
Way 2: Prompts That Describe Physics
The most common mistake in AI video prompting is describing what things look like instead of describing how they behave. Appearance prompts work well for image generation. For video, you need physics and motion.
Describe behavior, not just appearance
Compare these two prompts:
Weak: "A woman walking through a forest in autumn"
Strong: "A woman in a brown coat walking slowly through a forest, dry leaves lifting slightly off the path with each footstep, her coat fabric shifting with her arm swing, morning light filtering through the canopy and creating moving dapples on the ground ahead of her, camera following at a slow walking pace three meters behind"
The second prompt describes what moves, what causes that motion, and what the camera does. Every detail gives the model a physics constraint to follow.
Physics prompt building blocks
Use these categories to build motion-rich prompts:
- Subject behavior: "steps with slight hesitation," "exhales visible breath in cold air," "fingers grip the cup with slight tension"
- Environment response: "grass bends slightly in the wind," "candle flame flickers with air current," "puddle surface disturbed by each footfall"
- Atmospheric layers: "dust motes suspended and slowly drifting," "fog rolling at ankle height," "light shafts moving through leaves"
- Camera behavior: "slow dolly forward," "gentle handheld drift," "static locked-off shot with only environment motion"
💡 Specificity compounds. Describing three separate motion systems in a single scene (subject, environment, atmosphere) is what produces the layered motion that reads as genuinely filmed.
Way 3: Control Camera Movement Deliberately
Artificial-looking AI video often has one of two camera problems: the camera is completely frozen while everything else moves, or it moves in ways no real camera operator would choose. Both are easy to fix.
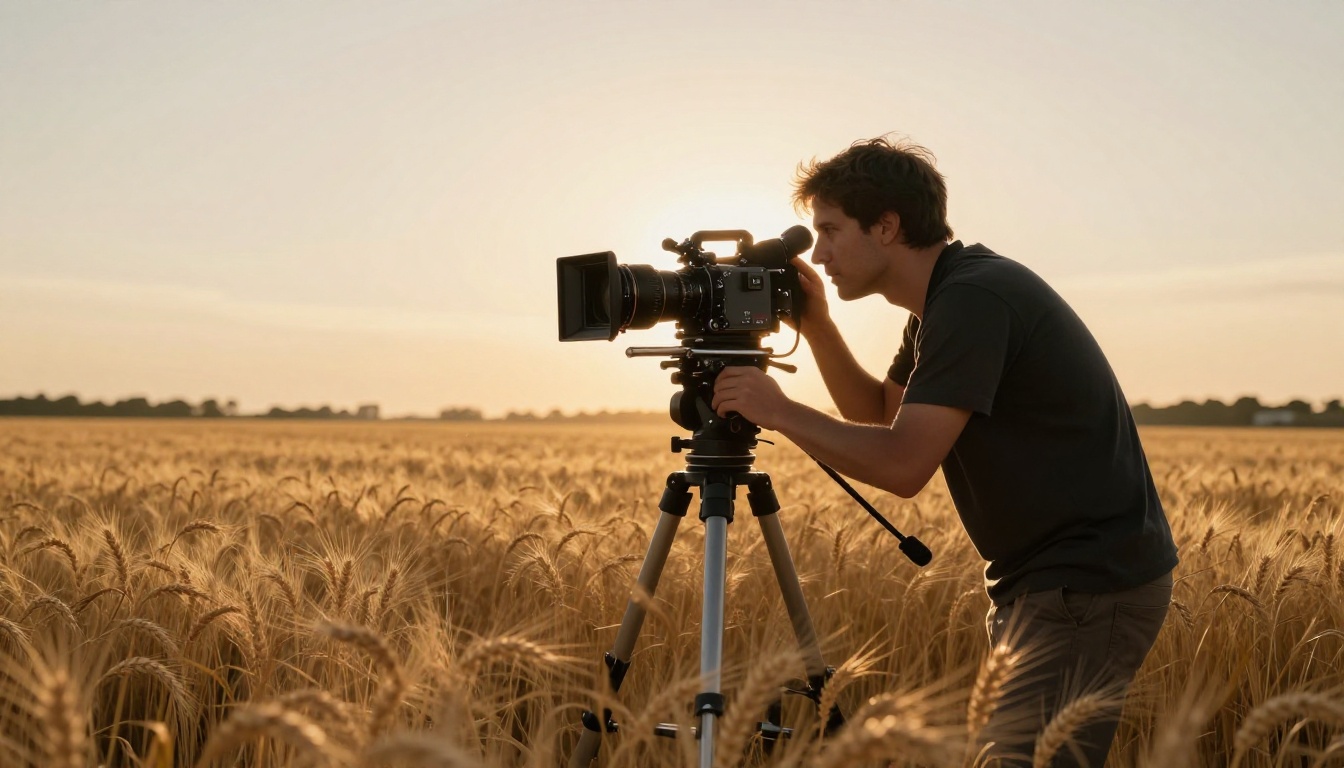
Slow and motivated always wins
Real camera operators move cameras for a reason: to follow a subject, reveal new space, or create emotional weight. AI video looks most realistic when the prompt describes camera movement with the same intention.
The most reliable realistic camera movements:
- Slow dolly-in: Camera moves forward 2 to 3 meters over the full clip. Creates intimacy without feeling mechanical.
- Gentle pan following a subject: Camera tracks a person or object laterally, keeping them in frame. Adds life without distraction.
- Locked-off static shot: No camera movement at all. Often the most realistic choice because it forces the model to put all its energy into in-scene motion.
- Slight handheld drift: Subtle, irregular movement that mimics a shoulder-mounted camera. Add this sparingly.
💡 The model Kling v3 Motion Control specifically accepts camera path instructions. If precise camera control matters to your project, this is where to start.
What to avoid
- Rapid panning or zooming. These are the most common AI video artifacts.
- Specifying a camera movement without specifying its speed. "A panning shot" is vague. "A slow pan left over five seconds" is precise.
- Asking for multiple camera movements in one short clip. Choose one.
Way 4: Lighting Specificity Changes Everything
Lighting is what makes the brain believe a scene is real. When lighting is vague in a prompt, the model defaults to diffuse, even illumination that looks like studio lighting with no source. Real environments have directional light with defined color temperatures, hard or soft edges, and dynamic behavior.
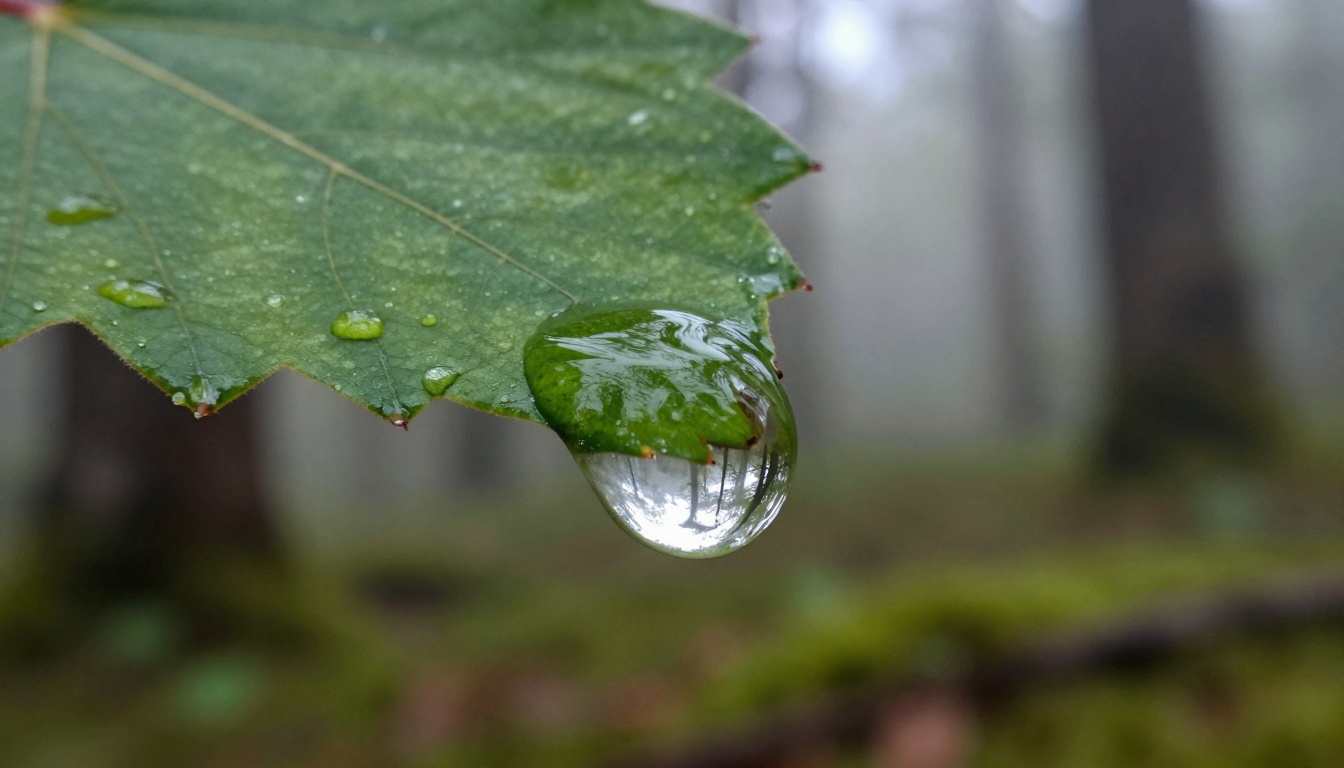
Specify source, direction, and quality
A realistic lighting prompt answers three questions:
- Where does the light come from? (window, sun at 30 degrees above horizon, overhead fluorescent, candle at table level)
- What direction does it hit the subject? (from the left, rim lighting from behind, underlighting from below frame)
- What is its quality? (soft and diffused, harsh with sharp shadows, flickering, warm and golden, cool and blue)
Vague: "good lighting"
Precise: "golden hour sunlight from camera right, casting long shadows left, warm 3200K color temperature, slight lens flare in upper right corner"
Light interaction with surfaces
The most realistic AI video clips show light behaving correctly on different surface types:
- Skin: Subsurface scattering creates slight translucence on ear edges and fingers in backlight
- Fabric: Creates distinct highlight and shadow patterns that shift with movement
- Water: Reflects and refracts light in ways that constantly change
When you describe these interactions explicitly, the model produces far more convincing material. "Sunlight passing through her hair creating warm subsurface translucence on the edges" produces a fundamentally different result than just "backlit by sun."
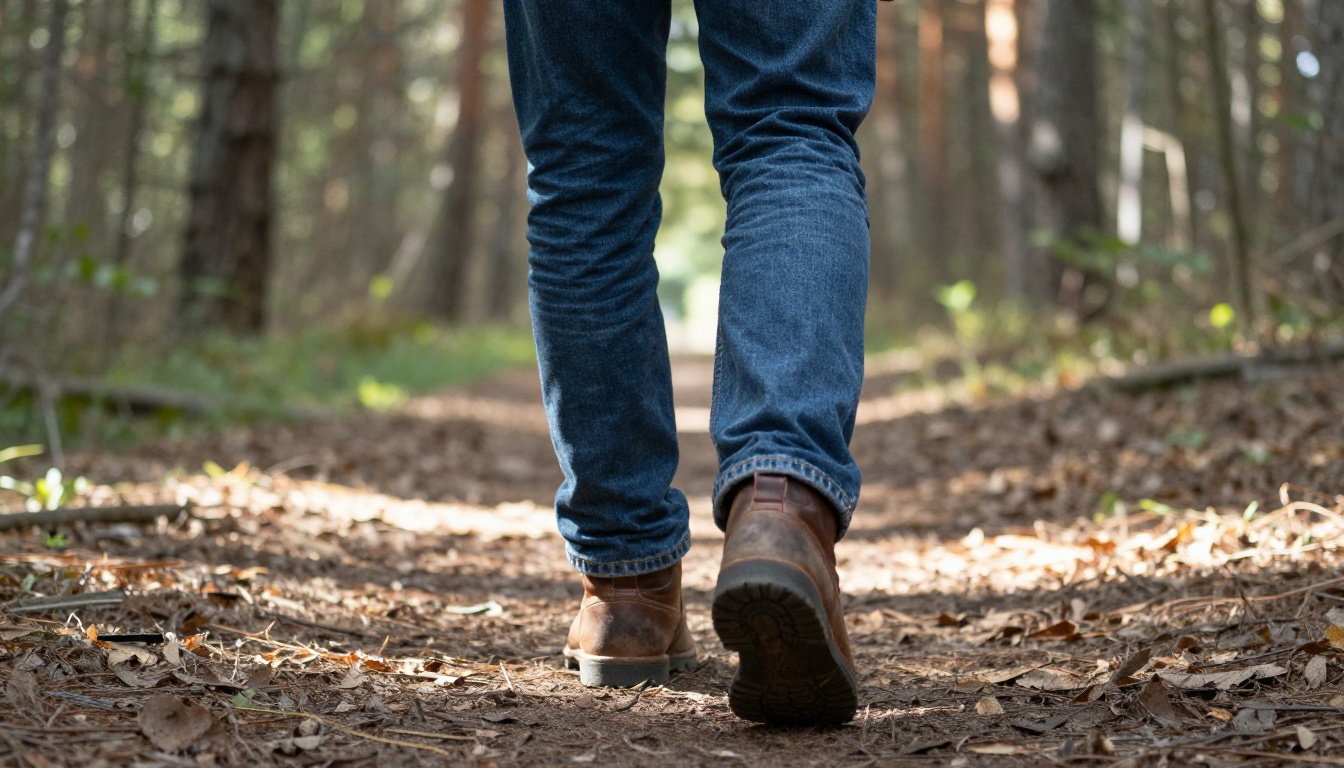
Three lighting conditions that always read as real
- Golden hour: Warm, directional, long shadows. Works for almost any outdoor scene.
- Overcast daylight: Even, soft, no harsh shadows. Extremely flattering for skin and produces natural-looking color without the model inventing saturation.
- Single practical light source: Interior shot lit by one lamp, fireplace, or window. Forces the model to commit to one lighting logic, which creates coherence.
Way 5: Upscale Your Output Before Sharing
Raw AI video output is often generated at 480p or 720p even when the model claims higher resolutions. More importantly, AI video compression introduces subtle artifacts at the pixel level that are less visible at higher resolutions. Upscaling video before you share it is one of the most reliable ways to close the gap between AI and filmed content.
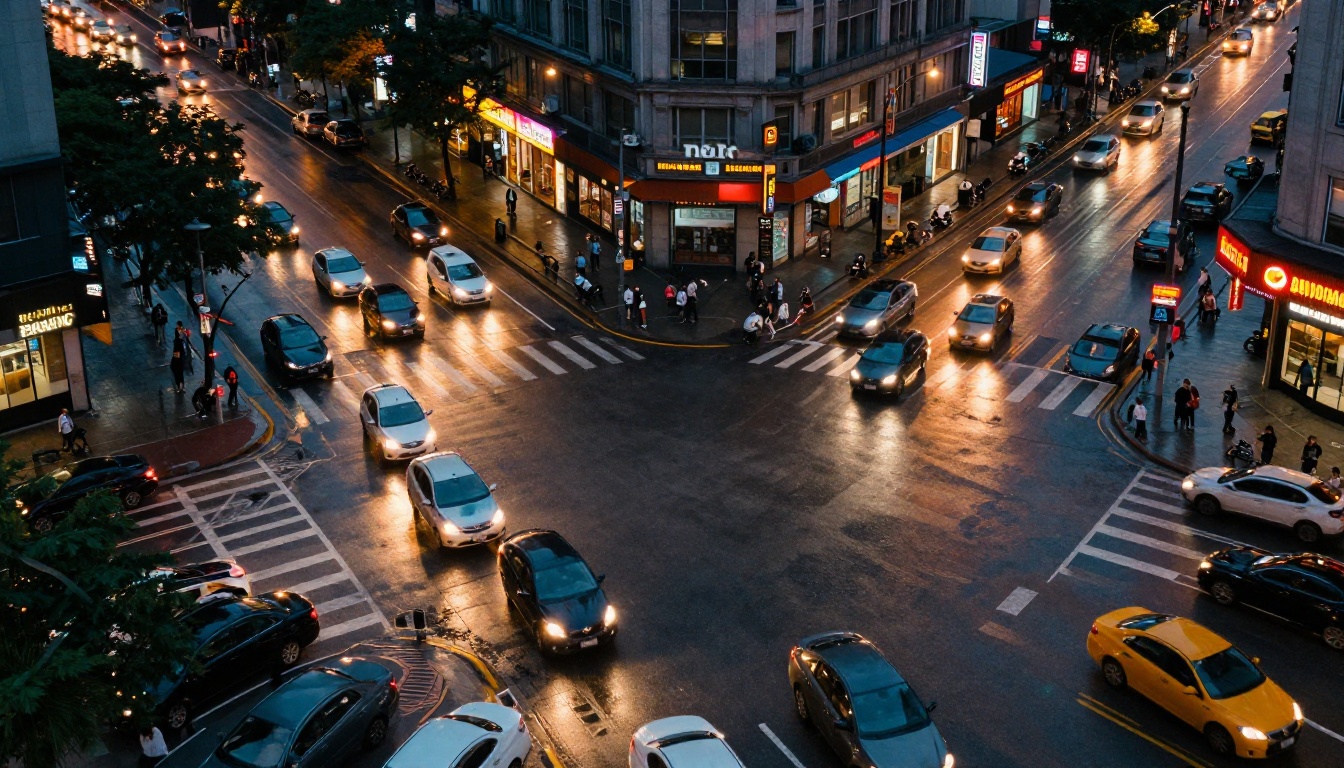
Why resolution hides artifacting
The brain processes video at a systemic level. Individual artifacts, texture inconsistencies, and motion jitter are far less visible when they occupy fewer pixels in the viewer's field of vision. A 4K version of an AI video clip that would look obviously artificial at 720p often passes as real because the eye cannot track individual artifact pixels at full resolution.
Two tools that work
Video Upscale by Topaz Labs is the industry standard for AI video upscaling. It does not just increase resolution. It uses a neural network trained on real footage to reconstruct detail that the original generation missed. Skin texture sharpens. Fine edge detail on clothing becomes crisp. The output at 4K and 120fps routinely convinces viewers who rejected the same clip at 720p.
Upscale v1 by Runway is a faster alternative that delivers strong 4K results with less processing time. Both are available directly on PicassoIA, so you can generate and upscale in the same workflow without switching platforms.
💡 Always upscale before applying any color grading or effects. Upscaling after color work can introduce banding and compression artifacts that undo the realism gains.
Way 6: Add Native Audio to Sell the Illusion
Sound is the most underrated element in AI video realism. The brain uses audio as a constant cross-reference for what it sees. When you watch a scene where footsteps land silently, ambient wind is absent, or a crowd has no background noise, your brain immediately flags it as wrong even if the visuals are excellent.
Sound makes the brain accept the visuals
Psychoacoustic research consistently shows that the perceived quality of video rises when audio matches the visual content. A slightly imperfect video clip with accurate, high-quality audio sounds more authentic than a visually polished clip with no sound or mismatched sound.
This is why the video models that generate native, scene-matched audio consistently produce clips that viewers rate as more realistic, even when the visual content is comparable to models without audio.
Models with built-in audio generation
Several models now generate audio natively alongside video. These are the best performers:
When using models without native audio, describe the intended sound environment in your prompt anyway. Many newer models use these descriptions to influence the visual representation of sound-producing elements, a flag in wind, crashing water, a crackling fire, which makes the scene feel more auditory even before sound is added.
How to Use These Models on PicassoIA
PicassoIA gives you access to over 87 text-to-video and image-to-video models in one interface, with no separate subscriptions required.
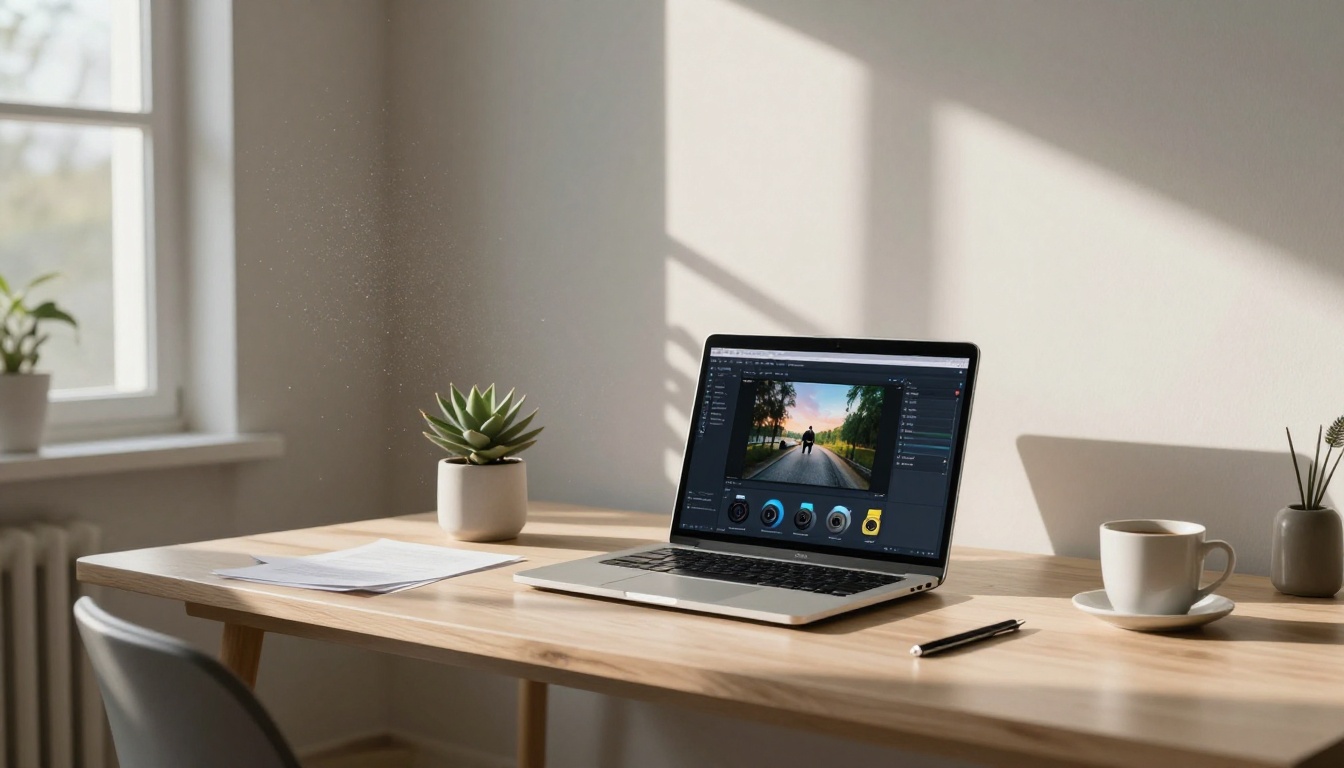
The recommended workflow
Step 1: Generate your base image. Use the text-to-image section to create a photorealistic scene with the lighting and composition you want. This becomes your first frame.
Step 2: Choose your video model. For maximum realism, start with Kling v3 Video, Wan 2.7 I2V, or LTX 2.3 Pro for your first attempt. Each handles different scene types better:
Step 3: Apply upscaling. Run the output through Video Upscale by Topaz to sharpen fine detail and raise the floor on visual quality.
Step 4: Compare and iterate. Generate two versions with different camera movement descriptions or lighting specifications. The difference between a static and a slow dolly-in on the same scene often determines whether the clip reads as real.
The settings that matter most
When submitting a generation on PicassoIA:
- Resolution: Always target 720p minimum. Use 1080p when the platform supports it for your chosen model.
- Duration: Shorter clips (5 seconds) are more consistent than longer ones. For complex scenes, generate in 5-second segments and combine.
- Prompt length: Longer is better for video than for images. Use 100 to 150 words of motion description. Include subject behavior, environment response, camera movement, and lighting in every prompt.
💡 Save your best prompts. Once you find a lighting plus camera plus motion formula that produces consistently realistic results, reuse that structure across different subjects and scenes.
Put It Into Practice
The gap between AI video and real footage is closing faster than most people expect. Models like Veo 3.1 and LTX 2.3 Pro are producing results that would have seemed impossible two years ago. But the output quality ceiling is only reached when the prompting and workflow match the capability of the model.
The six methods above, used together, are what separate creators who generate AI video from those who produce it with intention. Photorealistic base images, physics-driven prompts, deliberate camera movement, specific lighting, resolution upscaling, and native audio are not separate tricks. They are a layered system where each element reinforces the others.

PicassoIA has every model referenced in this article in one place, with no separate accounts or subscriptions. Whether you are generating a product demo, a short film, or social content, the workflow starts with a single image and the right prompt. Start there, apply one of these six methods, and generate your first clip now at picassoia.com/en/all-models.


