The gap between a raw clip and a polished, cinematic video used to be measured in software licenses, tutorial hours, and a lot of patience. That gap has collapsed. AI video editing tools now let you apply professional-grade visual effects, restyle entire clips, remove unwanted objects, and boost resolution, all from a browser tab, with a text prompt or a few clicks.
This is not about shortcuts. The results are genuinely good, and the speed makes iteration possible in a way that manual editing never could. Whether you shoot on a phone, a mirrorless camera, or a drone, AI effects are now a practical part of a real production workflow, not a novelty.
Here is what the tools actually do, which ones are worth using, and how to get results that look intentional rather than processed.
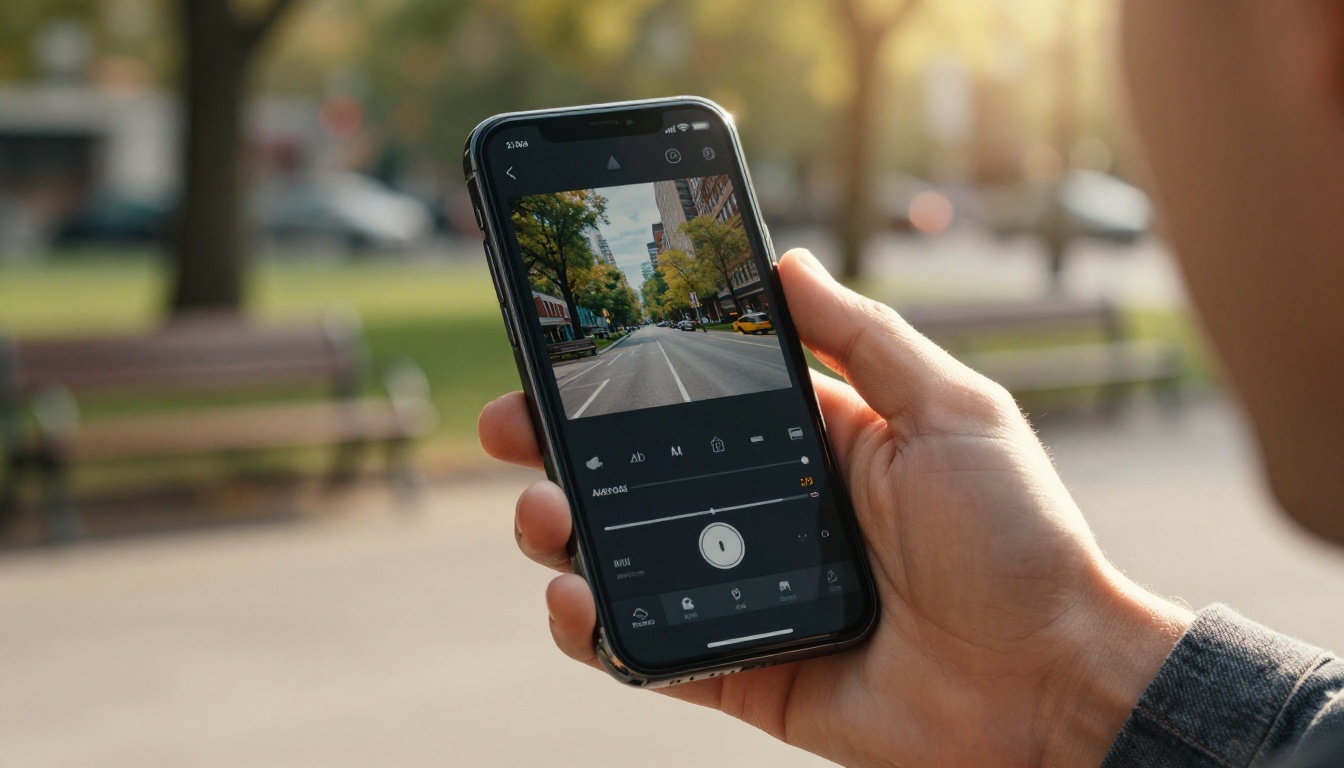
AI video editing is not the same as applying a preset filter. The difference matters because filters treat every frame identically. AI models analyze the content of your video, what is in the shot, how the light falls, what is moving, and adapt the effect to the actual scene.
That means a cinematic color grade applied by an AI model will behave differently on a nighttime street scene than it does on a beach shot. The model reads the image and makes decisions. The result is something that would take a colorist significant time to achieve manually, done in seconds.
Color grading without the ramp-up
Color grading is one of the most time-consuming parts of post-production. Getting the right balance of shadows, highlights, skin tones, and saturation across an entire clip, consistently, takes expertise that most people simply do not have. AI handles this by treating color as a whole-scene problem rather than a set of isolated sliders.
The output is not perfect every time, but it is a usable starting point in virtually every case. For content creators, social media editors, and indie filmmakers, that starting point used to require either years of practice or hiring someone who had it.
Style transfer and footage restyling
Beyond color, AI models can now restyle video footage at a much deeper level. You can describe the look you want in plain language and the model will reinterpret the clip's visual style accordingly. Warm golden-hour tones, a muted analog film look, a high-contrast editorial style, all achievable through text.
Models like Modify Video by Luma and Gen4 Aleph by Runway go further by allowing full recuts and restyle passes on existing footage. These are not surface-level filters. They reinterpret the content of a clip while preserving its motion and structure.
5 Types of Effects Worth Using Right Now
Not all AI video effects deliver the same return. Some categories are mature and reliable. Others are impressive but inconsistent. Here is where the technology actually delivers.
Cinematic color treatment
This is the most battle-tested application. AI color grading is consistent, fast, and produces results that hold up at full quality. Tools that specialize in this area analyze the footage's color temperature, exposure, and tonal range before applying any changes, which is why the output does not look like a generic social media filter.
For anyone who has ever spent forty minutes trying to match color across two clips shot in different lighting conditions, AI handles this in a fraction of the time.
Object removal from video
Removing objects from a still image has been possible for years. Removing them from video, where the background needs to fill consistently across dozens of frames while the camera moves, is a fundamentally harder problem. AI models have finally gotten good at this.
Video Erase Object by Bria handles this at a level that used to require After Effects and a detailed motion tracking workflow. You identify the object, the model handles the fill across the entire clip. For product videos, social content, and travel footage, this removes a significant production bottleneck.
Background removal and replacement
Video Remove Background by Bria does exactly what it sounds like, without requiring a green screen setup. The model segments the subject from the background frame by frame, producing a clean matte that can be placed over any new background.
This is one of those tools that sounds simple but is enormously practical. Home studio setups, talking-head content, product demonstrations, and interview footage all benefit from clean background removal that does not require renting a studio or buying lighting equipment.
Resolution and sharpness boost
Older footage, drone clips, or anything shot in less-than-ideal conditions often lacks the resolution needed for modern distribution platforms. AI upscaling models analyze image content and reconstruct detail that was not in the original file.
Crystal Video Upscaler, Video Upscale by Topaz Labs, and Upscale v1 by Runway each handle this differently, but the result is sharper, more detailed footage without re-shooting. Real ESRGAN Video is also worth testing for footage where texture preservation matters most.
Full-clip style restyling
This is the newest capability and it is changing what "editing" means. Instead of adjusting parameters on a timeline, you describe the visual outcome you want in text, and the model rewrites the aesthetic of the entire clip.
Kling o1 and Wan 2.7 Videoedit both allow text-driven style rewrites on video clips. The results vary depending on the complexity of the shot, but for establishing scenes, b-roll, and short clips, the quality is production-usable.
How to Use Lucy Edit 2 on Picasso IA
Lucy Edit 2 by Decart is one of the most capable text-based video editing models available. It lets you describe a visual effect or style change in plain language and applies it to your clip with strong coherence across frames. Here is how to use it.
Step 1: Upload your clip
Navigate to Lucy Edit 2 on Picasso IA and upload the video clip you want to work with. The model accepts standard formats and handles clips up to a few minutes comfortably.
Keep the clip short for your first test. Shorter clips process faster and give quicker feedback on whether the prompt direction is working.
Step 2: Write a specific effect prompt
This is where most people underperform. Vague prompts produce vague results. Instead of writing "make it look cinematic," describe the specific visual qualities you want.
Effective prompt examples:
- "Apply a warm, golden-hour color grade with lifted shadows and desaturated greens"
- "Add a subtle film grain and lower color saturation to create an analog look"
- "Increase contrast and add a slight blue tint to the shadows for a cold winter mood"
The more specific your language, the more predictable the output. Treat the prompt like a brief to a colorist, not a casual request.
Step 3: Review and iterate
The model returns the processed clip. Watch it at full resolution before deciding whether to iterate. The most common adjustment needed is prompt specificity: if the effect is too strong, add "subtle" or "gentle" to your next prompt. If the color shift is wrong, specify the color temperature more precisely.
Because processing is fast, you can iterate multiple times in the time it would take to manually grade a single clip from scratch.
More Models Worth Testing
The video editing category on Picasso IA includes models that cover specific production needs beyond style effects. Here is a reference for what each one handles:
| Model | What It Does | Best For |
|---|
| Gen4 Aleph | Full recut and restyle | Style overhauls on b-roll |
| LTX 2 Retake | Edit specific clip sections | Fixing isolated moments |
| Kling o1 | Text-driven video rewrite | Narrative and mood changes |
| Wan 2.7 Videoedit | Text-based video editing | Style transfers on short clips |
| Video Erase Object | Remove objects cleanly | Product and travel footage |
| Reframe Video | Change aspect ratio | Repurposing for different platforms |
| Autocaption | Auto-add captions | Social media and accessibility |
| MMAudio | AI-generated ambient sound | Adding audio to muted clips |
| Thinksound | Contextual audio generation | Matching sound to visual content |
| Video to SFX v1.5 | Synced sound effects | Adding realistic SFX from video |
Each of these is accessible without installing anything. Processing happens server-side and the result downloads directly to your machine.
When AI Effects Beat Manual Editing
AI effects are not universally better than manual editing. But there are specific scenarios where they are clearly the faster and often the better choice:
| Scenario | Manual Editing | AI Editing |
|---|
| Color matching across clips | 30 to 90 minutes | Under 2 minutes |
| Removing a background | Requires rotoscoping | Automatic, per-frame |
| Upscaling old footage | Limited by source quality | Genuine detail reconstruction |
| Stylizing 30 seconds of b-roll | Hours of keyframing | One text prompt |
| Adding sound effects to a muted clip | Stock audio search | AI-generated from video content |
The pattern is clear: AI wins on anything repetitive, time-sensitive, or technically demanding without creative nuance. Manual editing wins when the creative decision-making is granular and the artistic intent is specific enough that a text prompt cannot capture it.
For most content creators, the majority of editing work falls into the first category.
How AI Handles Motion Consistency
One of the hardest problems in AI video editing is temporal consistency: making sure an effect applied to frame 1 looks the same on frame 240, accounting for motion, changing light, and moving subjects. Early AI video tools failed badly at this, producing flickering effects that were visually distracting.
Current models have improved significantly. They use approaches that analyze motion vectors and maintain effect coherence across frames, not just pixel-by-pixel processing. The result is that color grades, style transfers, and object manipulations now hold consistently across clips with normal camera movement.
Where consistency still breaks down: fast cuts, extreme motion blur, rapid camera movement, or very high-contrast scenes. For these situations, processing shorter clip segments separately and then joining them with Video Merge tends to produce cleaner results than processing the full clip in one pass.
For clips that benefit from segment-by-segment attention, LTX 2 Retake is particularly well suited, since it is designed to apply edits to specific portions of a clip without affecting the rest.
3 Mistakes That Hurt Your Results
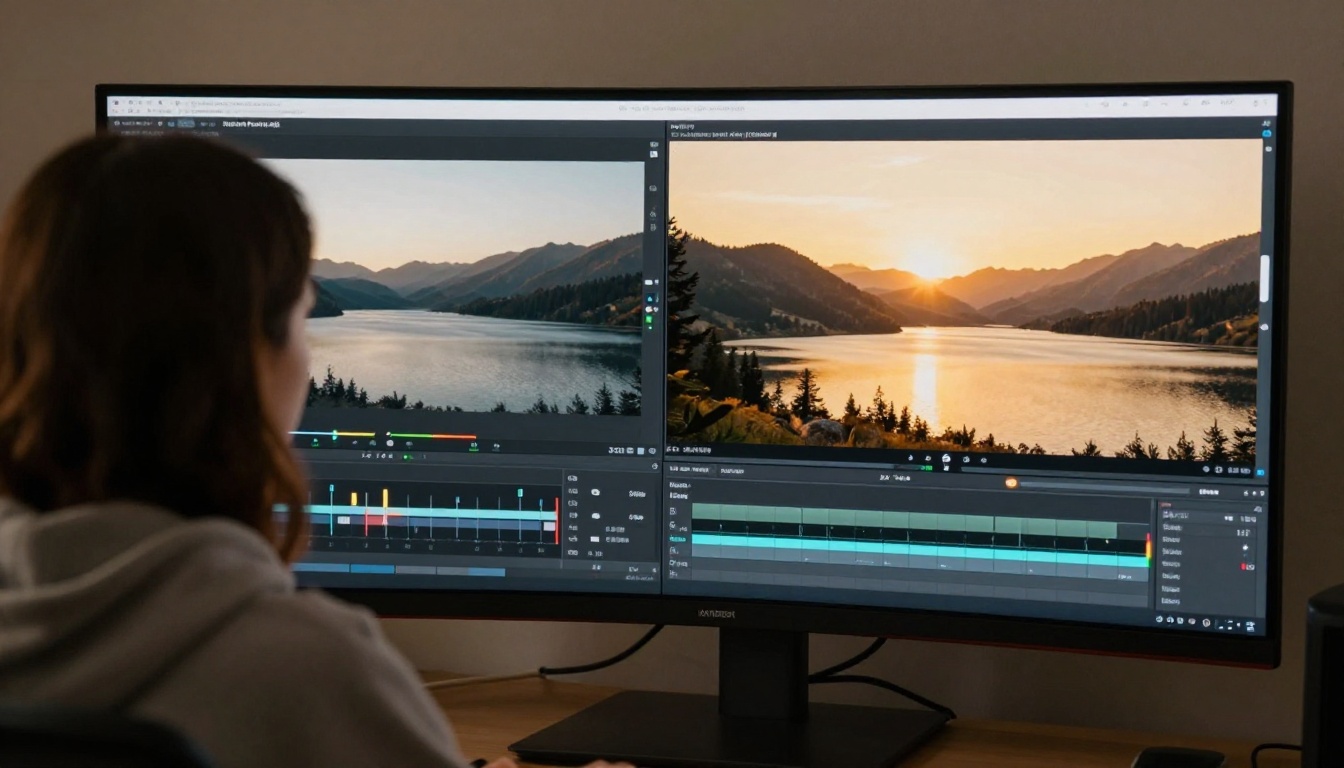
1. Prompts that describe mood instead of visual properties
"Make it feel dramatic" is not a useful prompt for a video effect model. The model needs to know what "dramatic" looks like in terms of color, contrast, saturation, and light direction. Saying "increase contrast, desaturate midtones, and add a slight blue cast to shadows" produces output that matches your intention. Mood words alone do not.
2. Processing long clips in a single pass
For clips longer than 30 seconds, the model has to maintain consistency over more frames with more potential for drift. Breaking a long clip into shorter segments, processing each one, and then joining them with Video Merge is more reliable and produces cleaner results.
3. Ignoring source quality before applying effects
AI video effects are additive. They work with what is already there. If your source clip has severe compression artifacts, inconsistent exposure, or poor focus, the AI effect will have less to work with and the output will reflect that. Running a clip through Crystal Video Upscaler or Video Upscale by Topaz before applying style effects consistently produces better output than applying effects to compressed or degraded source footage.
What a Real Workflow Looks Like
A practical AI-assisted video editing workflow for a typical piece of social or web content looks like this:
- Trim your raw footage using basic editing software or Trim Video to get clean clip segments.
- Remove background or objects if needed using Video Remove Background or Video Erase Object.
- Apply style or color effects using Lucy Edit 2, Modify Video, or Kling o1.
- Upscale if needed with Crystal Video Upscaler or Video Upscale by Topaz.
- Add captions or ambient sound with Autocaption and MMAudio or Thinksound.
- Reframe for each platform using Reframe Video if you need multiple aspect ratios for distribution.
None of these steps require software installation. All can be completed through a browser. The total time for a well-shot 30-second clip can be under 15 minutes from raw footage to platform-ready export.
Tip: Build a consistent style prompt you can reuse across clips. Once you find a color treatment that fits your visual identity, save the exact prompt text and apply it to every piece of content. This is how AI creates visual consistency at scale, something that used to require either a dedicated colorist or hours of manual effort per clip.

The fastest way to see what AI visual effects actually do is to run one of your own clips through a model today. Start with Lucy Edit 2 or Modify Video with a short clip and a specific style prompt. Watch the output at full resolution before drawing any conclusions.
Picasso IA brings together over 500 video editing, generation, and effects models in one place. You can test several approaches on the same footage, compare results side by side, and build a workflow that fits the way you actually produce content. No subscriptions to individual tools. No plugins. No expensive software to install.
Pick a clip from something you shot recently and put it through Lucy Edit 2 with a precise style prompt. The result will tell you more about what AI video effects are capable of than any amount of reading.


