You squeeze into a tiny curtained box, drop in a few coins, and four flashes later a damp strip of paper drops out of a slot. That small ritual has survived for a century because it is fast, funny and a little unpredictable. An AI based photo booth keeps that spirit and removes the limits. No queue, no coins, no cramped stool. You type a prompt or upload a selfie, pick a mood, and get a strip, a portrait or a whole set of styled shots in seconds.
This article shows you how an AI photo booth really works, which free online options make sense, and which prompts produce believable results. You will also find eight photo styles worth trying, a simple workflow, and a few mistakes that ruin otherwise good strips.
What an AI Photo Booth Actually Does
A traditional booth captures four quick frames of you. An AI photo booth does one of two things, and the difference matters when you choose a tool.
Mode one: generate from text. You describe the people, the pose, the lighting and the film look. The model builds the photo from scratch. This is ideal when you want a style without a real source photo, such as a 1970s snapshot or a school portrait.
Mode two: edit from a selfie. You upload a real photo and ask the model to restyle it, change the background, adjust the outfit or recreate it as a four-frame strip. The face stays yours, while the setting and the look change.
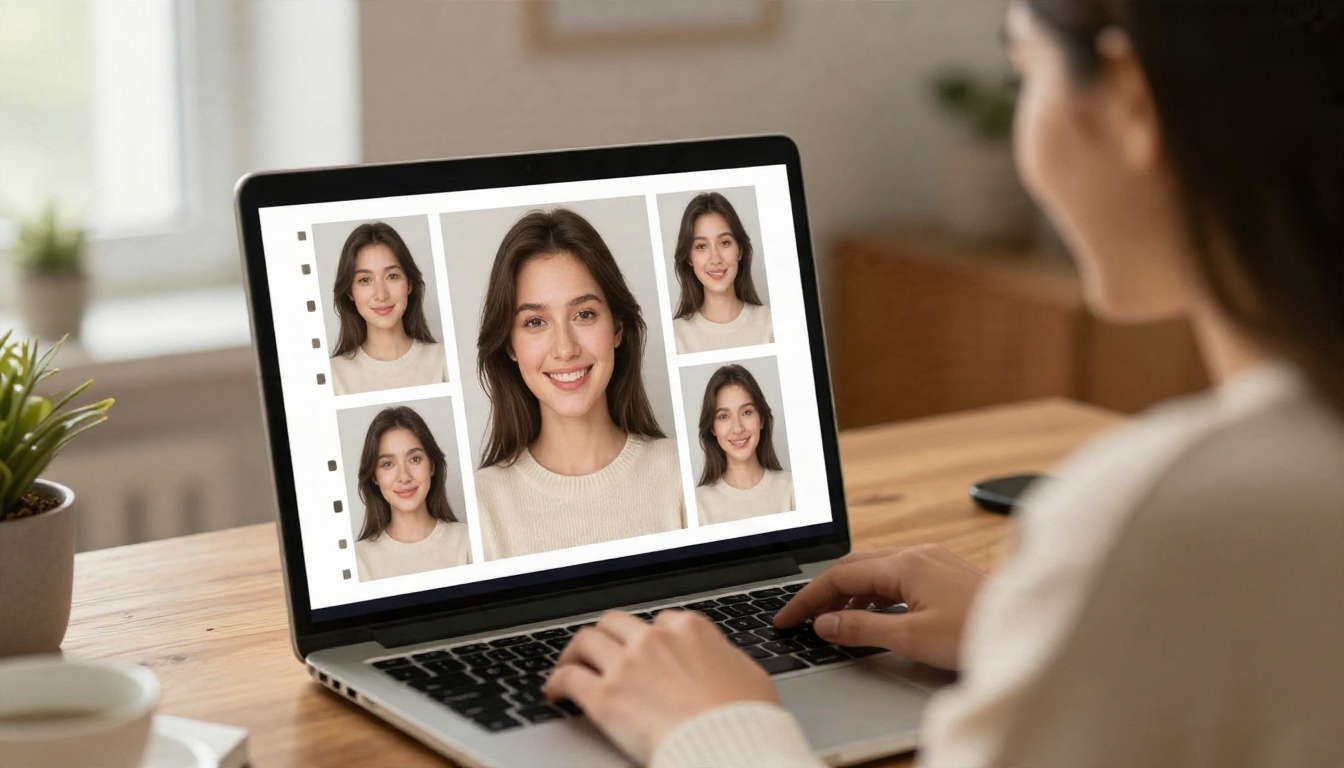
💡 Quick rule: text-to-image is better for invented scenes, and image editing is better when likeness matters. Many of the best results come from combining both: generate a backdrop, then edit your selfie into it.
Why People Love the Format
- Speed: a strip in under a minute, with endless retakes.
- Control: you pick the era, the film stock, the outfit and the expression.
- Zero hardware: a phone or laptop is enough.
- Shareability: a four-frame strip fits perfectly in a story, a card or a group chat.
Where It Beats the Real Booth
A physical booth gives you one lighting setup and one background. An online maker gives you hundreds. You can shoot the same group in a diner, a snowy park and a studio in the same afternoon, and nobody has to leave the sofa.
Free Online Makers Worth Using
You do not need a dedicated app. A good image model plus a clear prompt handles most booth jobs. These are the options that fit this task best on PicassoIA.
Which One Should You Start With
If you only want one tool, pick Seedream 4.5 for text prompts, or Nano Banana when you have a selfie and want to keep your face recognizable. For heavy retouching sessions where you will try many versions, PicassoIA Image Editor Pro is handy because it is built for repeated edits.
💡 Tip: keep one selfie with even light and a neutral expression as your base. Models follow a clean reference far better than a dark, tilted or heavily filtered one.
The Classic Four-Frame Strip
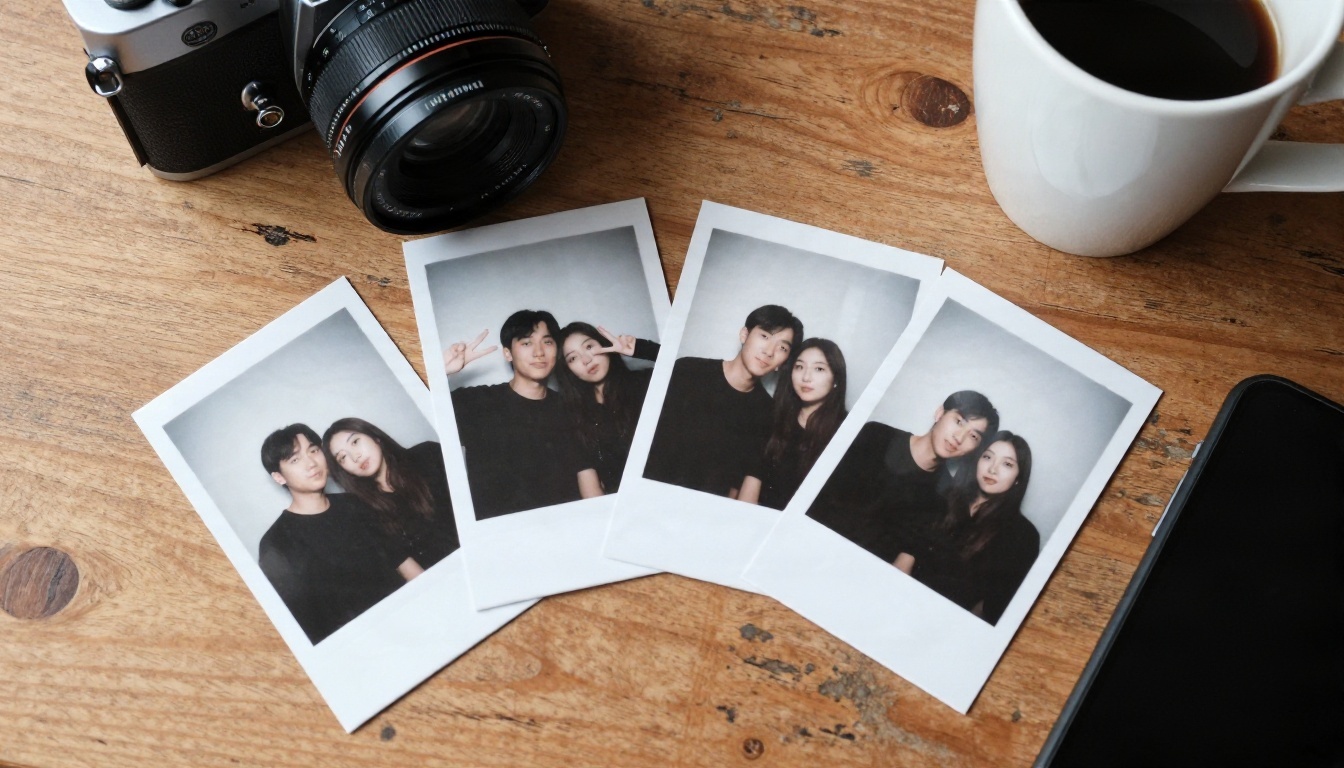
The strip is the signature of any photo booth, so start there. The trick is to describe four different moments instead of one pose repeated.
A Strip Prompt That Works
Copy this and replace the details:
A vertical photo booth strip with four stacked frames of the same two friends, black and white, frame one serious look at the camera, frame two laughing, frame three leaning cheek to cheek, frame four sticking out tongues. Harsh direct flash, slightly overexposed highlights, paper grain, soft vignette, white border between frames, authentic vintage booth print.
Why It Works
- "Four stacked frames" sets the layout.
- Four different expressions stop the model from copying the same face.
- "Harsh direct flash" reproduces the flat, bright look of a real booth.
- "Paper grain" adds the tactile print feeling.
Common Strip Problems
| Problem | Fix |
|---|
| All four frames look identical | Name a different action for each frame |
| Faces drift between frames | Use an edit model with a reference selfie |
| Strip comes out horizontal | Write "vertical strip, tall narrow format" |
| Edges look too clean | Add "slightly curled paper edge, small scratches" |
Eight Photo Styles to Try
Once the basic strip works, change the era or the setting. Each style below includes a prompt direction you can paste and adjust.
1. Studio Headshot
The booth shot your professional profile deserves. Clean grey backdrop, soft key light, a tailored jacket and a relaxed half smile.
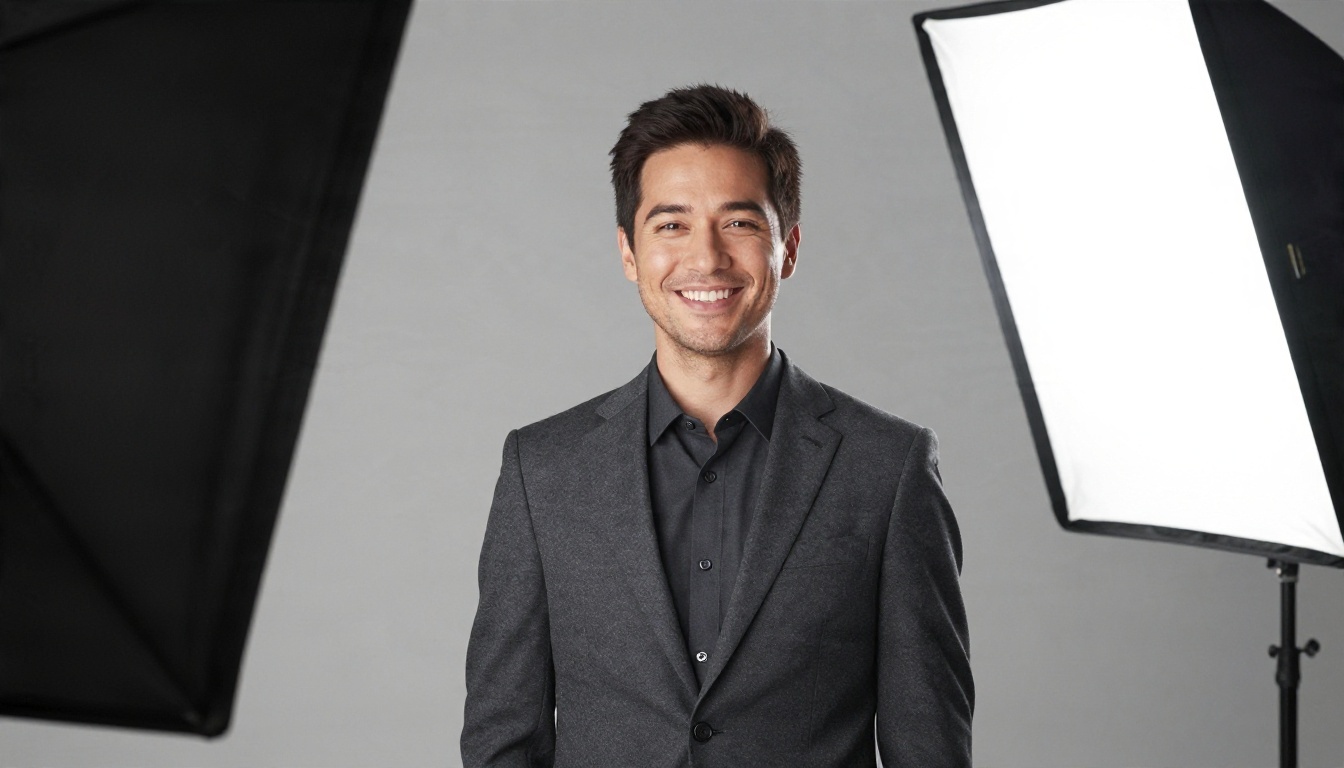
Prompt direction: Professional headshot of a man in a charcoal suit, soft grey studio backdrop, large softbox from the left, subtle rim light from behind, 85mm lens, natural skin texture, neutral color grading.
2. 1970s Snapshot
Warm, faded and a little imperfect. This style suits laughing portraits and group shots.
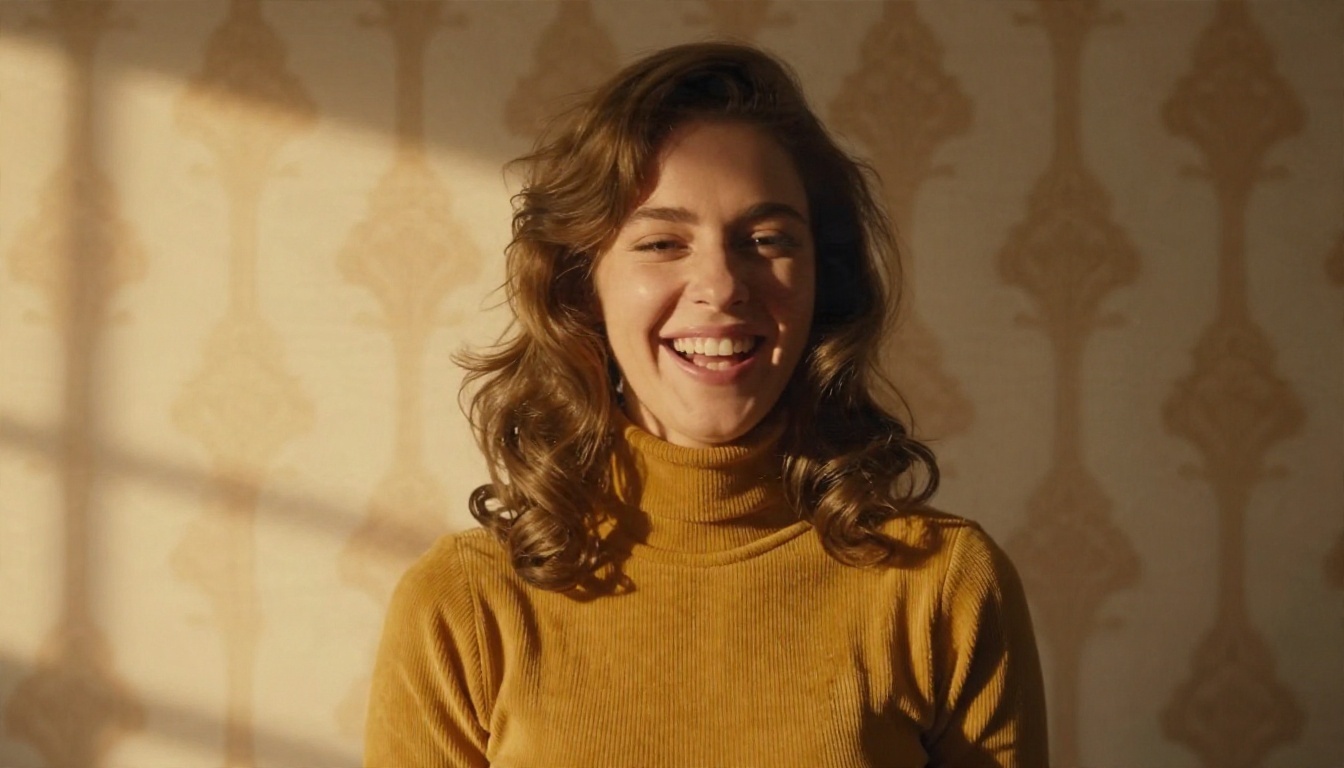
Prompt direction: Young woman in a mustard turtleneck and corduroy flares laughing in front of retro patterned wallpaper, golden sunlight from the left, faded warm tones, soft film grain, old family snapshot look.
3. Holiday Card
Group portraits for seasonal cards work well because the scene is easy to describe: scarves, snow, string lights, close faces.
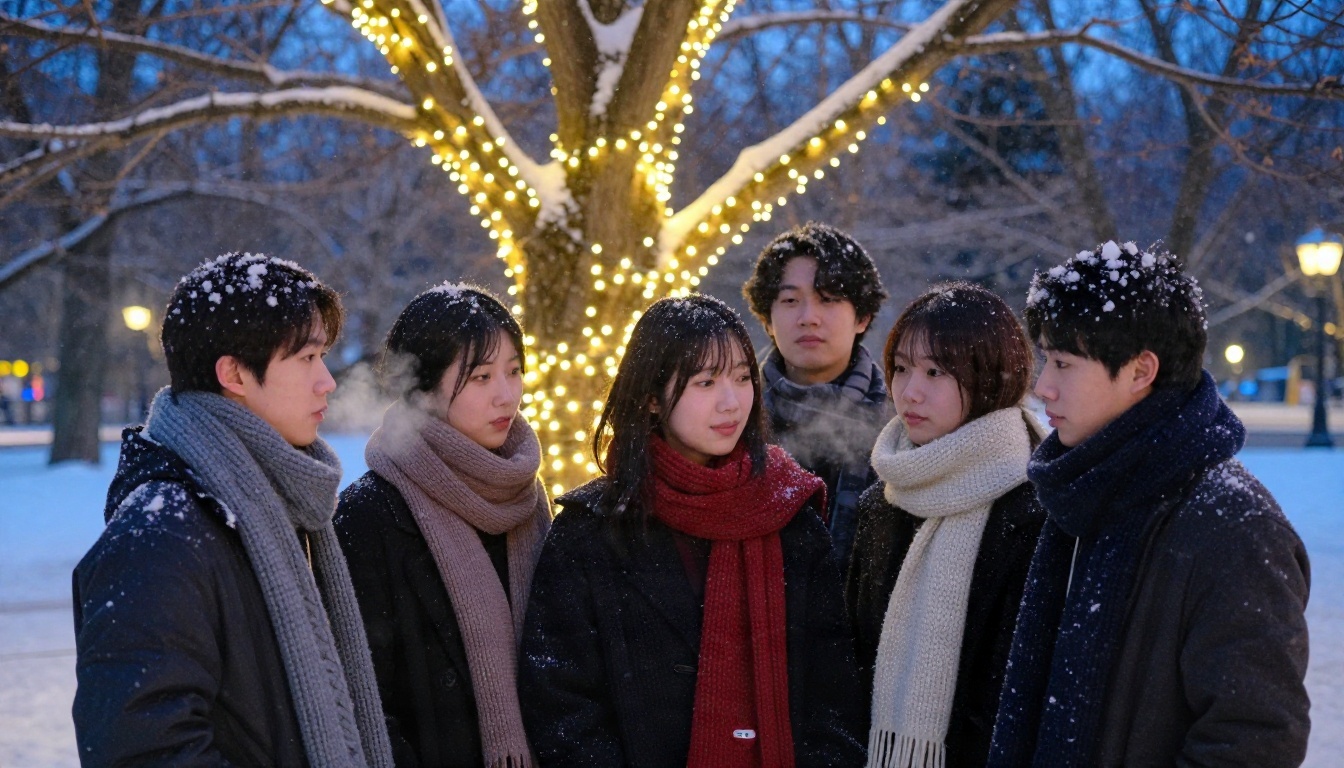
Prompt direction: Five friends in matching knit scarves crowded together in a snowy park at dusk, warm string lights in the trees behind them, cold blue ambient light, breath visible in the air, 35mm lens.
4. Wedding and Party Backdrop
Event hosts can build a themed backdrop and props set without hiring a booth company. Generate the floral arch or the sparkle wall as a scene, then edit guests into it.
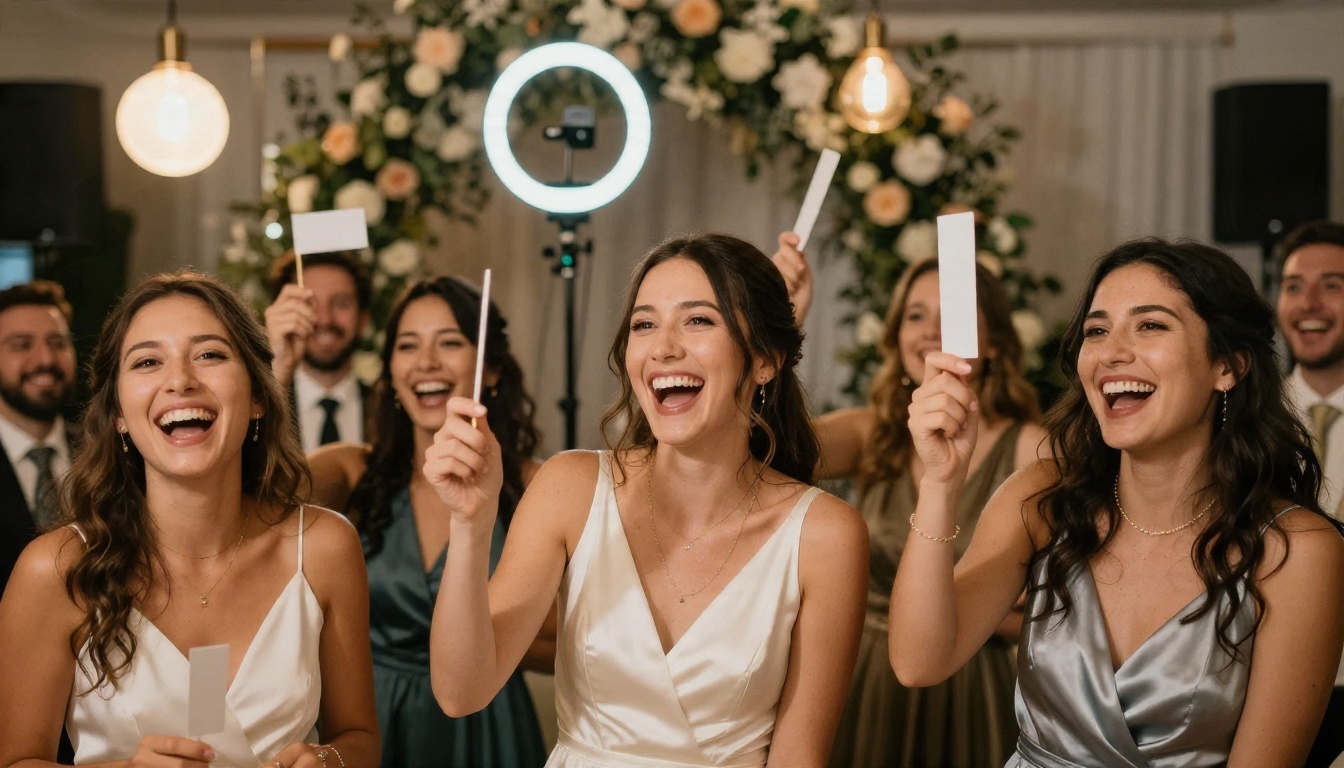
Prompt direction: Wedding guests laughing and holding paper props in front of a floral arch, warm pendant lights, shallow depth of field, satin dresses, candid reception mood.
5. Yearbook Portrait
The pale blue gradient, the varsity jacket, the slightly stiff smile. It is nostalgic and instantly recognizable.
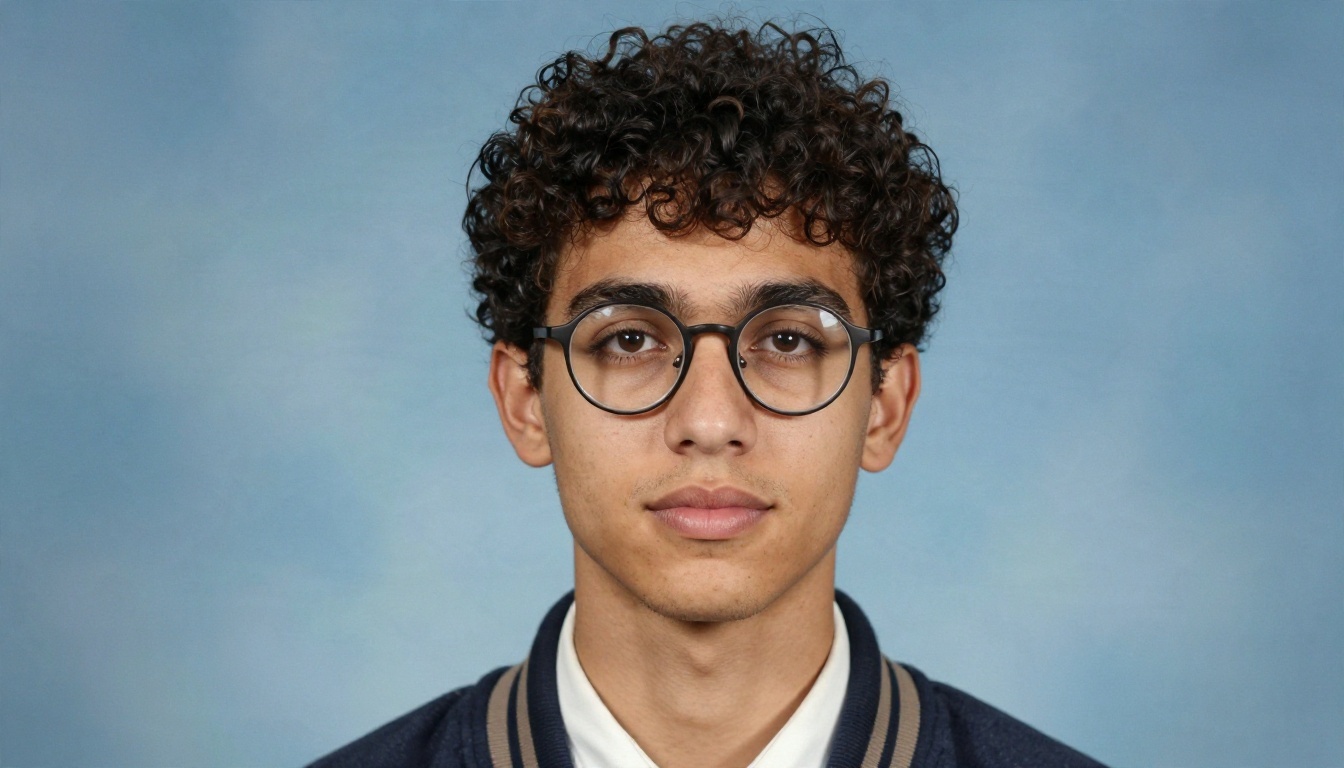
Prompt direction: Yearbook portrait of a young man with curly hair and round glasses in a vintage varsity jacket, pale blue gradient backdrop, softbox at 45 degrees, sharp eyelashes, subtle film grain.
6. 1950s Diner
Chrome, vinyl and window light. This style gives a booth strip a cinematic touch.
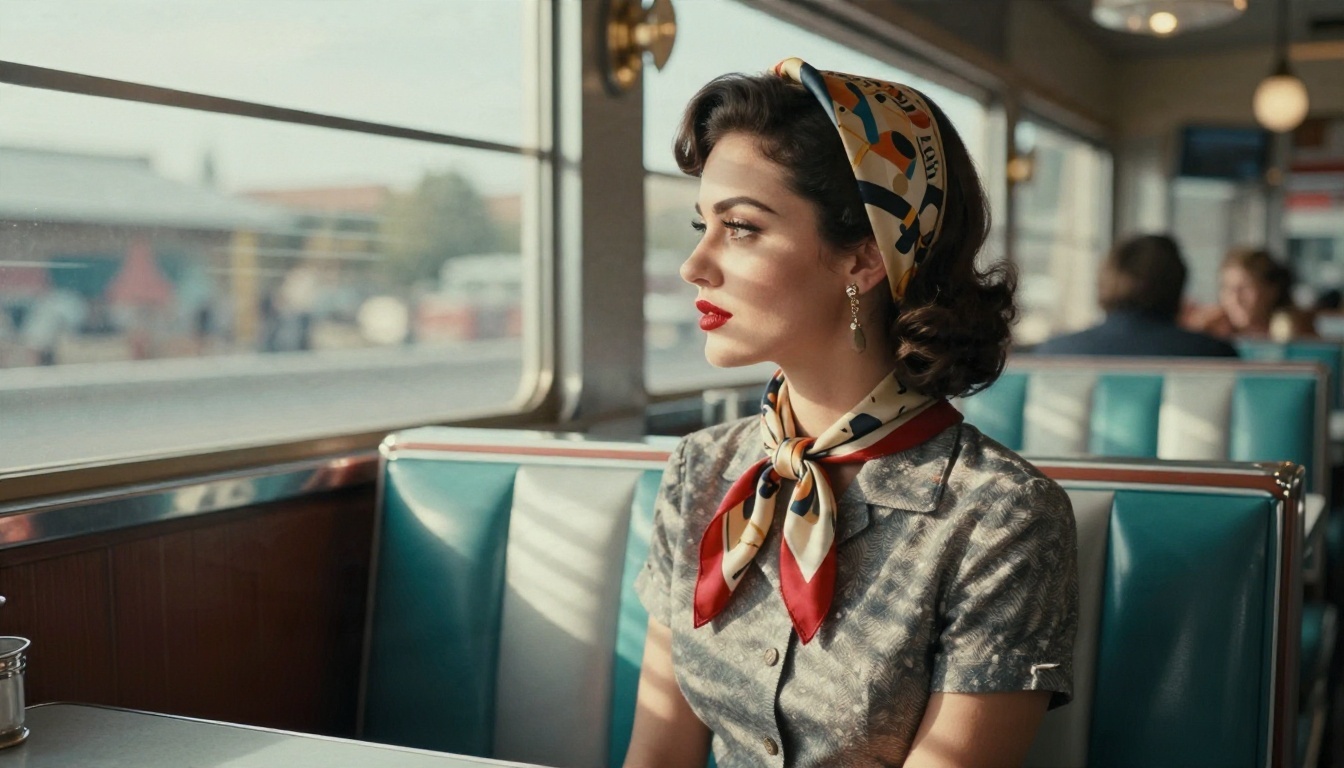
Prompt direction: Side profile of a stylish woman in a vintage hat and silk scarf in a 1950s diner booth, teal vinyl seats, afternoon sun through the window casting soft stripes on her face, red lipstick, film grain.
7. Classic Black and White
Swap color for contrast. Use hard flash, deep shadows and plain walls. It is forgiving, since grain hides small flaws.
8. Cafe Candid
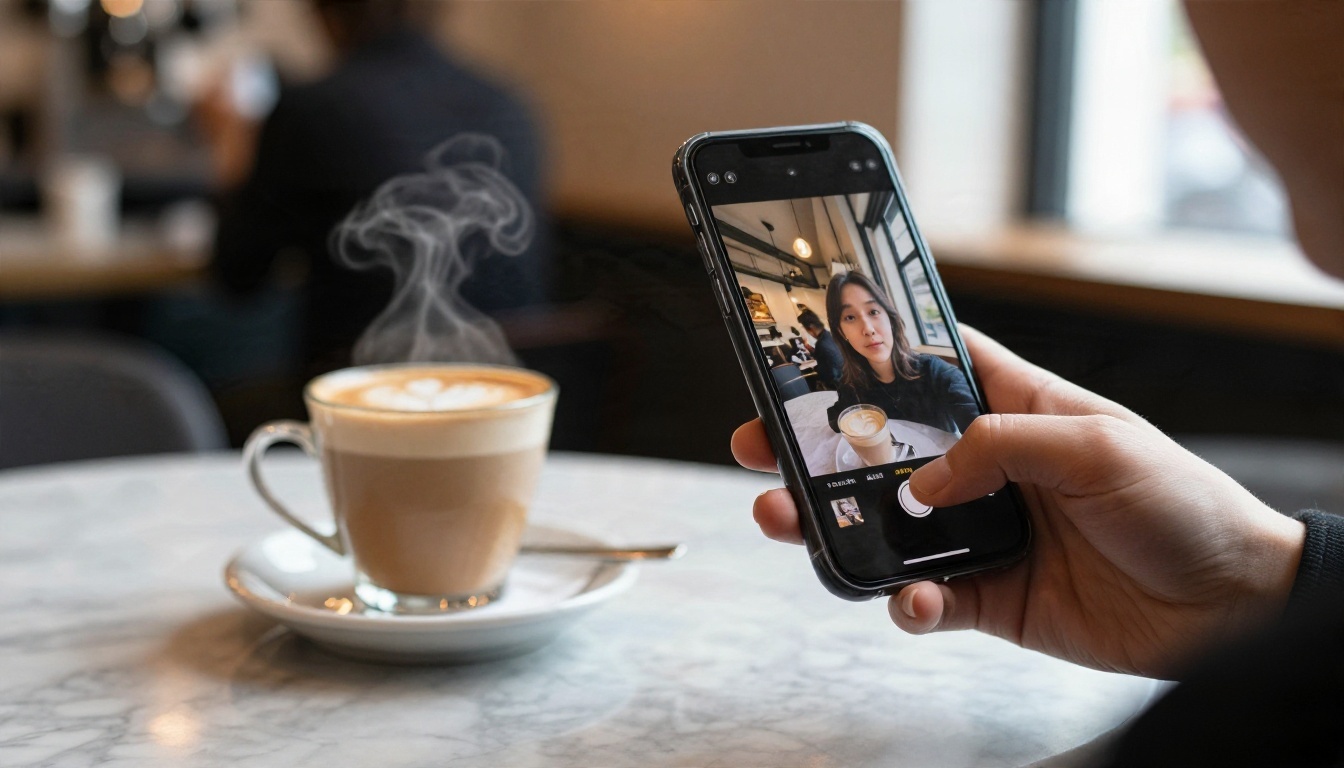
A relaxed, lifestyle look: a window seat, a latte, a phone in hand. It suits social posts better than formal strips.
A Simple Workflow in Five Steps
Here is how to go from idea to finished strip using PicassoIA.
- Choose the mode. Text prompt for invented scenes, selfie upload for your own face.
- Open a model. Try Seedream 4.5 for text, or Nano Banana for selfie edits.
- Write the prompt in layers. Subject, expression, outfit, backdrop, lighting, lens, film look. In that order.
- Set a wide or tall ratio. Use a tall ratio for strips, 16:9 for scenes, 1:1 for profile pictures.
- Generate, compare, refine. Change one detail at a time, such as the light direction or the outfit, so you can see what made the difference.
💡 Pro habit: save your best prompt as a template. Swap only the era and the clothing, and you can produce a consistent set for a whole friend group.
Add a Real Camera Language
Photographic words give models a clear target. These phrases consistently help:
- Lens: "85mm f/1.8" for portraits with soft backgrounds, "35mm f/2" for groups.
- Light: "soft window light from the left", "direct on-camera flash", "golden hour sun".
- Film: "Kodak Portra 400 grain", "faded warm tones", "slight vignette".
- Skin: "visible pores, natural freckles, flyaway hairs" for believable faces.
Keep It Natural
Over-smooth skin and perfect symmetry are the usual giveaways of an AI portrait. Ask for texture, tiny imperfections and honest expressions. A laugh with slightly closed eyes looks more real than a flawless smile.
Share, Print and Reuse Your Results
A good strip is only half the fun. What you do after matters just as much.
Ideas for Your Finished Shots
- Invitations: use a strip as the header of a birthday or wedding invite.
- Gifts: print a couple strip on photo paper and frame it.
- Profile pictures: crop the best single frame into a square.
- Group chats: send a themed set, one era per friend.
- Event backdrops: generate the scene, then let guests pose in front of the printed version.
Upgrade the Resolution
Generated images are often fine for screens but soft when printed large. Run the best frame through a super resolution model before printing, so edges and skin texture hold up at poster size.
Clean Up Last Details
If a stray object or caption ruins an otherwise perfect frame, use Text Removal to remove it. To soften a distracting background and keep the face sharp, try Depth of Field.
Mistakes That Ruin a Strip
Most weak results come from a few repeat errors.
- One vague sentence. "Photo booth picture of me" leaves the model guessing about everything. Add era, light and expression.
- Too many styles at once. A 1950s diner, neon signs and a snowy park in one prompt creates a mess. Pick one world.
- Ignoring the reference. When editing a selfie, say clearly "keep the same face and hairstyle."
- Forgetting texture. Without grain, pores and fabric weave, the image looks plastic.
- Asking for text in the frame. Long captions often come out garbled. Keep text to a single short word, or add it afterward in a regular editor.
A Quick Self-Check Before You Share
| Check | What to look for |
|---|
| Hands | Five fingers, natural poses |
| Eyes | Same gaze direction and catchlights |
| Edges | No melted hair or odd outlines |
| Light | One consistent direction across the frame |
| Face match | Looks like the real person |
Privacy and Respect
Photo booth tools use faces, so a few habits are worth keeping. Only upload pictures of people who agree to it. Do not create images that put someone in a situation they would not want to be seen in. If you generate an invitation or card for a group, show everyone the result before posting. Friendly, honest use is what keeps this format fun.
Start Your Own Photo Booth Session
You already have what you need: a phone, a selfie and a few lines of text. Open Seedream 4.5 on Picasso IA and paste the strip prompt from earlier. Then try the 1970s snapshot, the yearbook portrait and the diner shot with your own details. If you have a favorite photo of yourself, bring it into Nano Banana or PicassoIA Image Editor Pro and restyle it in a few clicks.
Make a small set, send it to a friend and ask which era suits them best. For more image models to experiment with, browse all PicassoIA models and build the strip that nobody at the arcade could print.


