A car listing lives or dies on its first photo. A buyer scrolling through forty results gives each one about a second, and a scratched-looking bumper parked next to a dumpster loses that second fast. The good news is that you no longer need a studio, a drone, or a free Saturday on a mountain road. An AI car photo editor takes the picture you already have, swaps the background, fixes the light, and hands back something that looks like a magazine shoot.
The catch is that the result depends on the prompt you write and on the order you do things in. This article shows both, with prompts you can paste as they are, a short tutorial for the PicassoIA editor, and the mistakes that make a fake background obvious from three feet away.
Why Car Backgrounds Matter So Much
Cars are the hardest consumer product to photograph. They are big, they are shiny, and they reflect everything around them. Whatever stands near the car ends up inside the paint, which means a messy background does not just sit behind the vehicle. It shows up on the doors and the hood too.
What Buyers Notice First
Shoppers form an opinion before they read a single line of the listing. They judge in roughly this order:
- The overall impression: clean and cared for, or neglected.
- The setting: does the car look like it belongs somewhere, or like it is waiting to be sold?
- The details: wheels, paint, headlights, and interior.
A consistent, tidy background wins the first two. A row of listings that share the same white studio floor reads as one trustworthy seller. A row of random driveways reads as a pile of individual guesses, and the buyer has to work harder to trust each one.
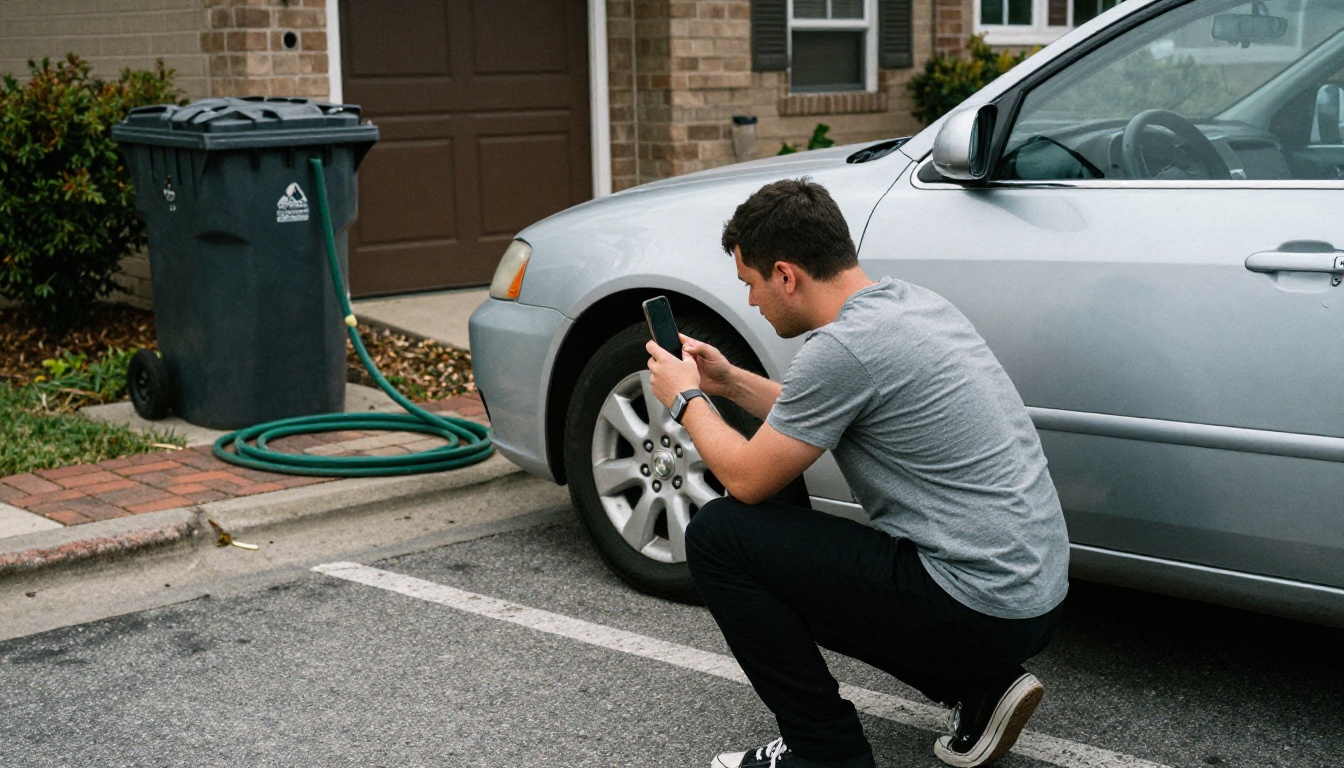
Most private sellers start exactly here: a phone, a driveway, and bins in the corner of the frame. The car is fine. The picture around it is not.
The Problem With Dealership Lots
Lots are built for parking, not for photography. You get fences, poles, neighboring vehicles, and flat midday light that makes every panel look the same shade of beige. Moving the car is expensive, and waiting for the perfect hour is unrealistic when you have sixty vehicles to list this week.
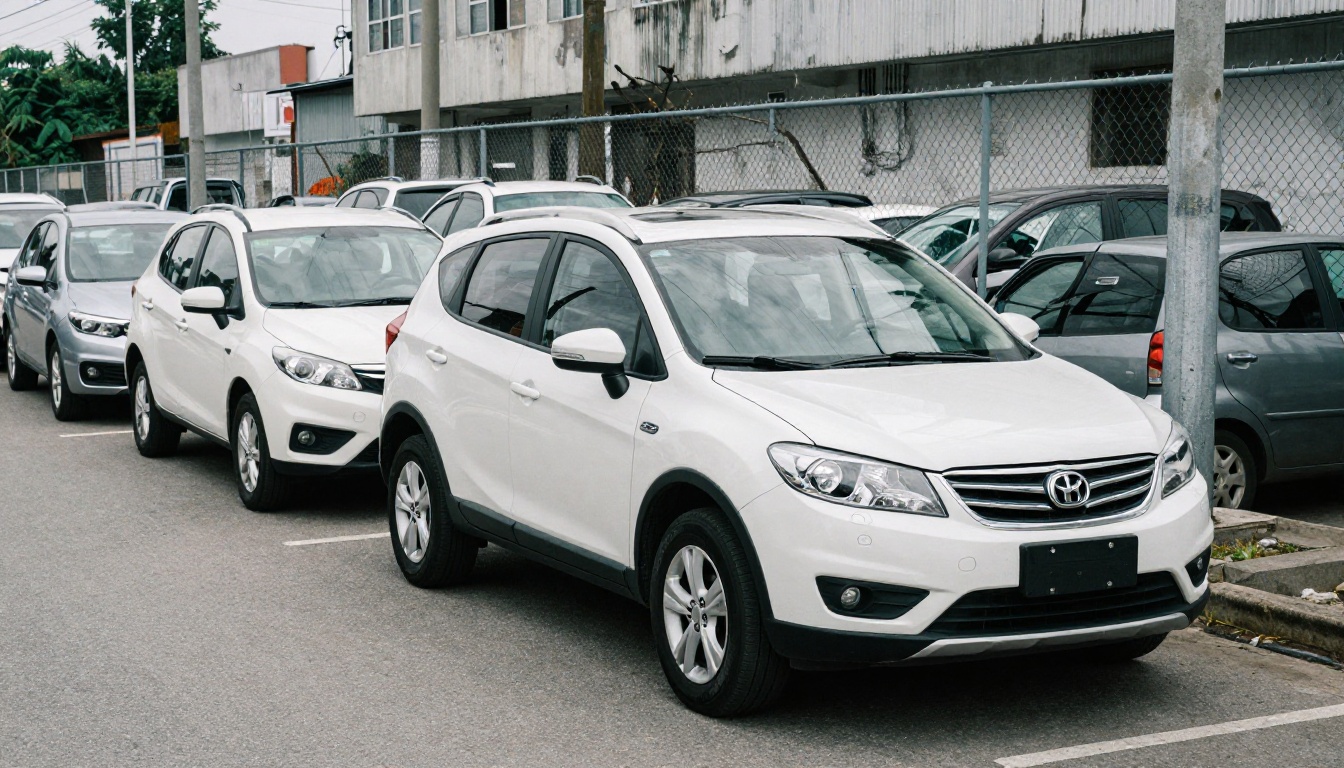
Look at the door panels in a shot like this one. The neighboring cars are reflected right in the paint, so even a perfect cutout would carry the clutter along with it. That gap between the photo you can take and the photo you need is where background editing earns its place.
How an AI Car Photo Editor Works
Two different kinds of tools get lumped together under this name, and mixing them up is the fastest way to waste an afternoon.
Cutout First, Then Rebuild the Scene
A background remover such as Remove Background isolates the car and returns a clean transparent PNG. You then drop that cutout onto a new backdrop in any layout tool. It is predictable and gives you full control, but you also have to fake the shadows and reflections yourself, because the cutout carries the old ones with it.
Prompt Editing Keeps the Light Consistent
A prompt-based editor like PicassoIA Image Editor Pro takes a different route. You upload the photo, describe the new scene in plain language, and the model repaints the surroundings while trying to keep the car intact. Because it generates the whole frame, it can also adjust ground shadows and paint reflections so they match the new setting. That is what makes the car look placed instead of pasted.
| Approach | Best for | Weak spot |
|---|
| Cutout only (Remove Background) | Catalog sheets, transparent PNGs, plain white backdrops | Old reflections stay on the paint |
| Prompt edit (Image Editor Pro) | Full scene swaps, time of day, color changes | May alter small details if the prompt is loose |
| Inpainting (Flux Fill Pro) | Fixing one area such as a fence or a sign | Needs a mask, slower to set up |
| Instruction edit (Flux Kontext Dev) | Changing one thing at a time while the car stays put | Big changes take several rounds |
💡 Tip: Use a cutout when you need an exact transparent file. Use a prompt edit when you want a believable photograph.
Prompts That Change the Background
The Four-Part Prompt Formula
Every strong background prompt answers four questions. Skip one and the model fills the gap with a guess, usually a bad one.
- Lock the subject: say what must not change. "Keep the car, its color, wheels, and angle exactly the same."
- Describe the new place: be specific. "An empty coastal road with grass-topped cliffs" beats "a nice background".
- Set the light: direction, time of day, softness. "Low golden sun from the right, long soft shadows."
- Name the camera: lens and height. "35mm lens, low camera angle, shallow depth of field."
Put the lock sentence first. Models weigh the start of a prompt heavily, and a car that survives the edit is worth more than a pretty sky.
Ready-to-Paste Prompts
Replace the bracketed parts with your own car details. Each one assumes you attach the original photo as image 1.
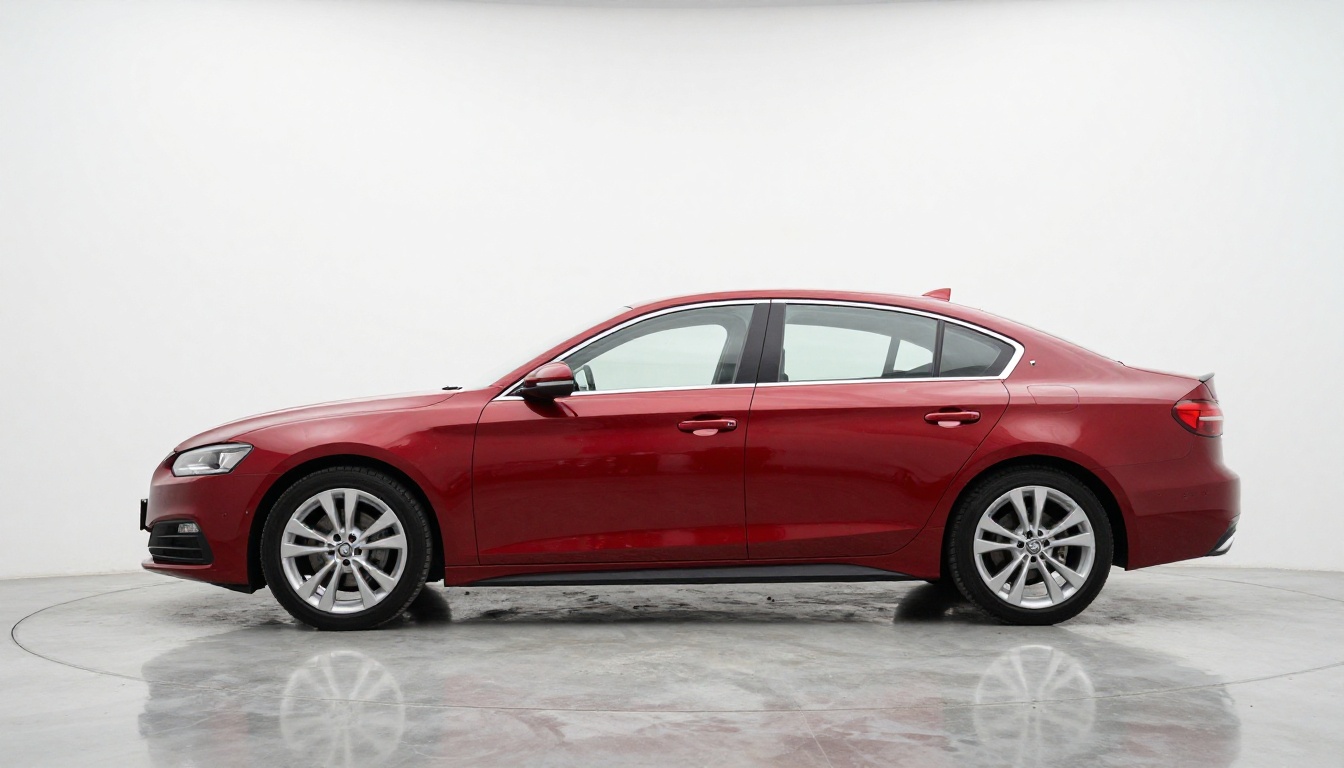
White studio, for catalog listings
Place the [color] [model] from image 1 in an empty white photography studio with a seamless backdrop and a polished concrete floor. Keep the car, wheels, and angle exactly the same. Large softbox light from both sides, a faint mirror reflection on the floor, even shadows under the tires.
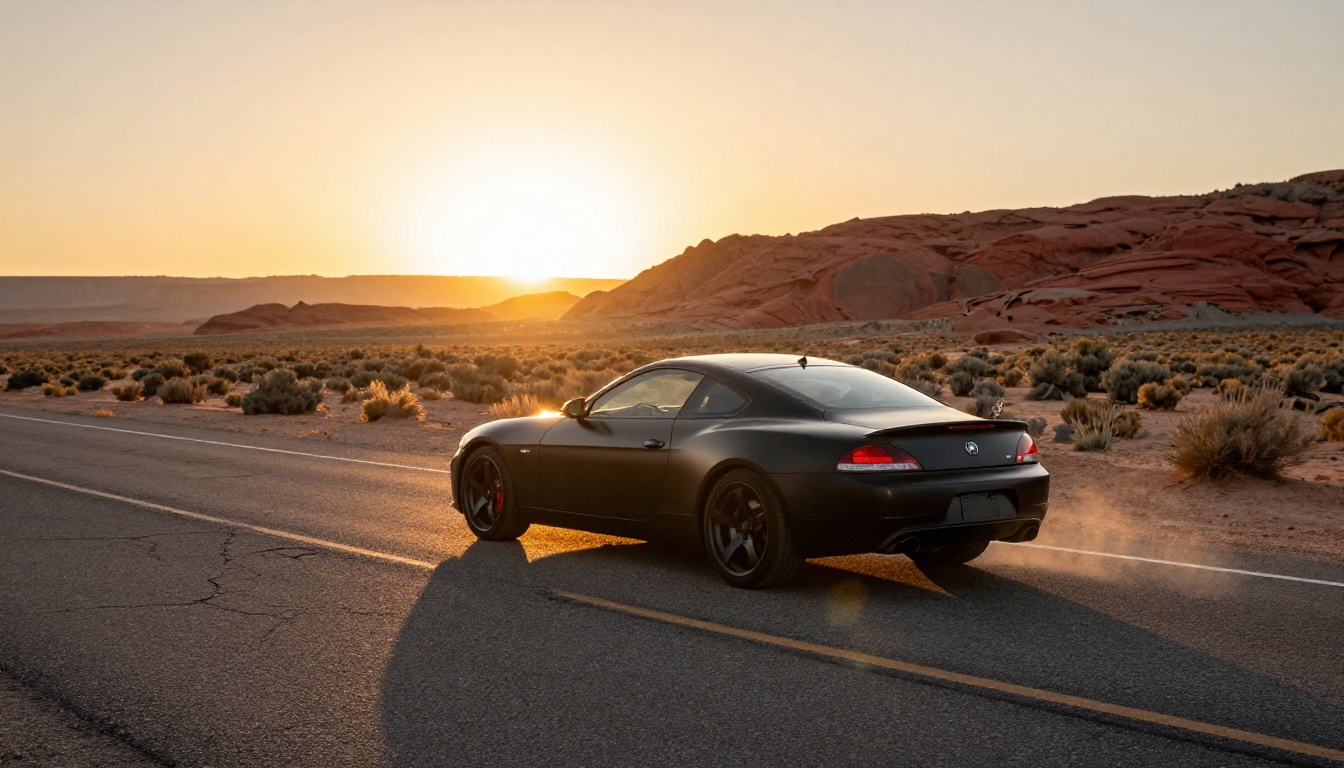
Desert highway, for sports cars
Replace the background with an empty desert highway at sunset, red rock mesas in the distance. Keep the car unchanged. Warm backlight rimming the roofline, long shadows across cracked asphalt, 50mm lens look, light dust haze.
Mountain road, for crossovers and SUVs
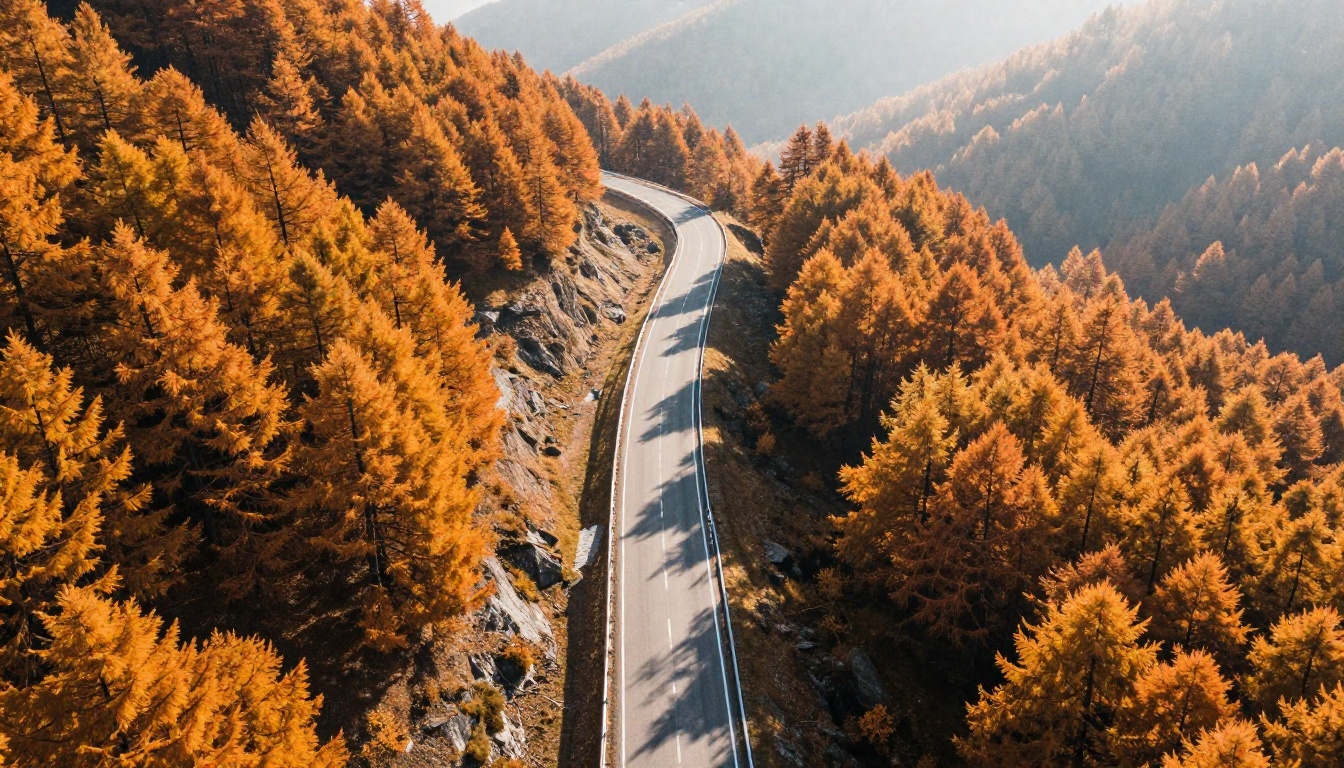
Move the car from image 1 onto a winding mountain road in autumn with orange and yellow forest on both sides. Keep the car's color and shape. Soft morning light, mist in the valley, natural shadows stretching to the right.
Rainy city street, for wagons and sedans
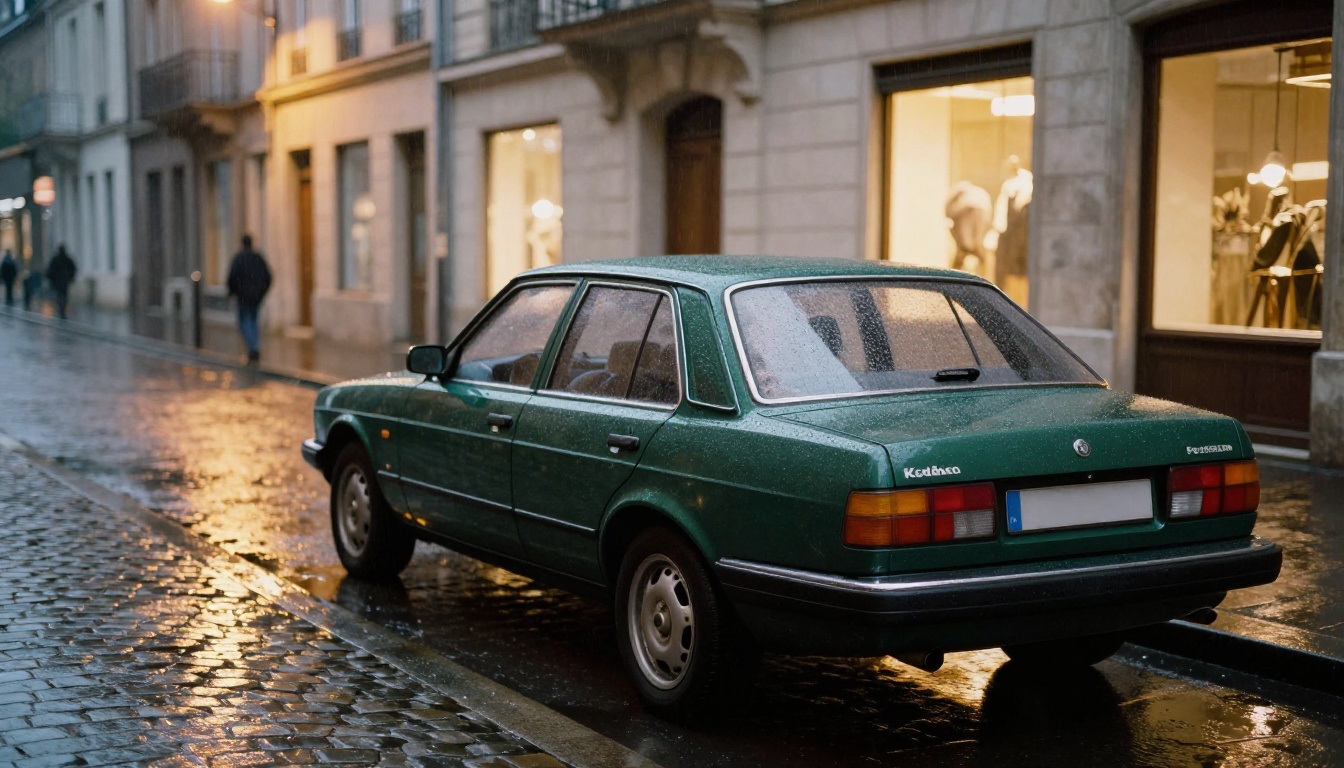
Put the car on a wet European street at dusk with warm amber streetlights reflecting on the pavement. Keep the car unchanged, add thin rain beads on the hood, shop windows softly glowing behind, low camera angle.
Village lane, for classics
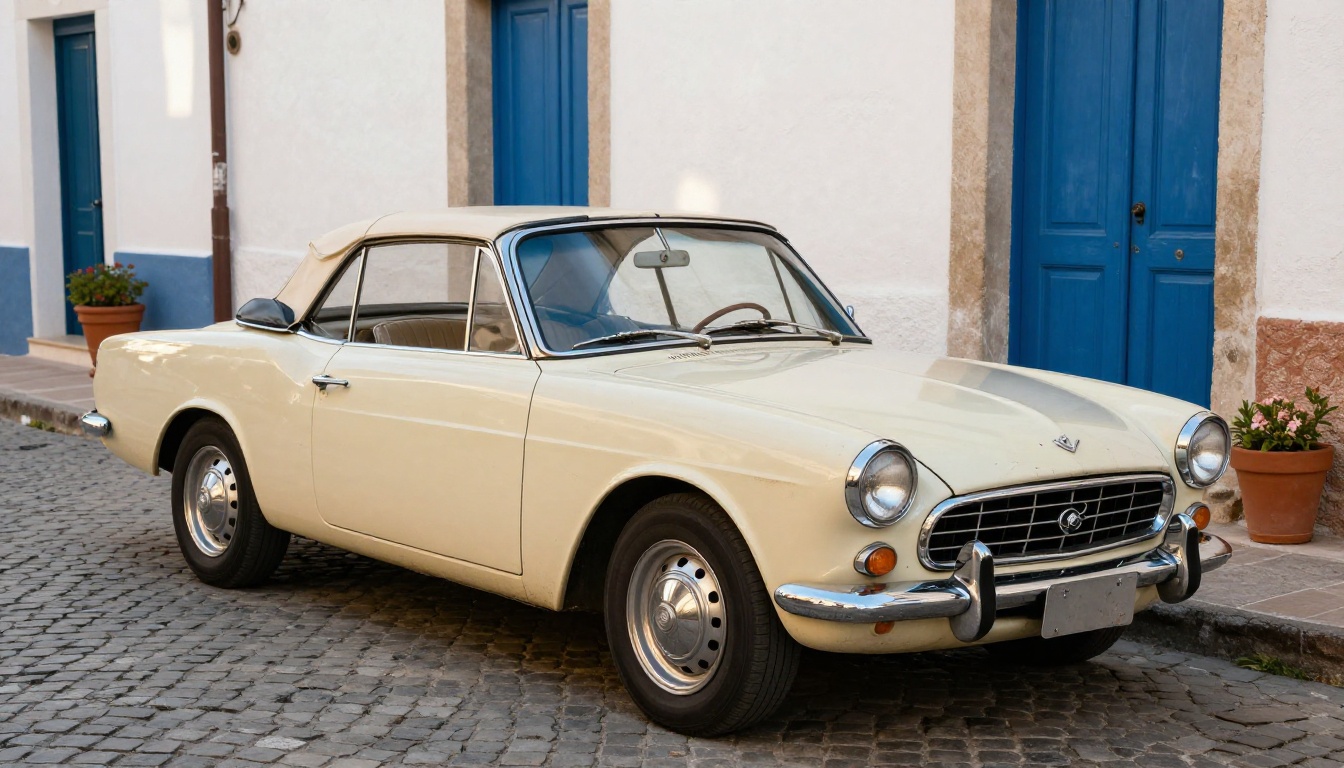
Place the classic convertible on a sunlit cobblestone lane in a Mediterranean village with whitewashed walls and terracotta pots. Warm afternoon light from the right, chrome reflecting the street, keep the paint and body exactly as they are.
Match the scene to the car. A matte sports coupe suits a desert road, a family wagon looks natural in the rain, and a classic convertible belongs on a sunny lane. A mismatch between vehicle and setting is the second thing a buyer notices, right after bad reflections.
How to Use Image Editor Pro
PicassoIA Image Editor Pro is the quickest way to run those prompts, because it is built for plain-language edits and it has no per-edit cap. You can try a dozen backgrounds on the same car without watching a counter.
Step-by-Step Workflow
- Open the model page on PicassoIA and upload your car photo. The first image you add is the primary one, so make that the car.
- Add a second reference if you have one. The editor accepts up to three images, and you refer to them as "image 1", "image 2", and so on. A photo of the location you want can go in as image 2.
- Paste the prompt. Start with the lock sentence, then the scene, the light, and the camera.
- Leave the aspect ratio on
match_input_image so the car is not cropped or stretched. Switch to 16:9 only when you want a wide hero banner.
- Pick the output format. JPG or WebP for listings, PNG when you need maximum fidelity.
- Ask for two outputs and compare them. The editor can return up to two variations per run.
- Lock the seed once you find a look you like, so the next car in the batch gets the same treatment.
Settings Worth Adjusting
| Setting | Recommended value | Why |
|---|
| Aspect ratio | match_input_image | Preserves the car's framing |
| Output format | JPG or WebP | Smaller files for listing sites |
| Output quality | 90 to 95 | Sharp paint without huge files |
| Number of outputs | 2 | Quick side-by-side check |
| Seed | Fixed after a good result | Same look across a whole batch |
💡 Tip: If the model changes the wheels or the badge, shorten the scene description and repeat the lock sentence at the end of the prompt as well.
The model page also shows a sample that repaints a glossy red car as deep metallic midnight blue while keeping the road, the mountains, and the light unchanged. That "keep everything else the same" phrasing is worth copying into your own prompts.
Fixing Reflections, Shadows, and Light
A new background that ignores the paint is the number one giveaway.
Match Reflections to the New Scene
Look at the doors and the hood. If the new scene is a sunset coast, the paint should carry warm orange near the horizon line and cool blue from the sky above. If the paint still reflects a gray parking lot, the eye catches the mismatch instantly.
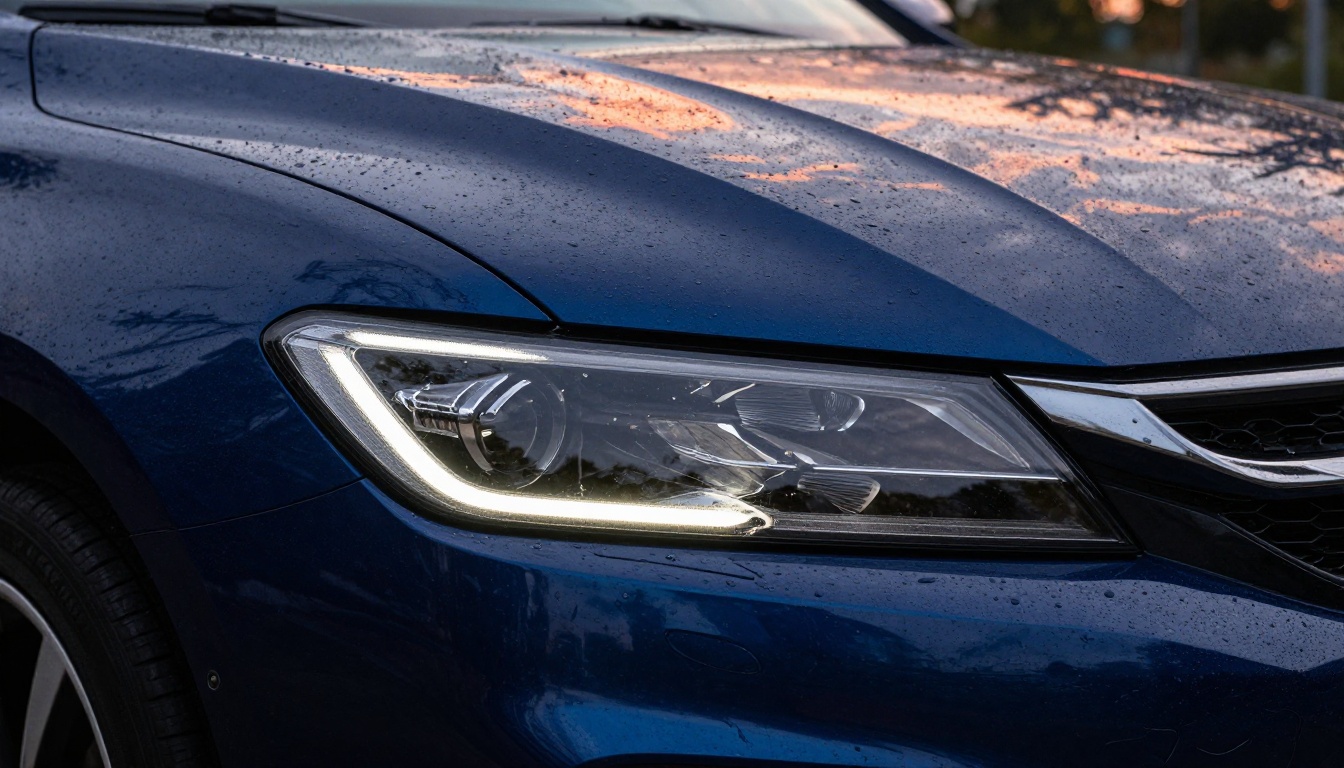
Ask for the reflection directly: "paint reflects the warm sunset sky and the tree line". For stubborn cases, run a second pass with Qwen Image Edit Plus Relight, which is built to change the lighting on an existing photo.
Ground the Car With Shadows
A car without a contact shadow floats. Tell the editor where the sun is and where the shadow falls: "soft shadow under the tires, longer shadow stretching away from the sun". Dark rubber against pale asphalt is the first place the eye checks.
Real automotive photos also throw the background slightly out of focus. If your replacement scene looks too sharp and flat, Depth of Field can add natural blur behind the car while the vehicle stays crisp.
Mistakes That Make Edits Look Fake
Wrong Light Direction
If the sun in your new background sits on the right, the highlights on the car must sit on the right too. When the original photo was shot under an overcast sky, the paint has soft, directionless highlights, and a hard sunset behind it looks wrong. Fix it by naming the light in the prompt, or pick a background that matches the original mood. Overcast photos pair well with misty mountain roads and rainy streets, while sunny photos suit coastal and desert scenes.
Wheels That Float
Tires need contact with the ground: a dark contact patch, a thin shadow line, and a little road texture right where the rubber meets the surface. Ask for "a soft contact shadow under every tire" and zoom in to 100 percent before you export. If the wheels still hover, a second pass with Flux Fill Pro on just the ground strip fixes it without touching the rest of the image.
Hiding Real Damage
Changing the setting is fine. Hiding a dent, rust, or a cracked windshield is not, and it costs you the sale the moment the buyer walks up to the car. Write "keep all scratches, dents, and wear exactly as they are" when condition matters, and shoot close-ups of real flaws separately. Buyers trust sellers who show the bad along with the good. For license plates, dealer stickers, and stray text on windows, Text Removal is built for taking text out of a photo cleanly.
Which Model for Which Job
Quick Picks by Task
A Simple Batch Workflow
If you list many cars, a fixed routine saves more time than any single model choice:
- Shoot every car from the same three angles, phone held level, whole vehicle inside the frame, nothing touching the edges.
- Run the background prompt in Image Editor Pro with a locked seed.
- Check wheels, shadows, and reflections at 100 percent zoom.
- Relight or upscale only the images that need it.
- Export as JPG or WebP and keep the untouched originals in a separate folder.
Many marketplaces expect the gallery to show the real car. A restyled background works well as the hero image, but keep honest original angles further down the gallery so the buyer sees the vehicle as it stands today.
Try It on Your Own Car Photos
Pick one car, one photo, and one prompt from the list above. Open PicassoIA Image Editor Pro on Picasso IA, upload the shot, paste the white studio prompt, then compare it with the coastal version. The whole experiment takes a few minutes, and because the editor has no per-edit cap you can keep adjusting the light, the road, and the camera until the result looks like a real shoot.
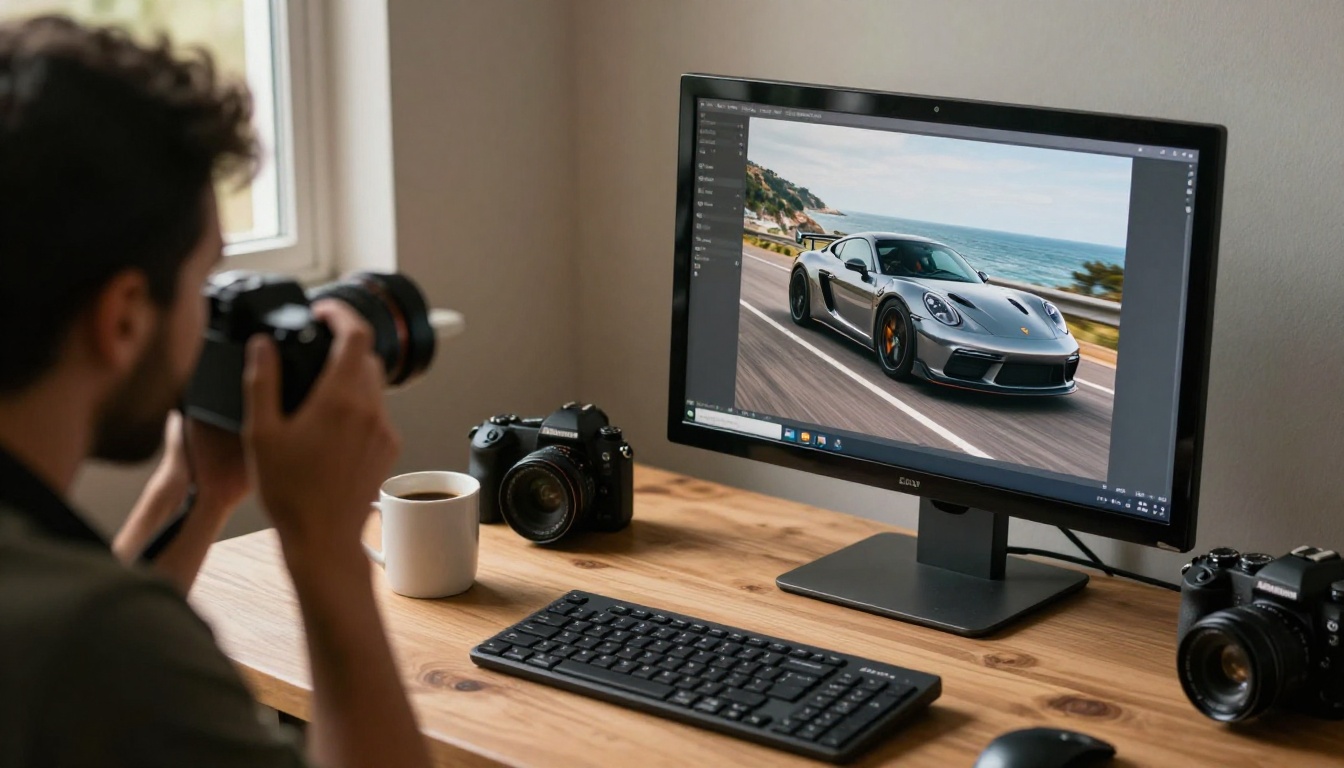
Need a clean transparent file for a catalog? Run the same photo through Remove Background first. Want a fresh road with no car in it? Generate one with Seedream 5 Pro and use it as image 2. Browse every model at picassoia.com/en/all-models, pick the one that fits your car, and start creating your own images with Picasso IA today.


