You have a selfie on your phone, and somewhere in your head there is a version of you with sharper cheekbones, silver hair and a jacket that belongs in an anime opening. The gap between those two things used to take a commissioned artist and a week of waiting. Now it takes one decent photo, one clear prompt and about a minute. This article shows you how an AI character generator from photo actually works, which free online tools are worth your time, which prompts produce results you will want to keep, and how to pick an anime style that suits your face instead of fighting it.
I tested this workflow with portraits of different ages, lighting setups and hairstyles. Some results were stunning. Others looked like a stranger wearing my haircut. The difference almost never came from the tool. It came from the photo, the prompt, and a handful of small choices that nobody tells you about.
Why Photo Based Characters Work
A text-only character is a guess. You describe "a tall woman with green eyes and a scar" and the model invents a face from millions of averages. A photo based character starts from a real face, so the proportions, the eye spacing and the jawline already exist. The model only has to restyle them.
That is why the same prompt gives you a generic result in one case and something eerily personal in the other. The photo carries information that words cannot.
What the Model Actually Reads
When you upload a portrait, the system extracts a handful of signals:
- Face geometry: the distance between the eyes, nose length, jaw width and face shape.
- Hair silhouette: length, parting, volume and color.
- Expression: a smile, a smirk or a neutral stare carries into the output.
- Accessories: glasses, earrings, beards and hats are often preserved unless you ask otherwise.
- Lighting direction: strong shadows can be misread as facial features.
The model then blends those signals with the style you request. Think of the photo as the skeleton and the prompt as the costume department.
Where People Use These Characters
The use cases are wider than profile pictures. Writers build protagonists from friends' faces. Game masters turn each player into a custom token. Streamers need an avatar that looks like them but stays consistent across thumbnails. Small brands create a mascot based on their founder. Parents turn a toddler's photo into a storybook hero for bedtime.
💡 Quick rule: if the character needs to appear more than once, save your best prompt and your best source photo together. Consistency comes from repeating both.
Picking the Right Source Photo
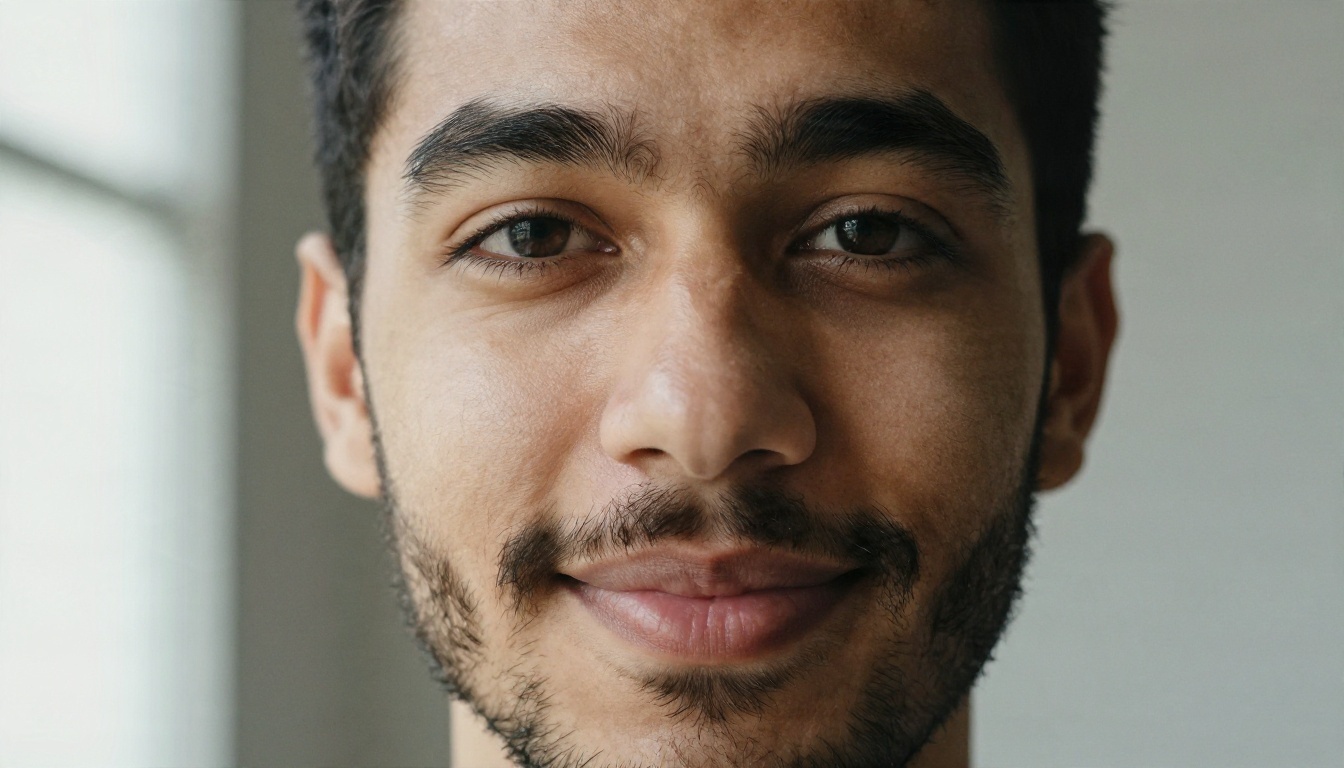
Nine out of ten failed results trace back to the input. You do not need a studio. You need a photo that shows the face clearly and honestly.
Lighting That Helps
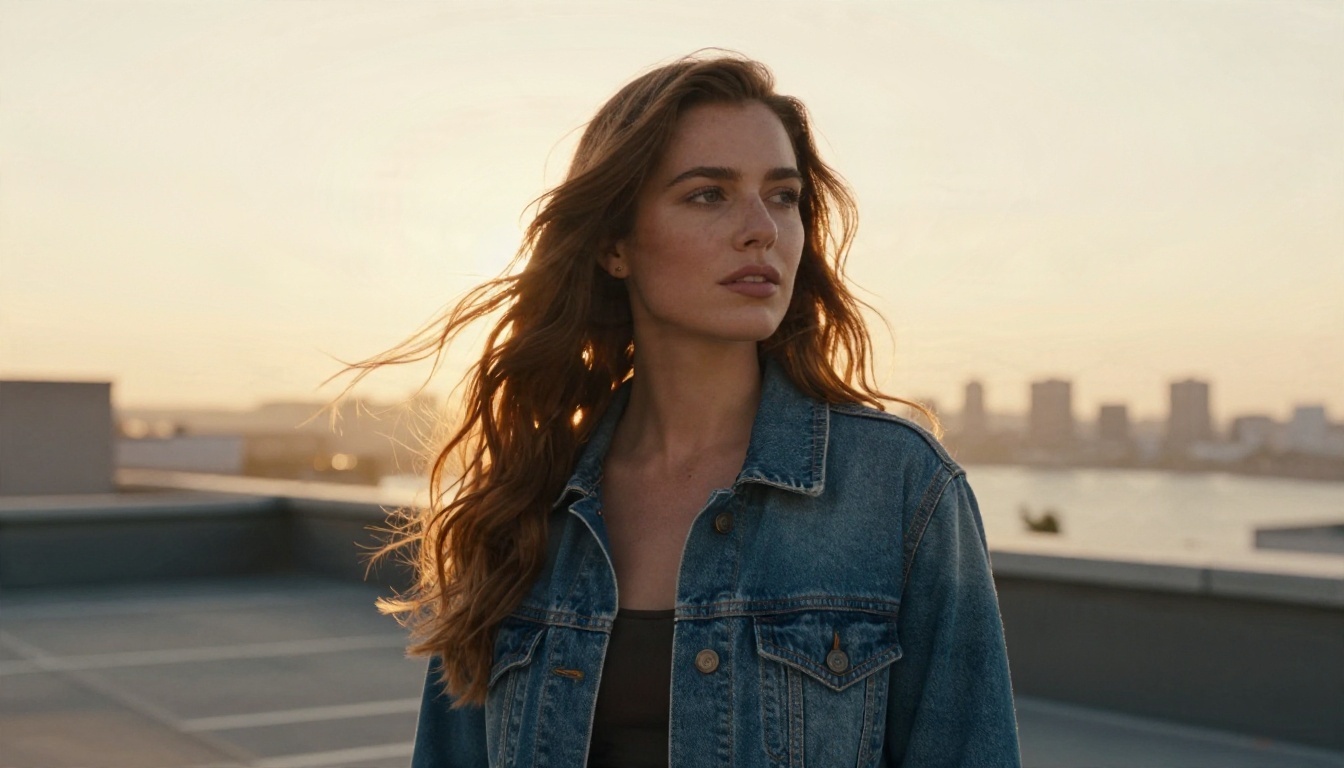
Soft, even light is the safest option. A window on one side of your face on an overcast day is nearly perfect. Golden hour looks beautiful to humans, but strong backlight can hide your features and push the model to guess. If you love the warm look, shoot with the light slightly in front of you and not behind.
Avoid hard overhead sun. It creates dark eye sockets and shadows under the nose that some tools read as permanent facial structure.
Angle and Framing
A straight-on or slight three-quarter angle works best. Keep the camera at eye level. Wide-angle selfies taken at arm's length stretch the nose and shrink the ears, and the model will faithfully reproduce that distortion in cartoon form.
Fill roughly half the frame with your head and shoulders. Too far away and detail is lost. Too close and the tool crops your hairline, which changes your whole silhouette.
What to Leave Out
Take off sunglasses and hats unless they are part of the character. Skip heavy beauty filters, since they smooth the exact texture the model uses to anchor your identity. Group photos can confuse the tool about which face to follow, so crop to one person.
| Photo factor | Best choice | What to avoid |
|---|
| Lighting | Soft window light | Harsh noon sun, strong backlight |
| Angle | Eye level, slight turn | Low or high selfie angles |
| Expression | Natural, relaxed | Extreme grimaces |
| Background | Plain, uncluttered | Busy patterns and other faces |
| Resolution | At least 1000 px on the short side | Heavily compressed screenshots |
The market is crowded, and "free" means different things on different sites. Some give you a daily allowance. Some give you a watermark. Some give you three tries and then a paywall. Before you spend an evening on a tool, check three things: whether it accepts a reference photo, whether it exports without a watermark, and whether it lets you edit the result with text.
Here is how the main types of tools compare in practice.
Photo Editors With Style Presets
These apps give you one-tap filters labeled "anime," "comic" or "game hero." They are fast and require no writing. The downside is limited control. You get the preset look, and if the eyes come out too large or the hair color is wrong, you cannot correct it.
Prompt Based Image Editors
This is the category where the best results live. You upload your photo, type what you want, and the model restyles the face while following your instructions. Because you control the text, you can specify hair color, outfit, setting and art style in one pass, then fix problems with a follow-up message.
On PicassoIA, several models handle this kind of reference based editing:
| Model | Best for | Strength |
|---|
| Nano Banana | Conversational edits from a photo | Keeps likeness while changing style and outfit |
| Seedream 4.5 | Polished, high resolution characters | Clean detail in hair and clothing |
| Qwen Image Edit Plus | Precise instruction following | Targeted changes without redrawing everything |
| Flux Kontext Fast | Quick iterations | Fast edits when you want to test many looks |
| Ideogram Character | Repeating one character | Consistency across several scenes |
Style Trained Models
If you want a very specific look, such as a particular watercolor feel, a LoRA based model can help. Flux 2 Klein 9B Base LoRA is built for styled output, and it suits people who already know the exact aesthetic they are after.
💡 Pick one, then stay with it. Switching tools mid-project changes the face slightly each time. Choose a model for your character and generate every variation there.
How to Use Nano Banana on PicassoIA
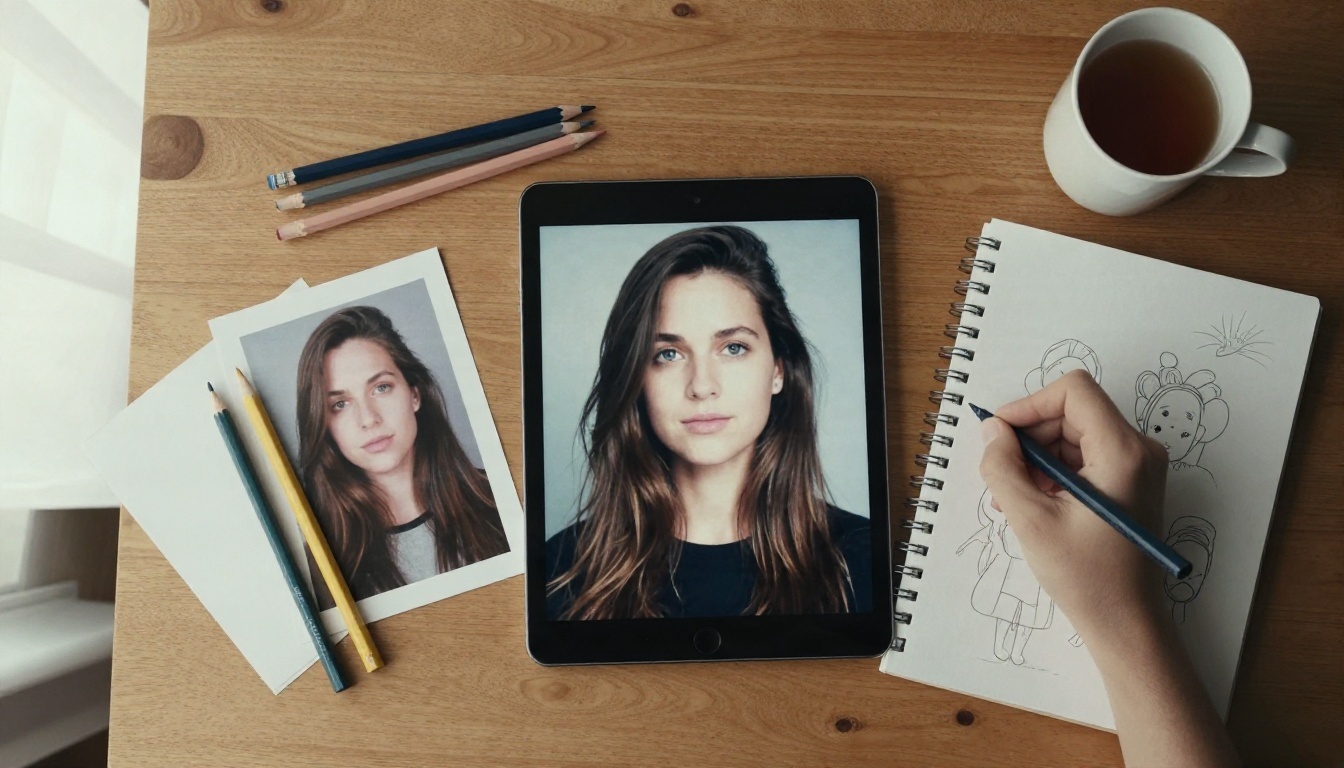
Nano Banana is a good first stop because it treats your photo as a reference and responds to plain language. Here is the full process from upload to final image.
Step 1: Open the Model
Go to the Nano Banana page on PicassoIA. You will see a prompt box and an image input.
Step 2: Upload Your Portrait
Add the photo you prepared. Use the best one, not the one that took the least effort to find. If the tool lets you add more than one reference, a second photo from a different angle can improve likeness.
Step 3: Write a Clear Prompt
Start simple. Name the style, the subject and what must stay the same. For example:
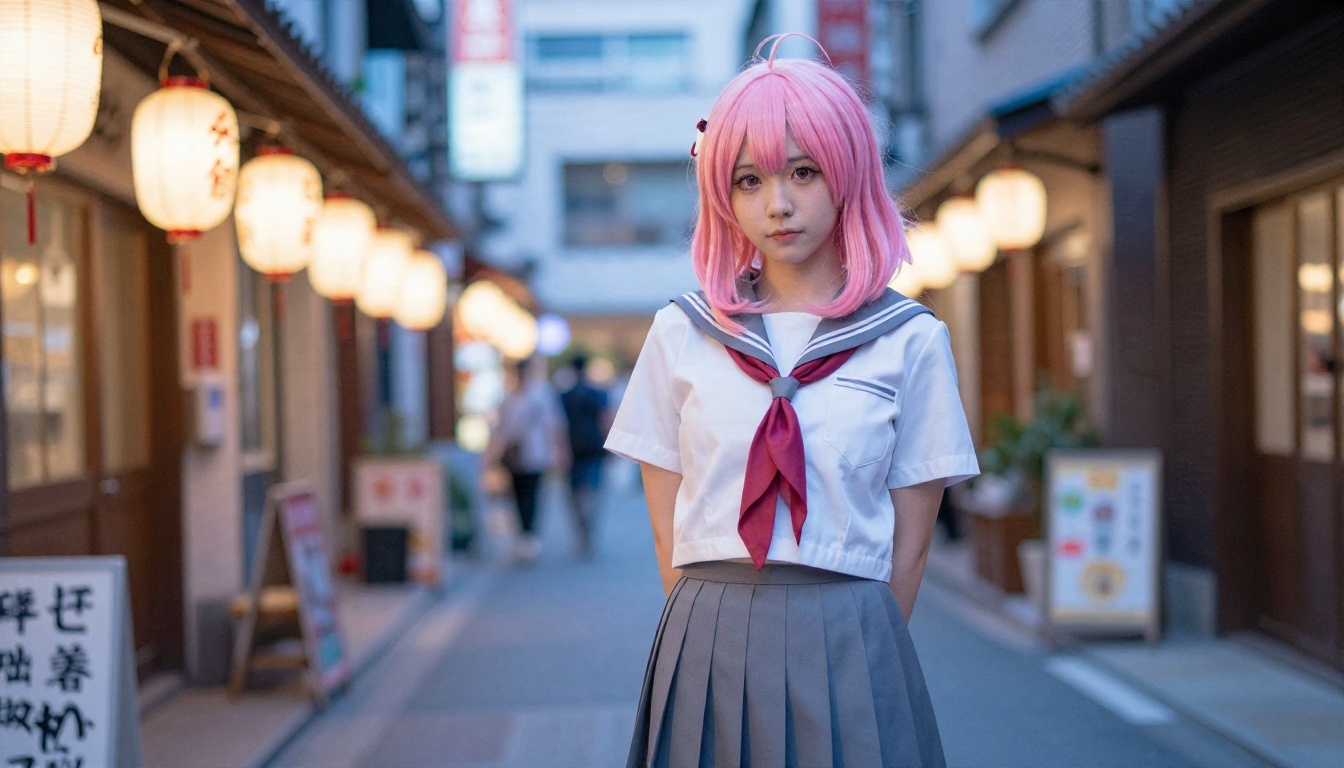
Redraw this person as an anime character in a modern cel-shaded style. Keep the same face shape, hairstyle and smile. Large expressive eyes, soft gradient shading, clean line art, pastel sky background.
The phrase "keep the same" does a lot of work. It tells the model which features are locked.
Step 4: Generate and Compare
Run the prompt and look at the result before changing anything. Ask yourself three questions: does the face look like the person, does the hair match, and is the style what you wanted? If two of three are right, you only need a small follow-up edit.
Step 5: Refine in Small Steps
Change one thing per message. "Make the hair silver" works. "Make the hair silver, add glasses, change the background, switch to a darker mood and make her older" invites the model to drift away from the original face.
Parameter Tips
- Reference strength: if the tool offers a similarity slider, start in the middle. Too high keeps the photo's realism, too low loses the face.
- Aspect ratio: choose 3:4 or 4:5 for portraits and 16:9 if the character sits in a wide scene.
- Seed: if you find a result you like, note the seed so you can reproduce the base look.
- Resolution: generate at a moderate size first, then upscale the winner with a super resolution model.
Prompts That Actually Work
A good prompt has four parts: the style, the subject details you want kept, the changes you want made, and the mood. Vague prompts produce average results. Specific prompts produce characters with a point of view.
The Basic Formula
[Art style] + [keep: face, hair, expression] + [change: outfit, setting] + [lighting and mood]
Here are five prompts you can paste and adjust.
- Classic anime hero: Turn this portrait into a 2010s shonen anime protagonist. Keep my face shape, hair length and smile. Sharp jacket, wind blowing the hair, dramatic sky, bold line art.
- Soft slice of life: Restyle this photo as a gentle slice of life anime still. Keep the same eyes and hairstyle. Cardigan, warm afternoon classroom, soft watercolor shading, calm expression.
- Fantasy adventurer: Create a fantasy RPG character from this photo. Same face, same beard. Leather armor, travel cloak, misty forest at dawn, painterly shading.
- Pixel game avatar: Convert this face into a 16 bit pixel art character portrait. Keep hair color and glasses. Simple background, limited palette.
- Storybook illustration: Draw this person as a children's picture book character. Rounded shapes, warm colors, friendly expression, same hairstyle.
Words That Steer Style
| Goal | Words to include |
|---|
| Cleaner anime look | cel shading, clean line art, flat color, soft gradient |
| Retro feel | 90s anime, film grain, muted palette, vintage still |
| Painterly feel | watercolor, gouache, loose brush strokes |
| More realism | semi-realistic anime, detailed skin shading |
| Stronger drama | rim light, dynamic angle, wind, dramatic sky |
Negative Instructions
Some tools accept a negative prompt. If yours does, list what you do not want: distorted hands, extra fingers, different face, blurry, watermark. If it does not, phrase the same idea positively, such as "keep the same face and natural hands."
Anime Styles Worth Trying
Anime is not one look. A choice between styles changes how much of your real face survives, because some styles simplify features more than others. The more stylized the look, the more the model leans on hair, color and expression to carry your identity.
Modern Cel Shaded
This is the look of current streaming series: crisp outlines, flat color with one or two shadow tones, and bright eyes. It keeps face proportions reasonably well, so it is a strong first choice if you want to still look like yourself.
Retro 90s Anime
Softer lines, slightly grainy color and a dreamy palette. This style forgives imperfect photos because the grain hides small artifacts. It also gives you a nostalgic feel that works well for profile pictures.
Semi Realistic Anime
Think of the look found in recent fantasy films and premium games. Faces keep realistic proportions, and the shading is more detailed. It preserves likeness best of all the anime options, but the tradeoff is that it looks less obviously "anime."
Chibi and Mascot Styles
Big head, tiny body, simple features. These are great for stickers and streamer avatars. Likeness comes almost entirely from hair color, glasses and signature accessories, so make sure those are visible in your photo.
| Style | Likeness kept | Best use |
|---|
| Modern cel shaded | High | Profile pictures, thumbnails |
| Retro 90s | Medium | Nostalgic posts, album art |
| Semi realistic | Very high | Game characters, book covers for fiction |
| Chibi | Low to medium | Stickers, emotes |
| Watercolor storybook | Medium | Gifts, children's books |
Common Mistakes and Fixes
Even good tools produce bad results when the process is sloppy. These are the problems I saw most often, and what fixed each.
The Face Drifts Away
You get a lovely image, but it looks like your cousin. Fix it by adding explicit "keep the same face shape, nose and eyes" language, using a sharper photo, and changing fewer things at once. If your tool supports it, add a second reference from another angle.
Hands and Accessories Break
Hands remain a weak spot in many models. Prompt for a pose where the hands are hidden or simple, such as in pockets, behind the back or out of frame. For glasses that warp, mention "thin round glasses, symmetrical frames."
Eyes Look Dead
Anime eyes depend on highlights. Ask for "bright catchlights, detailed iris, expressive eyes." If the photo shows closed or squinting eyes, retake it. The model cannot invent a convincing gaze from a blink.
The Style Looks Muddy
Mixed style words create confusion. Do not ask for "watercolor, cel shaded, oil painting and pixel art" in one prompt. Pick one direction and add a single supporting word.
Privacy and Consent
Only upload photos of yourself or of people who agreed. Characters made from someone else's face without permission can cause real harm, even when the output looks like a cartoon. Check what the tool does with uploaded images before you add family photos.
💡 Fast fix list: sharper photo, fewer simultaneous changes, one style per prompt, and explicit "keep the same" language. These four habits solve most problems.
Try Your Own Character Today
Pick a photo, write a prompt with the four-part formula, and run it through Nano Banana on PicassoIA. If you want a cleaner finish at high resolution, test the same prompt with Seedream 4.5. For small precise corrections, try Qwen Image Edit Plus. And when you want the same character to show up in several scenes, Ideogram Character is built for that.
Start with a single portrait and three variations: one modern anime, one retro, one semi realistic. Put them side by side and you will see immediately which style carries your face best. Then save the winning prompt and build a whole series from it.

Open PicassoIA, upload your photo and make the character you have been imagining. The first result may not be perfect, but the second will be close, and by the fifth you will have something worth printing, posting or turning into a whole story.


