AI Comic Generator Free: From Text or Photo, No Sign Up
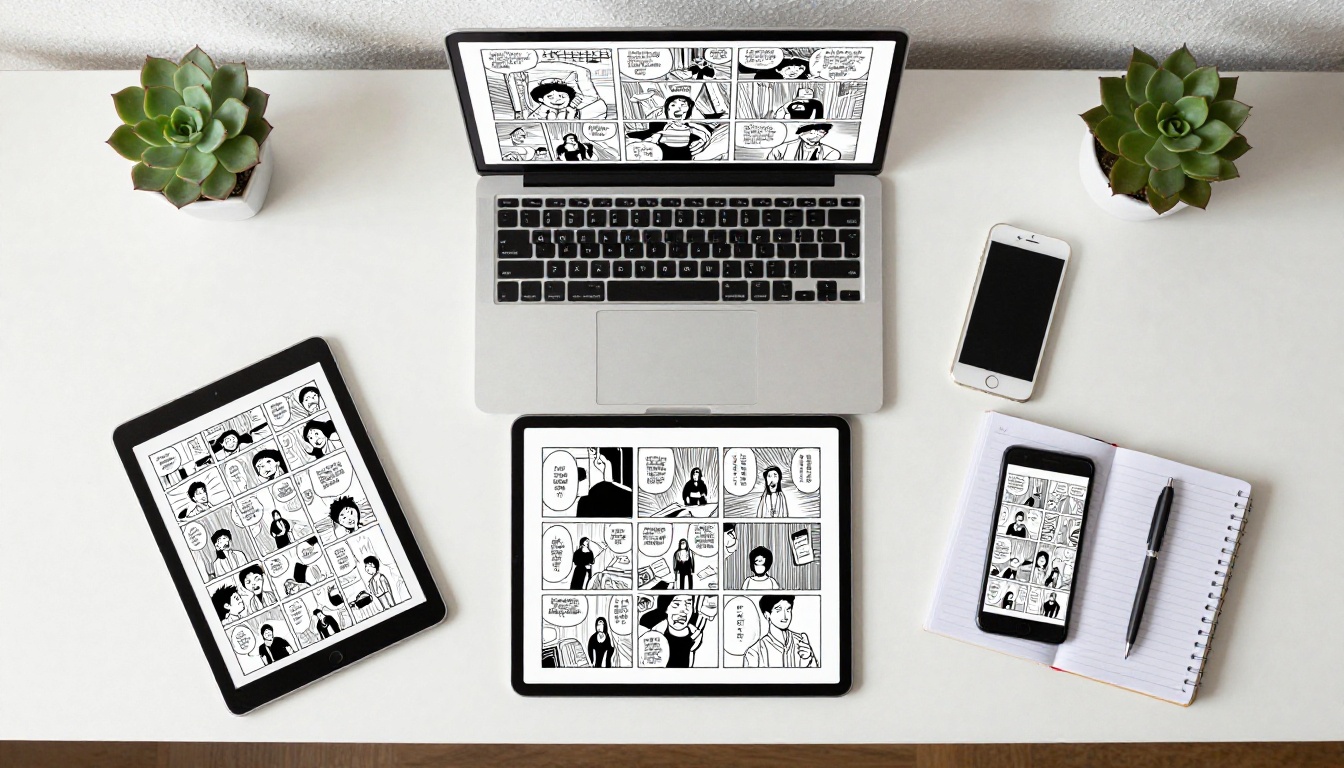
A free AI comic generator can turn a written scene or a single photo into finished comic panels. This article shows how text to comic and photo to comic differ, what no sign up really costs you, and how to keep one character steady across a six panel page.
You have a story in your head, maybe a joke about your cat, a webcomic pitch, or a birthday gift starring your best friend, and no drawing skill to get it onto paper. An AI comic generator closes that gap in minutes: you type a scene or upload a photo, and finished panels come back. The catch is that many tools bury the useful parts behind a registration wall, a watermark, or a credit counter. This article breaks down how text to comic and photo to comic actually work, what "no sign up" really gets you, and how to build a readable, consistent comic page with free tools you can open right now.
What an AI Comic Generator Actually Does
A comic maker is not one button. Behind the screen it is a chain of small jobs: turning your idea into a prompt, rendering each panel as an image, keeping the same character across those images, and placing speech bubbles and captions on top. Some tools wrap all of that into one page. Others give you only the image step, and you handle the rest yourself. Knowing which kind you are using saves a lot of frustration.
Text to Comic in Plain Terms
With text to comic, you describe a scene and the model draws it. "A red-haired courier waits at a bus stop in heavy rain, comic book style" becomes one panel. Repeat with a new description for each moment of your story and you have a comic strip. The upside is total freedom: any setting, any character, no reference needed. The downside is consistency, because the model invents the courier's face fresh every time unless you pin the details down.
Photo to Comic in Plain Terms
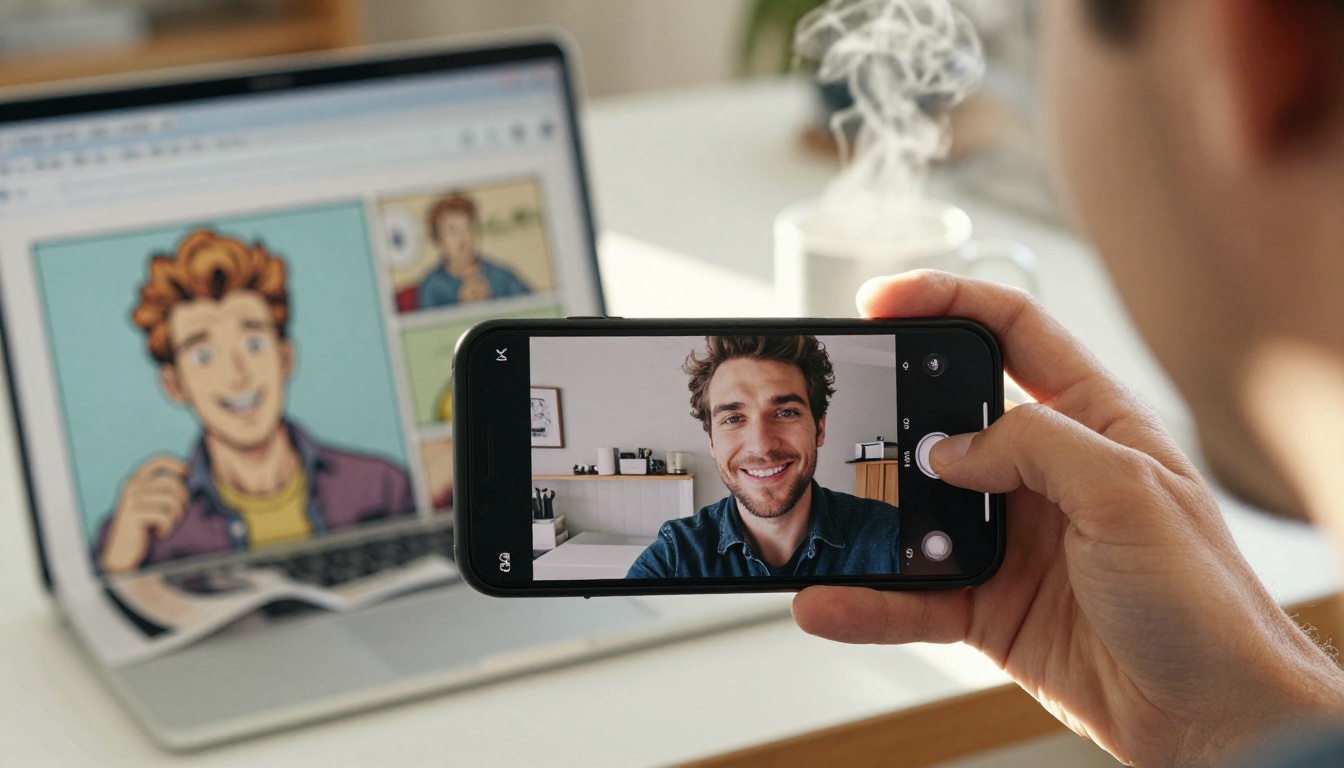
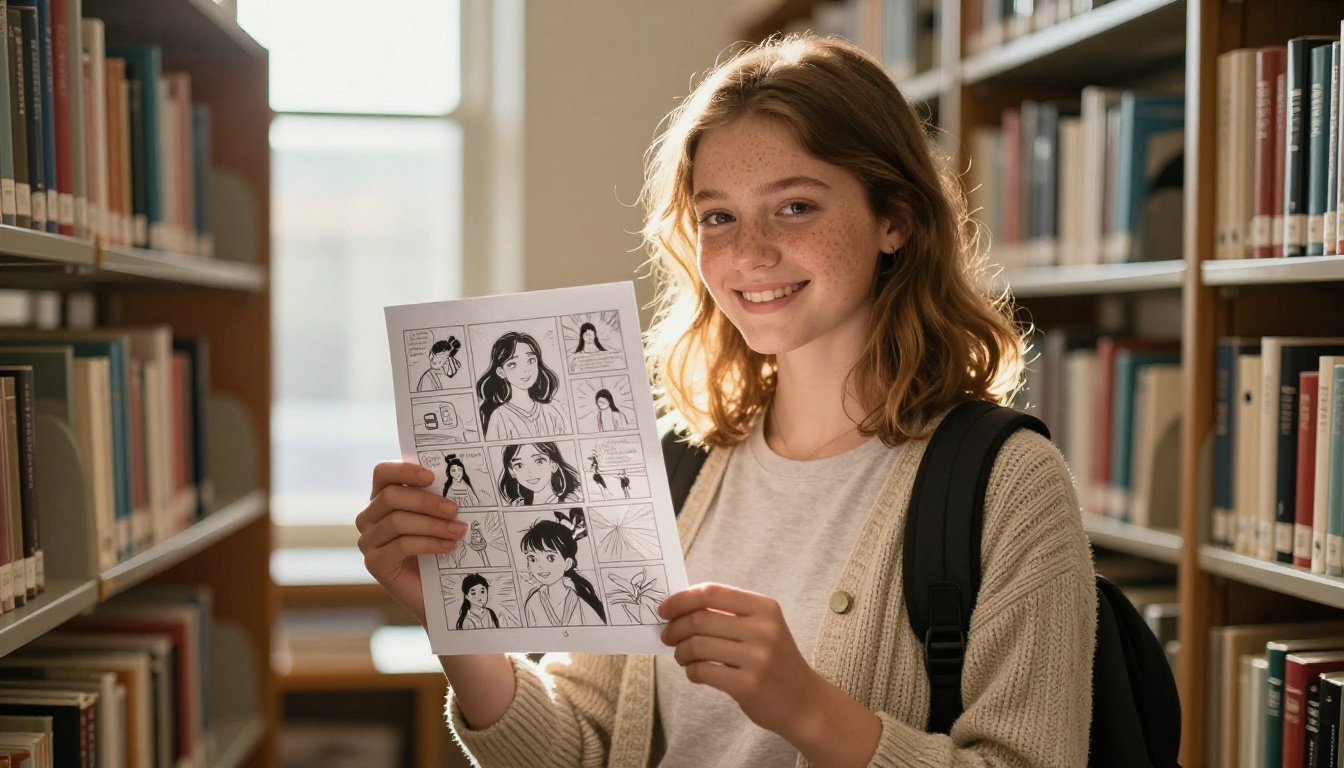
With photo to comic, you start from a real picture: a selfie, a pet, a family portrait. The model restyles it with inked outlines, flat color, or an anime look while keeping the likeness. It is the fastest route to a "cartoon yourself" avatar and a great way to put real people into a story. The limit is that the photo fixes the pose and framing, so you need one source photo per panel, or an editing model that can change the scene around the same face.
Text to comic
Photo to comic
Starting point
A written scene
A real photo
Likeness to a real person
Only if you describe it
Built in
Freedom over setting and pose
Very high
Limited by the photo
Character consistency
Needs a fixed character line
Easier, the face is the anchor
Best for
Webcomics, storyboards, original characters
Gifts, avatars, family strips
Why Panels Are Hard for AI
Comics ask for three things image models struggle with at once. Characters must look identical from panel to panel. Lettering must be readable. And the layout must lead the eye in a clear order. Modern models have gotten much better at the first two, especially those built for editing and typography, but you still do the director's work. Think of the AI as a very fast illustrator who needs a clear script.
💡 Tip: Treat every panel as its own small brief. A prompt with the character, the action, the camera angle, and the style beats a vague line like "make a funny comic" every time.
What "No Sign Up" Really Means
"No sign up" usually means one of three things, and the differences matter more than the label.
Type of tool
First panel in
Typical catch
Best for
Anonymous web demo
Seconds
Watermarks, low resolution, daily caps
Testing an idea
Free account tool
About a minute
Email required, limited daily generations
Short comics you want to save
Open model page
Seconds to a minute
Rules vary per model and plan
Picking the exact model for the job
The Trade-Offs You Accept
Anonymous tools are fast, but they cannot remember you. Close the tab and your character, your settings, and your earlier panels are gone. Free tiers with accounts keep your history, which matters the moment you want panel six to match panel one. Watermarks and resolution caps are the other usual price. If you plan to print the comic or post it, check the export size before you invest an hour. Plan limits and sign-in rules change often, so confirm the current terms on any page before you rely on a "free" claim, including the ones on PicassoIA model pages.
Photo to comic also means uploading a face, so keep a simple privacy habit. Use photos you own or have permission to use, skip pictures of other people's children, and check how the tool treats your uploads before you send anything personal.
Make a Comic From Text
Write the Script First
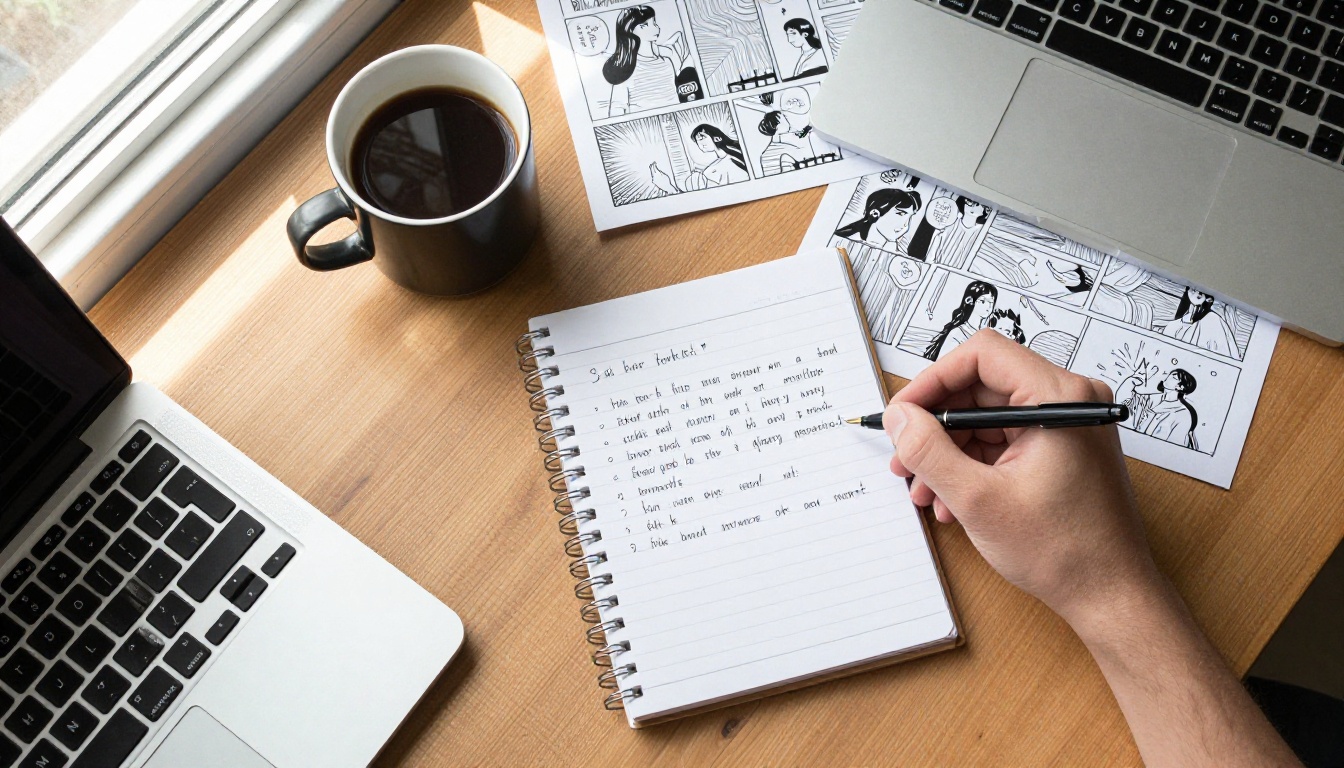
Before you open any generator, write a six-line script: one line per panel. Each line names who is in the shot, what they are doing, and where. For example:
Wide shot: Mira waits alone at a rainy bus stop.
Close-up: her phone shows a message she does not like.
Medium shot: the bus drives past without stopping.
Low angle: she shouts, splashed by a puddle.
Close-up: a stranger offers her half an umbrella.
Wide shot: the two walk off under it, still strangers.
That tiny script is the whole project. Everything after it is rendering.
Prompts That Hold One Style
Reuse a fixed style line and a fixed character line in every prompt, and change only the action and the camera. A full prompt looks like this:
Panel 1, wide establishing shot: a red-haired courier named Mira, green raincoat, round glasses, waits alone at a bus stop in heavy rain. Comic book style, bold ink outlines, halftone shading, flat colors, muted teal and orange palette, empty space at the top for a caption.
Copy the character and style words exactly for panels 2 to 6. Even one swapped detail, such as "green raincoat" turning into "olive jacket", can change the whole outfit. Keep a plain text file with both lines and paste from it every time.
Add Speech Bubbles Last
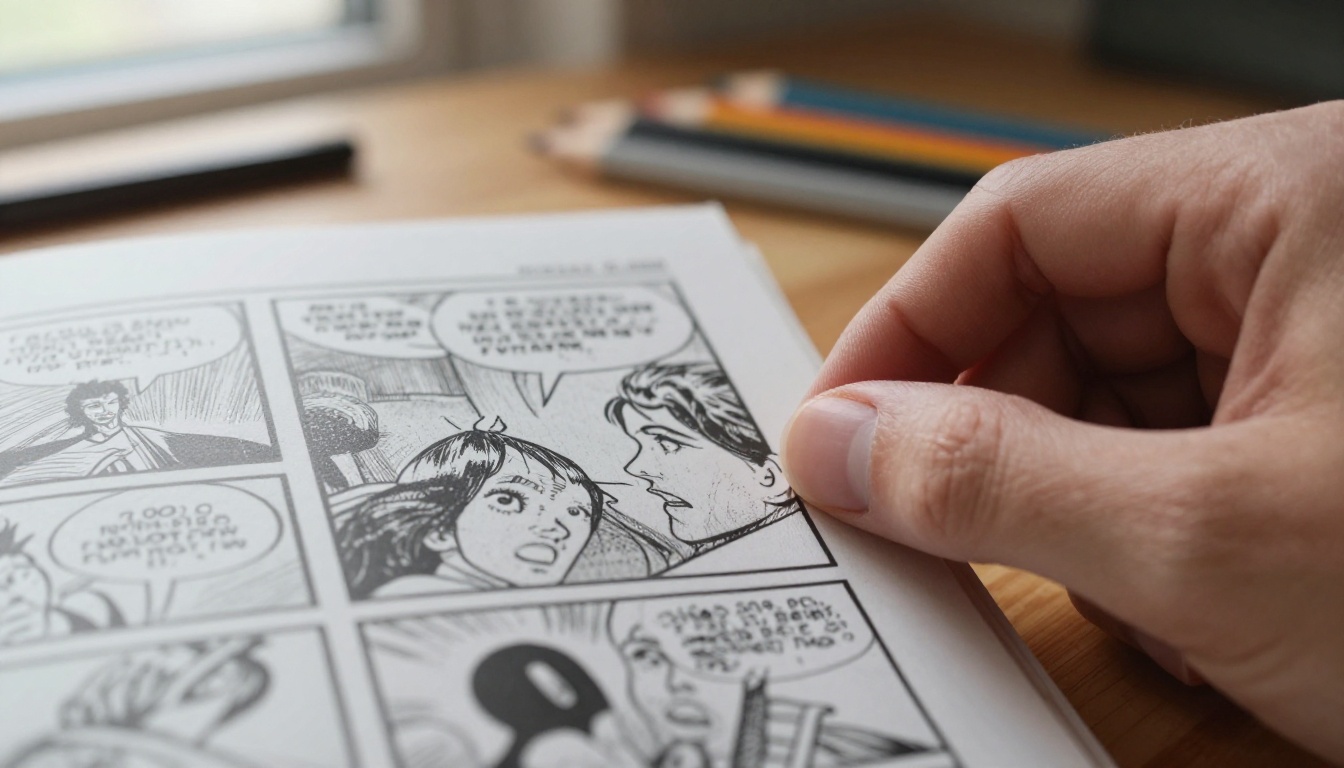
Many image models still garble long text. There are two ways around it. First, generate each panel with clean empty space and add the lettering afterward in any editor you like. Second, use a model with strong typography for short words, such as GPT Image 2 or Ideogram v4 Balanced, and keep each bubble to a handful of words. A good rule of thumb is under 15 words per bubble. Anything longer belongs in a caption box or a second panel.
Placement matters as much as wording. Put each bubble near the top of the panel, close to the speaker's head, and order the bubbles so the eye reads left to right, top to bottom. If two characters talk in one panel, the one who speaks first sits on the left. Leave about a fifth of every panel empty when you write the prompt, so the lettering never lands on a face.
Make a Comic From a Photo
Pick a Source Photo That Works
Good source photos are sharp, evenly lit, and show the face front-on or at three quarters. Skip sunglasses, heavy filters, and harsh shadows across the eyes, because the model will copy those problems into every panel. Avoid group shots for your first attempt: the model has to restyle every face, and the mistakes multiply. When a character matters, crop tight on one person per source image. A quick test: if you can read the person's mood from the photo at thumbnail size, the model can read it too.
Turn Faces Into Characters
Two PicassoIA models fit this job. Cartoonify converts a photo into a cartoon style while keeping the person recognizable, which suits bold, simple comic characters. Qwen Image Edit Plus LoRA Photo To Anime pushes the same photo toward a manga look, useful for webcomic and romance styles. Run one photo through both and keep the version whose line weight matches the rest of your strip.
Keep Faces Steady Across Panels
Once you have a character you like, treat that output as your model sheet. Feed it back as the reference image in an editing model such as PicassoIA Image Editor Pro and change one thing at a time: the background, the expression, the pose. Small edits protect a face far better than a brand new generation. Write down the exact style line you used too, because panel two is where drift begins.
How to Use PicassoIA for Comics
PicassoIA lists many image models on one site, so you can test the same script in different looks without hopping between tools. These are the ones worth trying for comics:
Paste your style line, your character line, and the panel 1 line from your script. If the model offers an aspect ratio setting, pick wide for establishing shots and tall for dramatic close-ups.
Generate a few versions and compare the face, the outfit, and the background. Keep the best one and name it panel-01.
For photo based panels, upload your source photo and run it through the model instead of typing a scene.
Open PicassoIA Image Editor Pro, load your keeper, and describe one change for panel 2, such as "same character, now holding a phone, close-up".
Repeat for each panel, numbering every file as you go.
Assemble the six images in any layout tool or slide deck, add borders, gutters, and your lettering.
If a panel looks soft at print size, run it through a super resolution model on PicassoIA before you print. And once a page is finished, PicassoIA's video models can turn a single panel into a short animated clip for social posts.
Model Picks by Job
Fast drafts of a whole script:PicassoIA Image, because you can iterate without worrying about a meter.
One page, six panels, one beat per panel. If you squeeze in eight, the panels shrink and the detail dies. Use the first panel to set the scene and the last to land the joke or the hook. For a webcomic, stack the panels in a single vertical column so each one can be as wide as a phone screen. Manga reads right to left, so check the reading direction before you place a single bubble.
Vary the Camera Angle
Three wide shots in a row look like a slideshow. Alternate wide, medium, close-up, and low angle, and put the angle word in every prompt: "low angle", "over the shoulder", "top down". It costs nothing and does more for pacing than any color choice. A close-up on the face right before a punchline gives the reader a beat to breathe.
Lighting works the same way. Warm window light for a calm scene and hard side light for tension tell the reader how to feel before they read a word. Name the light in the prompt, for example "soft morning light" or "harsh streetlight from the left", and keep it steady inside a single scene.
Mistakes That Ruin a Comic Page
Most failed comics fail for the same few reasons:
Changing the style line between panels. One panel in "inked comic" and the next in "watercolor" reads as two different stories.
Skipping the script. Without six clear beats, panels repeat the same pose and the page has no rhythm.
Long dialogue inside the image. Models garble paragraphs. Keep bubbles short and letter long text yourself.
Starting from a blurry photo. A low quality selfie gives a muddy character, and every later panel inherits the mud.
Using faces you have no right to use. Publish only photos you own or have permission for.
Exporting too small. Check the output size against how you plan to share it, and upscale before printing.
💡 Tip: Your continuity file is your real safety net. Keep the character line, the style line, and the filename of your best reference panel in one place, and paste from it for every new prompt.
Make Your First Comic Today
Pick one idea, write six lines, and generate panel one right now. Open PicassoIA Image for a text-based start, or upload a selfie to Cartoonify and see yourself as a character in seconds. Run the same prompt through Seedream 5 Lite to compare looks, then polish the best panel in PicassoIA Image Editor Pro.
The best way to see what these tools can do is to try them with your own story. Head to Picasso IA, pick a model, paste your first panel prompt, and experiment with a different style line each time until one feels like yours. When you want to compare more options, browse the full library at picassoia.com/en/all-models and build the comic page you have been picturing.