You wrote the script. The dialogue works, the twist lands, and the ending still makes you grin. Then you hit the wall every storyteller hits: you can't draw 120 panels, and hiring an illustrator for a first draft feels like a lot of money for an experiment. An AI comic generator from script removes that wall. You feed it scenes, it returns frames, and you spend your time on the story instead of on cross-hatching.
This article shows the full workflow, from a raw script to a finished page you can share. You'll see how to break a story into panel-sized beats, which image models handle which job, how to keep the same character looking like the same person across twenty frames, and where most first attempts go wrong. Everything here runs online, and you can start generating for free.
How Script to Comic Works
Think of an AI comic generator as a very fast, very literal illustrator. It doesn't read your story the way a person does. It reads one instruction at a time and returns one image. Your job is to turn a script into a list of those instructions.
A Script Is a Shot List
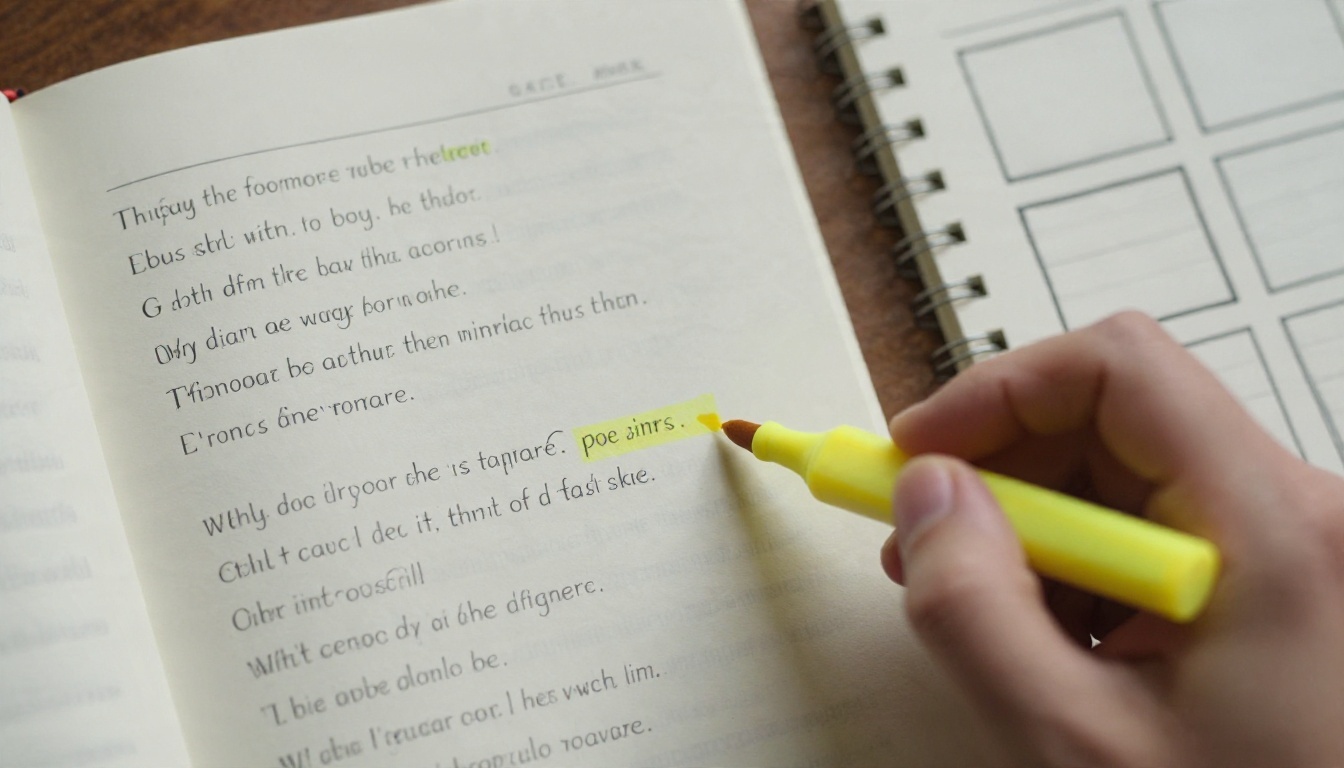
Screenplays already contain what a comic needs: a location, characters, an action and a line of dialogue. A scene heading tells you the setting. An action line tells you what the frame shows. Dialogue becomes a speech bubble that you add later. If your script is in prose instead, the same logic applies: every sentence that changes what the reader sees is a candidate for a new panel.
A Panel Is Just One Frame
Each panel is a single image with one clear subject. That sounds obvious, yet it's the rule people break most. A prompt like "she opens the door, sees her brother, drops the keys and runs outside" is four panels pretending to be one. Split it up and every frame gets sharper, cleaner and easier to fix.
Why Photographic Style Works
Many people picture ink drawings when they hear "comic." You can absolutely prompt for illustrated looks, but photographic panels, sometimes called photo-comics or fumetti, have a strong advantage: faces, fabrics, light and locations look believable, so readers connect fast. Photo-comics also make character consistency easier, because a real-looking person with a fixed outfit gives the model concrete details to hold on to.
💡 Tip: Decide your look before you generate anything. Mixing a photographic panel with an inked panel on the same page almost never works. Pick one lane and stay in it.
Prepare Your Script First
Ten minutes of prep saves hours of regenerating. Before you open any tool, turn your script into a clean production document.
Break Scenes Into Beats
A beat is one moment of change: a decision, a reveal, a reaction. Read your script and mark each beat with a highlighter or a line break. A good short comic runs between 4 and 8 panels per page. If a scene has 30 beats, you probably have 4 pages, not one.
Here's a quick conversion example:
| Script line | Panel instruction |
|---|
| INT. KITCHEN, NIGHT. Mara stares at a letter. | Medium shot, woman at a kitchen table, holding an unopened letter, one lamp, dark window behind |
| She tears it open. Her face drops. | Tight close-up on her face, eyes wide, letter edge visible at frame bottom |
| MARA: "He's alive." | Over-the-shoulder shot, letter in her hand, text blurred but handwritten |
| She grabs her coat and leaves. | Wide shot from the hallway, door swinging, coat sleeve disappearing |
Notice how each row carries one subject, one angle and one mood. That's the format image models respond to best.
Write a Character Sheet
Create a short block of text for every recurring character. Include age range, hair, skin tone, clothing, one memorable accessory and a typical expression. Paste this block at the start of every prompt for that character. It feels repetitive, and it works. Without it, your hero's jacket will change color three times in one chapter.
A solid character block looks like this: "Mara, early thirties, shoulder-length dark curly hair, olive skin, light freckles, worn denim jacket over a gray t-shirt, small brass pendant, tired but determined expression."
Keep One Action Per Panel
If a panel needs two things to happen, add another panel. Comics get their rhythm from the gap between frames, so don't be afraid of simple images. A hand on a door handle, followed by a wide shot of the room beyond, tells a story better than one crowded picture.
Pick the Right Model
Not every image model suits every job. Some excel at sharp detail, some at consistency, some at quick edits. Using the right one per task is the fastest way to raise the quality of your pages.
Seedream 4.5 for Sharp Frames
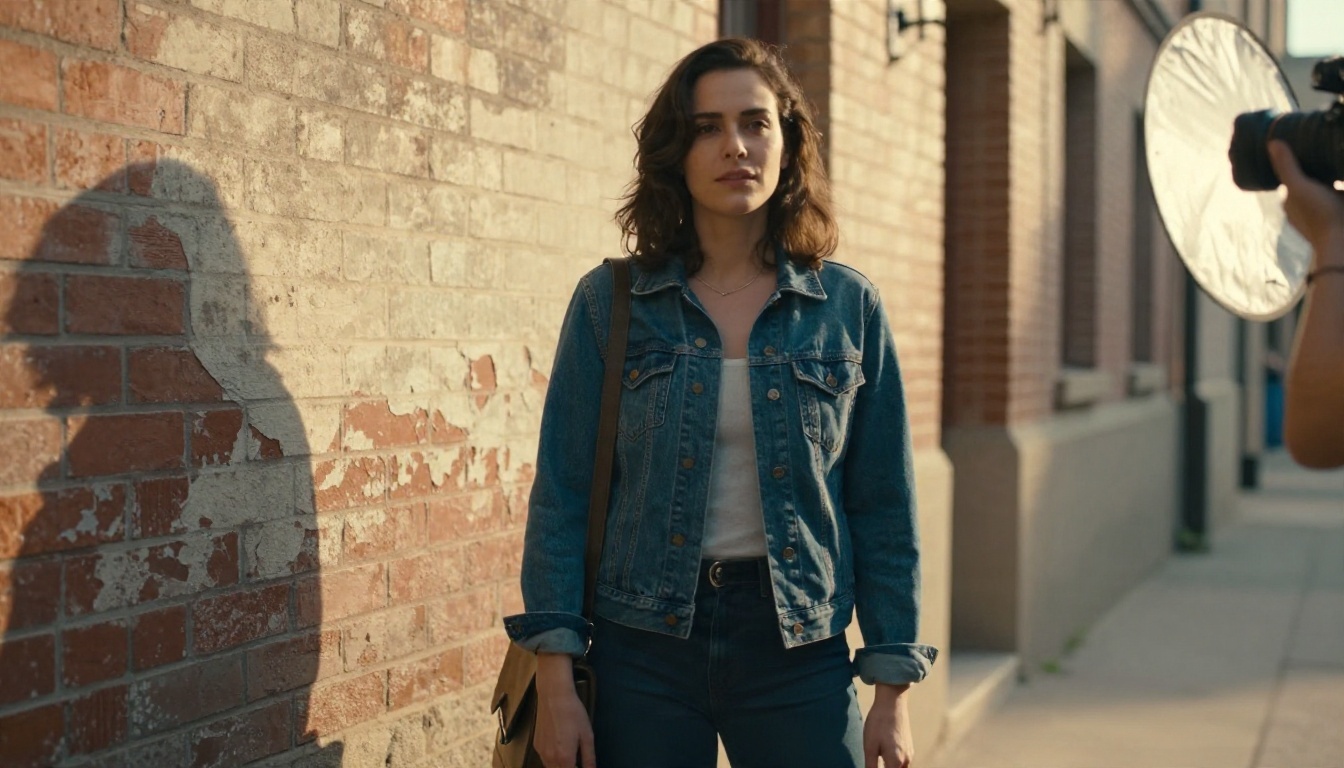
Seedream 4.5 produces high resolution images with crisp textures and strong prompt following. It's a strong pick for establishing shots, hero panels and any frame where fine detail matters, like a rain-slicked street or a crowded market.
Nano Banana Pro for Consistency
Nano Banana Pro accepts reference images, which makes it the workhorse for character continuity. Upload a face or an outfit and ask for a new pose or location. The result keeps the identity stable far better than text alone. Its lighter sibling, Nano Banana, is handy for quick drafts.
Flux Kontext Fast for Edits
When one panel is almost right, don't regenerate it. Flux Kontext Fast edits an existing image from a plain instruction, such as "change the coat to dark green" or "make the sky overcast." That keeps composition intact while you fix a single detail.
Here's how the main options compare for comic work:
| Model | Best use in a comic | Strength | Reference image support |
|---|
| Seedream 4.5 | Establishing and hero panels | Detail and sharpness | Yes |
| Nano Banana Pro | Recurring characters | Identity consistency | Yes |
| Flux Kontext Fast | Fixing single panels | Targeted edits | Yes |
| GPT Image 2 | Complex scene prompts | Instruction following | Yes |
| Qwen Image 3 | Natural, photographic faces | Realistic skin and light | Varies |
💡 Tip: You don't have to pick one model forever. Many creators generate a character reference with one model, then build every panel from that reference with another.
How to Use Nano Banana Pro on PicassoIA
This is the exact flow for building a consistent panel sequence. It takes a few minutes per page once you have your script ready.

Step by Step
- Open the model page. Go to Nano Banana Pro on PicassoIA and open the generator.
- Create your character reference. Write your character block from the prep stage and ask for a clean, neutral portrait: front-facing, even light, plain background. Generate a few options and keep the one that matches your vision.
- Upload the reference. Add that portrait as the reference image for every later panel.
- Write panel prompts. Start each prompt with the shot type, then the action, then the location and light. Example: "Medium shot, the woman from the reference sits at a kitchen table holding an unopened letter, single warm lamp, dark window behind, natural film look."
- Set the aspect ratio. Choose 16:9 for wide cinematic panels, 1:1 for square social posts or 9:16 for vertical scrolling formats.
- Generate and review. Check the face, the outfit and the hands. If one thing is off, edit it rather than rerolling from scratch.
- Repeat for each beat. Keep your character block and reference attached every time.
- Save everything in order. Name files
p01_panel01, p01_panel02 and so on. You'll thank yourself during layout.
Parameter Tips
| Setting | Recommendation | Why |
|---|
| Aspect ratio | 16:9 for wide, 1:1 for squares | Matches common panel shapes |
| Prompt length | 40 to 80 words | Enough detail without confusing the model |
| Reference images | Always attach the character portrait | Holds face and outfit steady |
| Lighting words | "soft window light," "streetlamp at dusk" | Gives consistent mood across a scene |
| Negative detail | Say what to avoid in plain words | Keeps stray text and extra fingers out |
If you want an alternative pass for comparison, run the same prompt through Seedream 4.5 or Qwen Image 3 Pro and pick the better frame. Using several models on one page is normal.
Keep Characters Consistent
Consistency is where most AI comics fall apart. Readers forgive rough art, but they notice when the hero suddenly has a different nose in panel four.
The Reference Photo Method
Build one master reference per character and reuse it without exception. A neutral three-quarter portrait and a full-body shot cover most needs. When a panel requires a new angle, describe the angle and attach the reference, rather than rewriting the face in words. The fewer fresh descriptions you invent, the fewer chances the model has to drift.
Lock the Wardrobe
Outfits cause as many continuity errors as faces. Write the clothing into your character block with exact colors and fabrics: "faded denim jacket, gray cotton tee, brown leather satchel." If the story needs a costume change, create a second block and a second reference, and label them clearly, such as Mara_day and Mara_night.
Fix Drift With Targeted Edits
When a panel comes back close but not exact, use an editor. Flux Kontext Fast lets you say "keep everything the same but make the jacket denim blue" and returns a corrected version. That is faster than regenerating ten times hoping for a lucky roll.
💡 Tip: Keep a "continuity strip" open while you work: a single row of thumbnails showing each character in each outfit. Compare every new panel against it before you move on.
Angles, Pacing and Layout
A comic isn't a slideshow. The camera choices and the spacing between images create tension, humor and emotion.
Pick Camera Angles With Intent
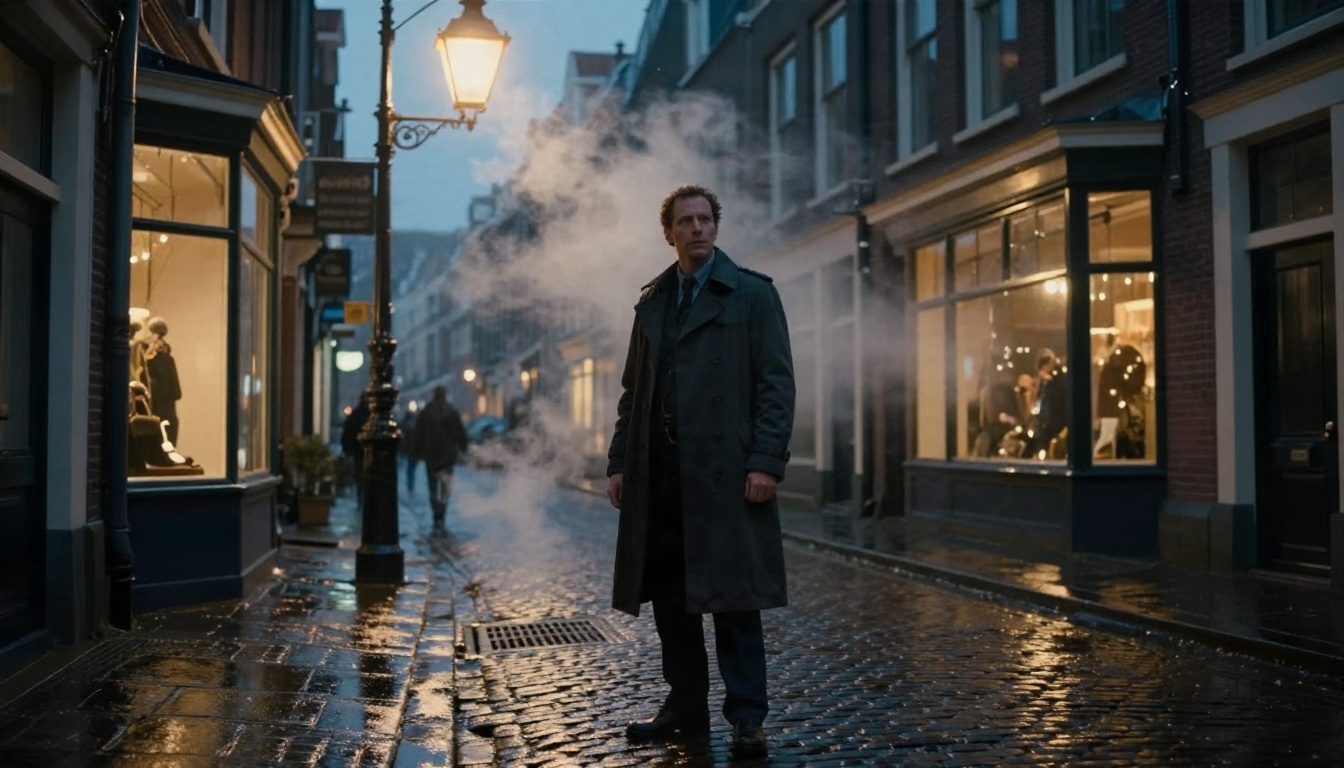
Vary your shots like a film director would. Open a scene with a wide establishing frame so readers know where they are. Move to medium shots for conversation. Use tight close-ups for emotional peaks and low angles to make a character feel powerful. A tilted frame, like the street scene above, adds unease or danger. Put the angle in the first words of your prompt, because models weigh early words more heavily.
| Shot type | When to use it | Prompt phrase |
|---|
| Wide establishing | Start of a scene | "wide shot, full street visible" |
| Medium | Dialogue | "medium shot, two people at a table" |
| Close-up | Emotional beat | "tight close-up on her eyes" |
| Low angle | Power, threat | "low-angle shot looking up" |
| Overhead | Maps, objects, tension | "top-down shot of the table" |
| Tilted | Unease, action | "dutch angle, tilted horizon" |
Gutters and Pacing
The white space between panels, called the gutter, is where readers imagine the action that happens between frames. Tight spacing speeds a scene up. Wide spacing slows it down. For a punchline or a shock, give the final panel more size than the others. A single large panel after four small ones feels like a held breath.
Build Pages in a Layout Tool
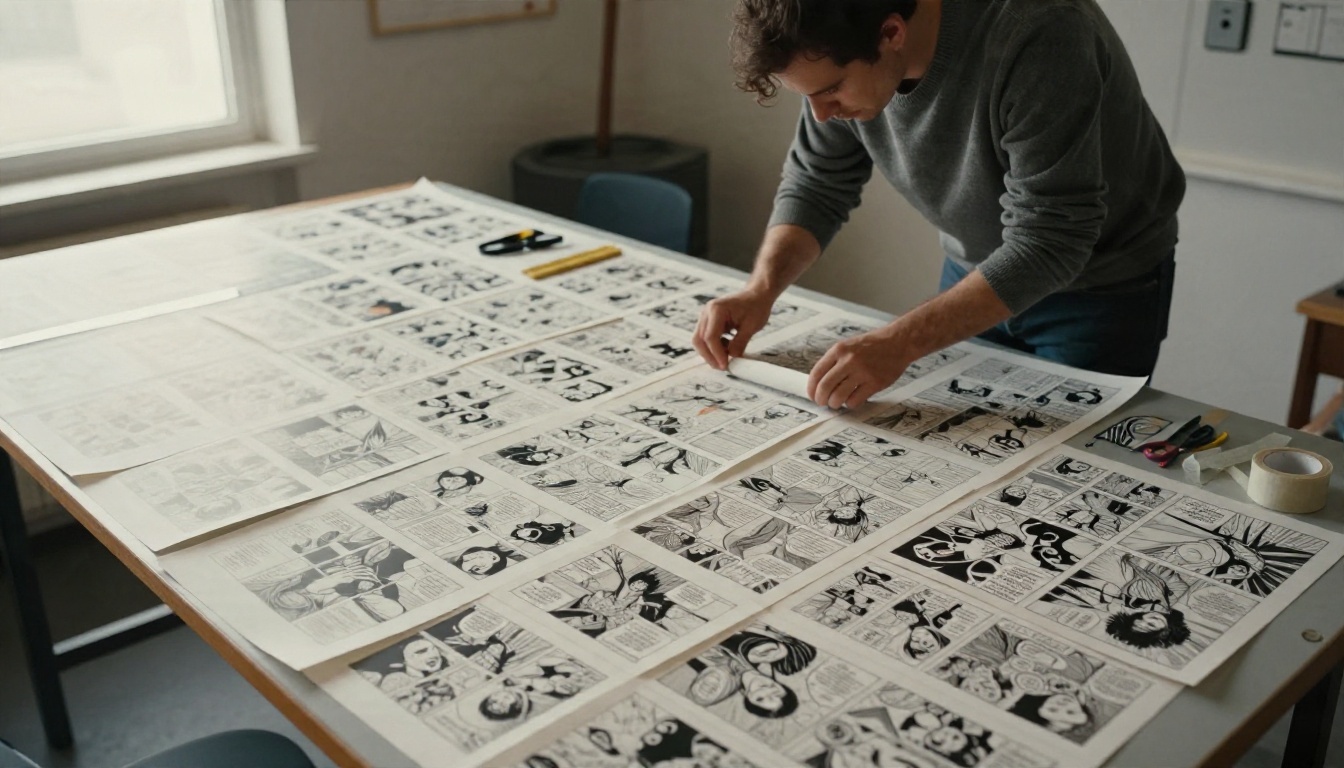
Once your panels are generated, drop them into any layout tool that supports a grid: a slide editor, a design app or a dedicated comic builder. Start with a simple 2 by 3 grid, then break the pattern once or twice for emphasis. If you're unsure about composition, print thumbnails and arrange them on a table the way a traditional comic team would. It sounds old school, and it works.

Add Lettering Last
Don't ask the model to render dialogue inside the picture. Generated text is unreliable, and you'll lose time fixing typos. Leave empty space near the top or sides of a panel, then place speech bubbles and captions in your layout tool afterward. If a stray word shows up in a frame, Text Removal will clean it up quickly.
💡 Tip: Add "empty space on the upper left for text" to prompts for panels that carry long dialogue. Models respect that instruction more often than you'd expect.
Common Mistakes and Fixes
Almost every first-time creator hits the same few problems. Here's how to avoid them.
| Mistake | What happens | Fix |
|---|
| Cramming several actions into one prompt | Muddled, confusing frame | One action per panel |
| Rewriting the character description each time | Face and outfit drift | Reuse the same block and reference |
| Mixing styles across a page | Panels look like different comics | Lock one visual look at the start |
| Rendering text inside the image | Garbled letters | Add lettering in layout |
| Regenerating when a small fix would do | Wasted time and lost composition | Use an edit tool for tiny changes |
| Skipping thumbnails | Weak pacing, flat pages | Sketch the page rhythm first |
Three Habits of Fast Creators
First, they generate in batches. Instead of one panel at a time, they write all eight prompts for a page, run them in a row and review together. Second, they keep a prompt log, so a great lighting recipe can be reused on the next page. Third, they accept "good enough" for background panels and save their effort for the three or four frames that carry the page.
Know When to Stop
A panel that is 90 percent right is usually right enough. Readers are following the story, not inspecting pixels. If an extra finger or small inconsistency doesn't distract from the beat, move on. Spend your energy on the pacing, the dialogue and the final panel of each page.
Real Uses for Script-Based Comics
The same workflow fits more situations than most people expect.
Storyboards and Pitches
Filmmakers, ad agencies and game designers use panel sequences to show an idea before spending a cent on production. A rough script becomes a visual pitch in an afternoon. Clients react much more strongly to a picture than to a paragraph.
Classrooms and Training
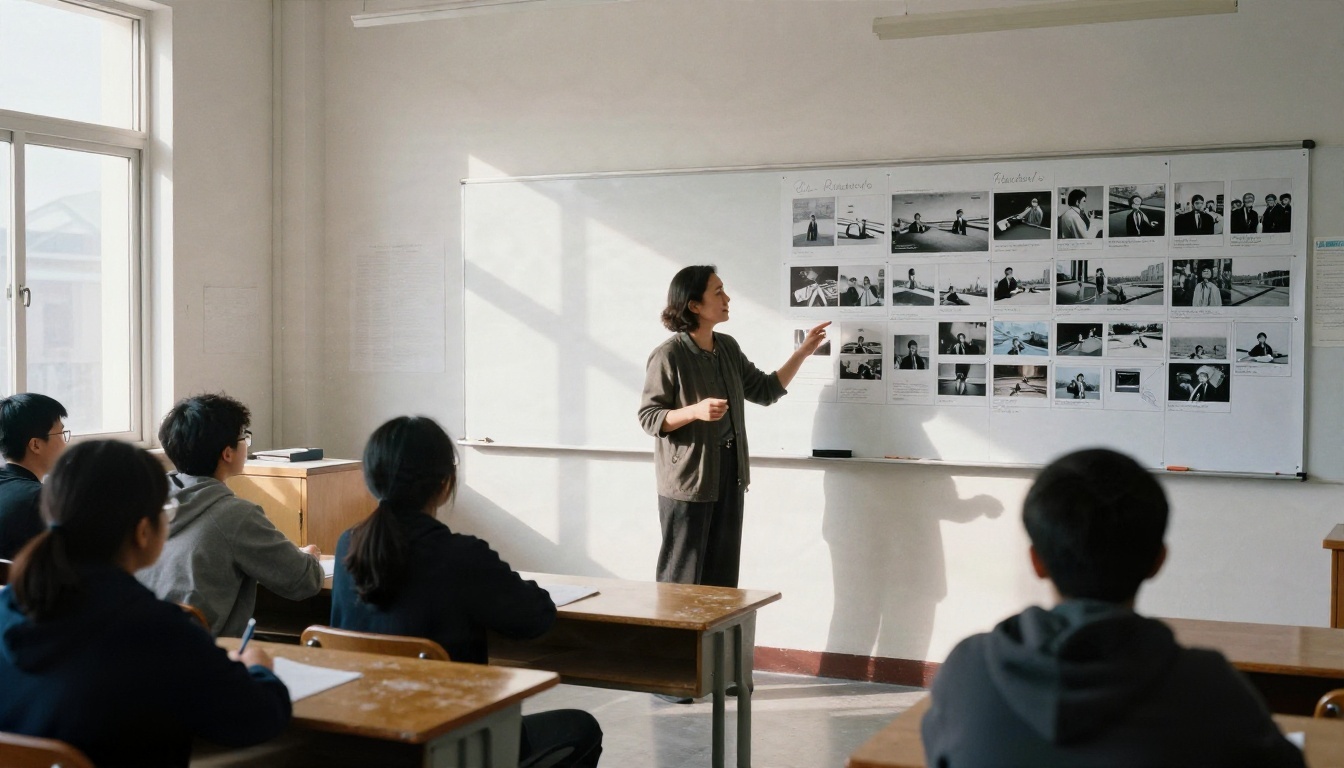
Teachers build short comics to explain history, safety steps or vocabulary. A storyboard on the wall helps students follow a sequence, and writing a script for it becomes a lesson of its own.
Webcomics and Social Posts
Independent writers publish chapters weekly with a small team of one. Square panels fit social feeds, vertical panels fit scrolling apps, and a consistent character becomes a recognizable brand over time.
Personal Projects and Gifts
A comic that retells a family trip, a wedding story or an inside joke makes a thoughtful gift. Print it, bind it and hand it over.
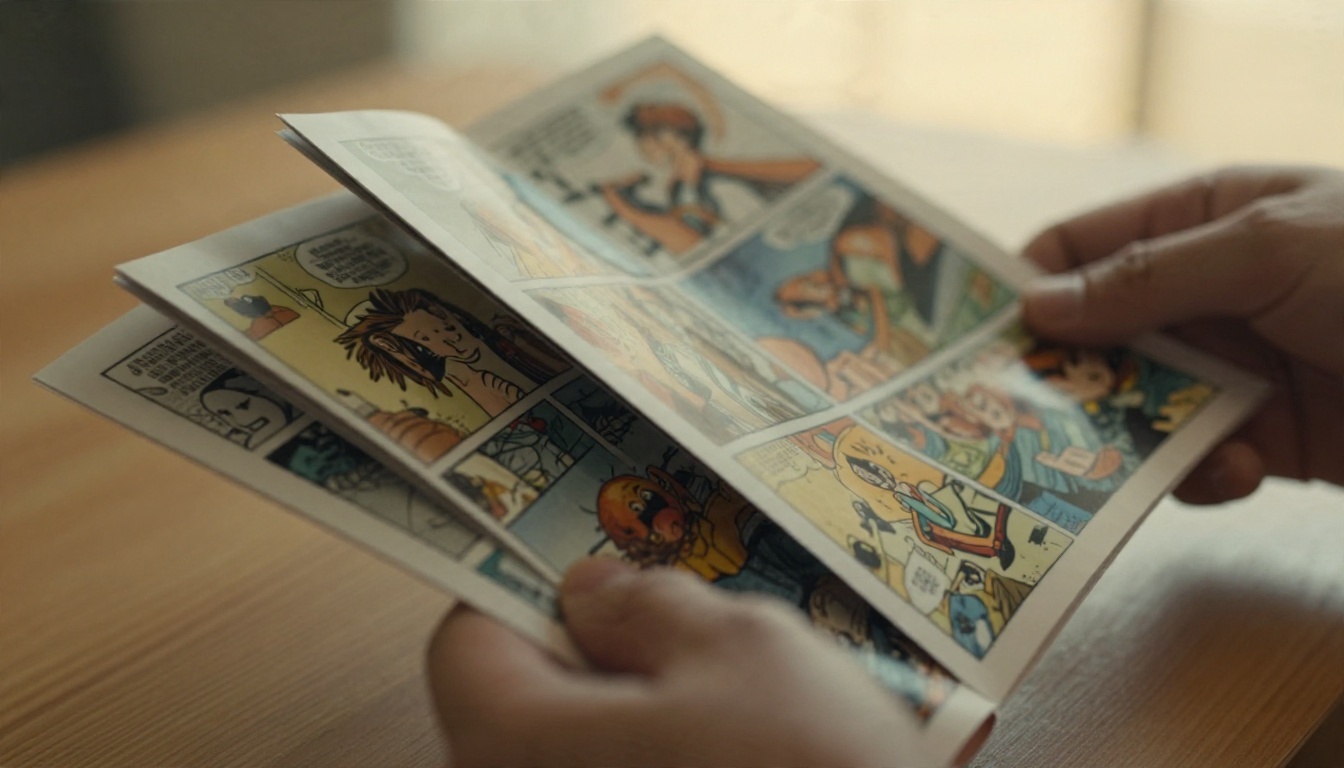
When your pages are finished, upscale the panels before printing so they stay sharp at paper size. PicassoIA's super resolution models can enlarge images two to four times, which matters for A5 and A4 printing. Then share your work.
Make Your First Page Today
You already have the hard part: a story worth telling. The rest is a repeatable routine. Split your script into beats, write a character block, build one reference portrait, then generate panels one action at a time. Fix small errors with an edit tool, add lettering in a layout app, and print or post the result.
Start small. Pick one scene of six beats, run it through Nano Banana Pro or Seedream 4.5 on PicassoIA, and lay it out as a single page. Within an hour you'll have something you can show a friend, and that first page will tell you what to adjust for the next ten. Open the generator, paste your opening scene and see what your story looks like on the page.


