You have a story in your head, or in a notes app, and you want to see it as a comic. Not a vague mood board. Actual panels, in order, with the same hero on every page. That is exactly what an AI comic generator from story text can do today, but only if you feed it the right pieces in the right order. Most people paste a whole plot into one prompt, get a single messy image, and quit.
This article shows the workflow that works. You will see how to split a story into panels, how to write prompts that produce consistent frames, which models on PicassoIA suit each job, and how to keep the same character recognizable from panel one to panel twenty. There are copy-ready prompt examples, a six-panel walkthrough, and a short list of mistakes that waste the most time.
💡 Quick answer: write the script with a language model, describe your character once in a fixed block of text, then generate one image per panel using that block every time. Edit instead of regenerate when a face drifts.
How Story to Comic Works
An AI comic is not one generation. It is a pipeline with three stages: script, panels, layout. A story becomes a list of beats, each beat becomes an image prompt, and the images get arranged on a page with speech bubbles.

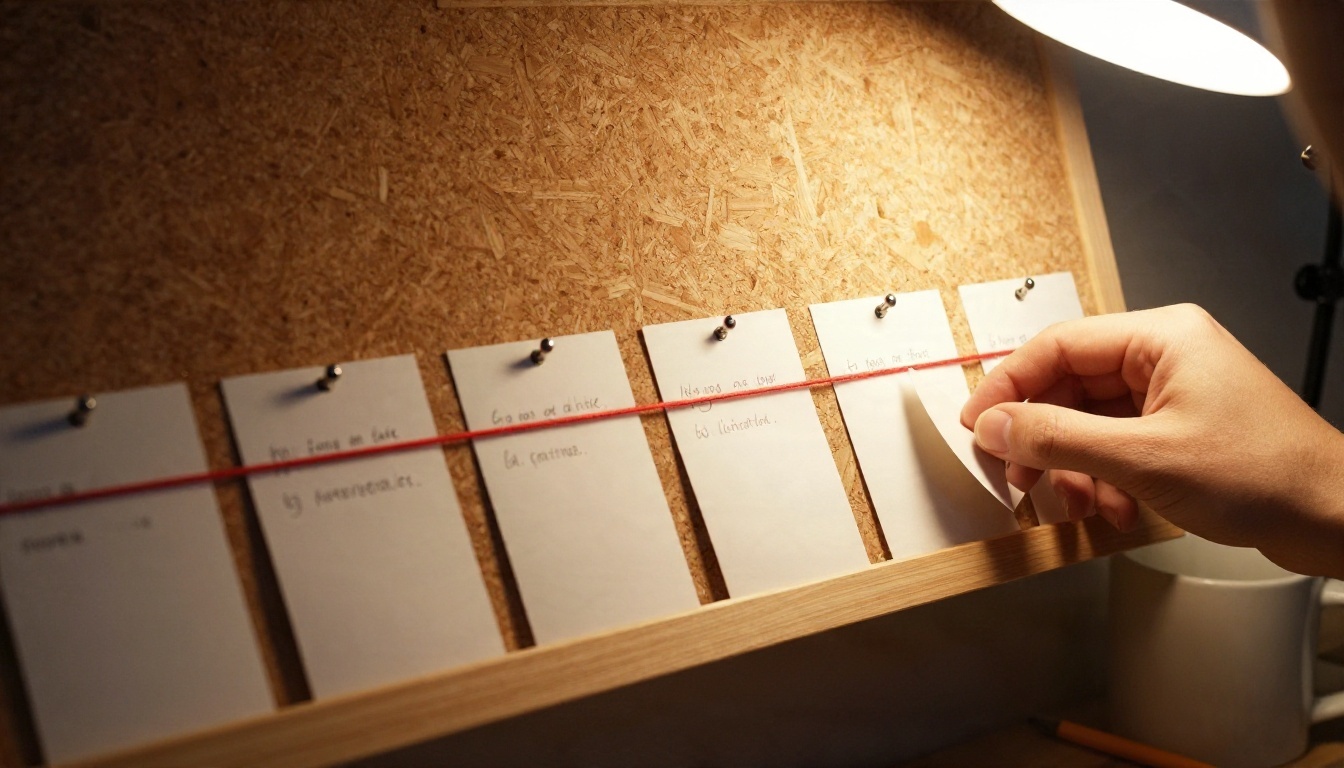
Break the Story Into Beats
A beat is one moment that can be drawn in a single frame. "She finds the letter" is a beat. "She spends three years looking for her brother" is not, because you cannot picture it in one image.
Read your story and mark every place where something visible changes: a new location, a new action, a new emotion, a new character entering. A 600 word short story usually gives you 12 to 24 beats. Trim it until each beat has one subject, one action, one place.
Why One Prompt Per Panel
Image models are good at a single clear scene. They are bad at "show the beginning, middle and end of the plot." When you ask for several moments in one prompt, you get blended faces, duplicated limbs and unreadable action.
One prompt per panel also gives you control. If panel seven has a wrong hand, you redo panel seven, not the whole page.
Picking the Right Models
You need two kinds of models: one that writes and one that draws. Platforms like PicassoIA put both in one place, so you can move from script to image without exporting anything.
Text Models for the Script
A large language model turns your raw story into a numbered shot list. Ask it for a panel number, a shot type, the action, and any dialogue under 12 words.
- Claude Sonnet 5 is a solid pick for keeping long stories organized and dialogue natural.
- GPT 5.6 Luna answers quickly, which helps when you are iterating on beats.
- Gemini 3.5 Flash is fast and handy for rewriting a shot list in a different tone.
Image Models for the Panels
For frames, you want a model that follows detailed prompts and, ideally, one that edits an existing image so faces stay stable.
| Job | Model | Why it fits |
|---|
| First pass of each panel | Seedream 4.5 | Sharp detail and reliable scene composition |
| Generate and edit with one character | Nano Banana | Edits a reference image, which helps identity hold |
| Quick edits to pose or background | Flux Kontext Fast | Fast, instruction based changes |
| Outfit or detail swaps | Qwen Image Edit Plus | Precise edits on a single image |
| Panels that need a word or sound effect | Ideogram v4 Quality | Better handling of short text inside images |
💡 You do not need all of these. One generator and one editor is plenty for a first comic.
Prompts That Actually Work
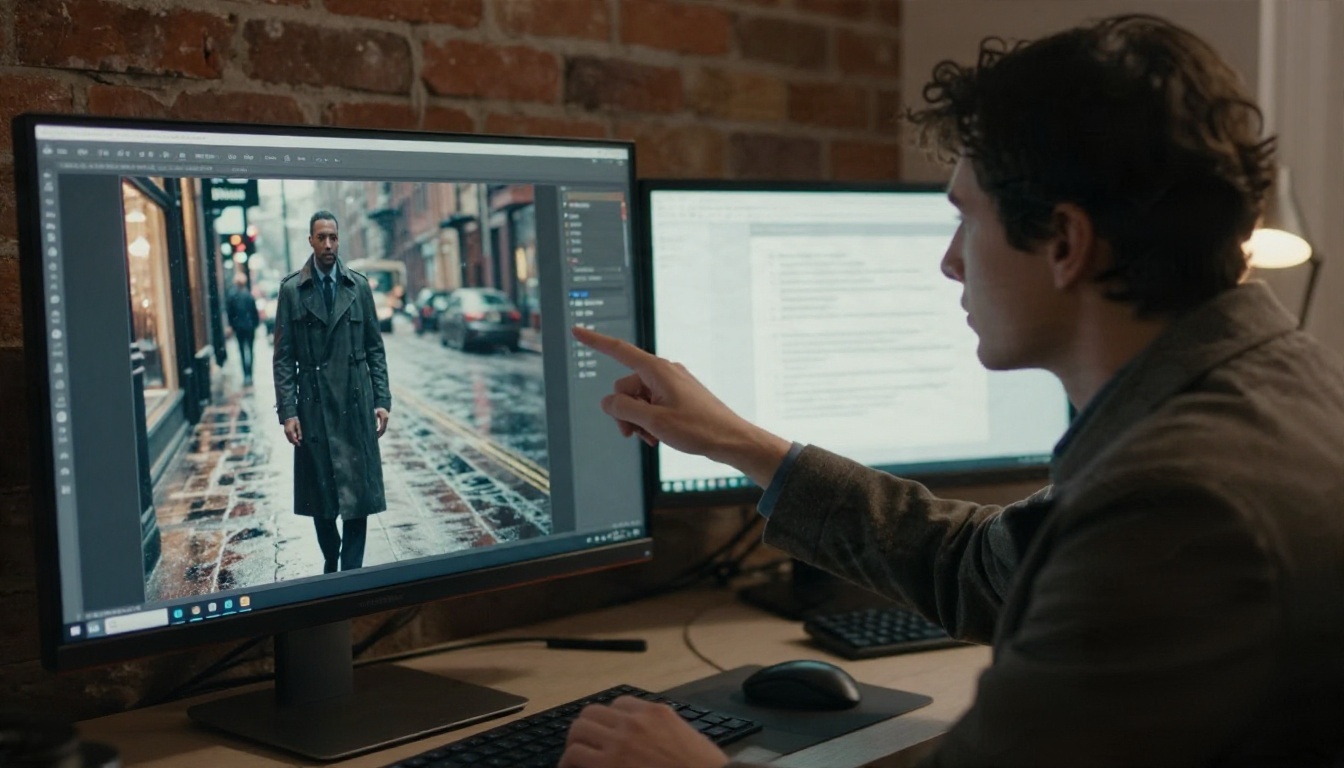
A panel prompt answers five questions in this order: who, doing what, where, lit how, shot how. When the order stays the same from panel to panel, your results stay comparable.
The Panel Prompt Formula
Use this template and fill in the brackets:
[Character block] + [action] + [location and time] + [lighting] + [camera and lens] + [mood]
The character block is the same paragraph every time. Everything else changes with the beat.
Three Prompt Examples
Example 1: establishing shot
Mara, a woman in her late twenties with short copper hair, round tortoiseshell glasses and a green waxed jacket, stands at the end of a narrow wet cobblestone street holding a folded letter. Early evening, drizzle, warm shop windows reflecting on the stones. Soft overcast light. Wide shot, 28mm lens, slight low angle. Quiet, uneasy mood.
Example 2: emotional close-up
Mara, a woman in her late twenties with short copper hair, round tortoiseshell glasses and a green waxed jacket, reads the letter under a streetlamp, her eyes wide. Rain drops on her glasses. Warm lamp light from above left. Close-up, 85mm lens, shallow depth of field. Shock and hope.
Example 3: action beat
Mara, a woman in her late twenties with short copper hair, round tortoiseshell glasses and a green waxed jacket, sprints across a rooftop at dusk, jacket flapping, a chimney behind her. Orange sky, long shadows. Side tracking shot, 35mm lens. Urgent, breathless.
Notice that the first clause is identical in all three. That repetition is the cheapest consistency trick there is.
Camera Words That Help
Panels read better when shots vary. Rotate through these instead of staying at medium distance:
- Wide shot to show place and scale
- Medium shot for conversations
- Close-up for emotion
- Over-the-shoulder for dialogue scenes
- Low angle to give a character power
- High angle to make a character feel small
Same Character Tips That Hold Up
This is where most AI comics fall apart. Page one has a heroine with copper hair. Page three has a stranger with auburn hair and different cheekbones. Readers notice immediately.
Build a Character Sheet First
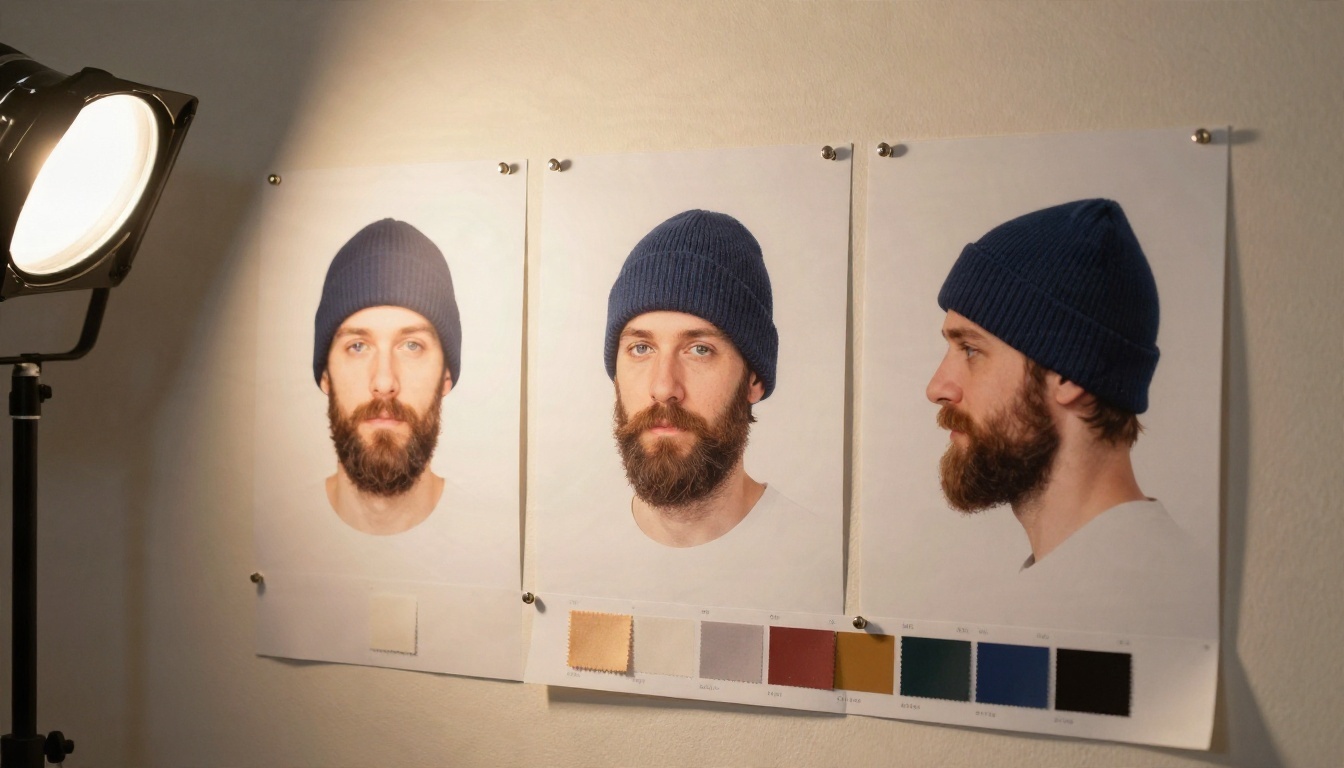
Before panel one, generate a reference set: front view, side view, three-quarter view, one neutral expression and one smiling. Pick the single best front portrait and save it. That image becomes your anchor.
Write the character block next. Include age range, hair color and length, face shape, one or two distinct features, and a fixed outfit. Keep it under 45 words.
Lock the Description Block
Copy and paste the exact same block into every prompt. Do not paraphrase it. "Short copper hair" and "bob cut ginger hair" can produce two different people.
Avoid adding adjectives that change the face, such as "angry," inside the character block. Put emotions in the action part of the prompt instead.
Edit Instead of Regenerate
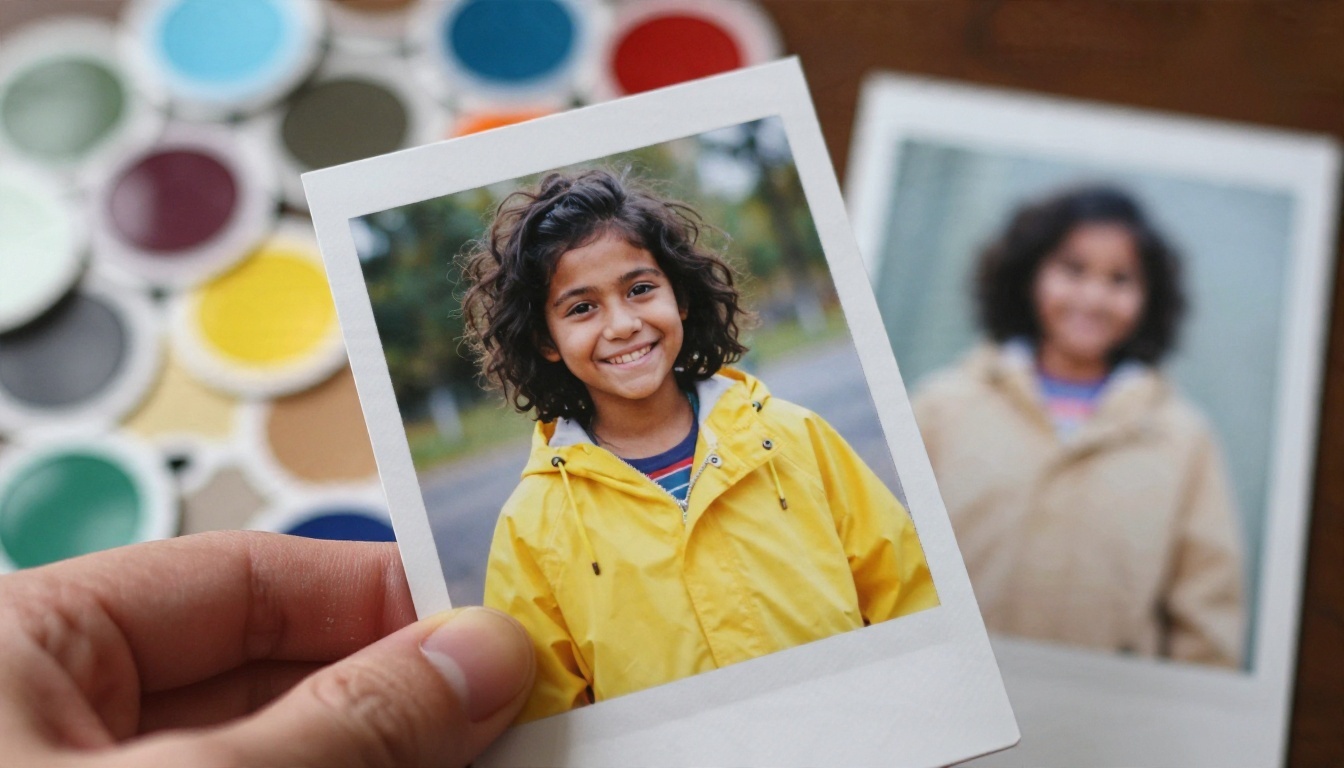
Text to image will always roll the dice on a face. An image editing model uses your reference as a starting point, so the identity stays much closer. Feed in the anchor portrait and give an instruction such as "same woman, now sitting in a café, same jacket and glasses."
This is where Nano Banana and Flux Kontext Fast earn their place. Qwen Image Edit Plus is useful when you only need to change a small detail.
Fix Drift Before It Spreads
| Problem | Likely cause | Fix |
|---|
| Hair color shifts | Color not named in the prompt | Name an exact color and repeat it |
| Face shape changes | No reference image used | Edit from the anchor portrait |
| Outfit keeps changing | Outfit missing from character block | Add one fixed outfit with colors |
| Glasses disappear in wide shots | Small details lost at distance | Use medium shots, or edit glasses back in |
| Age looks different | Vague age words | Give an age range such as "late twenties" |
💡 If a panel is 90 percent right, edit it. Regenerating from scratch usually costs you the face you were trying to keep.
How to Use Nano Banana on PicassoIA
Nano Banana handles both generating and editing, which makes it a convenient workhorse for a comic with a recurring character.
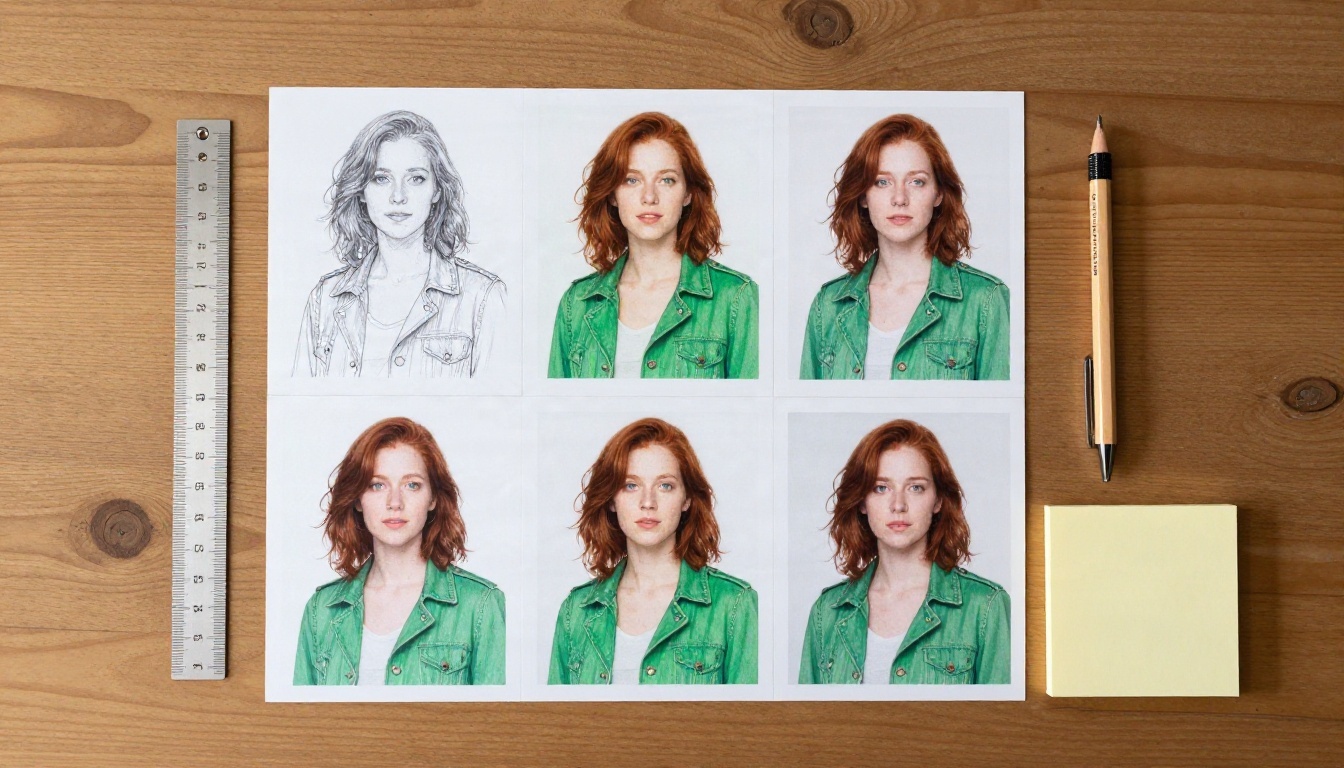
Step by Step
- Open the model page on PicassoIA and choose Nano Banana.
- Generate your anchor portrait. Use your character block with a neutral front view and plain background.
- Save the best result. This is your reference for the whole comic.
- Upload the reference into the image input for the next panel.
- Write an edit style prompt: "Same woman, same copper hair, glasses and green jacket, now standing in a rainy cobblestone street holding a letter, wide shot."
- Generate, then compare against the anchor. If the face is close, keep it. If not, rerun with the same reference.
- Repeat for each beat, always starting from the anchor, not from the previous panel. Using the last panel as the next reference stacks small errors.
Settings Worth Checking
- Keep the aspect ratio the same for every panel in a row, so layout stays easy.
- Use 16:9 or 3:2 for wide scenes and 3:4 for tall character moments.
- Change only one thing per edit. A new location and a new outfit and a new camera angle at once invites drift.
A Full Example: Six Panels From One Story
Here is the short story: Mara receives a letter from a brother she thought was gone. She runs across the city, climbs to a rooftop, and finds him waiting. Six beats turn it into a comic page.
The Panel List
- Wide shot. Mara at the end of a wet cobblestone street, folded letter in hand.
- Close-up. Mara reads the letter under a streetlamp, rain on her glasses.
- Medium shot. Mara in a café, phone in one hand, coffee untouched, looking at the clock.
- Tracking shot. Mara runs through a crowded market, jacket flapping.
- Low angle. Mara climbs an iron fire escape, the city dropping away below her.
- Wide shot. Mara on the rooftop at dusk, a figure in the distance turning toward her.
What Changes and What Stays
Only the action, place and camera change. The character block, the color palette and the lens style stay fixed. Notice also the rhythm: wide, close, medium, motion, low angle, wide. That variety is what makes a page feel like a comic and not a slideshow.
If you want the script itself drafted for you, give a text model like Claude Sonnet 5 your story and ask: "Break this into 12 panels. For each give shot type, one sentence of action, one line of dialogue under 12 words."
Layout, Lettering and Pacing
Once the panels exist, arrange them. A page works best with four to six panels of mixed sizes.
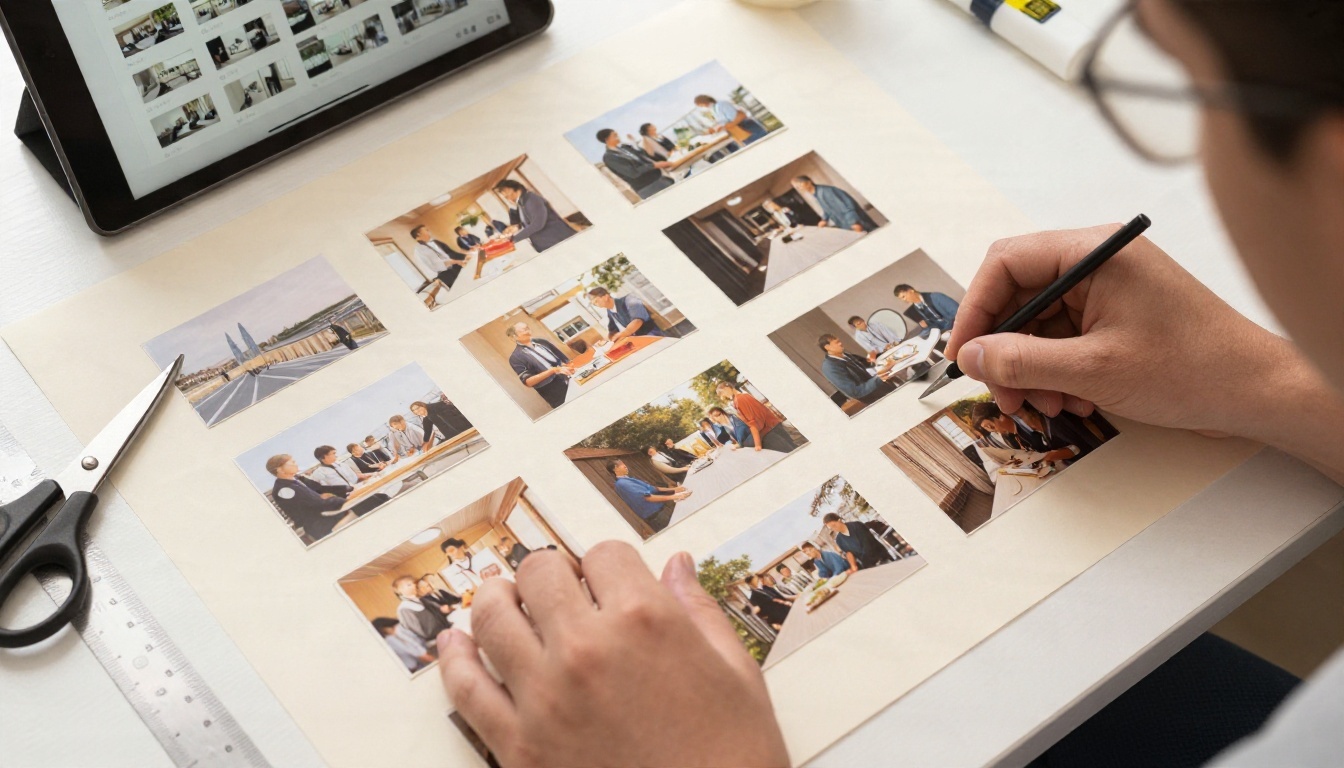
Pacing a Page
- Make the most important panel the largest, usually the last one on the page.
- Put a quiet panel before a loud one. Contrast creates impact.
- End each page on a small hook, such as a door opening or a look, so the reader turns it.
- Keep reading flow left to right, top to bottom.
Speech Bubbles and Sound Effects
Add dialogue after the images are final, in a layout tool, rather than asking the image model to draw it. Models still stumble on longer sentences. If you do want a short word inside a panel, such as a sound effect, Ideogram v4 Quality handles short text better than most.
Keep lines short. Twelve words per bubble is a good ceiling. If a bubble needs more, split it over two panels.

Get a Second Pair of Eyes
Show the page to someone who has not read the story. If they can follow it without explanation, the panels are doing their job. If they ask "wait, who is that?", you have a consistency problem to fix.
Mistakes That Waste the Most Time
These five come up again and again.
- Pasting the whole story into one prompt. Split it into beats first.
- Rewriting the character description each time. Copy and paste the same block.
- Chaining each panel off the last one. Always return to the anchor image.
- Changing the lighting style between panels. Pick a palette and keep it, or panels look like different comics.
- Letting the model write long dialogue inside the image. Add text afterward.
💡 Keep a simple notes file with your character block, your lighting line and your lens line. Paste from it for every panel. It takes ten seconds and saves hours.
Quick Checklist Before You Publish
| Check | Done when |
|---|
| Anchor portrait saved | One front view you trust |
| Character block fixed | Same words in all prompts |
| Shot variety | No more than two similar shots in a row |
| Faces compared | Every panel checked against the anchor |
| Dialogue added last | Short lines, readable size |
Start Making Your Own Comic
You already have what you need: a story, a character, and a repeatable prompt. Pick a short scene you care about, write it as six beats, and generate your anchor portrait on Picasso IA first. Then build the panels one at a time with a text model for the script and an image editor for consistency.
Open Seedream 4.5 or Nano Banana, paste the first panel prompt from this article with your own character, and see how close the first frame lands. Adjust one detail, run it again, and keep going. Your first comic page can exist before your coffee gets cold, and every panel after that gets easier. Browse the full model list at picassoia.com/en/all-models and try your own story today.


