Typing a paragraph and getting back a narrated, animated explainer sounds like a magic trick. In practice it is a repeatable workflow: you write a short script, an AI video model turns each beat into a clip, a text-to-speech model reads the narration, and you line everything up on a timeline. The catch that most landing pages skip is that a free AI explainer video generator rarely hands you a finished 90-second film in one click. It hands you short scenes, and you decide how they fit together.
This article shows which free options exist on PicassoIA, how to split a script into scenes, how to prompt for animated looks instead of live-action ones, and how to add voiceover without booking a studio. Everything below is a workflow you can finish in one afternoon, even if you have never opened a video editor.
What an Explainer Generator Really Does
An explainer video has one job: take an idea that needs five minutes to say out loud and make it land in sixty seconds. Traditional production splits that job across a writer, an illustrator, an animator, a narrator, and an editor. An AI generator collapses most of those roles into prompts, but it does not remove the need for a plan. The people who get good results are the ones who treat the generator like a very fast animator who needs clear instructions.

Text in, scenes out
Most text-to-video models accept a plain-language prompt and return one clip. Some also accept a starting image, so the clip begins from a frame you chose. PicassoIA Video and Seedance 2.5 Lite both work this way: you describe a shot, wait a short time, and receive a video with synchronized audio.
Why 5 to 10 seconds matters
Clip length shapes the whole project. PicassoIA Video renders fixed 5-second clips at 24 frames per second, and Seedance 2.5 Lite lets you choose 5 or 10 seconds. A 60-second explainer therefore needs somewhere between 6 and 12 clips. That is not a limit to fight. It matches how explainers are edited anyway, because a new visual every few seconds keeps the eye moving while the narration carries the argument.
| Explainer length | Clips at 5 seconds | Clips at 10 seconds | Narration words (about 150 per minute) |
|---|
| 30 seconds | 6 | 3 | 75 |
| 60 seconds | 12 | 6 | 150 |
| 90 seconds | 18 | 9 | 225 |
💡 Mix clip lengths. Use 10-second shots for scenes where the narrator explains something, and 5-second shots for quick transitions, reactions, or a title beat.
Free Options Worth Trying on PicassoIA
Three PicassoIA models handle most explainer work, and each trades control for convenience in a different way.
| Model | Clip length | Resolution | Best for |
|---|
| PicassoIA Video | Fixed 5 seconds | 480p or 720p | Fast drafts, social clips |
| Seedance 2.5 Lite | 5 or 10 seconds | 480p or 720p | Longer shots, many retries |
| Video Agent | Target length from 5 seconds | Chosen by the model | Presenter-led videos with script and voice |
A word on the word free. PicassoIA Video is listed as a free, unlimited generator. Seedance 2.5 Lite is listed the same way, with unlimited use tied to a Wonder membership. Video Agent runs a much longer pipeline, so check its model page for current limits before you plan a batch of videos.

PicassoIA Video is the fastest way to test whether a scene idea works. Every clip is 5 seconds at 24 fps, you can start from text or from a first-frame image, and audio is generated in sync by default. Because the format never changes, a folder of clips lines up neatly on a timeline. Use it for the draft pass: generate every scene, watch them in order, and only then decide which ones deserve a second take.
Seedance 2.5 Lite is the lightweight edition of Seedance 2.5, tuned for 480p and 720p. The extra range matters in an explainer because some beats need room: a process with three steps, a character walking from one object to another, a diagram that builds piece by piece. A 10-second clip holds that action without a cut. If you supply a first-frame image, you can also add a last-frame image, so you control where the shot starts and where it ends.
Video Agent for presenter-led videos
Video Agent works differently. You type one prompt, and it writes the script, picks an avatar presenter, records the voiceover, assembles the scenes, and edits the cut. That suits training videos and product walkthroughs where a talking presenter is the point. It is slower (the sample run on its model page took around 15 minutes), and you give up scene-by-scene control. Treat it as the shortcut, and the clip-based workflow as the craft route.
If you want a different look for one specific scene, Kling v3 Video and Veo 3.1 Lite sit in the same text-to-video category. Limits and pricing differ by model, so test a single scene before you commit a whole script.
Which one should you pick? If you want a finished presenter video with no editing, start with Video Agent. If you want control over every scene and plan to edit, build the clips with Seedance 2.5 Lite and use PicassoIA Video for quick drafts. A common pattern is drafts in the fast tool and final takes in the one with longer shots.
Write the Script First
Prompting a video model without a script is how you end up with twelve pretty clips that say nothing. Start with the words, because the words decide how many scenes you need and how long each one runs.

One idea per scene
Split the script into sentences and give each sentence one visual. If a sentence needs two pictures, it is two scenes. If a scene needs a paragraph of prompt to explain, the sentence is carrying too much. Short, concrete sentences produce short, concrete visuals, and those are the ones video models handle well. Avoid abstractions like "synergy" or "optimization" in anything the camera has to show. Replace them with objects: a gear, a calendar page, a stack of invoices. Video models draw things, not concepts.
A 60-second skeleton that works
Most effective explainers follow the same arc. Use this one as a starting point and adjust the timings to your topic:
- Hook (5 seconds): state the problem in one sentence.
- The cost (10 seconds): show what the problem costs the viewer in time, money, or stress.
- The idea (10 seconds): name your solution in plain words.
- How it works (25 seconds): three steps, one scene each, about eight seconds per step.
- Proof (5 seconds): one result, one number, or one happy customer.
- Next step (5 seconds): tell the viewer exactly what to do now.
💡 Time the script out loud. Read it with a stopwatch before generating anything. If it runs long, cut words, not scenes. Cutting words is instant; regenerating clips takes time.
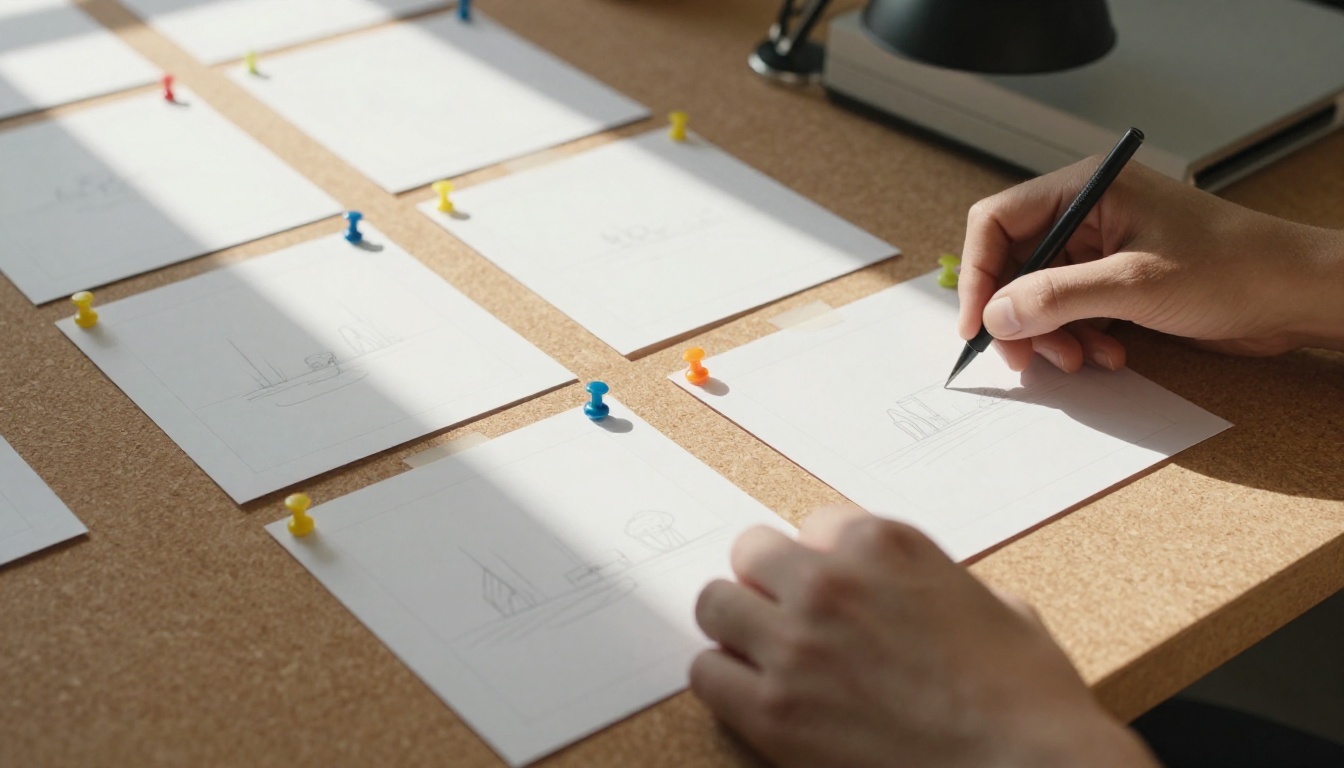
Sketch each scene as a rough box with one line of narration under it. Stick figures are fine. The sketch is for you, and it saves more time than any other step, because a storyboard shows a missing scene before you lose an hour to retries.
Prompts That Look Animated
Video models drift toward cinematic live-action unless you steer them. Animated explainers need a style phrase at the start of every prompt, and a clear order of events after it.
Name the style first
Open with the look: flat 2D motion graphics, paper cut-out animation, isometric diagram animation, or whiteboard-style line drawing. Then repeat the exact same phrase in every prompt, so the twelve clips read as one film instead of twelve experiments.
Describe motion in order
Write what happens first, what happens next, and what the camera does. Compare the two prompts below:
| Weak prompt | Strong prompt |
|---|
| A fox delivering a package | Flat 2D motion graphics, soft pastel palette. A small orange fox in a scarf carries a parcel along a winding path, then hands it to a rabbit waiting at a wooden gate. The camera glides left to right. Smooth easing, clean background. |
The strong version gives the model a style, a subject, an action sequence, a camera move, and a mood. That is five decisions you made instead of leaving to chance.
Keep characters consistent
The hardest part of a multi-clip explainer is making the same character look the same in scene one and scene nine. The reliable fix is to generate one reference picture first with an image model such as Seedream 4.5 or Recraft v4, then use that picture as the first frame of every clip. Both Seedance 2.5 Lite and PicassoIA Video accept an input image and use it as the opening frame, and the clip inherits its aspect ratio.
Here is the exact sequence for generating one scene on PicassoIA. Repeat it for every row of your storyboard.
- Open the Seedance 2.5 Lite page on PicassoIA.
- Paste your scene prompt into the Prompt field, starting with your style phrase.
- Pick the duration: 5 seconds for transitions, 10 seconds for scenes with real action.
- Set the resolution to 480p for fast drafts or 720p for the version you plan to publish.
- Choose the aspect ratio: 16:9 for YouTube and websites, 9:16 for Shorts and Reels, 1:1 for feed posts.
- Optionally upload your character picture as the input image. The clip will match its aspect ratio.
- Decide on audio. Leave save audio on for ambient sound, or switch it off when you will add narration separately.
- Generate, watch the result, and note the seed when you like a take so you can reproduce it.
| Setting | What it controls | Suggested value |
|---|
| Duration | Clip length | 5 or 10 seconds |
| Resolution | Sharpness and render time | 480p draft, 720p final |
| Aspect ratio | Frame shape | 16:9 or 9:16 |
| Input image | Opening frame | Your character reference |
| Last frame image | Closing frame (needs an input image) | Optional |
| Seed | Repeatability | Lock after a good take |
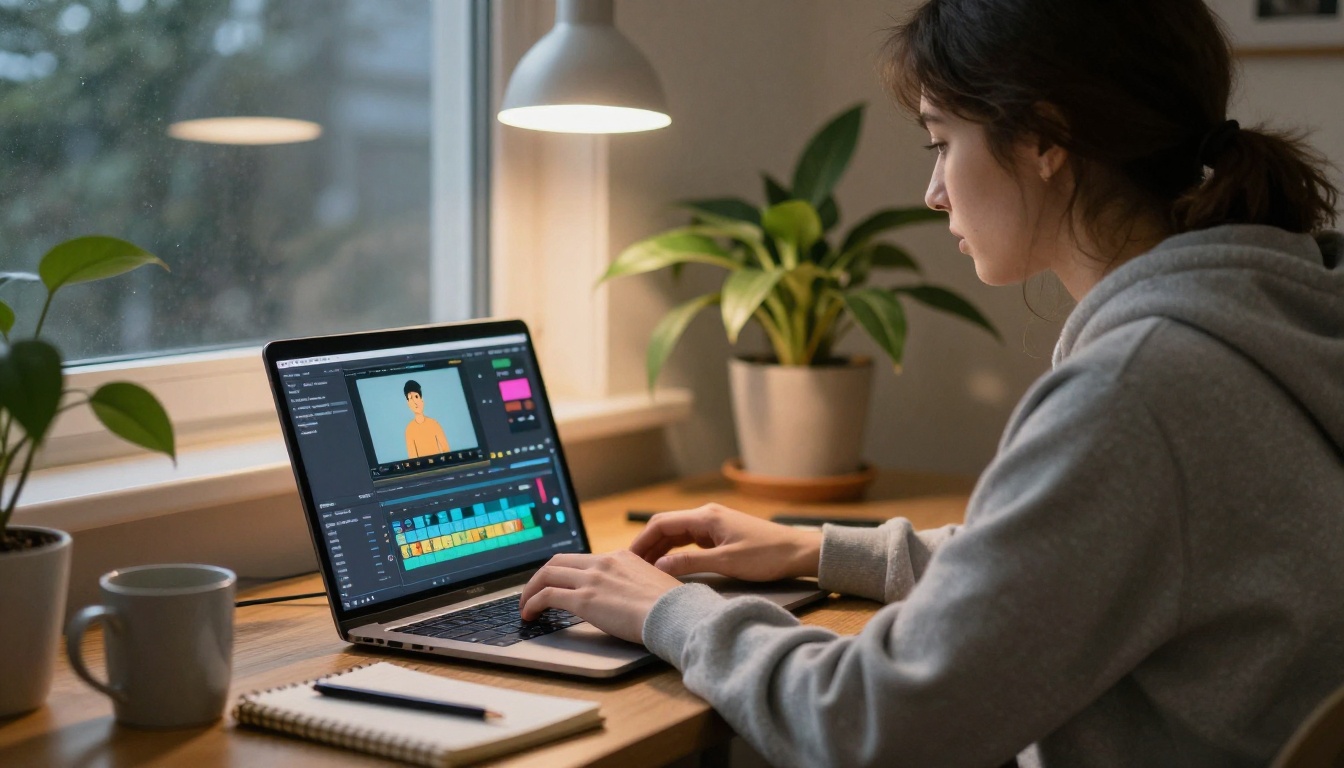
💡 Draft cheap, finish sharp. Run all your scenes at 480p first. Once the sequence works, regenerate only the keepers at 720p with the same seed.
Add Voiceover Without a Studio
A silent explainer is a slideshow. Narration is what turns a string of clips into an argument, and a text-to-speech model gives you a clean take in seconds.
Speech 2.8 HD turns your script into spoken audio. Paste the text (up to 10,000 characters), pick a voice, set an emotion such as calm or happy, and adjust speed anywhere between half and double. You can insert pauses with markers like <#0.5#>, which is handy for letting a visual land before the next sentence begins. Export as MP3 or WAV, and switch on sentence timestamps if you plan to add captions.
If you want a different voice character, ElevenLabs v3 is another option on PicassoIA, and ElevenLabs Dubbing translates a finished video into many other languages.
Putting it all together
Import the clips and the narration into any video editor. Lay the narration down first, then place each clip over its sentence and trim to fit. If you kept the built-in audio from the video models, lower it under the voice or mute it. Add background music last, at a volume well below the narration. If a clip came out at 480p, PicassoIA's video upscaling and stabilizing models can sharpen it before export.
Captions are worth the extra ten minutes. Many viewers watch on mute, so turn the narration into on-screen subtitles using the sentence timestamps from the speech model, and keep each caption to one short line. Export a 16:9 version for websites and YouTube, then regenerate your best scenes in 9:16 for short-video feeds.
Where They Work, and Where They Don't
Short generated clips suit some jobs far better than others. Knowing the difference saves a lot of retries.
Best uses
- Small business demos: a bakery, a salon, or a repair shop can show a product or service in 30 seconds without hiring a crew.

- Team onboarding and training: one process, three steps, one narrator. The format is built for it.

- Classroom concepts: water cycles, supply chains, and cell division are easier to see in motion than to read in a paragraph.
- Social posts: vertical 9:16 clips of 30 seconds or less travel well on short-video feeds.
Common mistakes
- Skipping the script. Without one, clips do not connect.
- Changing the style phrase between scenes. The video stops looking like one film.
- Cramming a whole process into one prompt. Give each step its own scene.
- Rendering everything at 720p on the first try. Draft at 480p, then upgrade the keepers.
- Forgetting the call to action. The last five seconds should tell the viewer what to do next.
- Expecting readable text inside clips. Add titles and labels in your editor instead.
Make Your First Explainer Today
Pick one idea you can say in 60 seconds, write the script, and open Picasso IA. Generate your first scene with PicassoIA Video, then run the same prompt through Seedance 2.5 Lite to compare the two. Add narration with Speech 2.8 HD, and you have a draft before lunch.
Experiment freely. Change the style phrase, lock the seeds that work, and build your own library of scenes you can reuse in the next video. The first explainer takes an afternoon. The second takes an hour.


