AI Food Photography: Free Prompts and Photo Generator
Food photography used to need a studio, a stylist and a lot of patience. Now an AI photo generator can produce steaming ramen, glossy burgers and flaky pastries from a single sentence. Here are free prompts you can copy, the lighting words that make dishes look real, and a simple workflow on PicassoIA.
A good food photo used to cost a studio day, a stylist, a tripod and a lot of cold coffee. Now you can type one sentence and get steaming ramen, a glossy burger or a flaky croissant in about ten seconds. That is the promise of AI food photography, and when you give the model the right words, the results pass for the real thing.
This article gives you a working photo generator workflow instead of theory. You get a prompt formula you can reuse for any dish, a set of free prompts to copy and paste, a step by step walkthrough for Flux 2 Pro on PicassoIA, and a short list of mistakes that make generated food look like plastic. Every image below was produced from a prompt like the ones you are about to read.
💡 Quick win: Name the light and the lens in every prompt. "Soft window light from the left, 85mm lens" does more for realism than ten adjectives about how delicious the dish looks.
Why Food Suits AI Photography
Food is one of the easiest subjects for an image model. A dish is small, the background can stay simple, and the visual signals of "tasty" are well known: steam, gloss, crumbs, melted cheese, condensation on a cold glass. Models have seen millions of food photos, so they already know what a burger bun looks like under window light and how broth reflects a lamp.
What AI Gets Right
The strengths show up fast once you start generating:
Texture: broth shine, pastry layers, charred pizza crust and the grain of a wooden table all come out sharp.
Light: soft window light, rim light on a bun and backlight through a drink are easy to request and easy to repeat.
Speed: you can test a dozen versions of one dish in the time it takes to set up a single real shot.
Cost: no ingredients to buy, no kitchen to clean, no food thrown away after a four hour session.
Where It Still Slips
Be honest about the weak spots. Small printed text on packaging, the number of fingers on a hand holding a fork, and portions that could never exist on a real plate are the usual trouble. The fix is boring but reliable: generate four or five versions and pick the one a real cook would believe.
The Prompt Formula That Works
Strong food prompts follow the same order every time. Think of it as a recipe for the recipe photo.
Part
Example
Why it matters
Dish
double smash cheeseburger
Gives the model one clear subject
State
melted cheddar draping over crisp edges
Adds believable detail
Surface
weathered oak table
Grounds the scene in a place
Light
soft window light from the left
Controls where shadows fall
Lens
50mm lens at f/1.8
Sets how blurry the background gets
Film look
Kodak Portra 400, fine grain
Warm, natural color without a digital feel
Start With the Dish
Put the food first and describe it the way a menu writer would, then add the physical state: steaming, torn open, dusted with sugar, dripping. One dish per prompt works better than a crowded table, because the model spends all its attention on a single hero.
Name the Light and Lens
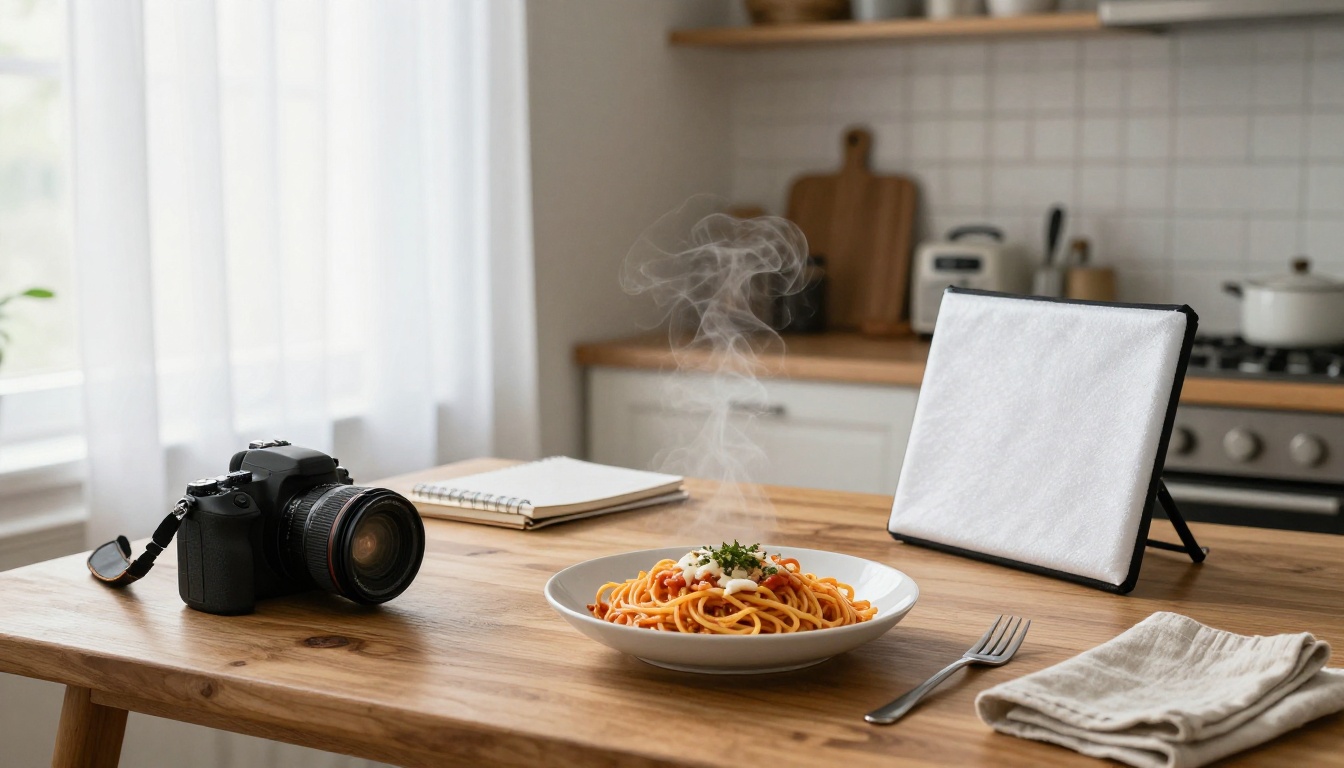
Light is what separates a snapshot from a magazine shot. Real food photographers rely on a window, a white foam board to bounce light back into the shadows, and a sheer curtain to soften harsh sun. Describe that exact setup in words and the model reproduces its look.
💡 Lens cheat sheet: 24mm to 35mm shows context and feels candid. 50mm looks natural. 85mm to 100mm compresses the background and makes the dish pop. Add an aperture such as f/1.8 for soft blur or f/4 for a sharper plate.
Pick the Angle on Purpose
Each dish has an angle that flatters it. Choose before you generate, not after.
Dish type
Best angle
Lighting that suits it
Pizza, breakfast spreads, bowls
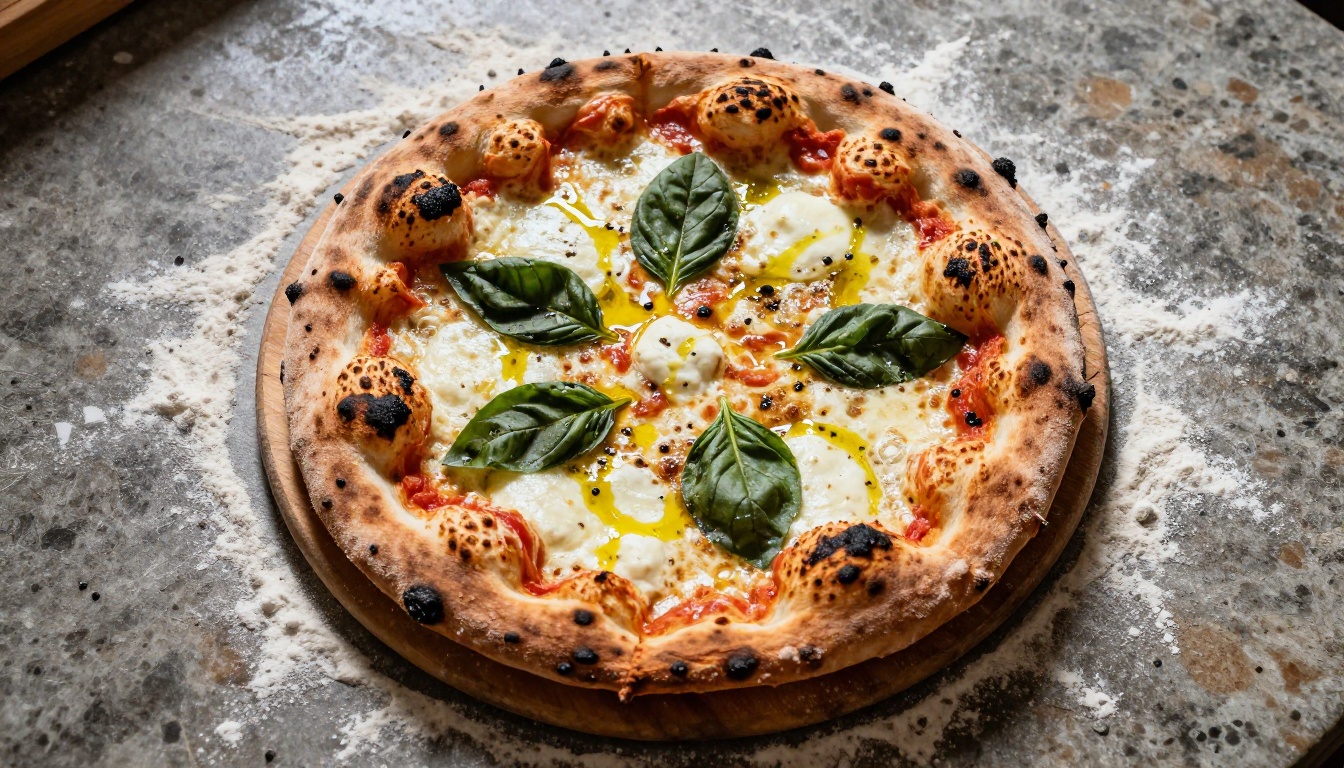
Overhead flat lay
Bright open daylight
Burgers, stacked sandwiches
Low angle, eye level
Backlight with a warm rim
Ramen, pasta, soups
45 degrees
Warm side lamp, visible steam
Pastries, small desserts
Macro close up
Soft diffused window light
Drinks
Eye level side view
Backlight through the glass
Free Prompts You Can Copy
Paste any of these into a text to image model, then swap the dish, the surface or the light to fit your menu. They are written in plain English and each one follows the formula above.
Burgers and Street Food
Hearty food looks best when the camera sits low and the light hits from behind.
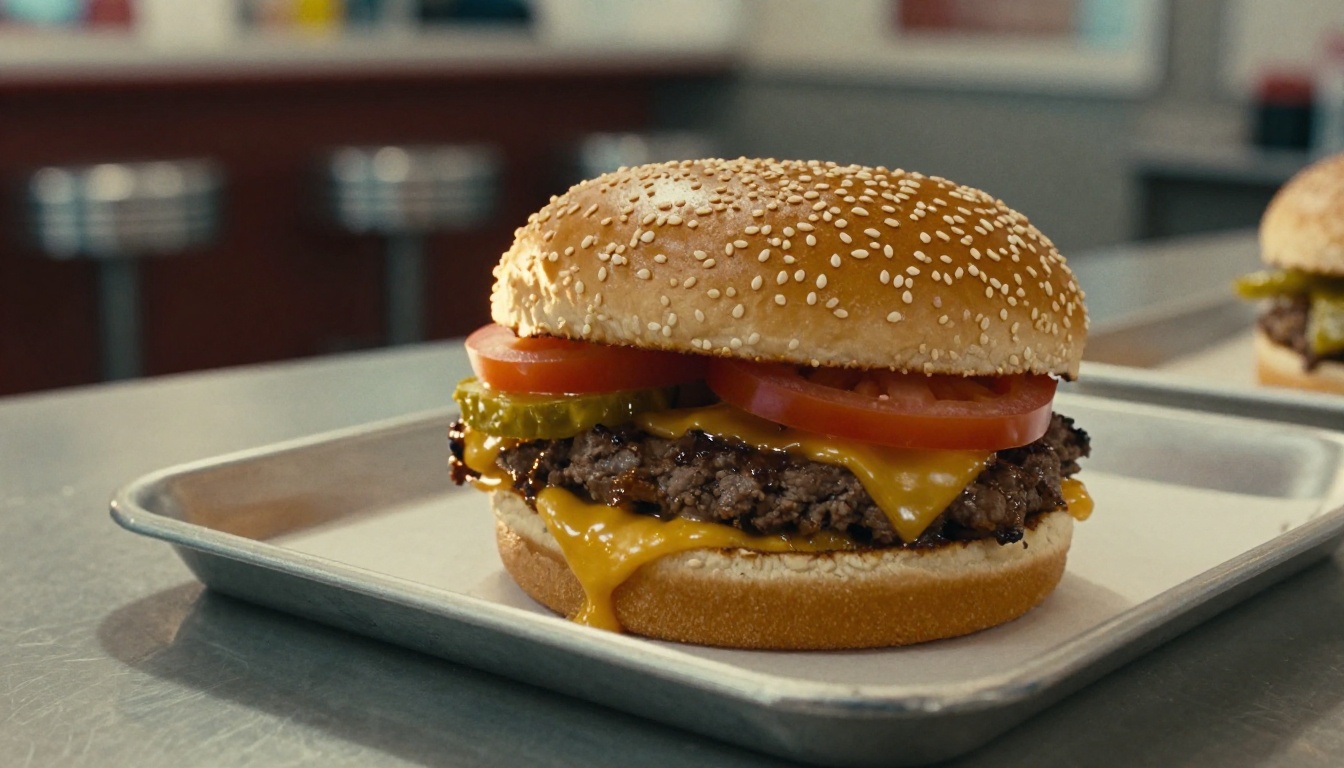
Low-angle shot of a double smash cheeseburger on a stainless steel diner counter, melted cheddar draping over crisp beef edges, toasted sesame bun, tomato slice and pickle glistening, soft window backlight from the right, blurred chrome stools behind, 35mm lens at f/2, visible grease sheen, fine film grain, Kodak Portra 400
For something more candid, try a street scene where the cook's hands are part of the story:
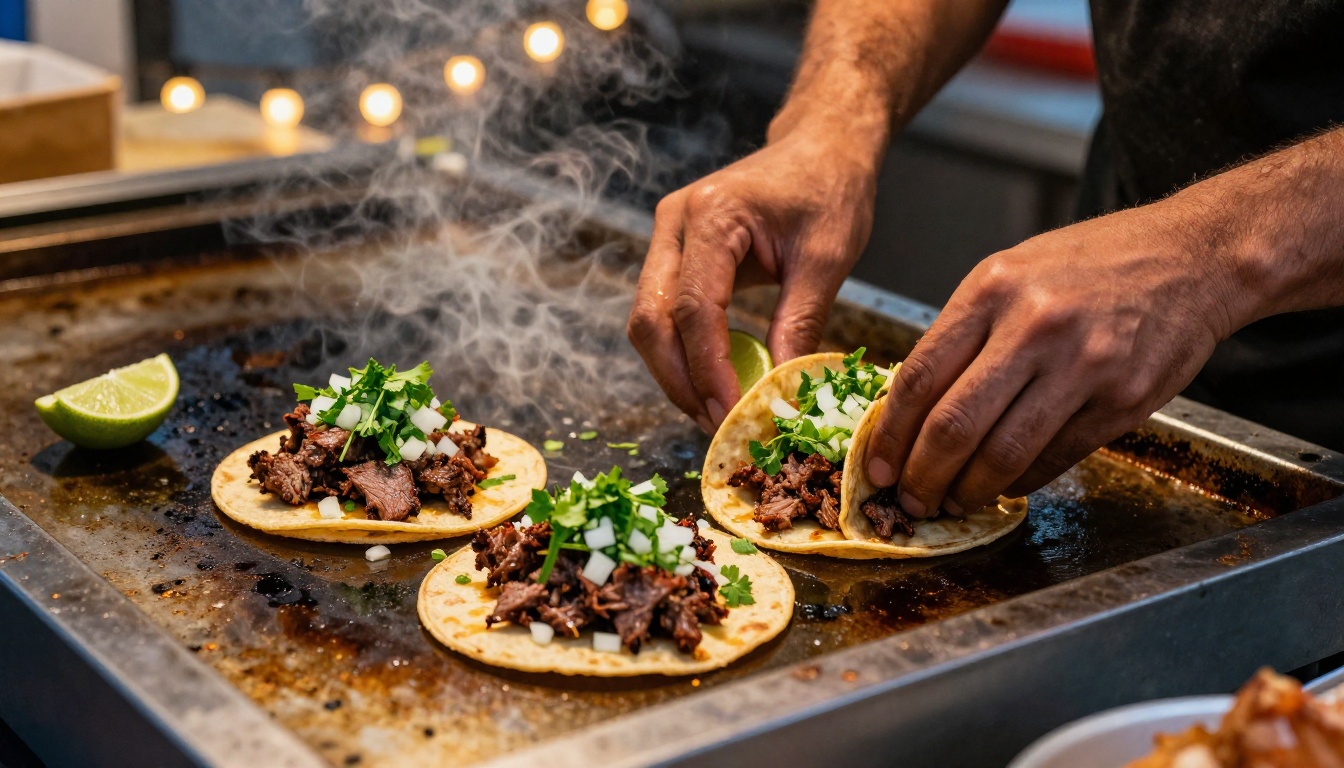
Candid view from slightly above a street taco stand at dusk, hands assembling carne asada tacos on warm corn tortillas, chopped cilantro and onion, lime wedges, light smoke rising from a flat-top grill, warm string lights blurred in the background, 28mm lens at f/2, film grain
💡 Tip: Adding a human element such as hands, a fork or a torn piece of bread makes a dish feel eaten, not staged.
Bowls and Pastries
Bowls look best at a three-quarter angle with steam. Pastries want a tight macro frame where every flake shows.
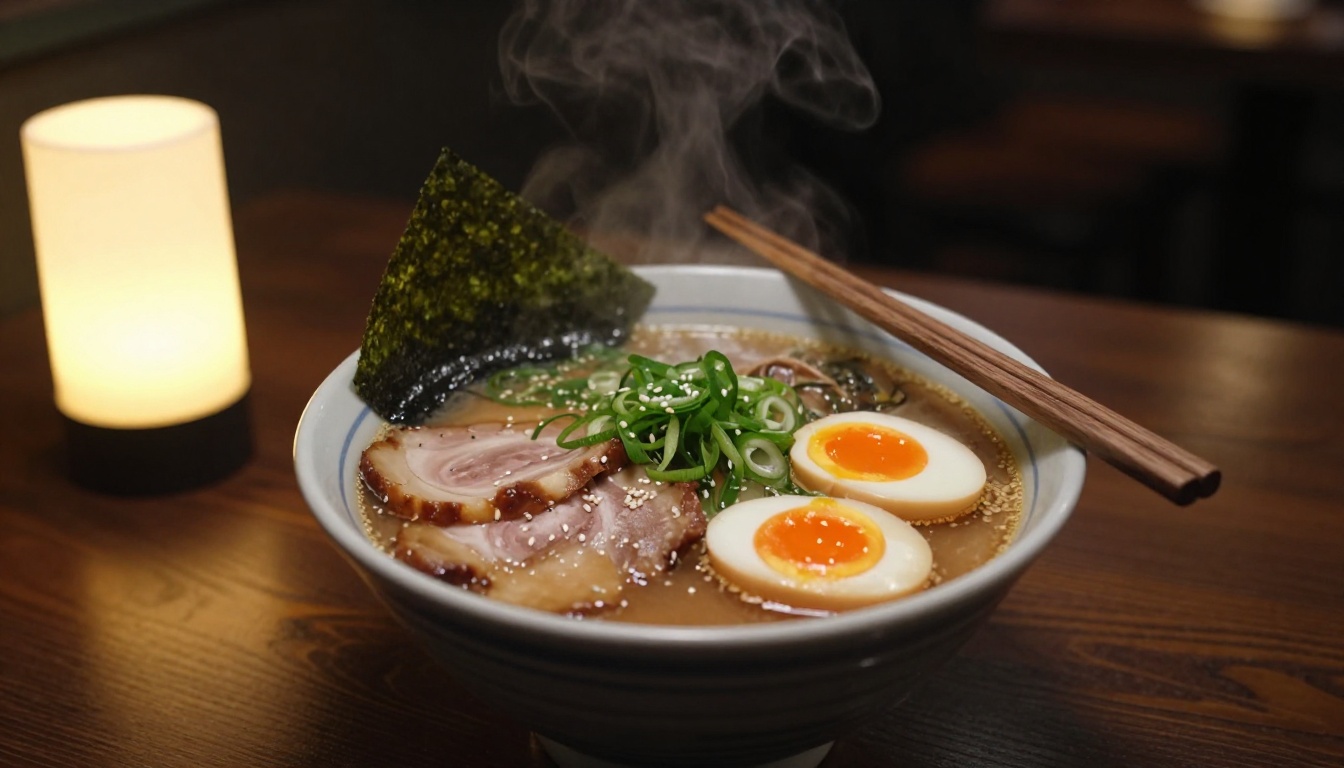
Three-quarter view of tonkotsu ramen in a dark ceramic bowl on a walnut counter, halved soft-boiled egg with a jammy yolk, chashu slices, scallion rings, wisps of steam lit by a warm lamp from the left, chopsticks across the rim, 85mm lens at f/1.8, creamy broth with fat droplets
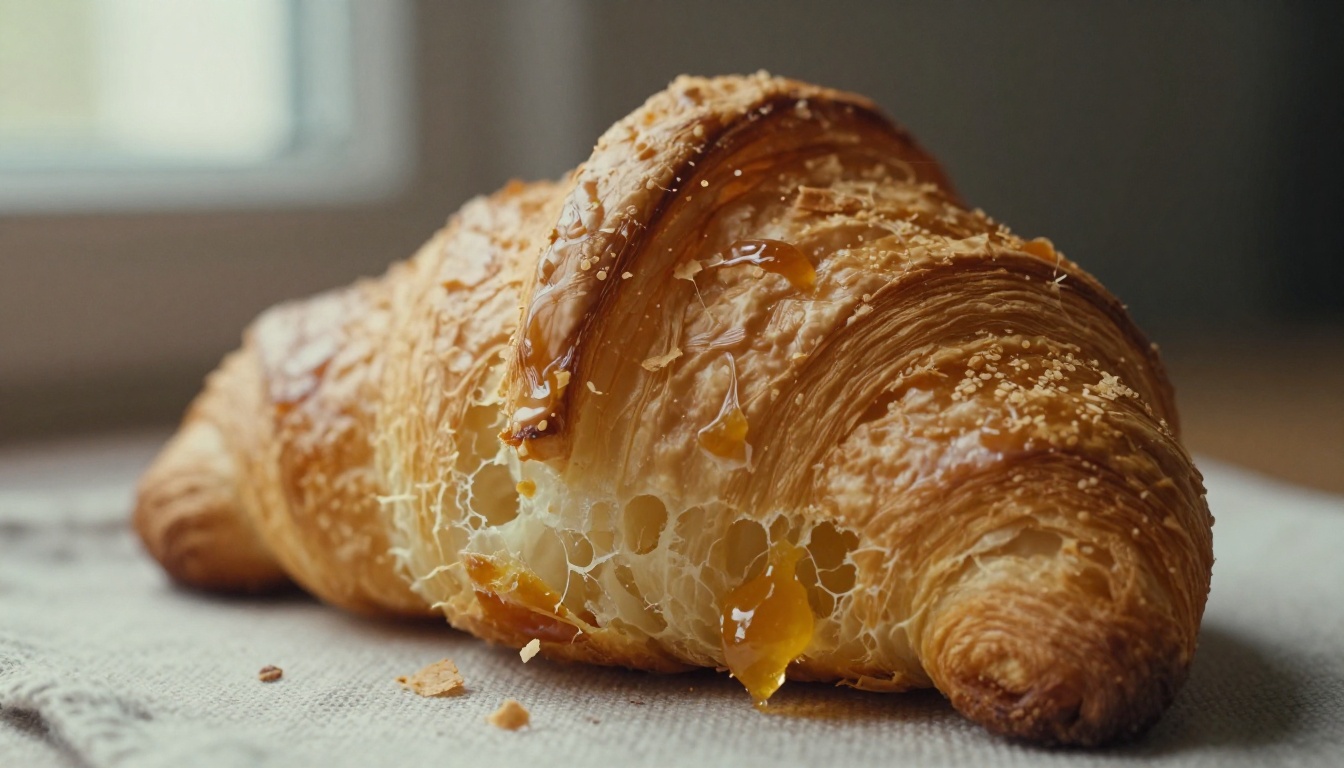
Extreme macro of a freshly baked butter croissant torn open, honeycomb crumb with flaking golden layers, pastry flakes on a rough linen cloth, a smear of apricot jam on the broken edge, soft diffused window light from the left, 100mm macro lens at f/2.8, warm natural highlights
Desserts reward a darker, moodier setup. A single light source and deep shadows make chocolate look rich.
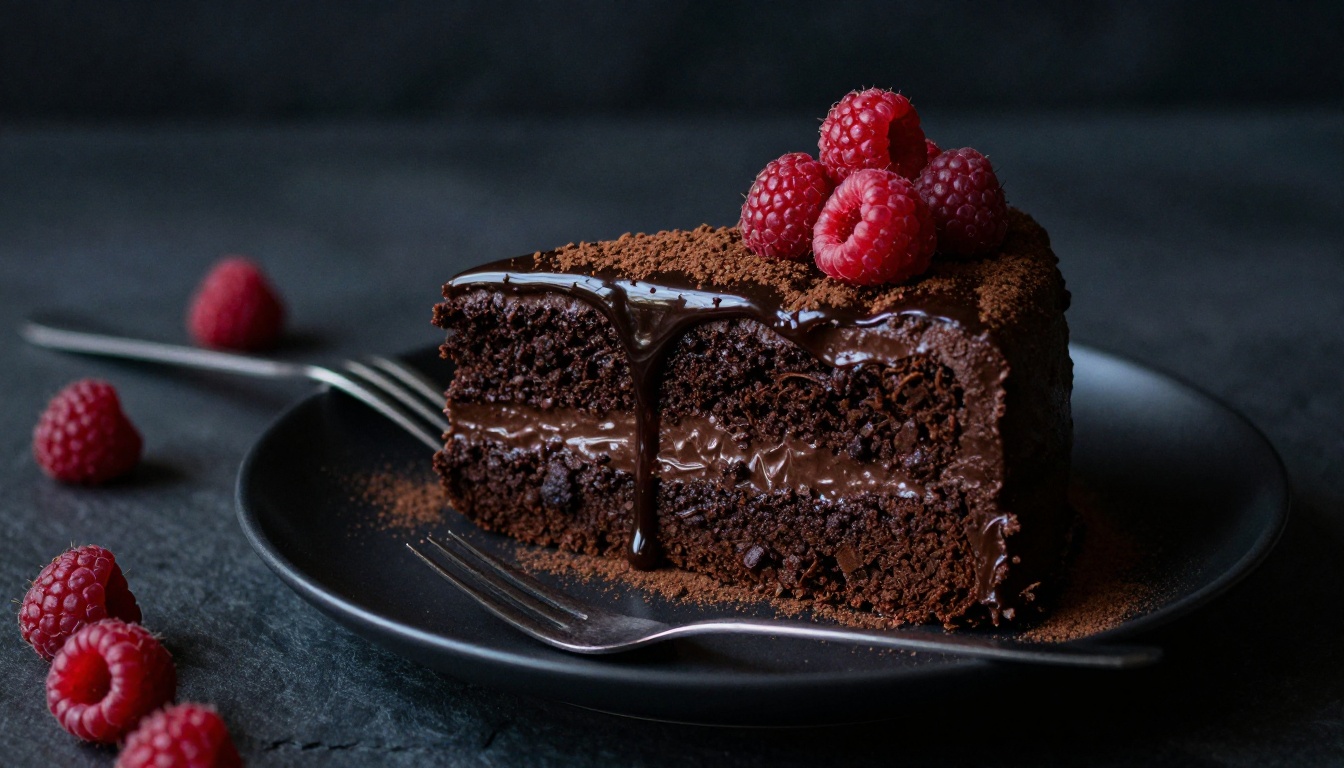
Dark moody close-up of a slice of dense chocolate cake on a matte black plate, glossy ganache dripping down the side, cocoa dust, a few raspberries and a silver fork, single soft window light from the left, dark slate surface, 90mm lens at f/2.8, fudgy crumb
Drinks and Salads
Cold drinks and fresh produce share one rule: put the light behind them so the liquid and the leaves glow.
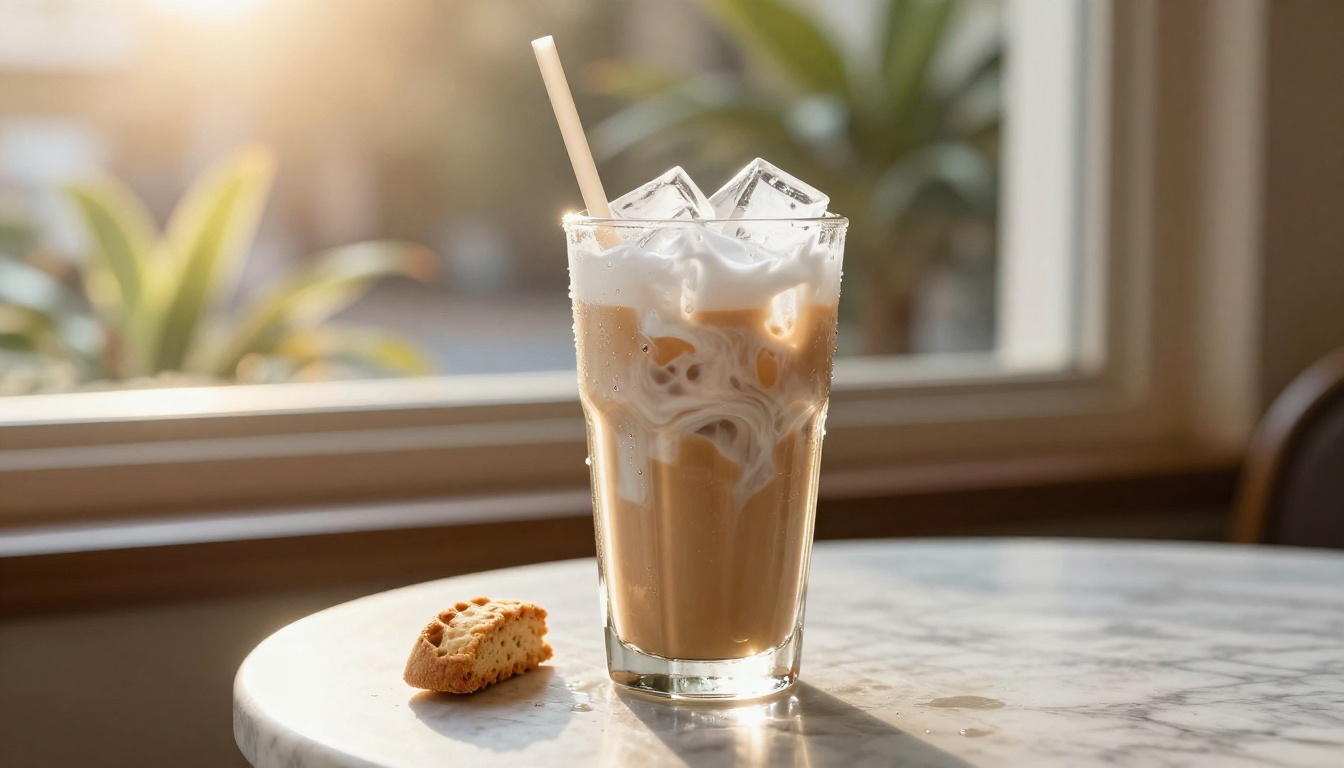
Eye-level side shot of a tall glass of iced latte with swirling milk clouds and large clear ice cubes, heavy condensation beads running down the glass, paper straw, marble cafe table, golden afternoon sunlight from behind, 70mm lens at f/2, blurred plants in the background
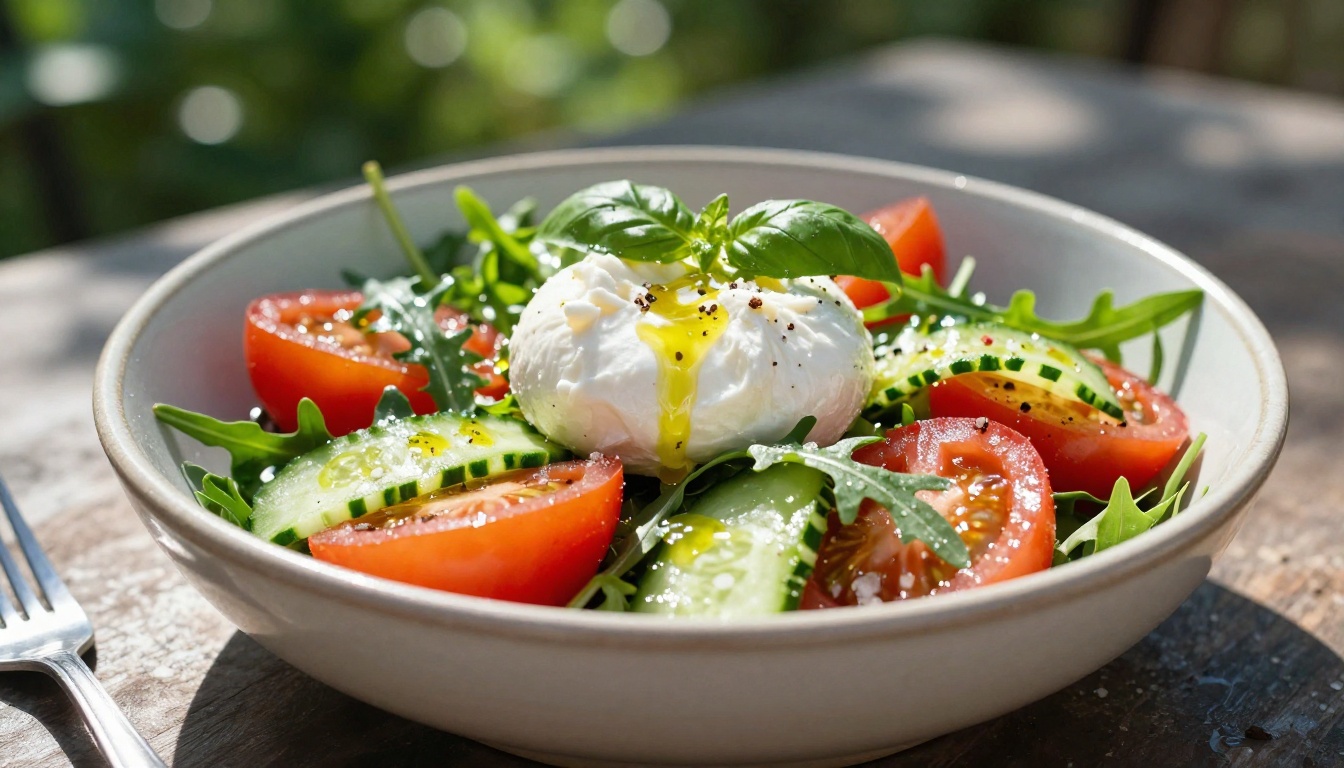
Backlit summer salad in a ceramic bowl with heirloom tomatoes, cucumber ribbons, burrata, arugula and basil, glistening olive oil, cracked pepper and flaky salt, sunlit garden table, strong morning sun from behind, 50mm lens at f/2.8, green foliage bokeh
Need a blank template? Fill in the brackets and you have a prompt for any dish:
[Dish] with [physical state], on [surface], [light direction and quality], [camera angle], [lens and aperture], [texture details], fine film grain, Kodak Portra 400
How to Use Flux 2 Pro on PicassoIA
Flux 2 Pro is a strong pick for food because it follows detailed prompts closely and accepts up to eight reference photos. That second feature matters if you run a restaurant: you can upload a picture of your real plate and ask for new angles or backgrounds while the dish stays recognizable.
Step by Step
Open the Flux 2 Pro page on PicassoIA and find the Prompt box.
Paste one of the prompts above, or your own version of the template.
Choose an aspect ratio. Use 16:9 for blog banners, 4:5 for social feeds, 9:16 for stories and 1:1 for delivery app tiles.
Leave resolution at 1 MP for quick drafts. Move to 2 MP for final images, which the model recommends over the 4 MP maximum.
Pick the output format: JPG for the web, PNG when you plan to edit the file further.
Optional: add input images, up to eight, to keep plating, colors or lighting consistent with your real food.
Press generate, compare the results, and note the seed of the one you like.
Reuse that seed with a small prompt change, such as a different garnish, to get a controlled variation.
Settings Worth Changing
Setting
Default
What to do for food
Aspect ratio
1:1
Match the platform where the photo will live
Resolution
1 MP
Raise to 2 MP for final images
Output quality
80
Raise toward 90 when the photo will be printed or zoomed
Seed
Random
Fix it when you want repeatable results
Safety tolerance
2
Leave it alone, food rarely triggers filters
💡 Reference trick: Upload a photo whose lighting you love and write "same lighting as the reference" in your prompt. It is the fastest way to keep a whole menu looking like one shoot.
Other Models and Upscalers
No single model wins every dish, so keep two or three in rotation.
Same Prompt, Different Models
Run an identical prompt through several models and compare. Each one has its own sense of color and contrast, and a burger that looks flat in one can look perfect in another.
A generated photo that looks fine on a phone can look soft on a full width banner. Run the winner through a super resolution model before it goes live. Real-ESRGAN and Google Upscaler enlarge images 4x, and Topaz Image Upscale goes up to 6x when you need print size.
Mistakes That Make Food Look Fake
Most "that is obviously AI" reactions come from the same few habits. Fix these and your images improve overnight.
Too Much Gloss and Steam
Every dish does not need a shiny coat and a cloud of vapor. Real food has matte areas. Ask for "natural sheen" or "light steam" and let some surfaces stay dry, like a bread crust or a cheese rind.
Props That Make No Sense
Watch the supporting cast. Three forks for one bowl, a cup with no handle, a napkin floating in mid air: these break the spell. Keep props to two or three simple items and name them clearly in the prompt.
No Imperfections
Perfect symmetry looks synthetic. Add crumbs on the table, a smear of sauce on the plate edge, uneven powdered sugar or a scuffed wooden surface. Real kitchens are a little messy, and the photo should be too.
Where Generated Food Photos Work
The best uses are the ones where you need many images fast and a photographer is out of budget:
Menus and delivery apps: fill gaps for dishes you have not shot yet, and replace weak phone photos. If the photo promises a specific plate, keep it close to what you really serve.
Recipe blogs: create a hero image for every post and a few step shots without cooking each recipe three times.
Social media: build a month of posts in one afternoon, each in the right aspect ratio.
Ads and mockups: test packaging scenes and seasonal campaigns before spending on a shoot.
Once you have a strong still, you can also bring it to life. PicassoIA hosts text to video and image to video models, so a ramen shot can become a short clip with rising steam. Browse the full catalog at picassoia.com/en/all-models.
Try It on Your Own Dishes
You now have the formula, the lighting words and eight prompts ready to paste. The fastest way to improve is to run them on your own menu: pick the dish you sell most, write one prompt with light and lens, and generate five versions. Change only one thing at a time, such as the angle or the surface, so you see exactly what each choice does.
Open Flux 2 Pro on PicassoIA, paste your first prompt and see how close a few sentences can get you to a studio shoot. Then try the same prompt in a second model, upscale your favorite, and build your own library of prompts that match your brand. Start with one plate today and you will have a full set of food photos before your coffee gets cold.