You type a sentence. Ten seconds later, a photograph appears that never existed. That is what an AI image generator from text does, and the gap between a muddy, plastic-looking result and a picture you would actually print comes down to three things: the words you write, the model you pick, and a handful of settings most people never touch.
This article gives you all three. You will see prompt examples you can copy today, a realistic picture of free options (and what "free" usually costs you), and the best settings for sharp, believable output. Everything here is tuned for photorealism, because that is where the difference between a good prompt and a lazy one is easiest to see.

How Text to Image Actually Works
From Words to Pixels
A text to image model has been trained on millions of captioned pictures. When you write "a fisherman at dawn, soft light, 85mm lens," it does not search a gallery. It starts from random noise and removes that noise step by step, nudging the result toward whatever matches your words. Each step is a small guess about what a pixel should be, based on everything the model has seen.
That is why wording matters so much. The model has no idea what you meant. It only knows what you wrote. If you leave out the lighting, it invents lighting. If you leave out the lens, it picks a generic look. Vague input produces generic output, every time.
Why Prompts Fail
Most bad results come from one of four causes:
- Too short. "A woman on a beach" leaves hundreds of decisions to chance.
- Too crowded. Thirty adjectives fight each other and the model averages them into mush.
- Contradictory. "Golden hour" and "overcast flat light" in the same prompt confuse the output.
- Wrong model. A fast, lightweight model will not match a flagship one on skin texture or hands.
Fix those four and your hit rate jumps before you touch a single setting.
💡 Quick rule: describe the picture the way a photographer would brief an assistant. Subject first, then place, then light, then lens.
Prompt Examples That Work
A reliable prompt follows a simple order: subject and action, environment, lighting, camera and lens, texture and mood. The examples below follow that pattern. Copy them, swap the subject, and keep the structure.
Portrait Prompt
A woman in her late thirties laughing mid-sentence at a café window table, a ceramic cup in both hands, visible skin pores and fine laugh lines, soft window light from the left, 85mm f/1.8 shallow depth of field, Kodak Portra 400 film grain, natural color.
Why it works: it names an expression, a physical detail (pores, laugh lines), a light direction, and a lens. Each one removes a guess.
Landscape Prompt
Misty pine forest valley at sunrise, low fog between the trees, warm light breaking through from the right, a narrow dirt road curving into the distance, 24mm wide angle f/8, crisp foreground grass with dew, subtle film grain.
Landscapes need depth cues. Fog, a road, and foreground detail tell the model where near and far sit in the frame.
Product Prompt
A glass perfume bottle on a rough stone slab, single soft window light from the left, gentle reflection on the glass, shallow depth of field, 100mm macro f/4, fine dust specks, neutral gray background, editorial product photography.
Lifestyle Prompt
A runner tying her shoes on a quiet city staircase at 6 a.m., cool blue morning light mixed with a warm streetlamp, 35mm f/2, candid framing, slight motion in the background, realistic fabric textures.
The Prompt Formula in One Table
| Layer | What to write | Example phrase |
|---|
| Subject | Who or what, doing what | "an elderly fisherman mending a net" |
| Environment | Where, with 2 or 3 details | "wooden pier, gray harbor, morning haze" |
| Lighting | Direction, quality, time | "soft window light from the left" |
| Camera | Lens, aperture, angle | "85mm f/1.8, eye level" |
| Texture | Surfaces and grain | "wool sweater fibers, film grain" |
| Mood | One short phrase | "quiet, unhurried" |
💡 Negative wording: if a model has a negative prompt field, list what you do not want: "extra fingers, blurry, plastic skin, watermark." If it has none, state what you want instead ("sharp focus, natural skin texture").
Words That Quietly Improve Realism
Some phrases pull the model toward photography instead of illustration. Use a few, not all:
- Lens and aperture: "35mm f/2.8", "85mm f/1.8", "100mm macro"
- Light direction: "from the left", "backlit", "overcast diffused", "golden hour"
- Surface detail: "visible pores", "worn leather", "brushed aluminium", "frayed linen"
- Film look: "Kodak Portra 400", "subtle grain", "natural white balance"
And phrases that push results toward an artificial look: "ultra HD masterpiece," "trending," "perfect," "flawless." They add nothing a model can use.
Free Options Worth Trying
What Free Usually Means
"Free" in this space comes in a few flavors, and the differences matter:
- Daily or monthly credits. You get a set number of generations, then wait or pay.
- Free tier with limits. Lower resolution, slower queue, or a watermark.
- Open-weight models you run yourself. No fee for the model, but you need a strong graphics card and some setup time.
- Trial access to premium models. Good for testing before you commit.
Before you spend an evening on any free tool, check three things: the maximum resolution, whether commercial use is allowed, and whether the images are watermarked. A free generator that caps you at a small preview size is fine for testing prompts and useless for finished work.

Free Model Picks on PicassoIA
PicassoIA hosts a long list of text to image models in one place, so you can try several on the same prompt and compare. A few worth starting with:
A sensible workflow: draft with a fast model such as Flux Schnell or Z Image Turbo, lock in the composition, then re-run the best prompt on a higher-detail model like Seedream 4.5 or Imagen 4 Ultra for the final.
💡 Save credits: never test a brand-new prompt on your most expensive model. Fast models show you whether the idea works. Slow models show you whether the detail works.
When Free Stops Being Enough
Free is fine for practice. It stops being enough when you need print-size resolution, consistent characters across a set, or a batch of 50 product shots by Friday. At that point, the cost of your time beats the cost of a paid plan.
Best Settings for Sharper Results
Settings vary by model, and some hosted models hide most of them to keep things simple. When you do see these options, here is what to do with each one.
Aspect Ratio
Pick the ratio before you generate, because the model composes differently for each shape.
| Ratio | Use it for |
|---|
| 16:9 | Blog headers, video thumbnails, wide landscapes |
| 3:2 | Classic photo look, product scenes |
| 4:3 | Presentations, general purpose |
| 1:1 | Social posts, avatars |
| 9:16 | Phone wallpapers, stories, vertical portraits |
| 2:3 / 3:4 | Posters, full-length portraits |
A tall ratio on a landscape prompt forces awkward cropping inside the image. Match the shape to the subject.
Steps and Prompt Strength
If your tool exposes sampling steps, more is not always better. Most modern models reach good quality in a modest number of steps, and going far past the recommended range burns time without improving detail. Distilled models such as Flux Schnell are built to work in very few steps, so leave those at default.
Prompt strength (often called CFG or guidance scale) controls how tightly the model follows your words:
- Too low: the image drifts and ignores details.
- Too high: colors oversaturate, skin turns waxy, edges look burnt.
- Sweet spot: the model's default, then adjust in small steps.
Change one setting at a time. If you change three, you will never know which one helped.
Seeds and Iteration
The seed is the starting noise. Same prompt plus same seed gives you the same image. That makes it a powerful tool for controlled testing:
- Generate an image you like and note the seed.
- Change one word in the prompt, for example "overcast" to "golden hour."
- Re-run with the same seed and compare.
You are now testing wording instead of rolling dice. When the composition is right but a detail is off, keep the seed and edit the prompt. When the whole idea is wrong, switch to a random seed.
Resolution and Upscaling
Generate at the model's native resolution, then upscale afterward if you need more pixels. Asking a model for an oversized canvas directly can produce duplicated subjects and stretched anatomy. A dedicated super resolution tool on PicassoIA can lift a finished image by 2x to 4x without redoing the composition.
How to Use Seedream 4.5 on PicassoIA
Seedream 4.5 is a strong choice when you want sharp detail and believable skin. Here is the full path from blank page to finished image.
- Open the model page. Go to the Seedream 4.5 page on PicassoIA.
- Write your prompt in the order above. Subject, environment, lighting, lens, texture. Aim for two to four sentences, not a paragraph of adjectives.
- Choose the aspect ratio. Use 16:9 for wide scenes and headers, 3:4 or 2:3 for portraits.
- Pick the resolution. Start at the default for testing, and move up once the composition is right.
- Generate and review. Check hands, eyes, text on signs, and edges where objects overlap.
- Change one thing. Adjust a single phrase in the prompt, re-run, and compare side by side.
- Upscale or edit. Send the winner to a super resolution tool, or touch up details with an inpainting or editing model such as Nano Banana Pro.
If you want to compare, run the same prompt through Seedream 5 Pro and Imagen 4 Ultra. Differences in skin, fabric and light fall-off show up fast.
💡 Fast comparison trick: keep the prompt identical across models and only change the model. Any difference you see comes from the model, not from your wording.
Other Models for Specific Jobs
Real Use Cases, Real Results
Small Business Product Shots
A ceramics seller can describe a mug on a linen cloth in soft window light and get a catalog-ready shot in minutes. The best habit is to compare the generated image against the real item. If the glaze color or handle shape is off, say so in the prompt: "matte sage-green glaze, thick rounded handle."

Creative Teams and Reviews
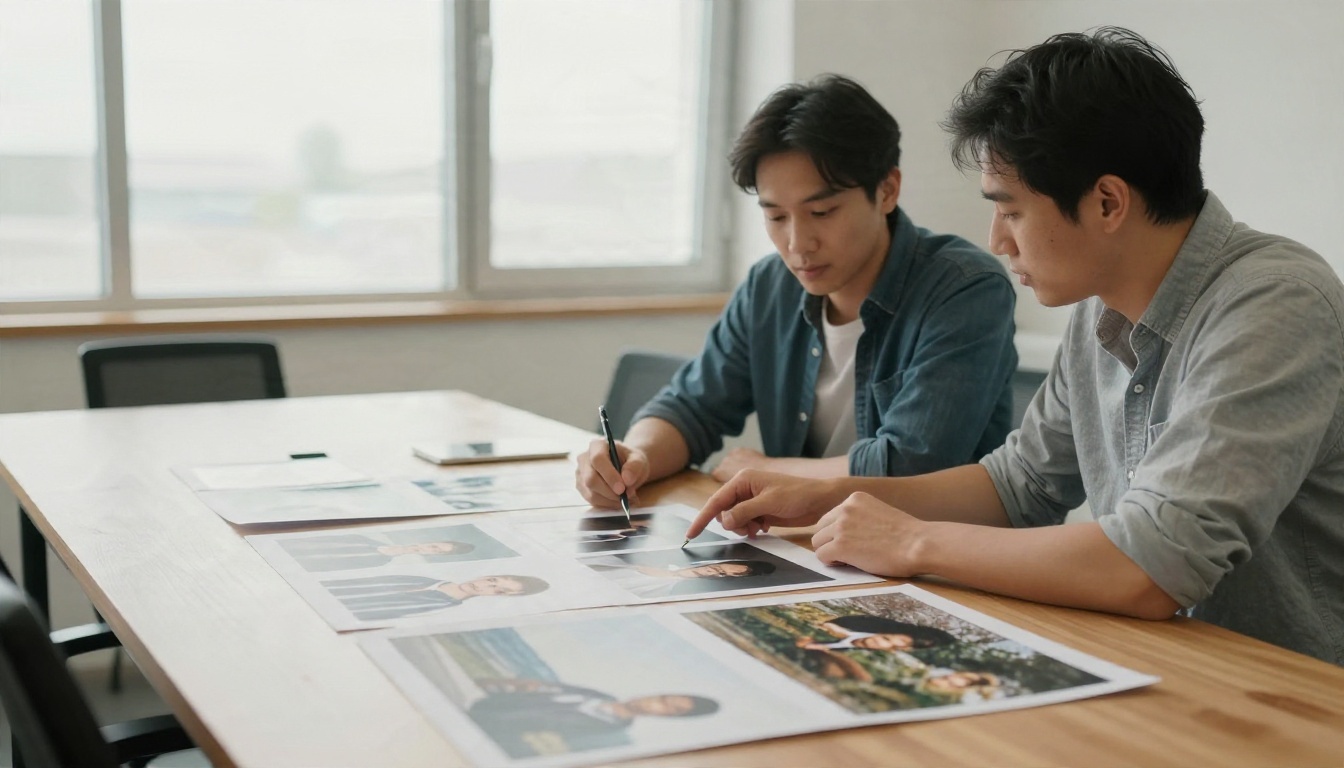
Agencies use text to image for mood boards and first drafts. A team can generate twelve options before lunch, print them, and pick two to develop. The speed is the point: ideas get tested before anyone books a photographer or a location.
Photographers Studying Light
Writing prompts trains your eye. To describe light well, you have to notice it: direction, softness, color. Many photographers say prompt writing sharpened how they set up real shoots. That is a useful side effect for anyone who works with images.
Common Mistakes to Avoid
Overstuffed Prompts
More words do not mean more control. Past roughly 60 to 80 well-chosen words, extra phrases tend to cancel each other out. Cut anything that does not change the picture.
Skipping the Lens and Light
Leaving out light direction is the single most common reason images look flat. Even one phrase such as "side light from a window on the left" changes the whole result.
Ignoring Hands and Edges
Every model still slips on fingers, jewelry, and the line where hair meets background. Zoom in before you approve an image. Fix issues with an editing model or regenerate with a new seed.
Expecting Perfect Text
Short words on signs can work, especially with models built for text such as P Image Ideogram. Long sentences inside a picture still break often. Put the headline in your design tool, not in the prompt.
Using One Model for Everything
Different models have different strengths. A speed-first model is great for drafts. A detail-first model is better for finals. Switching takes seconds and saves hours of fighting the wrong tool.
A Quick Checklist Before You Generate
- Is the subject clear in the first sentence?
- Did I name the light direction and quality?
- Did I add a lens or camera distance?
- Did I mention at least one texture?
- Is the aspect ratio right for where the image will live?
- Am I testing on a fast model first?
- Did I change only one thing since the last run?
If all seven are yes, you are ahead of most prompts out there.
Try Your First Prompt Today
The fastest way to improve is to generate, compare, and adjust. Pick one of the examples above, paste it into Seedream 4.5 or Flux Schnell on PicassoIA, then rewrite the lighting line and run it again. Do that five times with five different lights and you will see more about how these models respond than any article can show you.
Keep a small notebook of prompts that worked, note the model and ratio next to each, and build your own formula. Then move on to editing, upscaling, and even turning your best stills into video with the other tools on the platform. Open Picasso IA, type a sentence, and see what comes back.


