AI image generators are very good at drawing something that looks like pixel art from three feet away. Zoom in and the illusion breaks. Edges are soft, the "pixels" come in three different sizes, and a sprite that should use 16 colours quietly uses 4,000. Dropped into a game engine, it shimmers, blurs and clashes with every hand-made asset around it.
That gap is exactly what an AI pixel art fixer and upscaler closes. This article shows how to diagnose each flaw, rebuild a true pixel grid, lock a palette that holds together, and enlarge the result without turning crisp squares into mush. You will also see which PicassoIA models fit each step, from pixel native generators like RD Plus to upscalers like Real ESRGAN, with a step by step run through the second one.
💡 Short version: fix the grid first, lock the palette second, upscale last, and only by whole number multiples. Doing these in a different order is the most common reason a repaired sprite still looks "off".
Why AI Sprites Look Wrong
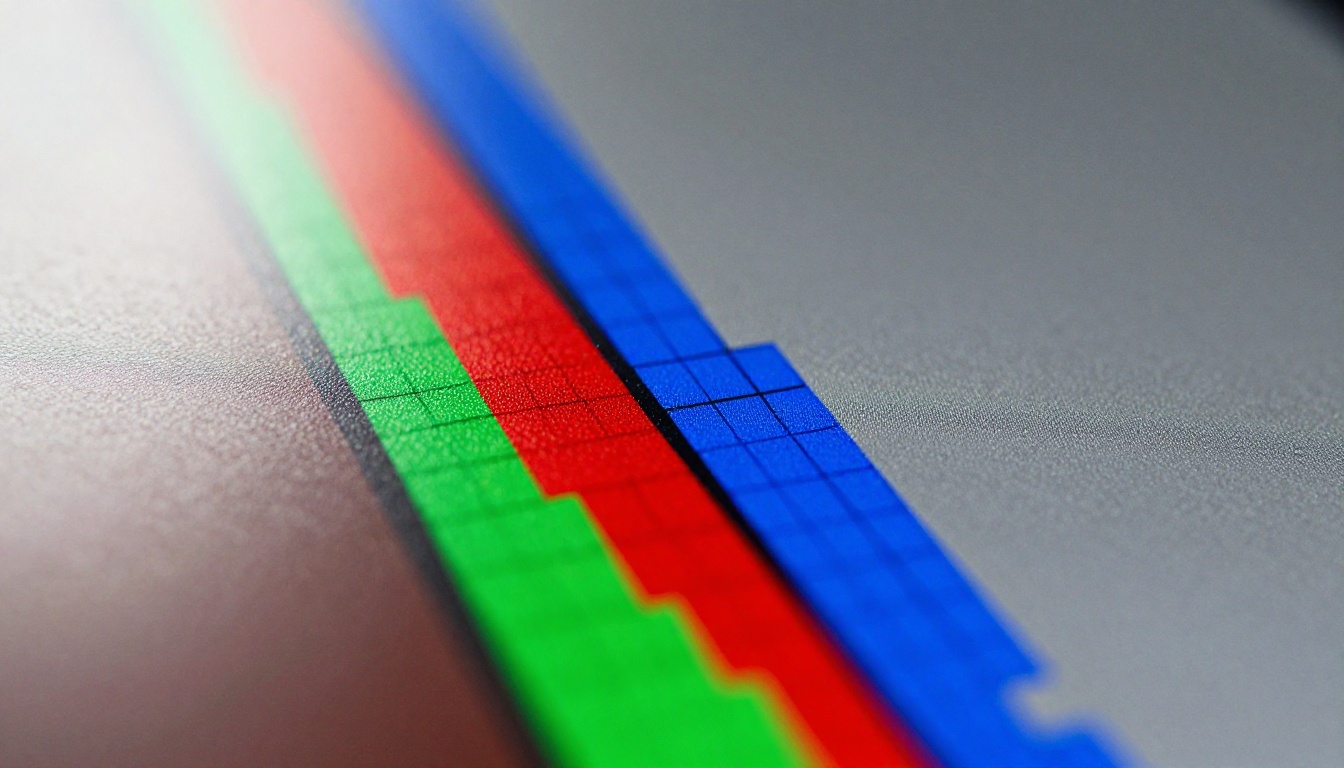
Diffusion models paint with continuous colour, not with a grid. When you prompt for a "16 bit knight sprite", the model produces an image that resembles the style, but nothing inside it enforces the rule that one pixel equals one cell. What you get is a picture of pixel art rather than pixel art.
Pixels That Are Not Pixels
Real pixel art has one fixed block size. Every visible square has the same width and height, and every line sits on that grid. AI output drifts. One part of the sprite uses 6 px blocks, another uses 5 px, and a curved edge dissolves into a smooth gradient. Pixel artists call this mixels, short for mixed resolutions inside a single image.
The problem hides at full size and appears the moment you shrink the sprite to its real in game dimensions. A 1024 px image that "looks" like 128 cells wide may actually hold 170 uneven ones, and no resize setting will line them up by accident.
Blur, Halos and Palette Bloat
Three more flaws show up again and again:
- Soft edges. Anti-aliasing and JPEG compression smear a hard outline across two or three pixels.
- Halos. A faint light or dark fringe sits around the sprite where the background was cut out.
- Palette bloat. A hand made sprite often uses 8 to 32 colours. A generated one can hold thousands, because every soft shadow is a slightly different shade.
💡 Each flaw has its own repair. A blur problem treated with a palette tool only wastes an afternoon, so diagnose before you touch anything.
Spot the Damage First
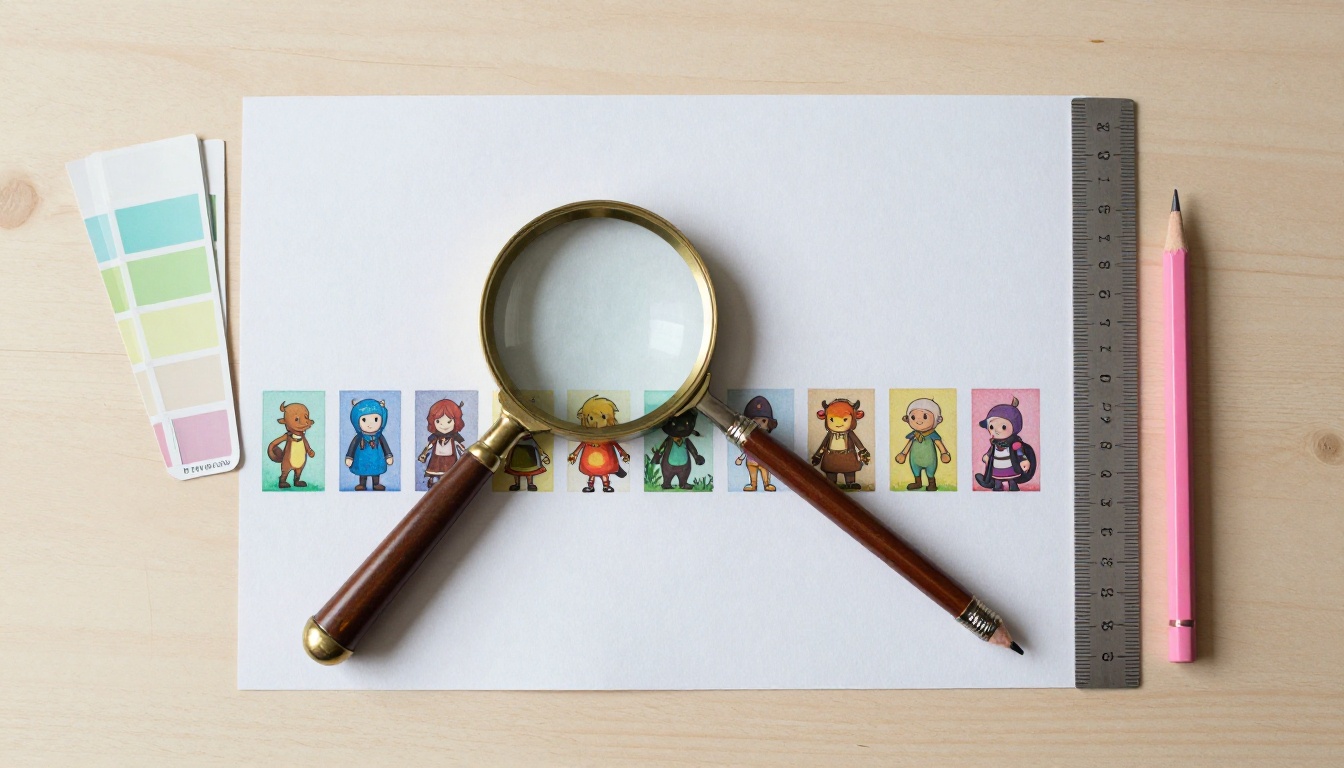
Open the sprite at 800% zoom or higher in any image editor. Pixel focused editors such as Aseprite or Pixelorama are ideal, but a general editor works too. Then run three quick checks.
Measure the Real Grid
Pick a feature with a clear edge, such as an eye or a belt buckle, and count how many screen pixels one visible block spans. If the sprite is 1024 px wide and each block is about 8 px, the native size is roughly 128 px wide.
Measure in at least three places. If the numbers disagree by more than a pixel, the sprite has mixels and needs to be snapped to a single grid before anything else happens.
Count the Colours
Most editors report a unique colour count, or you can convert to indexed mode and see how many colours survive at a given limit. A clean sprite sits under 32 colours. Anything above 256 means gradients have crept in and the palette needs rebuilding.
Check the Edges and Background
Place a flat magenta layer behind the sprite. Any white or black fringe shows up instantly. Do the same with a mid grey layer, because halos often have both light and dark sides.
Here is how the symptoms map to causes and repairs:
| Symptom | Likely cause | Repair |
|---|
| Blocks vary in size | The model ignored the grid | Snap to the native grid |
| Fuzzy outlines | Anti-aliasing or JPEG compression | Block based downsample, then re-quantize |
| Thousands of colours | Soft shading and gradients | Palette reduction |
| Light fringe on edges | Rough background cutout | Hard alpha threshold |
| Lone dots in empty areas | Diffusion noise | Orphan pixel cleanup |
| Sprite looks soft after enlarging | Smooth resize filter | Nearest neighbour at whole multiples |
Rebuild the Grid Step by Step
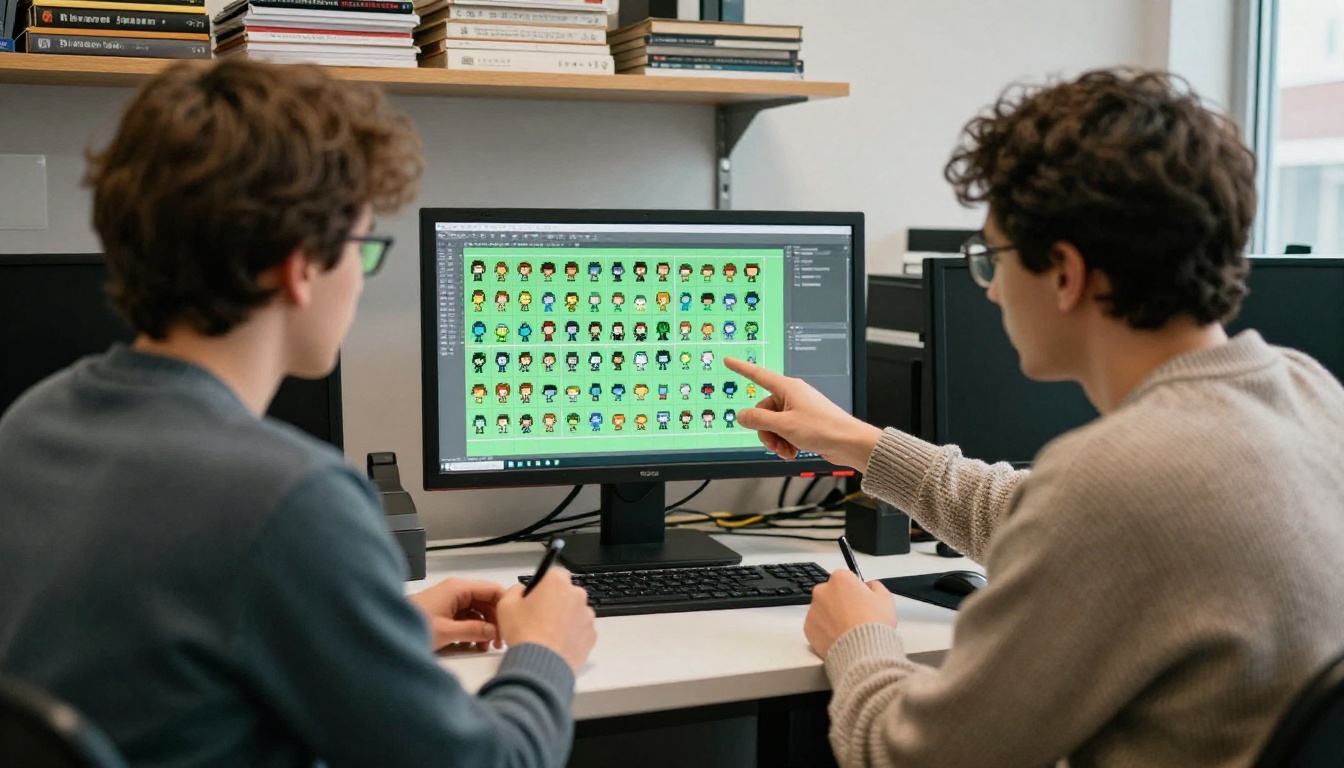
The repair order matters: grid, palette, cleanup, then upscale. Reversing any pair of steps makes the earlier work harder.
Snap to the Native Size
Divide the image width by the block size you measured. Resize down to that exact width with nearest neighbour sampling, or better, a block majority method that picks the most common colour inside each cell. Never use bicubic or bilinear for this step. Those filters invent in-between colours, which is precisely what you are trying to remove.
If the sprite has mixels, choose the most common block size and let the odd areas be redrawn by hand. You can also feed the snapped sprite back into a pixel native model in image to image mode so it repaints those regions on the correct grid.
Lock the Palette
Reduce the sprite to 8 to 32 colours with an indexed conversion, then inspect the ramps. Each material needs a dark, a mid and a light tone, with highlights nudged warmer and shadows nudged cooler. Two shades that differ by a few RGB values are one colour in disguise, so merge them.
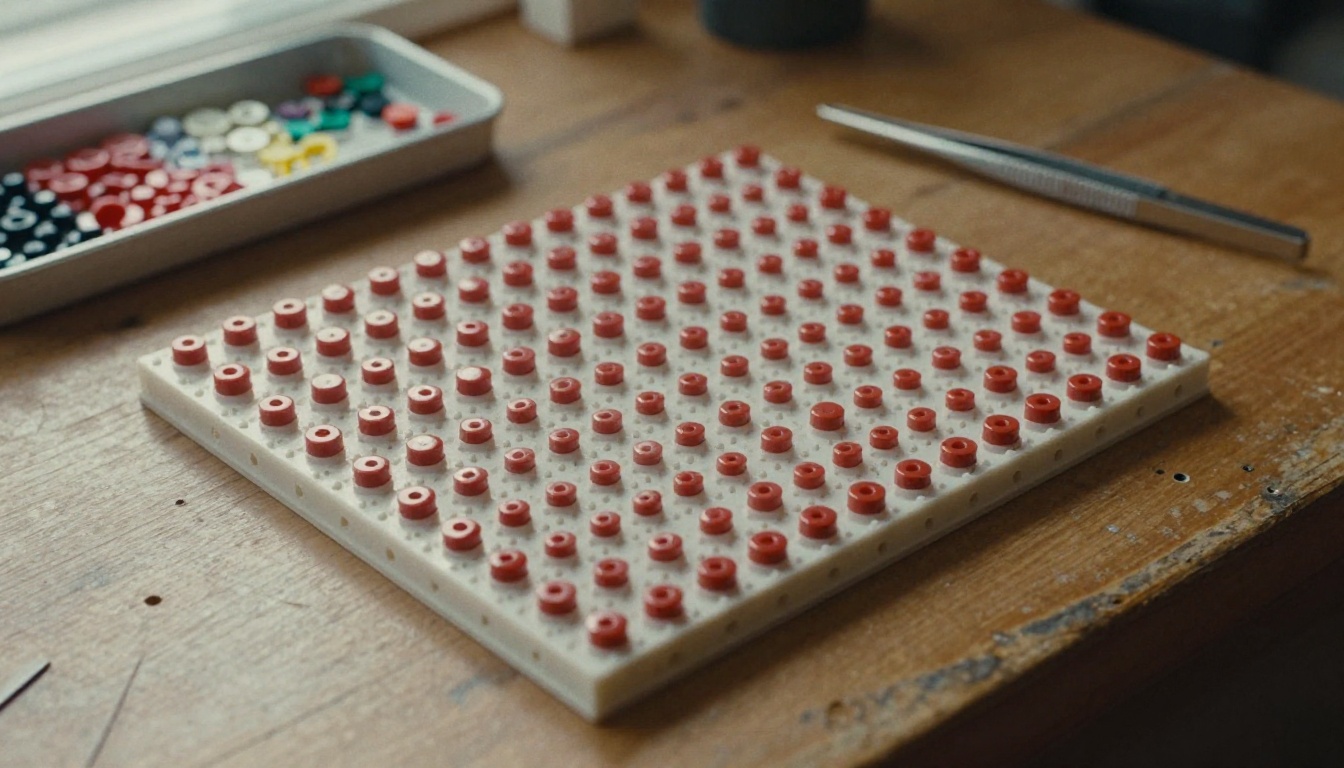
A tray of sorted beads is a good mental model. You physically cannot use a colour that is not in the tray, so the sprite stays coherent. Save your final palette as a swatch image and reuse it across every sprite in the project.
Remove Stray Pixels and Halos
Three cleanups finish the job:
- Orphan pixels. Delete single pixels that have no same colour neighbour. Diffusion noise leaves dozens of them in empty areas.
- Alpha. Force every pixel to be either fully opaque or fully transparent. Semi transparent pixels are what create halos on a new background.
- Outlines. Aim for a one pixel outline with clean corners. Doubled corner pixels, sometimes called jaggies, make a line look hairy at small sizes.
Generate Cleaner Sprites at the Source
Repair is cheaper when there is less to repair. Models built specifically for pixel art land on a grid far more often than general image models, so many sprites need only a light palette pass.
Pick a Pixel Native Model
PicassoIA hosts four Retro Diffusion models, each aimed at a different job:
| Model | Best for | Worth knowing |
|---|
| RD Plus | Finished sprites, icons, scenes | 19 styles, palette input, transparent export |
| RD Fast | Quick drafts and variations | Built for speed |
| RD Animation | Sprite poses and frames | Listed for pixel sprites |
| RD Tile | Tilesets and ground textures | Made for repeating tiles |
General models such as GPT Image 2 or PicassoIA Image Editor Pro can also draw or edit a sprite, which makes them handy for concept art. Expect every flaw from the table above, though, and plan the repair pass.
Settings That Matter in RD Plus
RD Plus defaults to a 256 by 256 canvas, and small canvases are a feature, not a limit. A 64 to 192 px sprite forces the model to commit to chunky, readable shapes.
- Style. Pick from presets such as
classic, retro, character_turnaround, item_sheet, isometric_asset or low_res. Match the preset to the asset type instead of describing the style in the prompt.
- Input palette. Upload a swatch image so every asset in the set shares the same colours.
- Remove background. Turn it on for a transparent PNG that drops straight into an engine.
- Input image and strength. Supply a rough sketch or a snapped sprite. Lower strength keeps more of your input, higher strength follows the prompt more closely.
- Seed. Fix it when you want to regenerate the same sprite later with a small prompt change.
- Number of images. Ask for several variations in one run and keep the one with the cleanest silhouette.
Sheets, Tiles and Animation
Consistency across many assets is where hand repair gets expensive. Reuse one seed, one palette image and one canvas size for a whole character set, and the grid stays identical from frame to frame. For ground textures, generate with RD Tile, then place a 3 by 3 copy of the tile in your editor. Any visible seam means the edge pixels need a manual fix.
Upscale Without Smearing Pixels
Upscaling is the last step because it multiplies every mistake that came before it. Fix the grid and palette at native size, where each flaw is a single pixel you can see.
Whole Number Scaling First
For a game or a sprite sheet, use nearest neighbour at 2x, 3x, 4x, 6x or 8x. Every source pixel becomes an exact N by N block and nothing is invented. A 128 px sprite becomes 1024 px at 8x with zero blur. Avoid 1.5x or 2.5x: some source pixels become wider than others and the mixels return.
In a game engine, switch texture filtering to point or nearest as well. A perfect sprite still turns soft when the engine blends neighbouring pixels at runtime.
When an AI Upscaler Helps
An AI upscaler reconstructs detail instead of copying pixels. For pixel art that often means smoother edges, which is not always what you want. It earns its place in three situations:
- The source is a blurry or JPEG damaged generation that you want to clean up before re-snapping to a grid.
- You need a high resolution painterly version for a poster, store page or print.
- The asset mixes pixel art with photographic or painted elements.
PicassoIA lists nine upscalers. Here is where each one is worth trying:
💡 Pixel art is a hard test for upscalers built for photographs. Run two or three of them on the same sprite and compare the results at 400% zoom before you commit to one.
How to Use Real ESRGAN on PicassoIA
Real ESRGAN is a good first stop because it has only three inputs and returns a result in seconds. PicassoIA does not cap the number of generations, so you can test several scale settings on one sprite.
Run the Upscale
- Open the Real ESRGAN page.
- Upload your sprite as a PNG. A JPEG adds fresh compression blocks before the model even starts.
- Set Scale. The default is 4, which turns a 512 by 512 image into 2048 by 2048. Use 2 when you only need a modest increase.
- Leave the face restoration option off for sprites. It runs a separate pass built for real portraits and can warp stylised faces.
- Run the model and wait a few seconds.
- Download the result and zoom to 400% to inspect the edges.
Here is how each input behaves for sprites:
| Setting | Default | Advice for sprites |
|---|
| Image | Required | PNG, lossless, native size or already snapped |
| Scale | 4 | 2 for gentle growth, 4 for print sized output |
| Face restoration | Off | Keep off unless the image has a photographic face |
The Round Trip Trick
When a sprite arrives blurry, upscale it once with Real ESRGAN to remove compression noise, then snap the larger image back down to the native grid with a block majority resize. The AI pass cleans the detail, and the snap restores hard square pixels. Check the result against the original to confirm the shapes did not drift.
Mistakes That Ruin Sprites
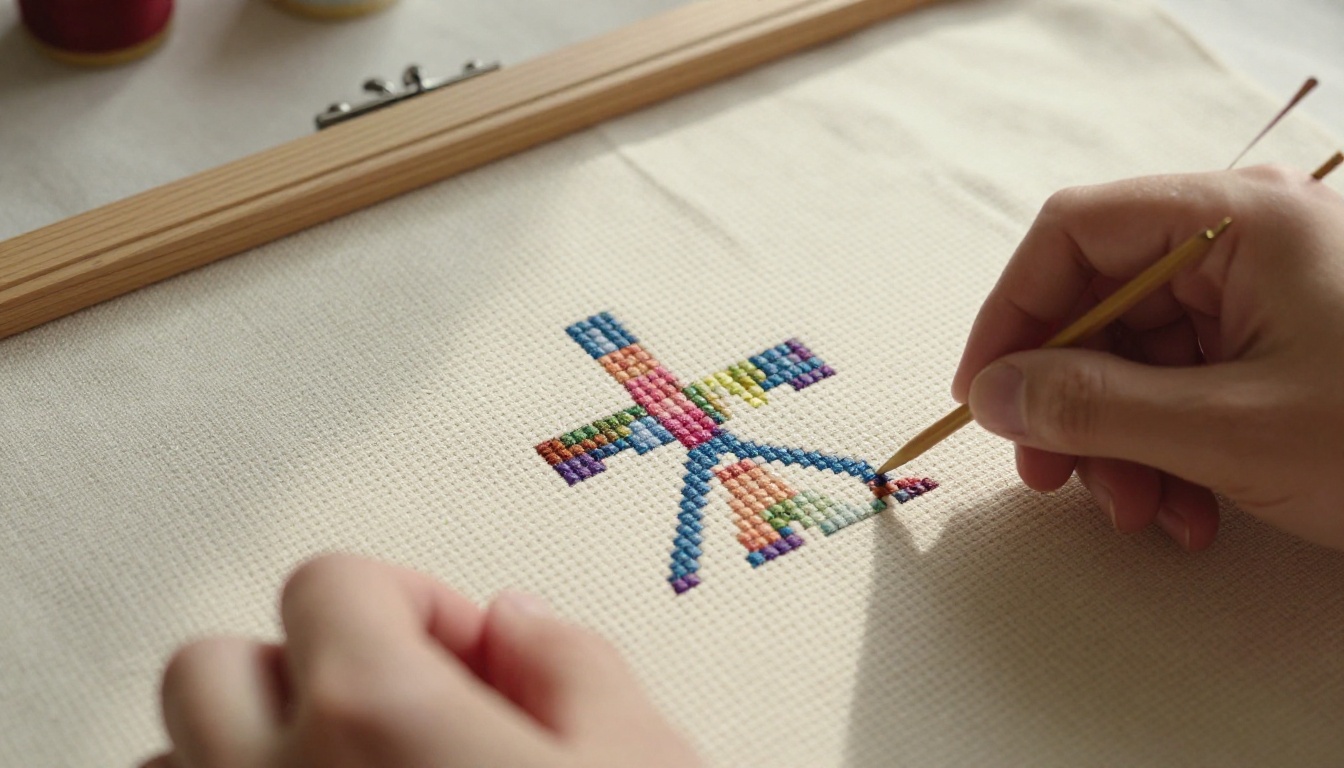
A cross stitch pattern is the best picture of what you are aiming for: every stitch sits on a counted square and the whole design uses five thread colours. Most failures break one of those two rules.
- Resizing in odd steps. A 1.7x enlargement guarantees mixels. Stick to whole numbers, or pick a target size that is an exact multiple of the native width.
- Saving as JPEG. JPEG is built to blur hard edges and add noise around them. Save sprites as PNG at every stage, including the intermediate ones.
- Upscaling before fixing. An AI upscaler enlarges a stray pixel into a smooth blob. Remove orphans and halos first, at native size, where each one costs a single click.
- Letting the engine smooth everything. A texture filter set to bilinear blurs a perfect sprite at runtime. Set it to point or nearest and test at the real display scale.
- Repairing one frame at a time. Fixing frames by eye gives each one a slightly different palette. Fix the palette once, apply it to every frame, then repair outlines.
Fix Your First Sprite Today
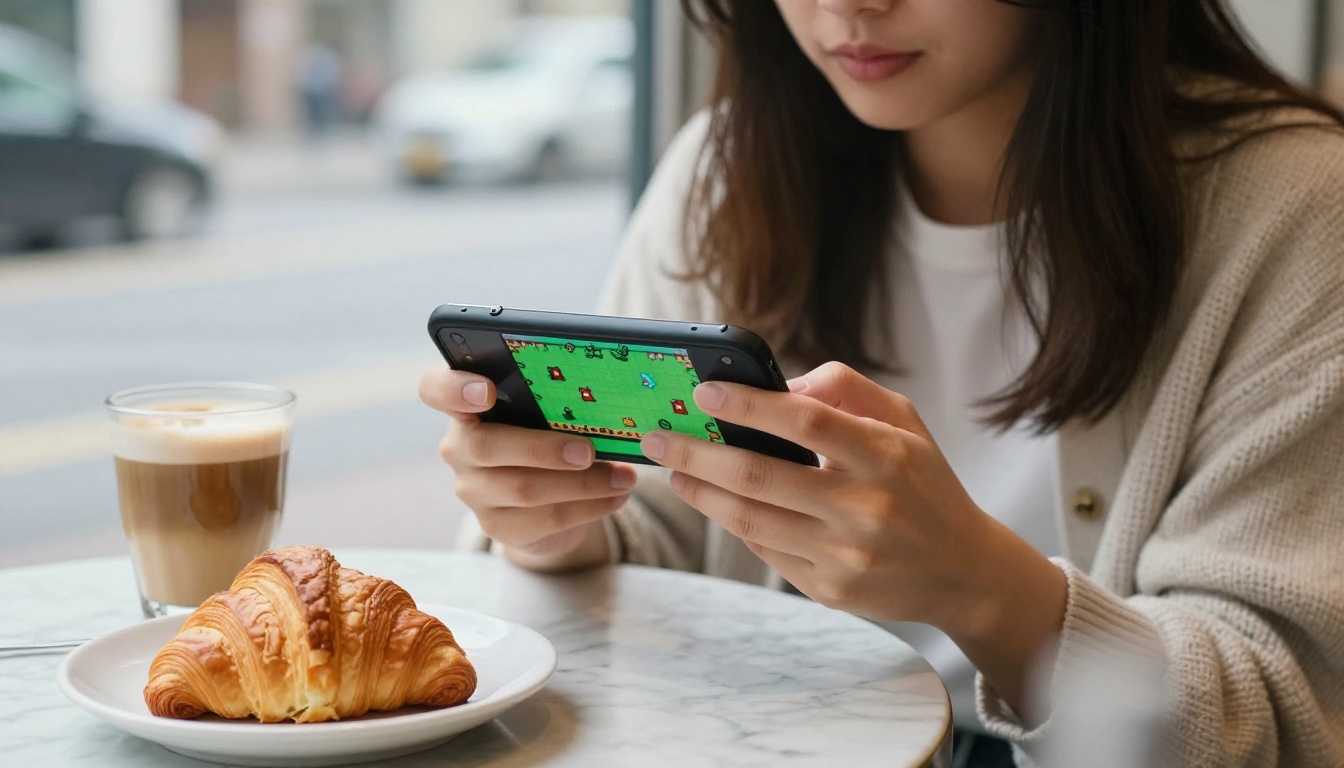
Pick one sprite that has bothered you, whether it is a blurry hero, a jittery tileset or a character sheet that never quite matched. Measure its grid, reduce the palette, clear the stray pixels and enlarge it by a whole number.
Then try the same idea from the start: generate a fresh sprite with RD Plus using a palette image, and upscale a blurry one with Real ESRGAN. Because generations on PicassoIA are not capped, you can run the same sprite through three scale settings and two styles in one sitting. Open Picasso IA, upload your worst sprite and see how clean it can get. Browse every model at picassoia.com/en/all-models.


