You type "AI storyboard generator free unlimited" into a search bar and every result promises exactly that. Then you build four frames, hit a wall, and a pricing popup asks for a card. Sound familiar? The gap between the promise and the reality is where most creators lose an afternoon.
This article sorts the marketing from the math. You will see what "unlimited" usually means in storyboard software, which online tools put real caps on panels, credits and exports, what good storyboards look like in practice, and a repeatable workflow that keeps your costs near zero while you build a full sequence from a script.
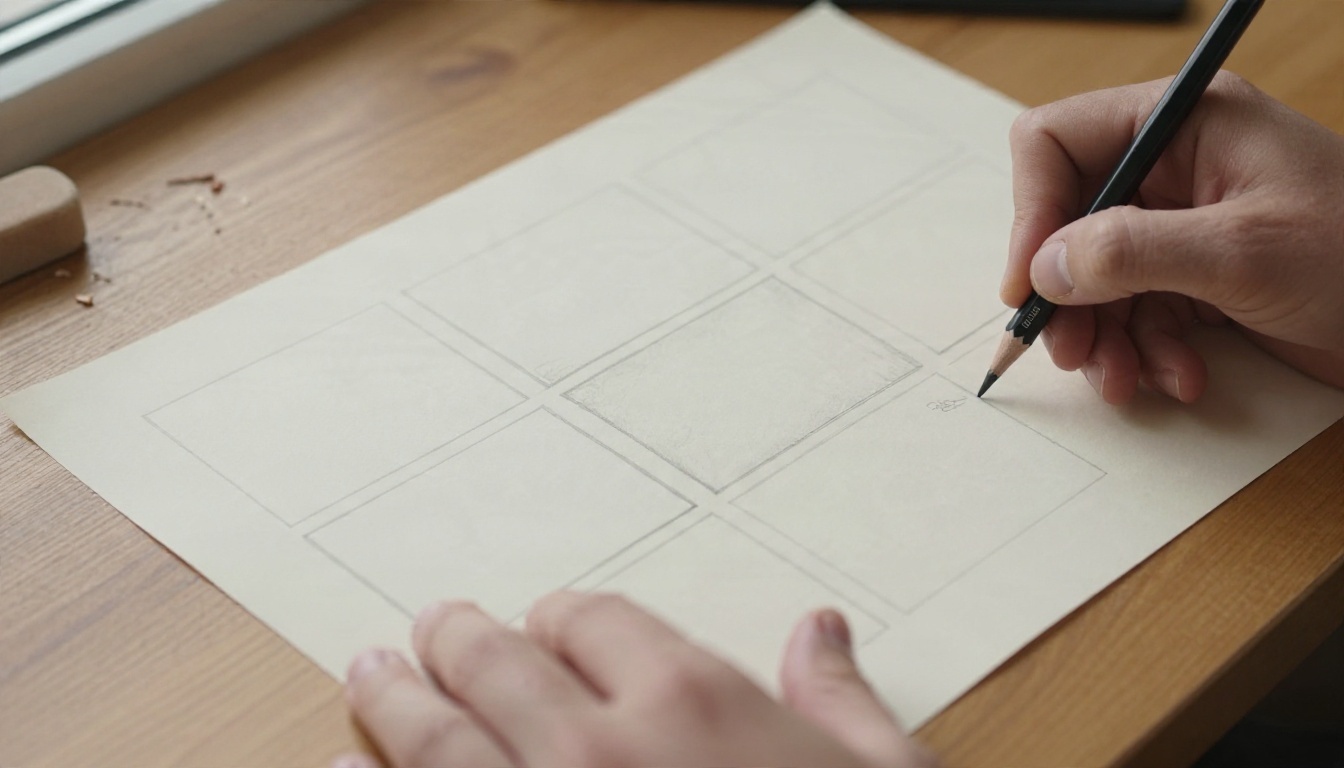
What "Free Unlimited" Really Means
Storyboard tools are sold in two layers: the board (the canvas where frames live) and the generator (the AI that makes the pictures). Vendors love to say "unlimited" about the first layer while quietly capping the second. Reading the fine print takes two minutes and saves hours.
Unlimited Boards vs Unlimited AI
A free plan can truthfully advertise unlimited storyboards because a blank board costs the vendor almost nothing. Image generation is different: every frame uses GPU time, so providers meter it with credits, tokens or daily allowances. Researching the current market, the pattern is consistent:
- Some tools give you unlimited manual frames (you draw or upload) and ration the AI.
- Some give you a small number of generations per day with no signup.
- Some advertise unlimited generation but attach a watermark or lower resolution to the free output.
- Almost all of them reserve the real volume for paid tiers.
💡 Quick test: open the pricing page and look for the words "credits," "tokens," "per day" or "per month." If any appear next to the AI feature, the generator is capped, whatever the headline says.
Watermarks and Export Caps
Even when generation is generous, the export step is where free plans pinch. Typical restrictions include a logo stamped on PDFs and slide images, exports limited to low resolution, video previews held at 720p, and batch limits on how many frames you can download at once. A watermark is not a deal breaker for an internal pitch, but it is a problem if you are sending a board to a client.
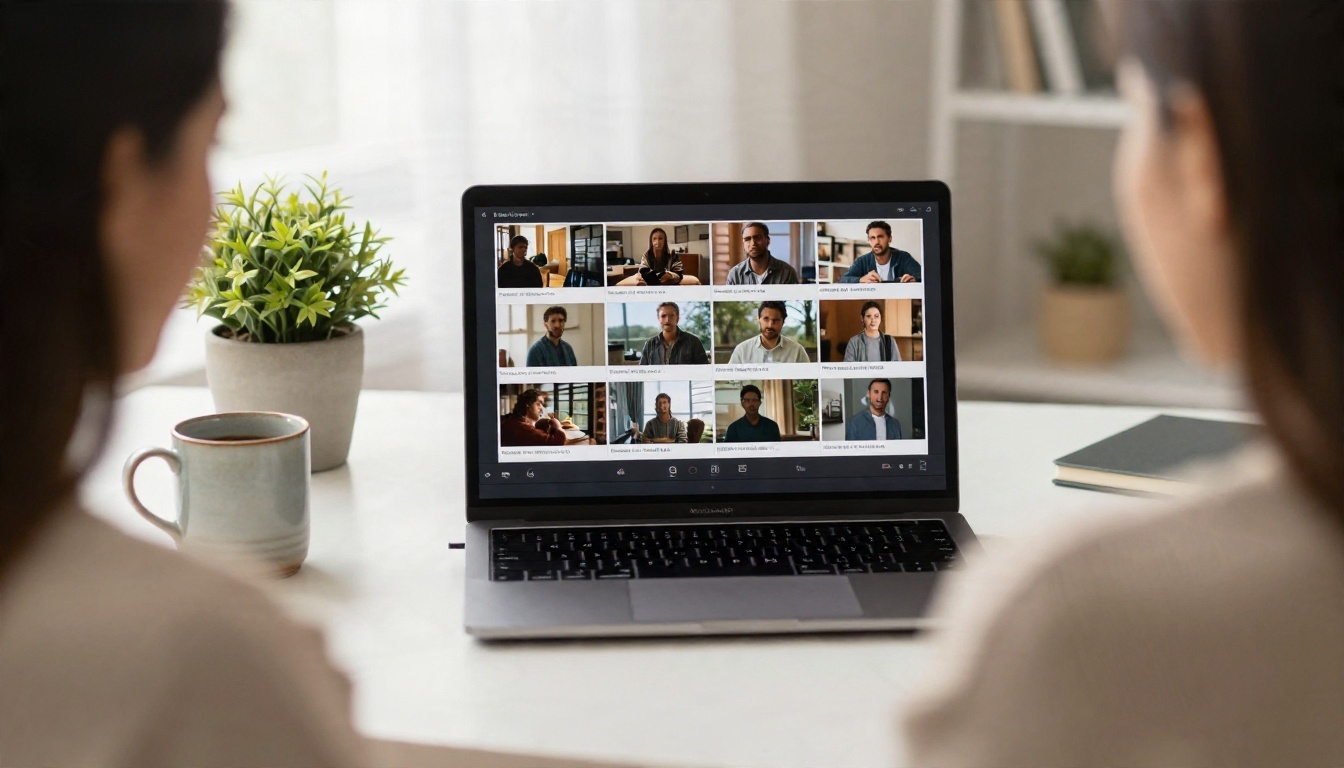
Here is a snapshot of how popular storyboard tools handled their free tiers when I checked this month. Pricing pages change often, so treat the numbers as a starting point and confirm them before you commit a project.
| Tool | Free plan highlight | Main limit | Export |
|---|
| Storyflow | Unlimited storyboards and projects | AI usage is capped, not the canvas | Standard |
| Boords | Unlimited manual frames | Five active storyboards | Watermarked |
| StoryTribe | Full editor | 10 shots per project, 100 AI credits a month | Watermarked, 720p video |
| Shootsta | Unlimited script generation | Up to 10 panels per board, small monthly tokens | Standard |
| Magic Hour | No signup guest tool | 3 free generations a day, 4 panels each | No watermark |
| ZSky AI | Advertises unlimited free generation | Small watermark on free output | Commercial use claimed |
Notice the pattern. Nobody gives you unlimited AI frames, unlimited projects, no watermark and full resolution all at once. You pick which limit you can live with.
Panel Caps and Daily Limits
Panel caps matter more than they sound. A 30 second ad usually needs 8 to 12 frames. A short film scene can need 20 or more. If a tool stops you at 10 panels per project, you will either split the board across several projects or pay.
Daily caps behave differently: three generations of four panels gives you twelve frames per day, which is plenty for a patient creator and useless for a deadline.
When Manual Frames Beat AI
Here is a point most listicles skip. For rough blocking, stick figures and quick sketches are faster than prompting. If you only need to decide where the camera sits relative to the actor, a pencil does it in ten seconds. Save your AI credits for the frames that need mood, lighting and wardrobe, the ones you actually show to a client or investor.
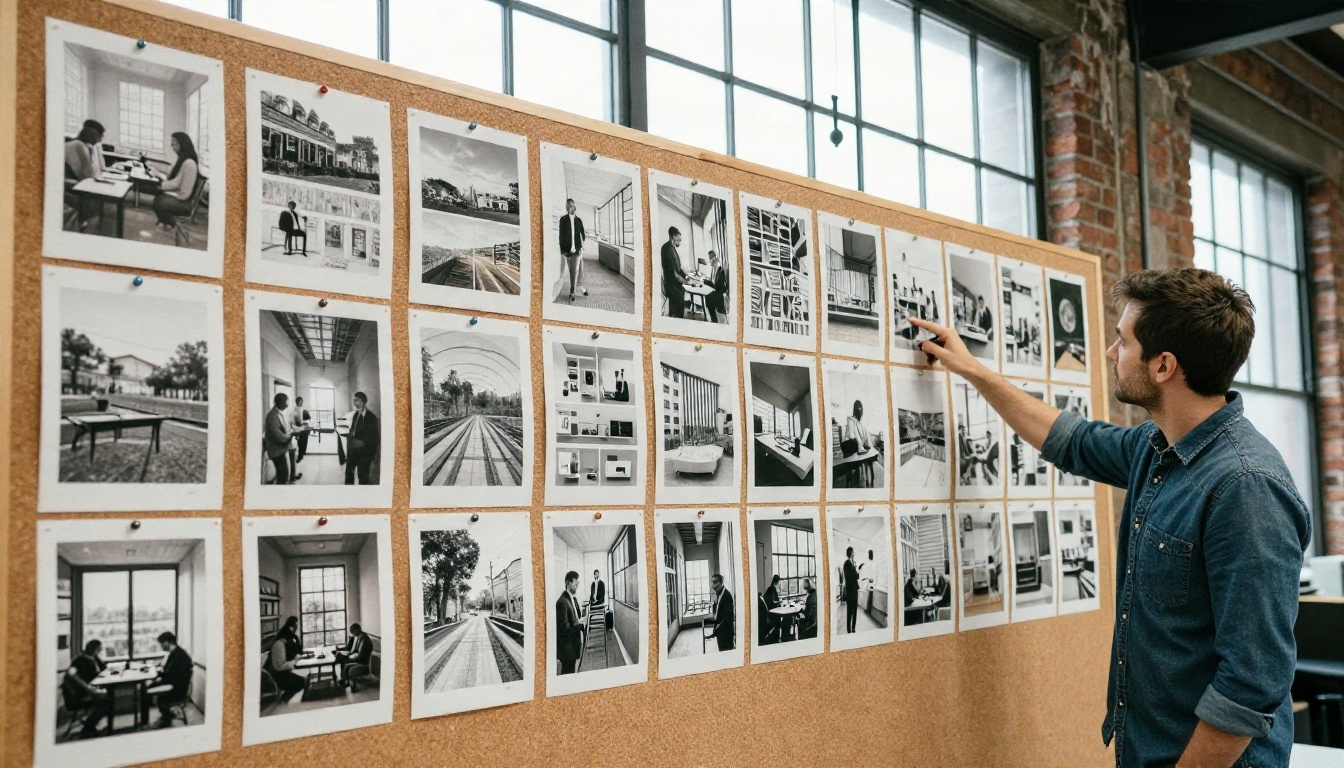
Storyboard Examples That Work
Abstract advice is cheap, so here are three concrete sequences and how many frames each one really needs.
Product Ad in Six Frames
A 20 second product spot works well with six panels:
- Wide establishing shot of the setting at the time of day you want.
- Medium shot of the person reaching for the product.
- Macro close-up of the product surface.
- Over-the-shoulder reaction as they use it.
- Low-angle hero shot of the product on a table.
- Pull-back to a wide frame with space for a logo.
The trick is that every frame changes distance or angle. Six medium shots in a row make a dull board and a dull ad.
Short Film Scene
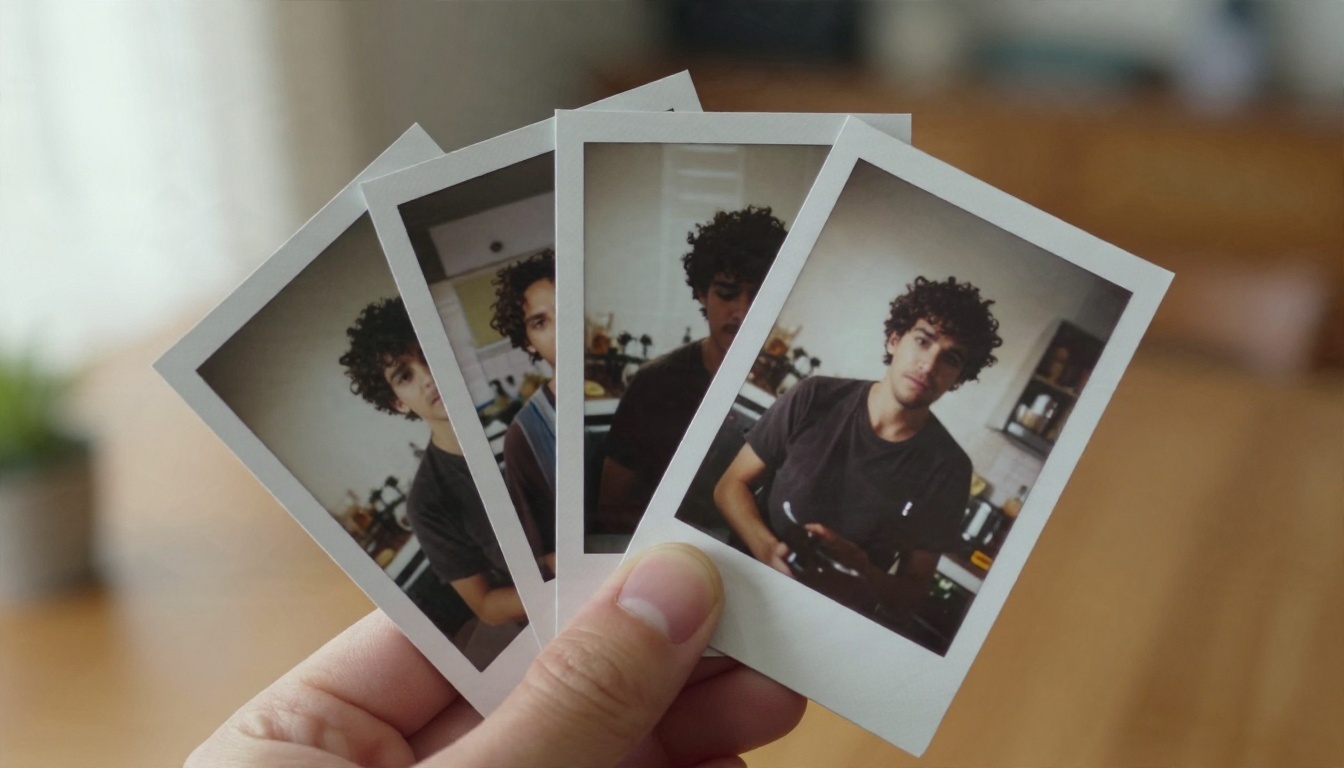
For a dialogue scene in a kitchen, plan a master wide shot, two singles for each character, an insert of a hand holding a cup and a final wide. That is six to eight frames and it gives your editor coverage options. Putting the same actor in a wide, a medium and a close-up is exactly the consistency test that separates a useful AI board from a random gallery.
Social Reel Sequence
Short vertical clips move fast. A reel board might have only four panels, but each one needs a clear first-second hook, a mid-clip change and a payoff. Because there are so few frames, a free tool with a four-panel cap is perfectly workable here.
💡 Rule of thumb: one frame per camera setup, not per second. If the camera does not move or change lens, you do not need a new panel.
A Workflow That Skips the Limits
You can stretch a free allowance a long way if you stop treating the generator like a slot machine. This is the routine I use.
Write the Shot List First
Before you open any tool, write a numbered list: shot size, angle, subject, action, lighting. One line each. This is boring and it is where the quality comes from, because a vague prompt costs you three regenerations while a precise one costs you one.
Lock the Character Look
Pick a single description for each recurring character and paste it into every prompt: age, hair, clothing, one distinctive detail. For example: "woman in her thirties, short dark bob, mustard wool coat, small silver hoop earrings." Keep the wording identical from frame to frame. Small wording changes produce a different person.
Generate Frames in Batches
Generate the establishing shot first, approve it, then reuse its look in the rest. Where a model supports image input, feed it the approved frame as a reference so lighting and palette stay consistent. Free allowances stretch further when each attempt has a clear job.
Here is a prompt pattern that works across most image models:
[Shot size and angle] of [character description] [action] in [location], [time of day and light direction], shot on [lens], natural film grain, photorealistic.
Best PicassoIA Models for Frames
If the tool-by-tool limits above frustrate you, there is another route: skip the storyboard apps and generate each frame directly with an image model, then arrange them in a slide deck, a document or a folder. A storyboard is just a sequence of pictures with notes, and you do not need a dedicated app to build one. The models below are all available on PicassoIA.
Seedream 4.5 for Consistent Stills
Seedream 4.5 is a strong first choice when the board will be shown to someone. It handles lighting direction, skin texture and lens language well, so a prompt like "low-angle, 35mm, late afternoon sun from camera left" lands close to what you wrote. Use it for the frames that carry the pitch: the opener, the hero shot and the closer.
Parameter tips:
- Set the aspect ratio to 16:9 for film and ads, 9:16 for reels.
- Keep prompts to one subject and one action per frame.
- Reuse the same character sentence in every prompt.
Nano Banana Pro for Edits
When a frame is nearly right, do not regenerate it from scratch. Nano Banana Pro takes an existing picture and a short instruction such as "same woman, now seen from behind, same coat, same street," which is exactly how you keep a character stable across angles. The lighter Nano Banana is a good option for fast drafts while you are still choosing compositions.
Image Editor Pro for Revisions
Boards change. The client wants a different jacket, the director wants a brighter window. PicassoIA Image Editor Pro is built for exactly this kind of revision pass and is offered as an unlimited online editor, so you can tweak one detail at a time without counting credits. Pair it with Flux 2 Klein 4B Base when you want to iterate on a composition quickly, and with Qwen Image 3 Pro for scenes crowded with people.
💡 Budget trick: draft all frames with a fast model, pick the six strongest, then re-render only those with a higher quality model. You spend premium effort where it counts.
How the Step by Step Looks on PicassoIA
- Open the model page for Seedream 4.5 and paste your first shot description.
- Choose 16:9 and generate. Save the frame you like best as your look reference.
- For each following shot, reuse the character sentence and change only the shot size, angle and action.
- Send near misses to Nano Banana Pro with a one-line fix instead of rewriting the prompt.
- Run final tweaks through Image Editor Pro.
- Drop the frames into a slide deck in order and add one line of notes under each: shot size, movement, dialogue or sound.

Turn Frames Into Motion
Static boards are fine for approvals, but many teams now want an animatic or a rough motion preview. The same approved still can become the first frame of a short clip. Kling v3 Video is a solid pick for cinematic camera moves such as a slow push-in or a pan, and LTX 2.5 Fast is useful when you want a quick preview rather than a polished shot.
Describe the motion in chronological order: what the subject does, how the camera moves, how the light behaves. Keep clips short. A 5 second preview is enough to judge pacing, and you can stitch several together in any editor to feel the rhythm of the sequence before anyone picks up a real camera.
| Stage | Output | Typical tool type |
|---|
| Shot list | Text, 6 to 12 lines | Notes app |
| Stills | One image per setup | Image model |
| Revisions | Edited frames | Image editor |
| Animatic | 3 to 5 second clips | Video model |
| Pitch deck | Ordered frames with notes | Slides |
Common Storyboard Mistakes
Free tools are forgiving, but these errors cost you time on any platform.
- Changing the character description between prompts. The face, hair or coat drifts and the board stops making sense.
- Using the same shot size for every frame. Vary distance and angle on purpose.
- Generating before planning. Five random frames are worth less than three planned ones.
- Ignoring aspect ratio. A board built in 1:1 will not match a 16:9 edit.
- Forgetting the notes. A frame without a line about movement, sound or dialogue is only half a storyboard.
- Trusting "unlimited" blindly. Test with one real project before you build your whole pipeline on a free plan.
Quick Questions People Ask
Is there a truly unlimited free AI storyboard generator? Not in the sense of unlimited, watermark free, full resolution AI frames from a dedicated storyboard app. You will find unlimited boards, unlimited manual frames or unlimited script writing, but the image generation itself is nearly always metered.
Can I use free storyboard frames commercially? Check the terms of each tool. Some free tiers allow it, others restrict it or watermark the output.
How many frames do I need? One per camera setup. A 30 second ad is usually 8 to 12, a short scene 6 to 20.
Build Your First Board Today
Pick a scene you actually need: a 20 second ad, a pitch for a client, the opening of a short film. Write six lines of shot list, choose a model from the table above and generate your first frame in the next five minutes. Start with Seedream 4.5 for the hero shot, refine it with Nano Banana Pro, and polish with Image Editor Pro.
You do not need a dedicated storyboard app to plan a good sequence. You need a clear shot list, a consistent character sentence and a few well chosen models. Browse everything available at picassoia.com/en/all-models, try a few prompts of your own, and see how far a single afternoon of experiments takes your next project.


