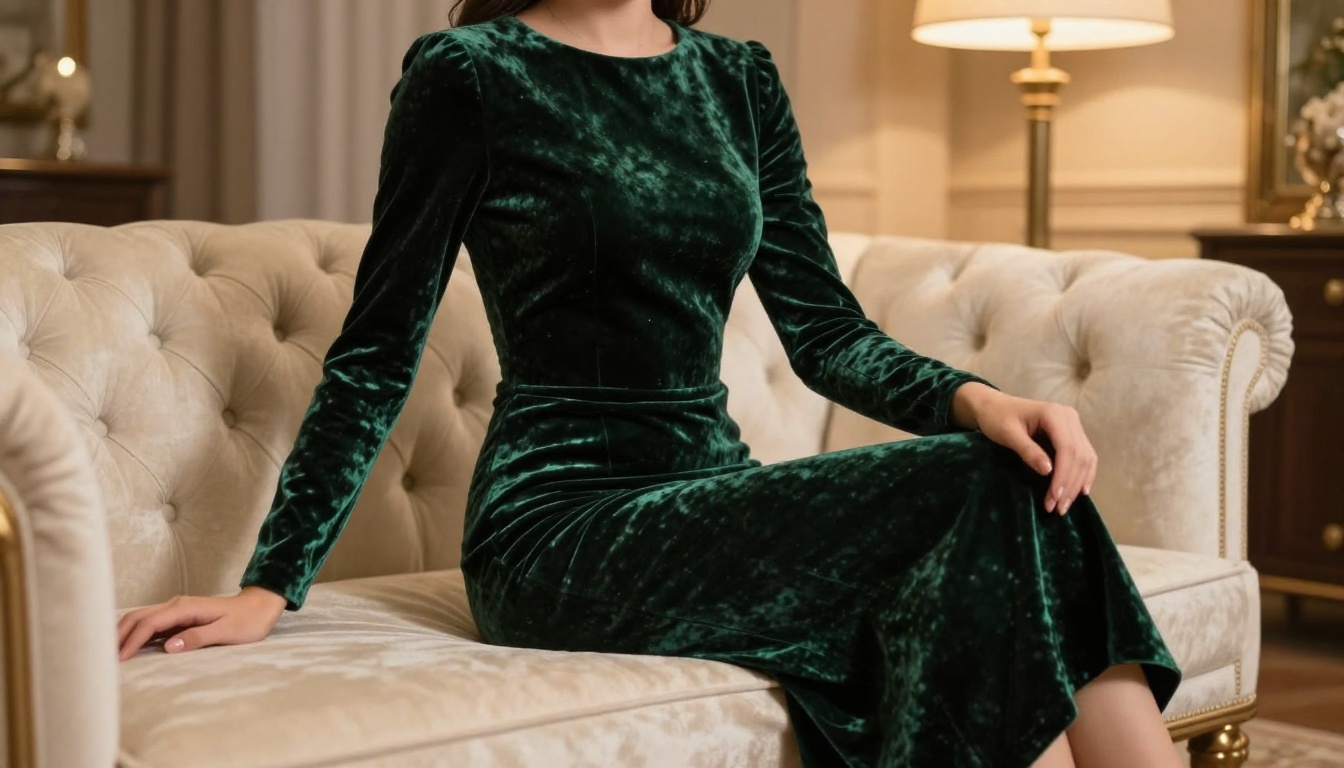
How to Change Outfit Colors in Photos with AI (Instantly)
Changing outfit colors in photos used to mean booking a new shoot or spending hours in Photoshop. AI changed that entirely. This article shows you exactly how to recolor clothes in photos using inpainting and image editing models, which tools work best, and how to get photorealistic results in under a minute.
You bought the perfect outfit. The photos came out great. Then you realize the color is wrong for the campaign, the season, or the client's brand. Reshooting costs time and money. AI does it in seconds.
Changing outfit colors in photos used to mean opening Photoshop, painting over fabric layer by layer, wrestling with hue-saturation sliders, and still ending up with something that looked flat. The fabric texture disappeared. The lighting looked wrong. You could tell it had been edited. Today's AI models, built on inpainting and image-to-image architectures, handle texture, shadow, and sheen automatically, producing results that look like the photo was taken that way from the start.
This article breaks down how the technology works, which models perform best, and how to do it yourself on PicassoIA with no technical background needed.
Why Outfit Color Makes or Breaks a Photo
The Psychology Behind Garment Color
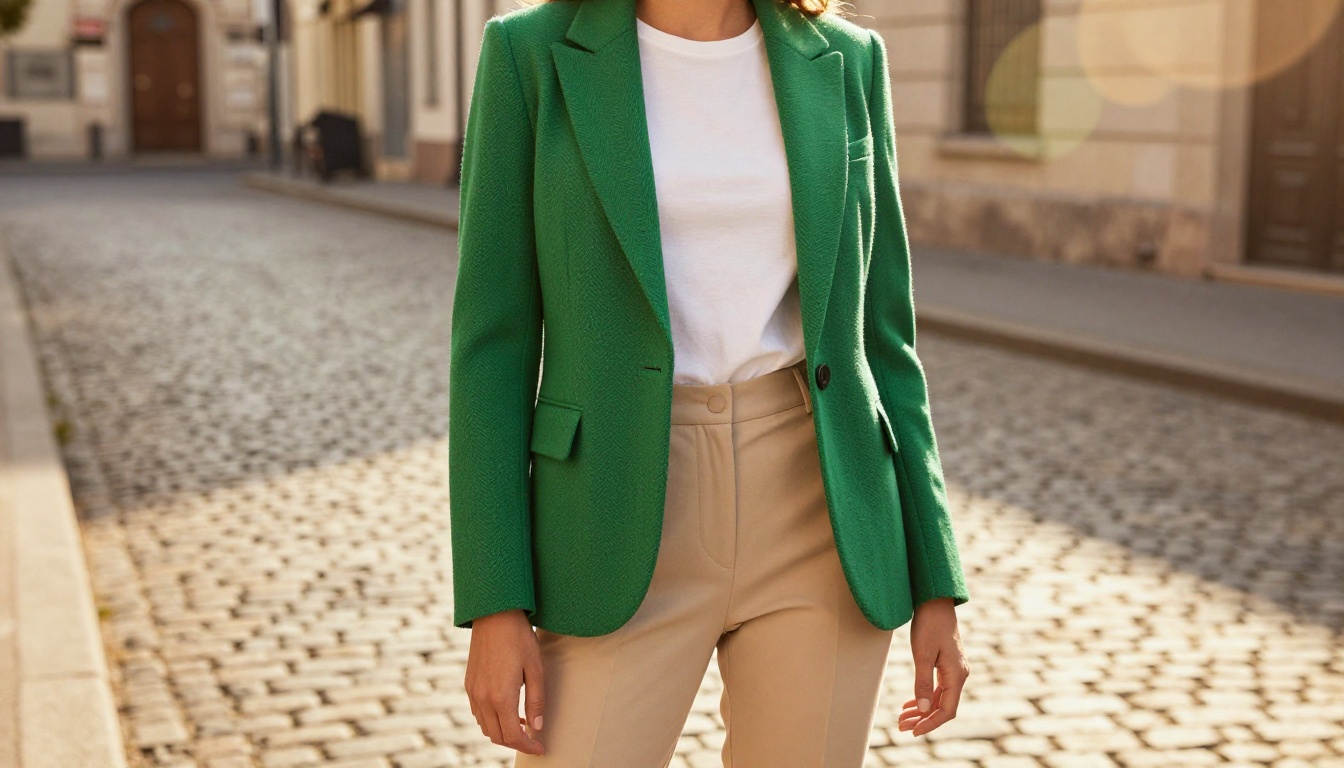
Color is the first thing the human eye processes in a fashion photograph. Before the viewer registers the model's pose, the backdrop, or the lighting, they see color. A burgundy blazer signals authority and warmth. A sage green dress reads as calm and approachable. Cobalt blue reads bold and confident. Getting the color wrong for the intended message undermines everything else in the image.
For brands, this is not a minor issue. Product photography must match seasonal palettes. Campaign images need to align with color stories decided months in advance. A single wrong shade can require a full reshoot or force a campaign delay.
The Real Cost of Reshooting
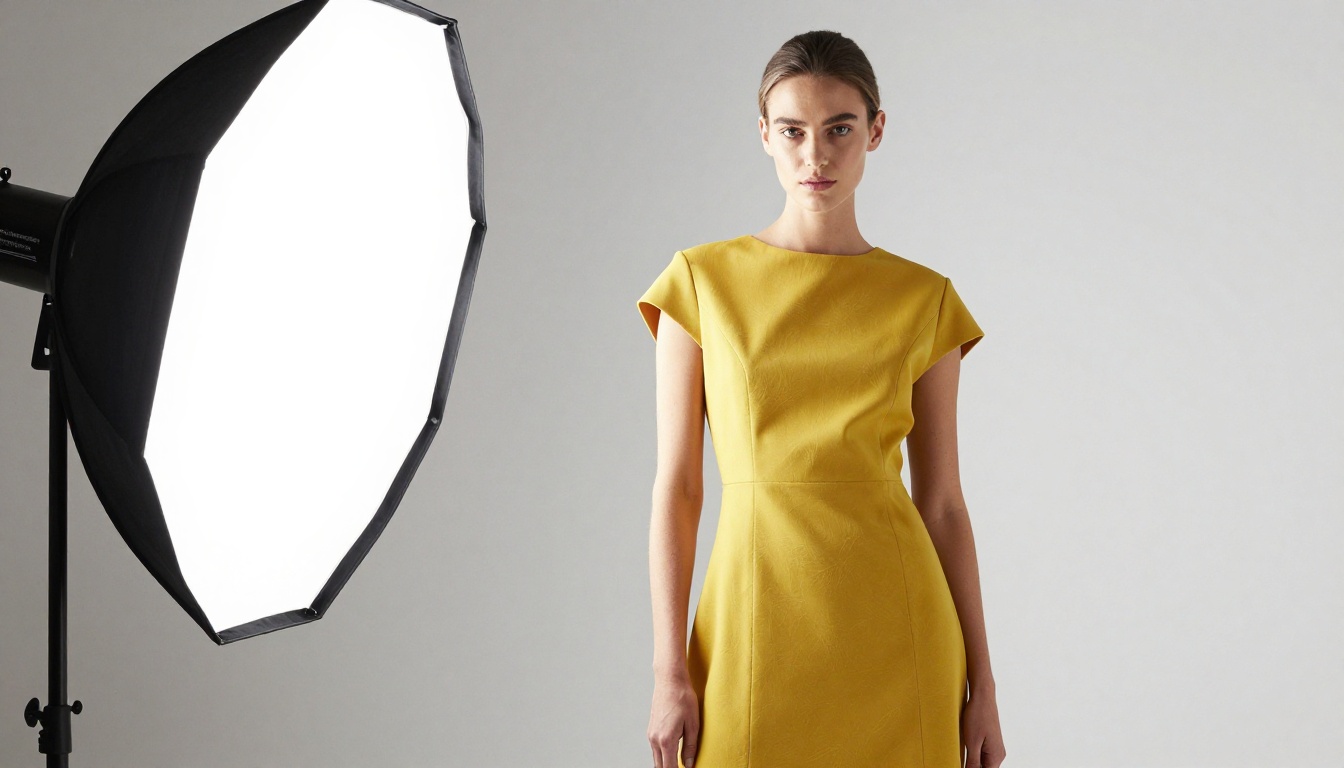
A professional fashion shoot costs anywhere from $500 to $5,000 per day. Adding a new color variant means booking the model again, the photographer again, the studio again. AI outfit recoloring eliminates this cost entirely for color variants.
Even for individuals, the problem shows up constantly. The dress in your wardrobe looks different under natural light than store lighting. The jacket you ordered online arrived two shades darker than expected. Rather than accepting a photo that does not match the vision, AI lets you correct it precisely.
💡 Color correction after the shoot is no longer a compromise. With modern inpainting models, the corrected photo is indistinguishable from a raw capture in the new color.
How AI Changes Outfit Colors
What Inpainting Actually Does
The most reliable AI method for outfit recoloring is inpainting. It works by masking a specific region of the image (the garment) and then regenerating only that region according to a new text prompt. The surrounding areas of the image remain completely untouched.
Modern inpainting models, particularly FLUX-based architectures, are trained on billions of image-text pairs. They understand fabric. They know that silk reflects light differently from denim, that velvet has a directional sheen, that cotton appears matte. When you ask the model to change a blue dress to crimson, it does not simply swap pixels. It generates new fabric that behaves correctly under the existing lighting conditions in the photo.
Image-to-Image Editing
A second approach is image-to-image editing with a text prompt that specifies the color change. Models like Flux Kontext Dev and Flux Kontext Fast are purpose-built for this: you provide a reference photo and a description like "change the jacket to deep forest green," and the model applies the change while preserving everything else, including the model's pose, facial features, background, and the structural details of the garment.
This approach excels when you want subtle color shifts or when the garment is visually complex, such as layered, patterned, or heavily structured pieces. The model's contextual understanding of the original image makes the result look coherent rather than painted.
Why Results Look Real Now
Earlier AI models struggled with three things when recoloring clothes: texture fidelity, lighting consistency, and edge preservation. A color change that ignored the original lighting made the garment look flat. Textures disappeared. Edges between the garment and skin or background looked artificial.
FLUX-generation models resolved these issues through improvements in how they encode spatial relationships. The recolored area now respects the light source direction, preserves fabric microdetail, and blends seamlessly at boundaries. The result looks like the photo was taken with the garment already in the new color, because the model regenerates the fabric as if it were physically there.
The Best Models for Outfit Recoloring
Not every image generation model handles outfit recoloring equally well. The right choice depends on how much control you need, the complexity of the garment, and how much time you want to spend per edit.
Flux Fill Pro is the top choice for garment-specific recoloring because it operates on masked regions. You define exactly which part of the image to change, and the model regenerates only that area. This gives you surgical precision: the belt stays brown while the jacket goes from navy to camel. The background remains completely unchanged.
Flux Fill Dev offers the same inpainting architecture with more generation steps, which typically produces more detailed fabric texture at the cost of slightly longer processing time. For catalog-quality product photography, the extra processing is worth it.
Flux Kontext: Edit by Description
Flux Kontext Dev does not require a mask. You describe the change in natural language: "change the woman's red blazer to a dusty rose blazer with the same texture and cut." The model understands the edit contextually and applies it while keeping every other element of the image stable. This is ideal for quick iterations across multiple color options.
Flux Kontext Fast runs the same architecture at higher speed, making it practical for batch editing when you need to produce multiple color variants quickly. For iterating through a palette of 6 to 8 color options on a single garment, Flux Kontext Fast is the most efficient workflow.
How to Change Outfit Color on PicassoIA
The workflow is straightforward and requires no design or technical skills. Here is the process using Flux Fill Pro:
Step 1: Open the Model
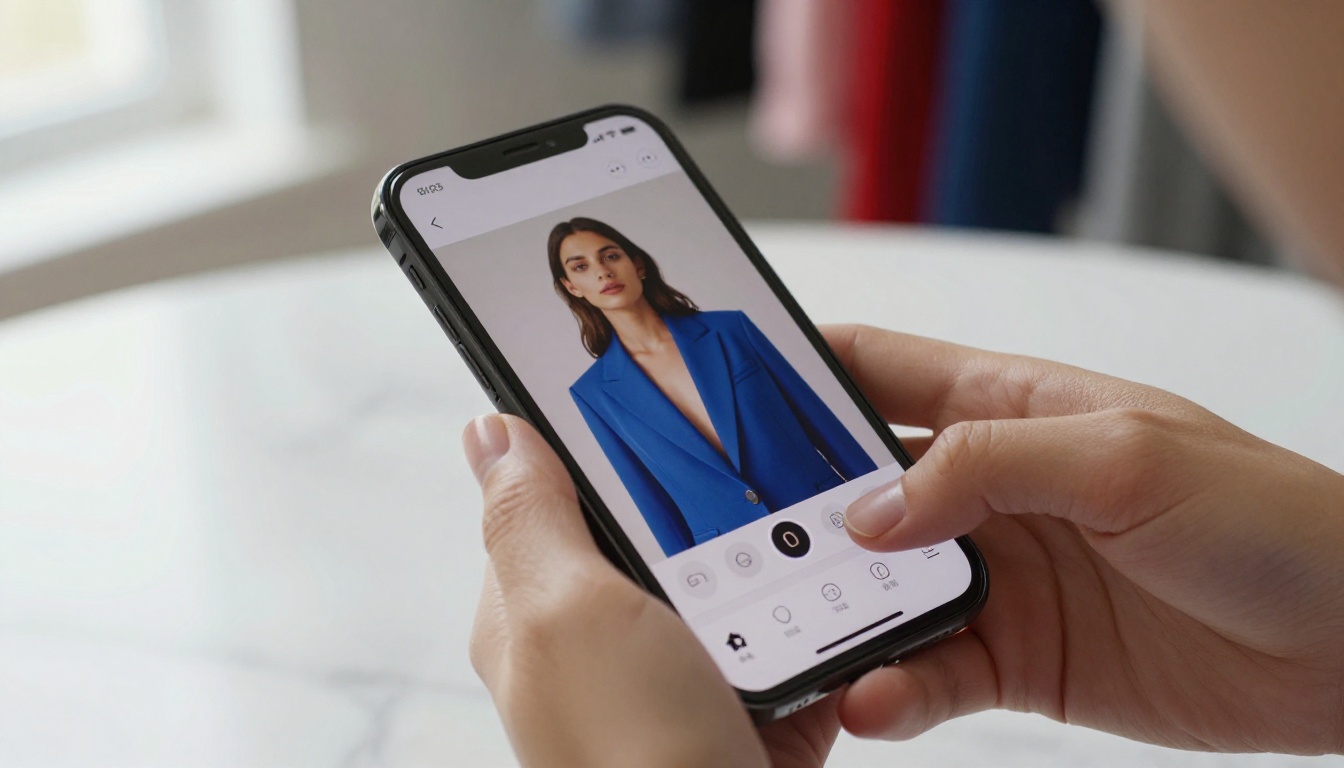
Go to Flux Fill Pro on PicassoIA. The interface shows an image upload area and a mask drawing tool alongside the prompt input.
Step 2: Upload Your Photo
Upload the photo containing the outfit you want to recolor. The image can be a personal photo, a product image, or a fashion editorial. For best results, use images with at least 800px on the shortest side and good lighting that shows the garment clearly.
Step 3: Draw the Mask
Use the brush tool to paint over the garment area you want to change. Be thorough: paint all parts of the garment, including areas partially in shadow or behind an arm. The mask defines exactly what the AI will regenerate.
💡 Extend your mask slightly beyond the garment edge by 2-3 pixels. This prevents the original color from bleeding through at the boundaries of the recolored area.
Step 4: Write Your Color Prompt
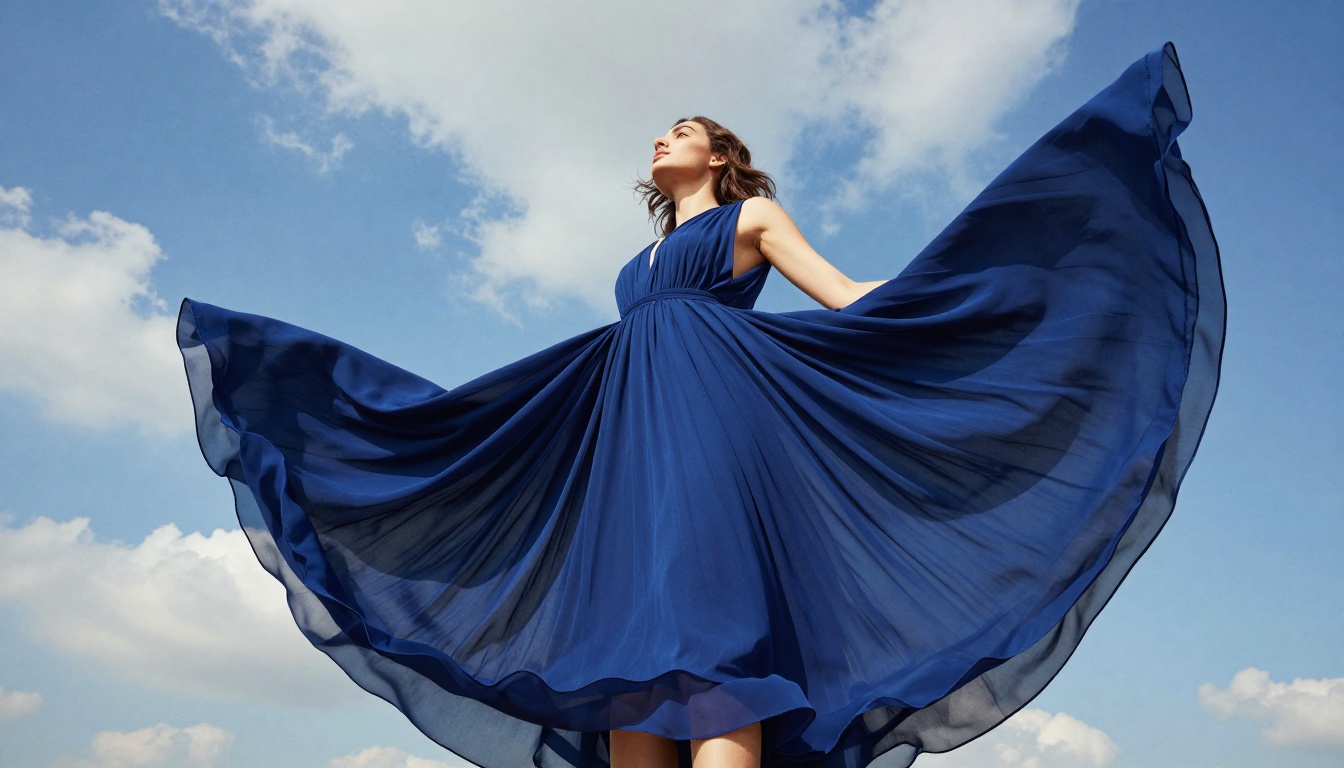
In the text prompt field, describe the new color with specificity. Instead of "blue dress," write "deep cobalt blue midi dress with the same silk fabric texture, matching the original lighting direction." The more specific the fabric description, the more accurately the texture is reproduced.
Step 5: Generate and Refine
Click generate. PicassoIA runs the inpainting model and returns the result in under a minute. If the first result is not quite right, adjust the prompt by adding "keep exact fabric texture" or "preserve original shadows" and generate again. Two to three iterations typically produces a publication-ready result.
Color Results: What Works and What Doesn't
Colors That Change Flawlessly
AI outfit recoloring excels in specific scenarios, and knowing which ones produces the best results with the least effort:
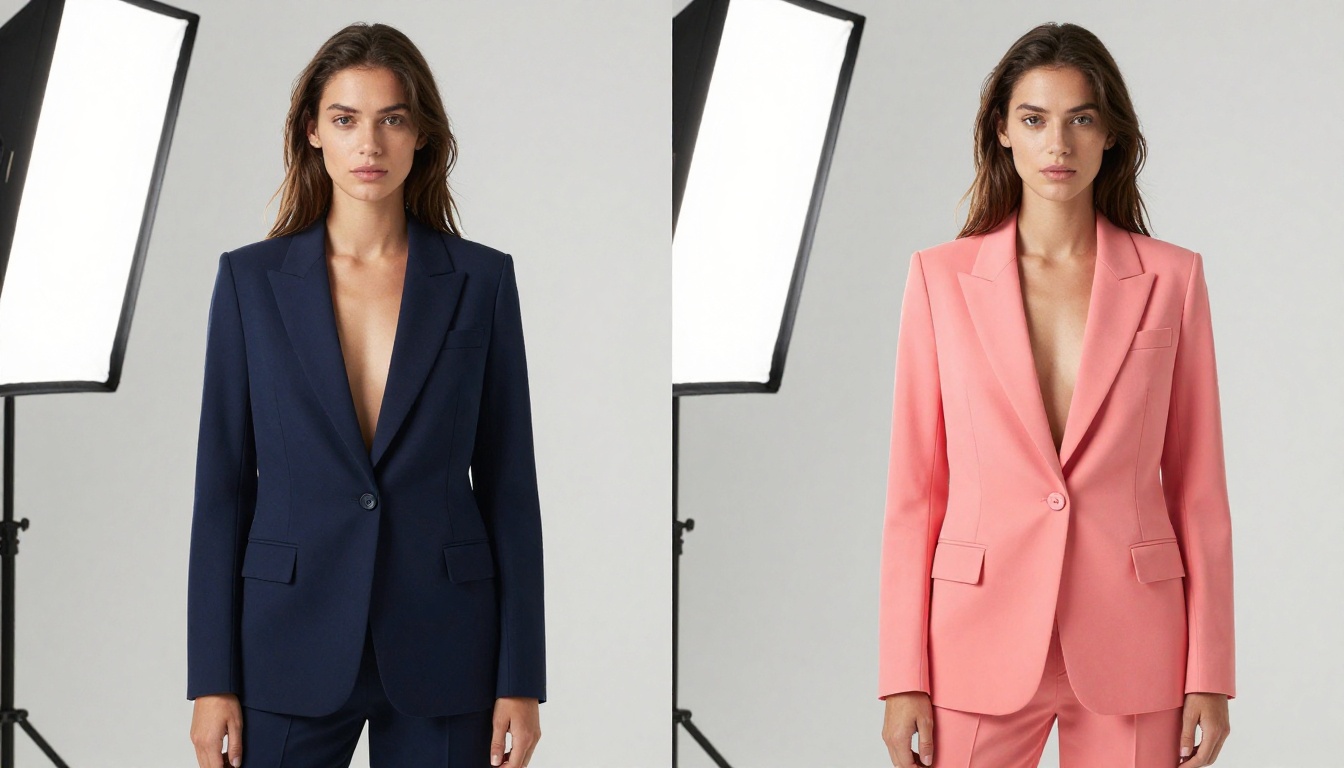
Solid to solid color swaps: Changing a navy blazer to charcoal, a red dress to burgundy, or a white shirt to light blue produces near-perfect results consistently.
Saturated colors on matte fabrics: Cotton, linen, and jersey fabrics with solid colors respond extremely well because the AI has abundant training data for these combinations.
Neutral to color swaps: Going from a gray coat to camel, or from a colored dress to a classic black or white version, typically requires only one generation attempt.
Pastel and desaturated tones: Soft, muted colors tend to blend naturally with existing lighting conditions and produce very clean results.
When to Adjust Your Approach
Some scenarios require more care and a slightly different strategy:
Printed or patterned garments: Changing the background color of a floral print works, but expect the pattern itself to shift slightly. Use a specific prompt like "change the white background of the floral print to pale yellow, keep the flower pattern intact."
Very dark to very light targets: Going from jet black to white introduces the most variability. Run three to four generations and select the best result. Increasing the mask feathering slightly also helps here.
Heavily wrinkled or draped fabric: Complex folds can occasionally produce inconsistencies at shadow edges. Adding "preserve fabric folds and drape" to the prompt usually resolves this.
Sheer or semi-transparent fabrics: Chiffon and organza are more complex because the underlying skin tone shows through. Specify "maintain fabric transparency, preserve underlying skin tone showing through fabric" in the prompt.
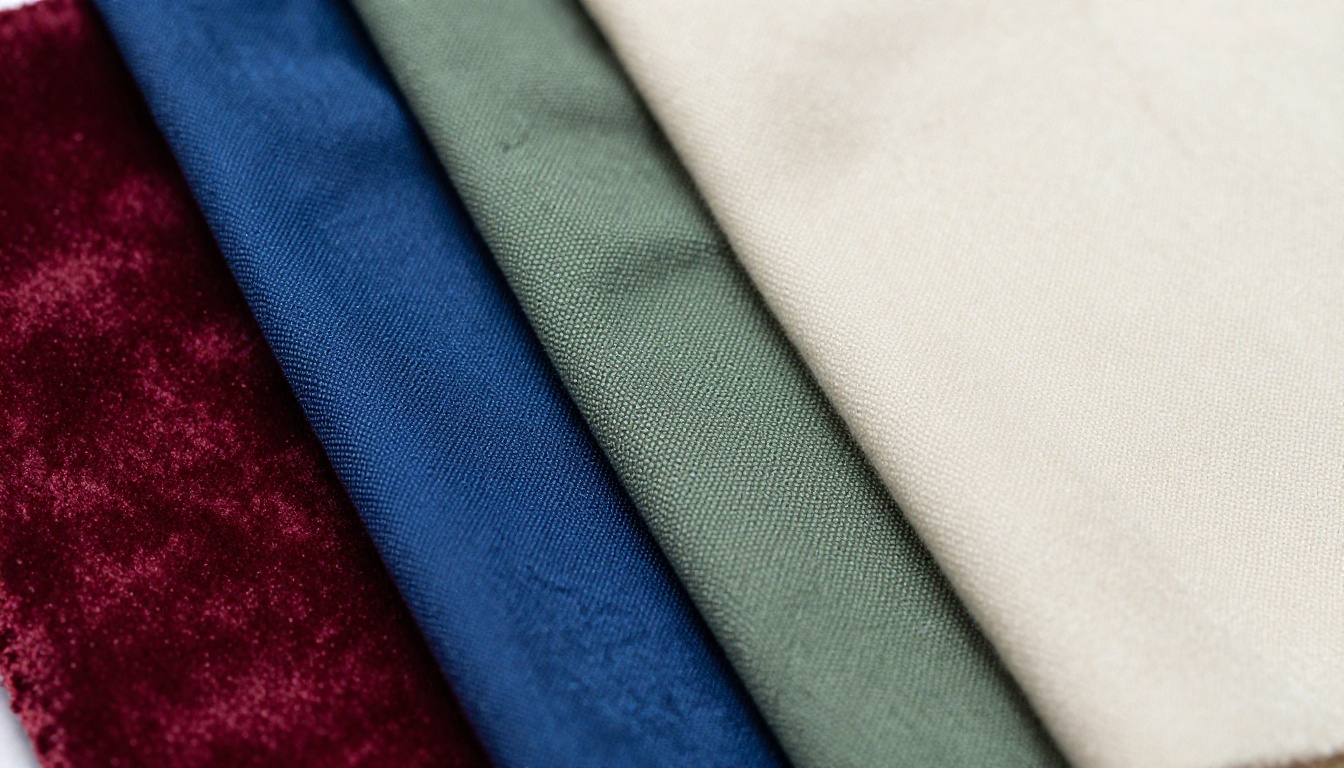
💡 For complex textiles like velvet, leather, or metallic fabrics, use Flux Kontext Dev with image-to-image editing. Its contextual understanding handles unusual textures better than pure inpainting in most cases.
Practical Use Cases
The ability to change outfit colors in photos opens up concrete, high-value workflows across multiple industries:
Use Case
Traditional Approach
With AI Recoloring
E-commerce color variants
Reshoot per color SKU
Generate from single hero shot
Campaign seasonal refresh
New shoot each season
Recolor existing campaign images
Client wardrobe consultation
Physical try-on sessions
Digital color mockups in minutes
Social media content variety
Multiple outfit changes on set
One outfit, multiple color stories
Product sampling
Physical samples required
AI color previews before production
Lookbook production
Full team per colorway
Single shoot, AI fills variants
For e-commerce brands, this single capability can reduce product photography costs by 60 to 80 percent on color variants alone. A single hero image per garment style becomes the source for every color option in the catalog. The savings compound across catalogs with hundreds of SKUs.
For personal use, outfit color editing solves a persistent problem: you love how a photo turned out, but the color of your top clashes with the setting or does not match the aesthetic you are building on your social feed. Instead of reshooting or abandoning the photo, you correct the color and keep the moment intact.
Prompt Formulas That Get Results
The quality of AI outfit recoloring depends heavily on how the color change is described. These prompt structures consistently produce accurate results:
Change the [original color] [garment] to [new color], preserve fabric texture and drape, keep all other elements identical, photorealistic
Specificity always improves the result:
Instead of "green dress" use "forest green matte crepe midi dress"
Instead of "blue jacket" use "cobalt blue structured wool blazer"
Instead of "red top" use "deep scarlet ribbed cotton jersey top"
Instead of "white pants" use "off-white tailored linen wide-leg trousers"
The more the prompt mirrors how a garment would be described in a fashion context, the more accurately the model reproduces that fabric in the new color. Think of it as briefing a fashion stylist rather than typing a search query.
Beyond Single Colors
Creating Color Variants at Scale
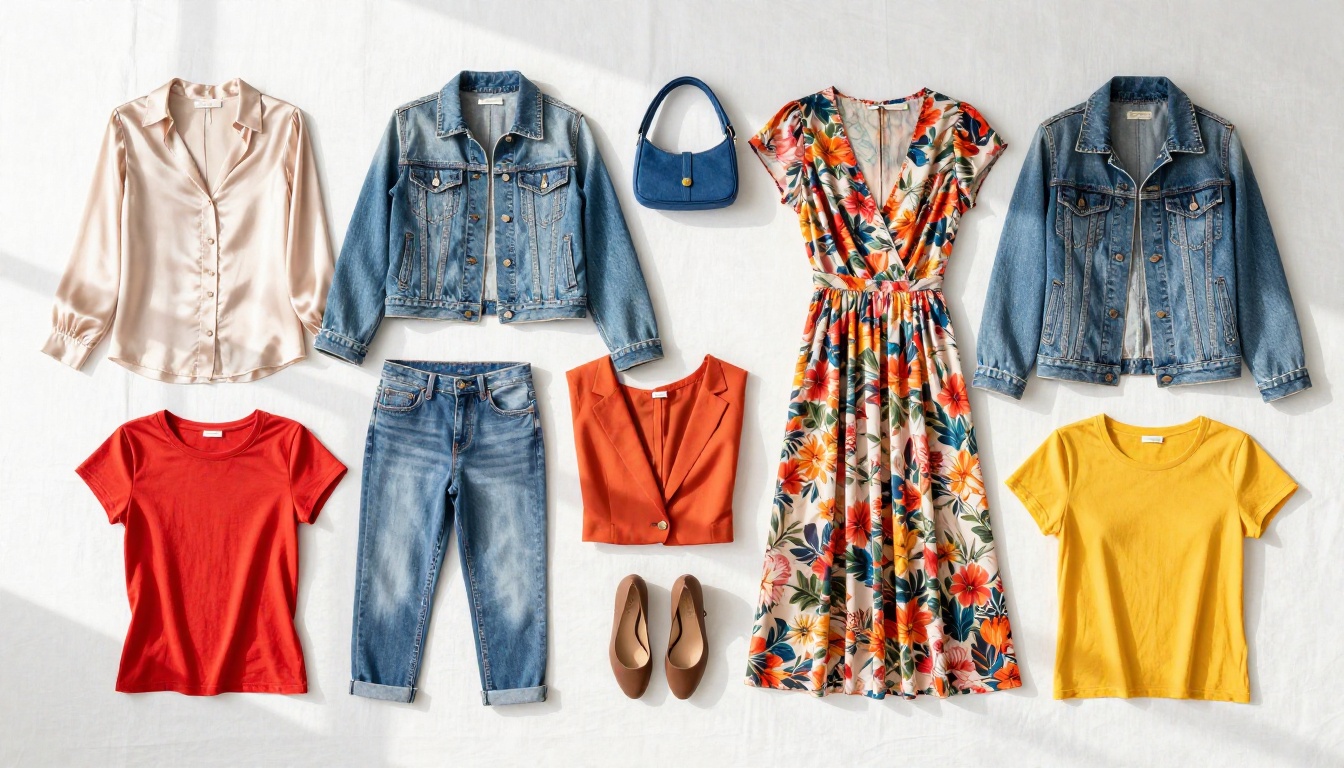
Once you have the base workflow down, the natural next step is batch processing. If you have 20 product images that need to appear in 4 color options each, the manual process would require 80 separate edits. With Flux Kontext Fast, you can move through this systematically: same prompt structure, same approach, applied across the full catalog in a fraction of the time.
For brands working with seasonal collections, this means generating the full color range from a single photo session. One shoot produces the entire color catalog, with AI filling in the variants. The consistency across color options is high because the base image and lighting remain identical.
Metallic and Special Finishes
AI outfit recoloring handles metallic finishes well when the prompt calls for it explicitly. Adding "metallic sheen, reflective surface, catches directional light" to a recolor prompt produces garments that interact with light the way physical metallics do. Faux leather, satin, and sequin textures all respond to similar explicit prompting. The RealVisXL v3 Multi ControlNet LoRA model is particularly strong at these specialty finishes due to its photorealism-focused training.
Pattern and Colorway Switching
For printed garments, you can shift an entire colorway rather than just a single hue. A navy and white stripe pattern can become burgundy and cream. A forest green floral can shift to deep plum. The approach works best with Flux Fill Dev using a full mask over the garment and a prompt that specifies both the new background color and the new accent colors of the print separately.
Create Your First Color-Changed Photo
The barrier to trying this is genuinely low. You need one photo with a garment you want to recolor, and access to PicassoIA. Start with Flux Fill Pro for your first attempt: draw a mask over the garment, describe the target color with fabric specificity, and generate. The first result takes about 30 seconds.
If you want to experiment with editing without drawing a mask, Flux Kontext Fast lets you describe the color change in plain language and applies it automatically. It is the fastest path from idea to result, and the output quality is high enough for most social and commercial uses.
For catalog-quality product photography, Flux Fill Dev produces the sharpest fabric detail and is worth the slightly longer generation time. Pair it with detailed, fabric-specific prompts and you will produce color variants that are publication-ready without a second look.
All of these models are available on PicassoIA alongside dozens of other image editing and generation tools. Whether you are working on fashion e-commerce, personal photography, or brand campaigns, outfit color editing with AI has become a standard part of the workflow for anyone serious about photo quality.
The clothes do not have to stay the color they were photographed in. They never did.