You are on the train, you remember the heating is still running, and your phone is already open on a chat window. Typing "turn the living room heating down to 17 and tell me if the back door is shut" into ChatGPT and watching the house obey used to be a developer demo. It now works through MCP, the Model Context Protocol, and the MCP Server integration built into Home Assistant. This article shows how the pieces connect, what you need to prepare, which devices deserve to be exposed, and which ones should stay out of reach.
The short version: Home Assistant becomes an MCP server, ChatGPT becomes the client, and your lights, thermostats and sensors become tools the chatbot can call. No custom code, no extra service in the middle, and you stay in charge of the entity list. If you have been searching for a reliable smart home automation setup that you can talk to in plain language, this is the cleanest route available right now.

What MCP Does for Your Home
MCP in plain words
MCP is an open protocol that lets an AI app talk to outside systems through a standard set of tools, prompts and resources. Instead of every chatbot inventing its own plugin format, one server can serve any client that speaks the protocol. Home Assistant, the open source hub that already talks to thousands of devices, can now act as that server.
When you ask ChatGPT to dim a lamp, the model does not guess at a web request. It reads a list of tools that Home Assistant published, picks the right one, fills in the entity name and the brightness, and waits for the result. The reply you read is built from what your house actually returned, not from the model's imagination.
Two directions, two integrations
People mix these up constantly, so here is the split:
| Integration | Direction | What it does | Use it when |
|---|
| MCP Server | ChatGPT to Home Assistant | ChatGPT calls your home through the Assist API | You want to chat with your house from the ChatGPT app |
| OpenAI Conversation | Home Assistant to OpenAI models | Assist uses an OpenAI model as its brain | You want smarter voice commands on speakers and wall panels |
| MCP client integration | Home Assistant to other MCP servers | Assist reaches outside tools | You want your assistant to use calendars or other services |
This article focuses on the first row. You can run all three at once without conflict.
💡 Tip: Use OpenAI Conversation for the voice assistant in the kitchen, and the MCP Server for typed chats from your phone. They solve different problems and share the same exposed entities.
What You Need Before You Connect
Hardware and version checks
The MCP Server integration arrived in Home Assistant 2025.2, so any current install has it. Before you touch a setting, make sure you have:
- A running Home Assistant instance (a Raspberry Pi, a mini PC, a NAS container, anything stable)
- Devices that already work inside Home Assistant
- Assist configured, because the server exposes the Assist API
- An admin account for the setup, plus a second account for ChatGPT (more on that later)
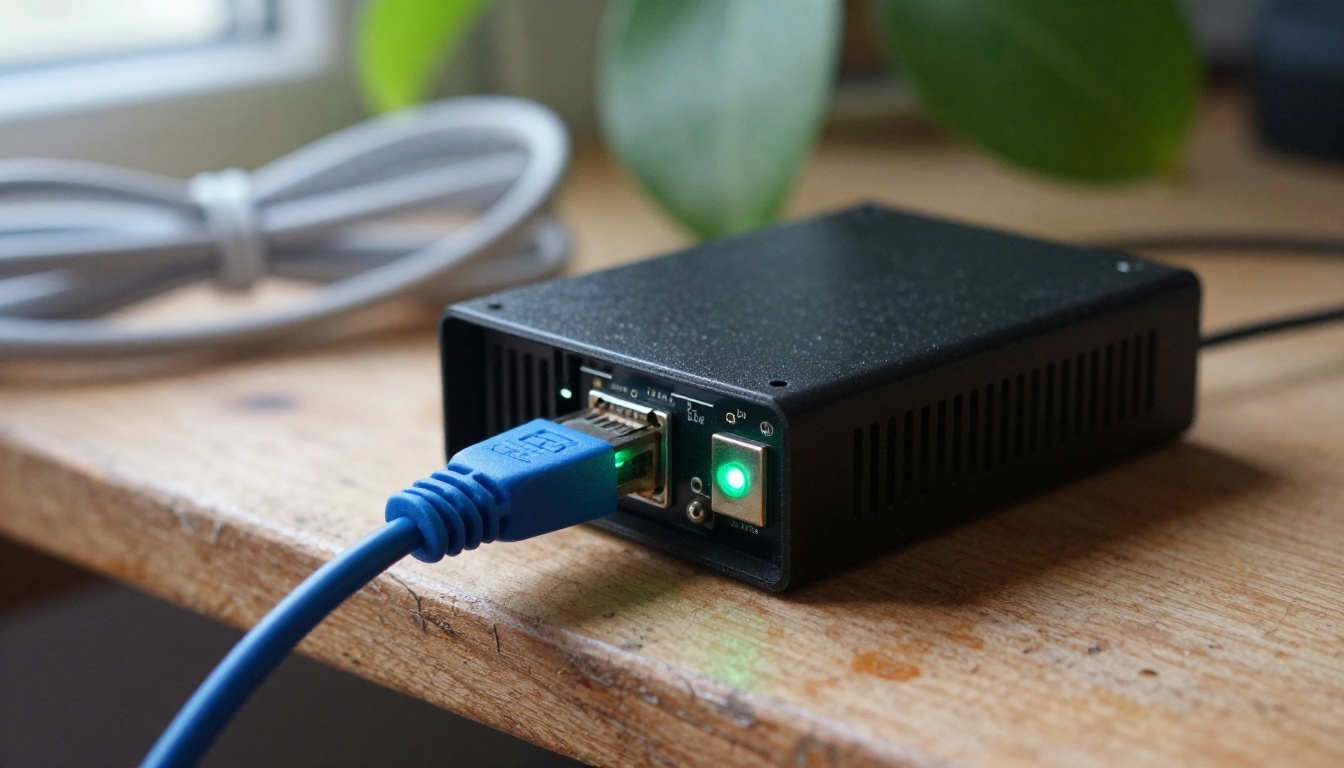
Naming matters more than hardware. Entities called "Light 3" and "Switch 12" make poor chat targets. Rename them to "Desk lamp" or "Hallway heater" first, because the model picks tools and targets based on those labels.
A public HTTPS address
This is the step that stops most people. Remote connections need a public HTTPS URL for Home Assistant, or Home Assistant Cloud. ChatGPT calls your endpoint from the internet, so a local address such as homeassistant.local:8123 will never work. You have three realistic options:
- Home Assistant Cloud, the shortest path with the least maintenance
- Your own domain behind a reverse proxy with a valid certificate
- A tunnel service you already trust, pointed at your instance
⚠️ Never open a plain HTTP port to the internet. This endpoint can switch devices in your house, so treat it like a front door.
Local clients are a different story. The docs describe mcp-proxy as a bridge for stdio based tools, paired with a long-lived token. That suits desktop apps on your own network, but not ChatGPT's cloud connector.

ChatGPT plan and developer mode
The Home Assistant docs list ChatGPT on Plus, Pro and higher plans as a supported client. Custom MCP connectors sit behind developer mode in the ChatGPT settings, in the connectors area. Menu names move around between releases, so look for "Connectors" or an extra settings section and switch developer mode on. Plan rules also change from time to time, so check what your own subscription includes before you spend an evening on setup.
Set Up the Home Assistant Side
Add the MCP Server integration
- Open Settings, then Devices & services.
- Select Add integration and search for Model Context Protocol Server.
- Choose the Assist API as the one to serve.
- Finish the dialog.
The endpoint is now live at /api/mcp, and the Assist API specifically answers at /api/mcp/assist. The server speaks Streamable HTTP, so there is no long-running socket to babysit. Older tutorials online may show a different endpoint, so trust the integration page for the version you run.
Choose what ChatGPT can see
Home Assistant respects the exposed entities page in the voice assistant settings. Only what you expose there is visible to the connector, and that single list is your most important safety control. Use this table as a starting point:
| Category | Examples | Advice |
|---|
| Safe to expose | Lights, scenes, fans, media players | Start here |
| Sensors | Temperature, humidity, door contacts, energy use | Read only by nature, ideal for questions |
| Think twice | Thermostats, heaters, irrigation, motorized blinds | Mistakes cost money or comfort |
| Keep out | Locks, garage doors, alarm panels, cameras | See the risks section below |
Pick OAuth or a token
Home Assistant offers two ways to authenticate. The first is OAuth through IndieAuth, where the client identifies itself with a URL based client ID. The second is a long-lived access token, which you create from your user profile on the Security tab for clients that lack OAuth.
One limit is worth knowing: Home Assistant does not support Dynamic Client Registration (RFC 7591), so a client that insists on it cannot register. Prefer OAuth whenever the connector screen offers it. Access can be revoked, and you never paste a secret into a chat setting. If the screen only offers a token field, a long-lived token works, but guard it like a password.

Connect ChatGPT Step by Step
- Turn on developer mode in the ChatGPT settings.
- Create a new custom connector (the button is labelled differently across releases).
- Give it a short name such as "Home" and a plain description like "Controls lights, climate and sensors in my house". The description helps the model decide when to use it.
- Paste your public URL ending in
/api/mcp, for example https://home.example.com/api/mcp.
- Choose OAuth if offered, then approve the login screen that Home Assistant shows.
- Open a fresh chat, enable the connector, and ask a first question.
Test with harmless commands
Climb the ladder slowly. Start with a read only question: "What is the temperature in the bedroom?" Then try something reversible: "Turn on the desk lamp at 30 percent." Only after both work should you ask for a compound request such as "Dim the living room, close the blinds and tell me if any window is open."
💡 Tip: Open the Logbook in Home Assistant after each test. It shows which entity changed and when, which is the fastest way to confirm what ChatGPT really did.
When the connection fails
| Symptom | Likely cause | Fix |
|---|
| Connector cannot reach the server | URL is not public or not HTTPS | Open the URL from your phone on mobile data |
| Login loop or registration error | Client needs Dynamic Client Registration | Try a long-lived token or a different client |
| Tool list comes back empty | No entities exposed | Expose entities in the voice assistant settings |
| Wrong device reacts | Duplicate or vague names | Rename entities, add areas and aliases |
| Slow answers | Too many exposed entities | Trim the list to what you actually use |
Real Commands That Work Well
Lights and scenes
Lighting is the easiest win, because the results are instant and nothing breaks if the model misreads you. Phrases that work reliably:
- "Turn off every light on the ground floor except the hallway."
- "Set the living room to warm and dim, around 20 percent."
- "Activate the movie scene."

The best trick is to build scenes inside Home Assistant and let ChatGPT trigger them by name. One tool call to "Movie night" is more dependable than twelve separate light adjustments, and you can fine tune the scene without touching your prompts.
Climate and routines
Here the model earns its place, because it can combine information instead of running a fixed rule. Ask "Which rooms are warmer than 22 degrees right now?" or "Is a window open anywhere while the heating is on?" and it reads several sensors, then answers in one sentence. A classic voice assistant cannot do that without a custom automation for each question.
Routines follow the same logic. In the morning you can ask for the temperature, the lights downstairs and the state of the blinds in a single message before the coffee finishes. At night, one sentence can turn off the lamps and confirm that the living room heater is off.
💡 Tip: If you repeat the same sequence every day, turn it into a Home Assistant automation. Use chat for the exceptions and questions, and let automations handle the fixed schedule.
Locks, Alarms and Other Risks
The endpoint is powerful, which is exactly why this section matters. A chatbot can misread a sentence, and a poorly worded request can have physical consequences.
Keep sensitive devices out
Locks, garage doors, alarm panels and cameras should not be on the exposed list. A mistaken command that opens the front door, or a request that disarms the alarm, is a much bigger problem than a lamp turning on in the wrong room.
There is also a subtler risk called prompt injection. If the same chat reads text from other sources, such as a web page or an email through another connector, hidden instructions inside that text could push the model to call your home tools. Keep your Home connector in chats of its own, away from other connectors that read content you do not control.
A dedicated low-privilege user
Create a separate non-admin user in Home Assistant just for ChatGPT, and sign in with that account when you authorize the connector. The exposed entities list is still the real gate, but a separate identity keeps your admin account out of the picture and lets you revoke access in one click. A short routine helps:
- Review the exposed entities list every few months
- Check the Logbook for actions you do not recognize
- Rotate or delete long-lived tokens you no longer use
- Remove the connector from ChatGPT if you stop using it
How to Use GPT 5.4 on PicassoIA
Before you expose a single device, a strong language model can prepare the ground. It can suggest clearer entity names, draft scenes, and write the YAML for automations you then paste into Home Assistant. GPT 5.4 on PicassoIA suits this job because it follows long, detailed instructions and accepts images alongside text.
- Open the GPT 5.4 page on PicassoIA.
- Paste your list of entity names into the prompt field and ask: "Suggest clearer names and three useful scenes for these devices."
- Fill in the system prompt to set the role, for example: "You write valid Home Assistant YAML with short comments. Output only YAML."
- Set verbosity to low for pure YAML and high when you want the reasoning explained.
- Keep reasoning_effort on none for simple renames. Raise it to medium or high for multi-step automations.
- Upload a photo through image input, such as your dashboard screenshot or a label on the fuse panel, and ask the model to list the devices it sees.
| Setting | Value to try | Why |
|---|
| verbosity | low | Short, paste-ready output |
| reasoning_effort | none for renames, medium or high for automations | Speed for simple jobs, depth for logic |
| max_completion_tokens | Raise it when effort is high | Reasoning can use the whole budget and leave an empty answer |
| system_prompt | "Output only YAML" | Stops chatty replies that break copy and paste |
⚠️ Read every generated automation before you save it. A model can invent an entity name that does not exist in your home.
If you want a second opinion on the same prompt, Claude Sonnet 5 and Gemini 3.5 Flash are also available in the large language model collection on the platform.
Create Your Own Home Visuals
A smart home looks better when the screens in it match the rooms around them. You can use Picasso IA to build the pictures for your own setup: a calm background for the wall tablet, mood boards for each room, or header images for the blog post where you document your build.

Three models are worth trying first:
- Seedream 4.5 for natural, photographic interiors
- Flux 2 Pro for sharp detail in furniture and materials
- GPT Image 2 when you need a few words of readable text in the scene
Try a prompt like "A cozy living room at dusk, warm lamp light, a wall tablet by the bookshelf, natural film photography, 35mm lens" and change one detail at a time: the time of day, the lens, the room. Within a few attempts you will have a set of images that fits your home, and the same habit of testing small changes that works for your Home Assistant scenes works for pictures too. Open Picasso IA, pick a model, and generate your first image today.


