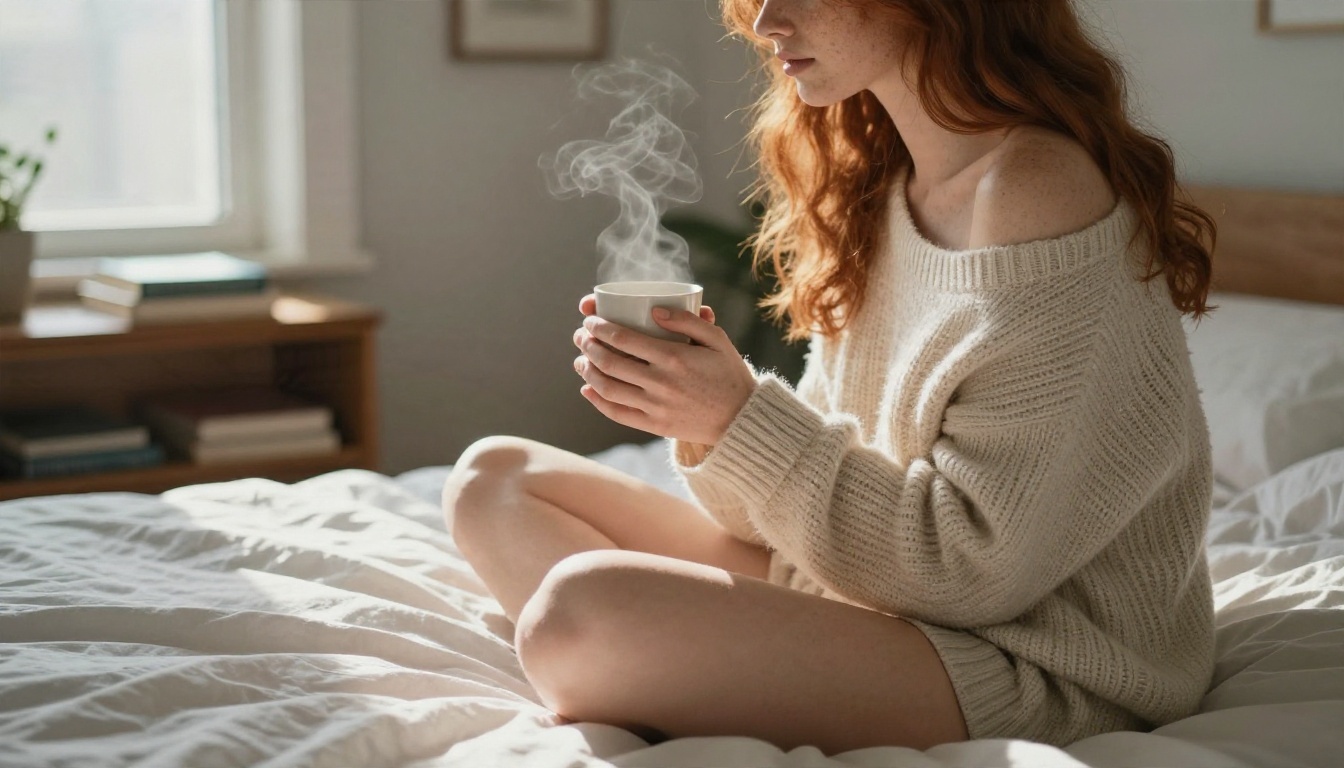
ComfyUI Sex Prompt: Examples, Settings, Not Working Fixes and Online Alternatives
Ready-to-paste sensual prompts for ComfyUI, the sampler, CFG and VAE settings that actually change your results, fixes for black images and ignored prompts, plus online options that run in a browser with no install.
You typed a sensual prompt into ComfyUI, hit Queue, and got a black square. Or a plastic-skinned mannequin with six fingers. Or a perfectly normal photo of a woman in a coat that ignores half of what you wrote. Adult-leaning prompts are the fastest way to expose every weak spot in a node graph: the checkpoint, the sampler, the VAE, and the words themselves.
This article gives you copy-ready prompt examples (suggestive, glamour and boudoir style, nothing explicit), the settings that matter, a troubleshooting section for the most common failures, and online alternatives for when you are tired of fighting your own GPU.
💡 Quick answer: Most "not working" cases come from three things: a safety-checker node that blanks the output, a VAE that overflows in fp16, or a prompt that fights the checkpoint's training. All three are fixable in a few minutes.
What a ComfyUI Sex Prompt Really Is
Prompt Versus Workflow
In ComfyUI, a prompt is just text inside a CLIP Text Encode node. The workflow is everything around it: the checkpoint loader, the sampler, the latent size, the VAE decode and the save node. People search for a "ComfyUI sex prompt" expecting a magic sentence, but the sentence is only about 30% of the result. A great prompt on a poor checkpoint still gives flat, waxy skin.
Why Wording Matters More Here
Sensual photography depends on small cues: fabric, light direction, skin texture, pose and mood. Models trained on huge photo sets respond to the vocabulary of photographers, not to vague adjectives. "Sexy girl" gives you stock-photo mush. "Soft window light, lace bralette, shallow depth of field, visible skin pores" gives you something that looks shot, not generated.
Here is the pattern that works across most photoreal checkpoints:
Subject and pose (who, what they are doing)
Clothing and fabric (lace, silk, knit, satin)
Setting (bedroom, hotel, pool, rooftop)
Light (direction, time of day, softness)
Camera (lens, distance, angle)
Texture and grain (pores, film grain, fabric weave)
Prompt Examples You Can Copy
These stay on the suggestive side, which is also where photoreal checkpoints perform best. Swap the details freely.
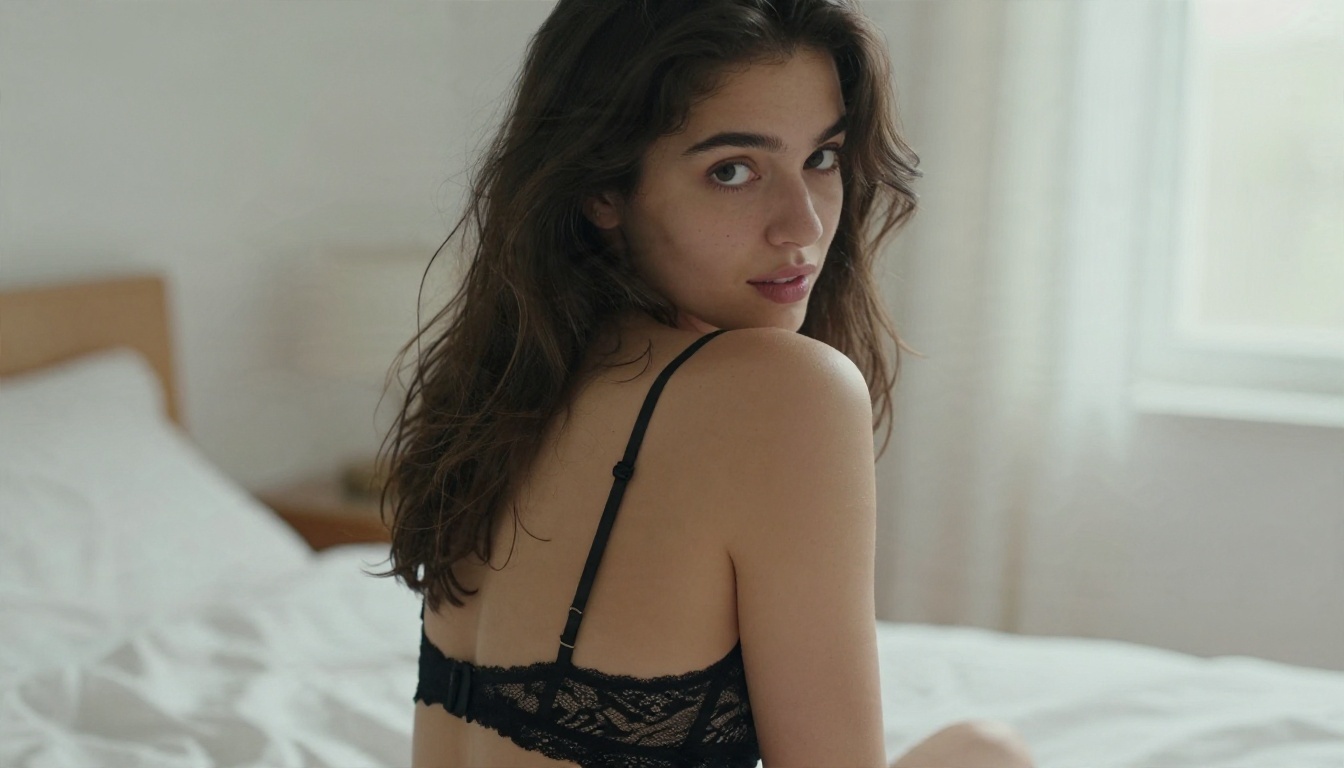
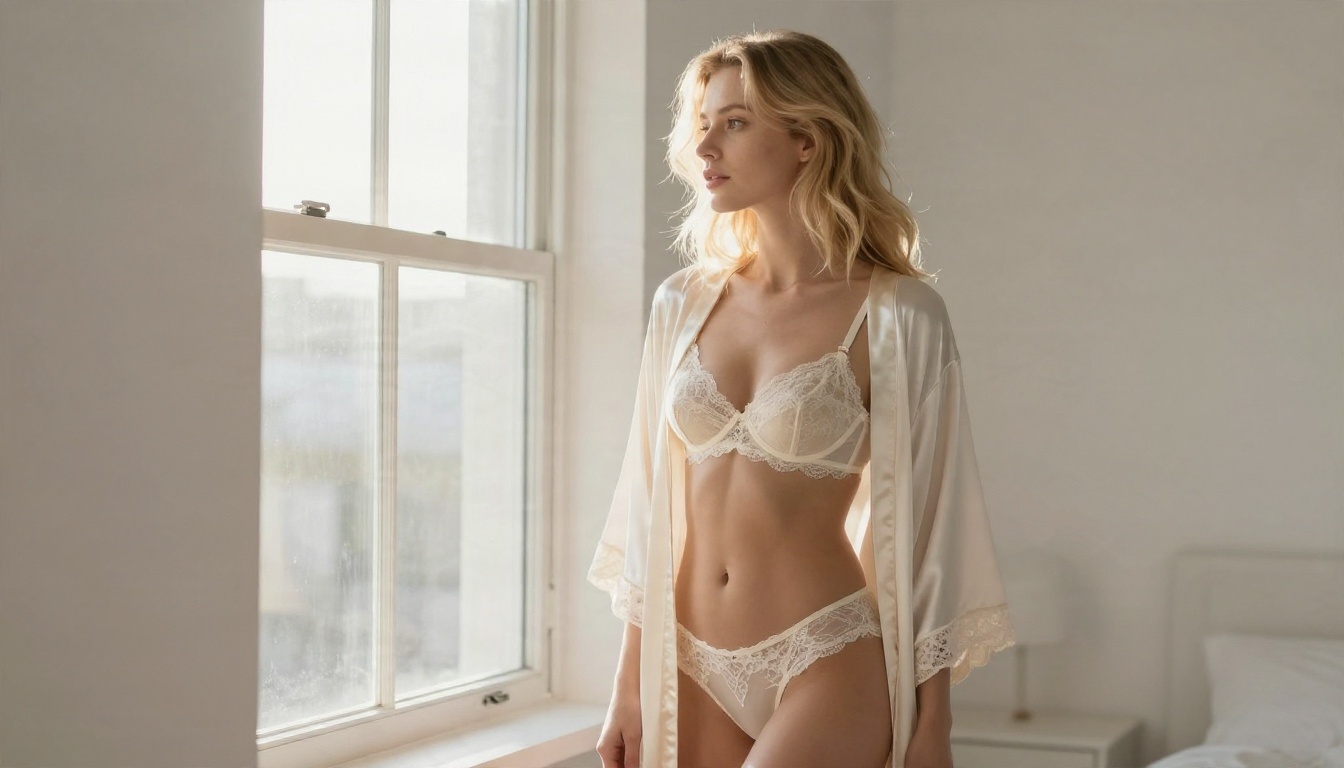
Boudoir Portrait Prompt
close-up portrait of a brunette woman in a black lace bralette and open
cardigan, looking over her shoulder with a playful gaze, white linen bed,
sheer curtains, soft window light from the right, 85mm f/1.8, shallow depth
of field, visible skin pores, fine baby hairs, film grain, Kodak Portra 400
The lens and the light do the heavy lifting. Notice there is no "beautiful" or "stunning" anywhere. Those words add nothing the model can draw.
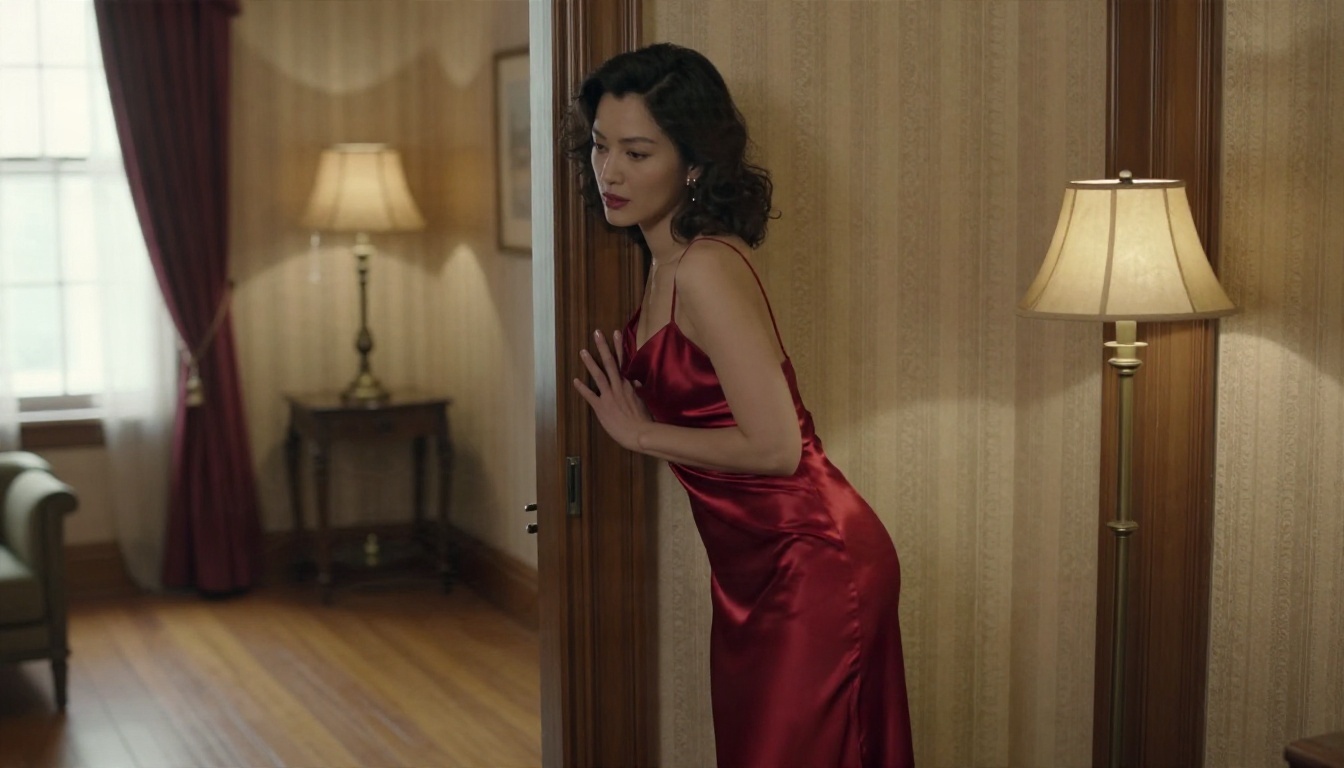
Hotel Room Glamour Prompt
low angle shot of a woman in a red satin slip dress leaning on a doorframe,
vintage hotel room, brass lamp, patterned wallpaper, warm tungsten lamp
light from behind, soft daylight fill, 35mm f/2, fabric sheen and creases,
realistic skin texture, subtle film grain
Mixing a warm lamp with a cool window fill gives you two colour temperatures, which is what makes the frame feel real.
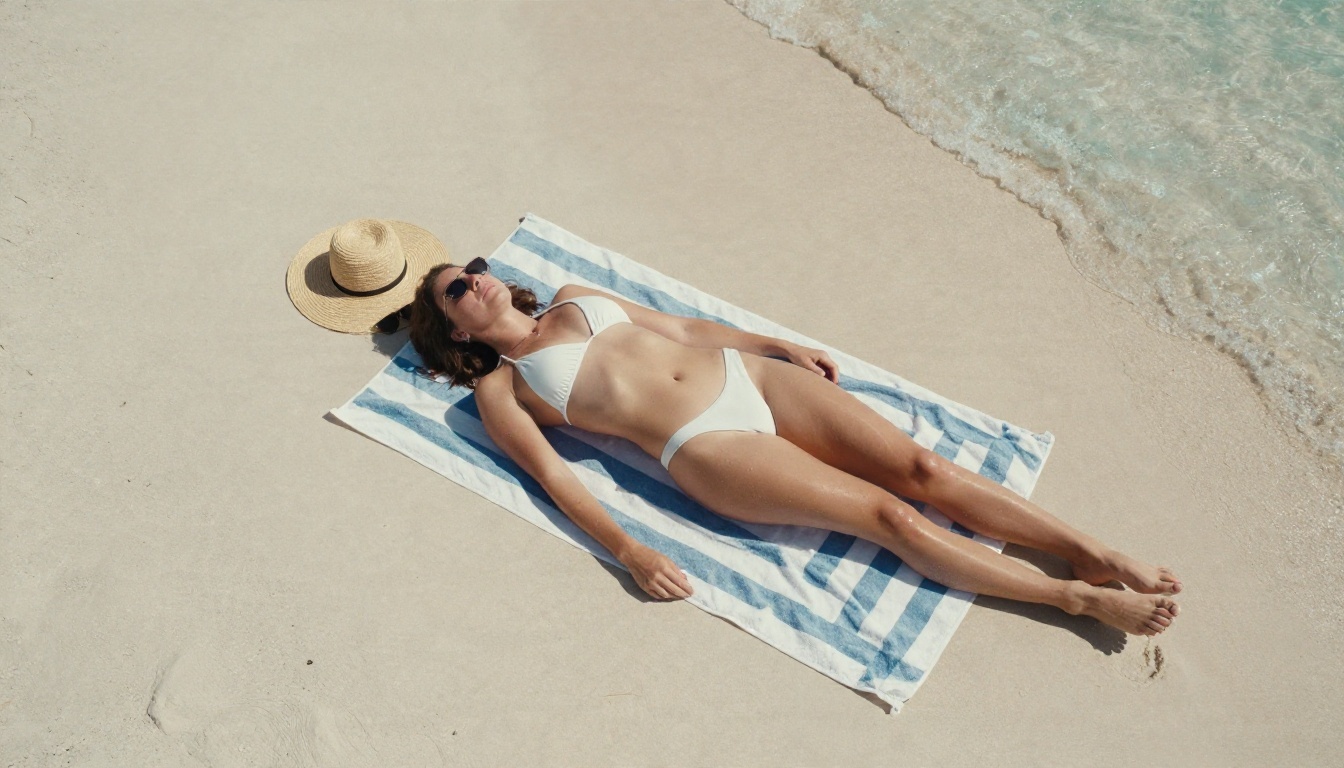
Beach and Pool Prompts
top-down aerial photo of a woman in a white bikini on a striped towel, pale
sand, straw hat, sunglasses, turquoise wave edge, natural midday shadows,
35mm, sand grain texture, sun-kissed skin, film grain
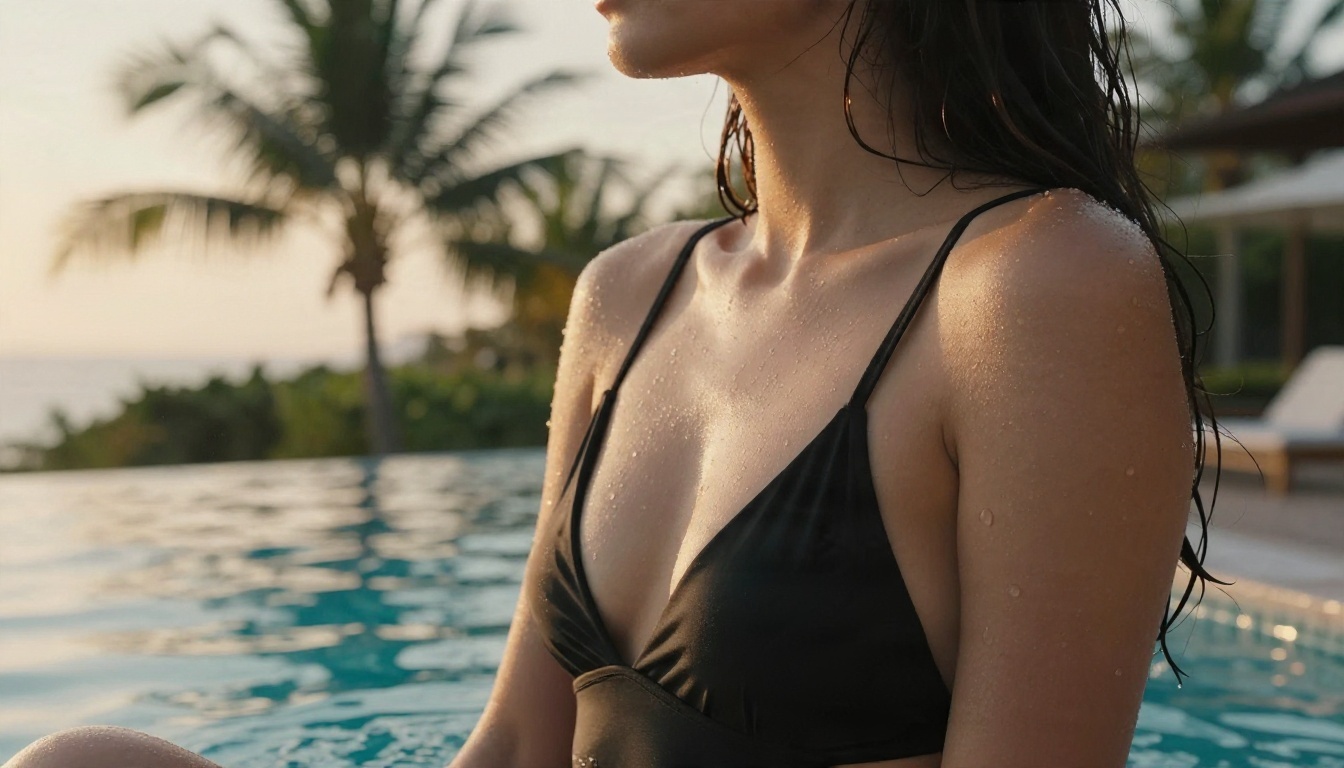
candid close-up of a dark-haired woman in a black swimsuit on the edge of an
infinity pool at golden hour, water droplets on her shoulders, palms
blurred behind, 105mm f/2, wet skin texture, film grain
Wet skin and water droplets are a stress test. If your checkpoint handles them, it handles most things.
Negative Prompt That Works
Keep it short and targeted. A 200-word negative prompt often does more harm than good.
blurry, lowres, plastic skin, airbrushed, extra fingers, deformed hands,
bad anatomy, duplicate, watermark, text, cartoon, illustration, oversaturated
💡 Tip: If your results look like illustrations even with "photo" in the prompt, add cartoon, illustration, painting to the negative and RAW photo, film grain to the positive. It works more often than changing the checkpoint.
Settings That Change Results
Sampler, Steps and CFG
Most photoreal SDXL-class checkpoints behave well in a narrow band. Start here and change one value at a time.
Setting
Safe starting value
What it does
Sampler
dpmpp_2m
Stable, clean skin detail
Scheduler
karras
Smoother noise steps, fewer artefacts
Steps
28 to 35
Below 20 looks soft, above 40 rarely helps
CFG
4.5 to 6.5
Higher values burn contrast and harden skin
Denoise
1.0 (text to image)
Lower only for image to image
Seed
Fixed while testing
Lets you compare changes fairly
A very common mistake is CFG 9 or 10 because "higher follows the prompt better". On photoreal checkpoints it gives crunchy, orange, over-sharpened skin. Drop it to 5 and the face relaxes.
Resolution and VAE
Generate near the checkpoint's native size. For SDXL-class models that means around 1024 by 1024, or 832 by 1216 for portraits and 1216 by 832 for landscape. Going straight to 1920 wide in the first pass produces doubled limbs and stretched torsos. Generate small, then upscale in a second pass.
On the VAE: if you do not add a Load VAE node, ComfyUI uses the one baked into the checkpoint. When that one is missing or mismatched, you get washed-out colour or a black image. Loading a known-good VAE explicitly removes that variable.
LoRA Strength and Checkpoint Choice
LoRAs add a face, a style or a body type. Keep strength between 0.6 and 0.9. Above 1.0 they overpower the checkpoint and skin turns to wax. Stack at most two. For checkpoint choice, realism-trained models beat general-purpose ones for this kind of photography, and anime-trained models will fight every photographic term you write.
Not Working Fixes
Black or Blank Images
This is the number one complaint, and it has two very different causes.
Cause
How to spot it
Fix
Safety-checker node
A checker node sits between the sampler output and Save Image
Remove it, or lower its sensitivity. When it flags an image it replaces it with black, and the original is gone if you only used the IMAGE output
VAE overflow in fp16
Preview looks fine, then the decoded image is black
Launch with the fp32 VAE flag, or load an fp16-fixed SDXL VAE through a Load VAE node
Mismatched VAE
Black or garbage only with one checkpoint
Add a Load VAE node matching the checkpoint family
NaN latents on older GPUs
Black output on GTX 16-series cards
Use full precision flags and a smaller batch
Check your node list before anything else. If you downloaded a shared workflow, there may be a checker node hiding at the end of the chain that you never added yourself.
Blurry Skin and Bad Hands
Blurry skin usually means too few steps, a weak VAE or an upscale that went too far. Fix in this order:
Raise steps to around 30.
Load a proper VAE.
Add "visible skin pores, film grain" to the positive prompt.
Run a second pass at denoise 0.3 to 0.4 with a 1.5x latent upscale.
For hands, keep them out of frame when you can ("hands in pockets", "holding a mug") or inpaint the hand region with a mask and a low denoise.
Prompt Ignored or Weak Output
If half your prompt disappears, the usual reasons are:
Too long. CLIP encoders pay less attention past roughly 75 tokens. Put the important words first.
Conflicting terms. "Daylight" and "dark moody studio" in the same prompt cancel each other.
Wrong checkpoint family. A tag-style prompt on a natural-language model, or the reverse, gives poor adherence. Flux-style models like Flux 2 Klein 9B Base LoRA want full sentences, while many SDXL checkpoints prefer comma-separated phrases.
Weights gone wrong.(word:1.8) often breaks the image. Stay between 1.1 and 1.3.
Missing Nodes and Red Errors
Red boxes mean a custom node is not installed. Open the manager, install the missing pack, restart, and refresh the page. If the same node stays red, the pack is outdated and its repo may have moved to a newer node name. Replacing the node with a native equivalent is often faster than chasing the old one.
💡 Rule of thumb: If you have spent more than 30 minutes on one red error, the problem is the workflow, not you. Rebuild it from the default template and add one node at a time.
Why Local Setup Slows You Down
ComfyUI is brilliant for control. It is also a hobby of its own. Between VRAM limits, driver mismatches, Python environments, custom node updates and multi-gigabyte checkpoints, it is easy to spend an evening on setup and ten minutes on images.
Local ComfyUI
Online generator
Needs a strong GPU (8 GB VRAM is tight)
Runs in a browser on any laptop
Checkpoints, VAEs and LoRAs to download and match
Models are ready to use
Safety-checker nodes and fp16 errors to debug
Fixed settings that already work
Full node-level control
Prompt-first, faster iteration
Free after hardware
Free tiers or unlimited plans
If you enjoy building graphs, stay local. If you simply want good sensual photography without the plumbing, move online.
Online Alternatives That Skip the Install
ComfyUI itself is not on PicassoIA, but the same results are a few clicks away. For similar output today, try these in order:
Seedream 4.5 is the first model to try. It follows long, photographic prompts closely, renders skin and fabric convincingly and outputs up to 4K. Most prompts above work as written.
PicassoIA Image Editor Pro gives you unlimited generations and edits. It is the best fit for iterating on a look, changing outfits or fixing details without counting credits, and it is uncensored in the sense that matters for adult glamour work.
Z Image Turbo is built for speed. Good for rapid prompt testing before you commit to a final render.
Realistic Vision v5.1 is a classic photoreal checkpoint, handy if you already know the Realistic Vision look from ComfyUI.
Paste one of the prompts from this article. Skip the negative prompt at first. Describe what you want instead of what you do not.
Set the aspect ratio to 16:9 for scenes, or portrait for single subjects.
Generate, then change only one element per run: the light, the outfit or the lens.
Take the best frame into PicassoIA Image Editor Pro to change clothing, fix a hand or adjust the setting. Because generations are unlimited, you can run ten variations without worrying.
Parameter Tips
Use natural language sentences instead of comma lists. Seedream reads them well.
Name the light direction ("window light from the left"). It is the single biggest realism boost.
Add one fabric detail per outfit: lace edge, satin sheen, knit weave.
Keep prompts under about 120 words. After that, extra detail rarely shows up.
Prompt Template for Any Model
[subject + pose], [clothing + fabric], [setting], [light direction and
quality], [lens and angle], [skin and fabric texture], film grain, Kodak
Portra 400
Fill it in, run it three times with different seeds, and keep the best one.
Your Next Prompt Is Waiting
You now have a prompt structure, working sampler and CFG values, a fix list for the most common failures, and a way to skip the install altogether. The fastest way to see the difference is to take your best ComfyUI prompt, paste it into Seedream 4.5, then refine the result in PicassoIA Image Editor Pro with unlimited generations.
Try the boudoir prompt, the hotel prompt and the pool prompt back to back, and compare them with your local output. Then browse every available model at picassoia.com/en/all-models and pick the one that fits your style.