Three years ago, creating a 3D model from a single photograph was considered nearly impossible without expensive software, a team of specialists, and dozens of reference images taken from multiple angles. Today, AI has made it routine. A single well-shot photo is all you need to produce a detailed, workable 3D asset in under a minute.
Why One Photo Changes Everything
The old workflow for 3D asset creation was brutal. Traditional photogrammetry required capturing an object from 50 to 200 angles, processing hundreds of megabytes of image data, and spending hours in software like RealityCapture or Metashape. The results were good, but the barrier to entry locked most creators out entirely.
The Old Pipeline Was a Bottleneck
For product designers, game developers, and architects, producing 3D assets at scale meant either hiring specialists or investing in costly equipment. A single product scan could take half a day. For small studios or independent creators, it simply was not viable.
AI Removed the Constraint
Modern single-image 3D reconstruction models have been trained on billions of image-geometry pairs. They learned to infer depth, surface normals, and spatial relationships from visual cues that any competent photographer instinctively uses: shadows, perspective foreshortening, texture gradients, and specular highlights. The AI does not guess geometry randomly. It applies statistical knowledge of how objects occupy physical space.
💡 The core insight: Humans reconstruct 3D geometry from 2D images every time they look at a photograph. AI models have learned to do the same thing, systematically, at scale.
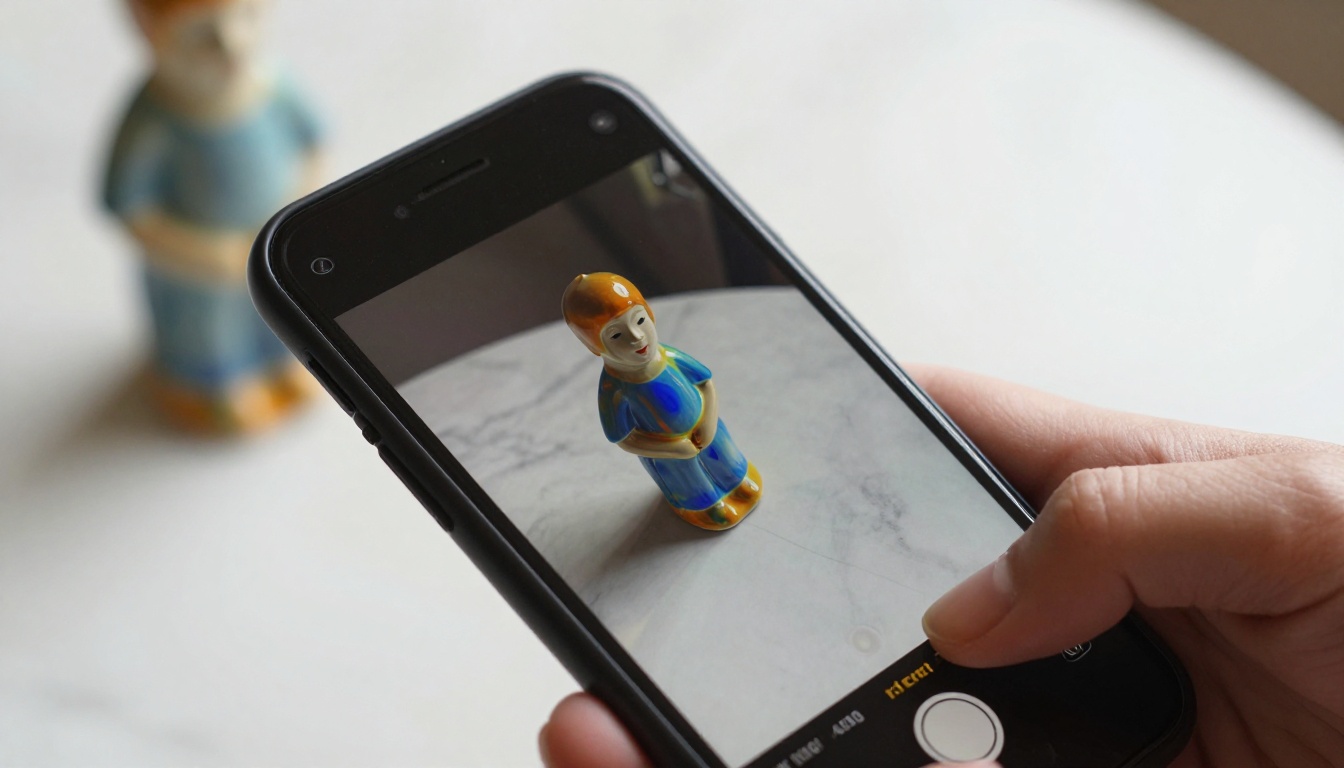
The Science Without the Jargon
Three distinct AI approaches now power single-image 3D reconstruction. Each has different strengths depending on your use case.
Monocular Depth Estimation
This is the fastest method. A neural network analyzes a single image and assigns depth values to every pixel, generating a depth map that can be extruded into a 3D mesh. Models like DPT and MiDaS are the workhorses here. The result is not a perfect geometric model, but it is fast and more than good enough for background assets, game environments, and concept visualization.
| Method | Speed | Accuracy | Best For |
|---|
| Monocular Depth | Very Fast | Moderate | Games, Concepts |
| NeRF (single view) | Slow | High | Products, Props |
| Diffusion-Based | Moderate | High | Characters, Objects |
| Photogrammetry (multi) | Very Slow | Highest | Precision Engineering |
Neural Radiance Fields from a Single View
NeRF technology, originally requiring hundreds of images, has been adapted for single-image input through models like Zero123 and One-2-3-45. These systems generate novel views of an object before assembling them into a volumetric 3D representation. The quality is significantly higher than basic depth estimation, particularly for objects with complex occlusions and surface curvature.
Diffusion-Based 3D Generation
The newest wave of single-image 3D tools uses diffusion models, the same underlying technology behind image generators like GPT Image 2 on PicassoIA. These models produce plausible geometry for occluded regions based on learned priors about object shape. Images generated at this level of spatial precision serve as ideal inputs for downstream 3D reconstruction pipelines.
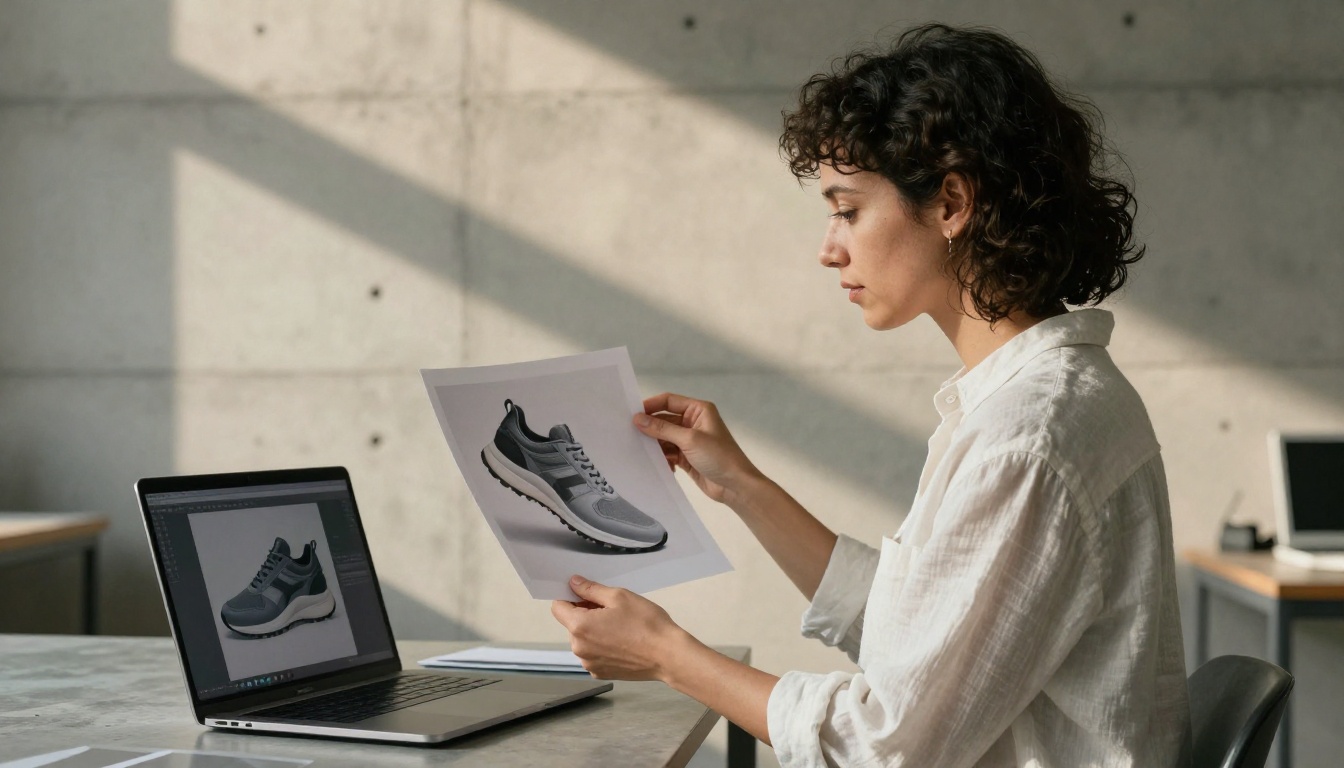
What Makes a Perfect Source Photo
The quality of your 3D output depends almost entirely on the quality of your input image. The AI can only work with information that exists in the photograph.
Lighting That Reveals Surface Shape
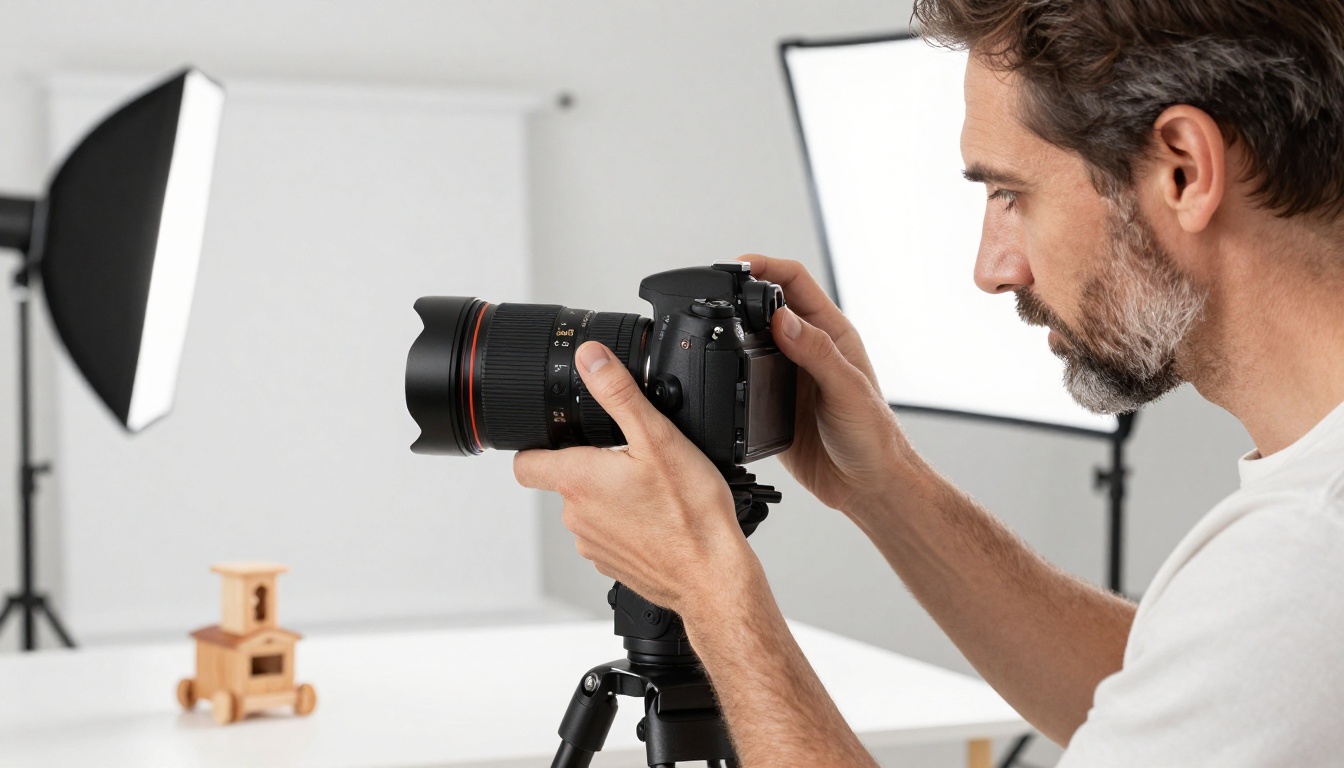
This is the single most important variable. Diffuse, directional lighting from one side of the subject creates shadows that reveal depth, curvature, and surface texture. Flat, even lighting from directly in front destroys all depth cues and produces flat, inaccurate reconstructions.
- Best lighting: Soft directional light at 45 degrees to the subject
- Avoid: Flat front-facing flash, harsh direct sunlight, heavy backlight
- Ideal conditions: Overcast daylight or a studio softbox positioned to one side
Resolution and Sharpness Matter
A blurry or low-resolution photo will produce a blurry, low-detail 3D mesh. Before feeding a photo into any reconstruction tool, it pays to upscale and sharpen it first. This is where AI upscaling becomes a critical preparatory step.
💡 Pro tip: Always upscale your source photo to at least 2048x2048 pixels before 3D reconstruction. A higher input resolution translates directly into finer mesh detail and more accurate surface geometry.
Background Separation
Objects photographed against a clean, contrasting background are significantly easier for AI to reconstruct. The model needs to clearly distinguish the subject from its surroundings. A product shot on white, or a portrait with a blurred background, will always outperform a cluttered, ambiguous scene.
Where This Technology Is Already at Work
Single-image 3D reconstruction has moved from research labs into production workflows across several industries.
Product Visualization and E-Commerce
Brands selling online need 3D representations of their products for interactive viewers, AR try-ons, and CGI advertising. Traditionally this required expensive photography rigs and specialist 3D artists. Now a single clean product photo, upscaled to high resolution, feeds directly into an AI reconstruction pipeline and produces a usable 3D asset in minutes.
The workflow is simple:
- Photograph the product on a white or neutral background
- Upscale the image using Clarity Pro Upscaler
- Feed the upscaled image to a single-image reconstruction model
- Export the mesh and apply to your e-commerce viewer
Game Assets and Characters
Independent game developers use this approach to rapidly prototype character models, props, and environmental assets. Instead of sculpting from scratch in ZBrush or Blender, a developer photographs a physical maquette or toy, runs it through an AI reconstruction tool, and has a base mesh in hours rather than days.
The main advantage: You can capture physical textures and imperfections that are expensive to hand-paint digitally.
Architecture and Real Estate
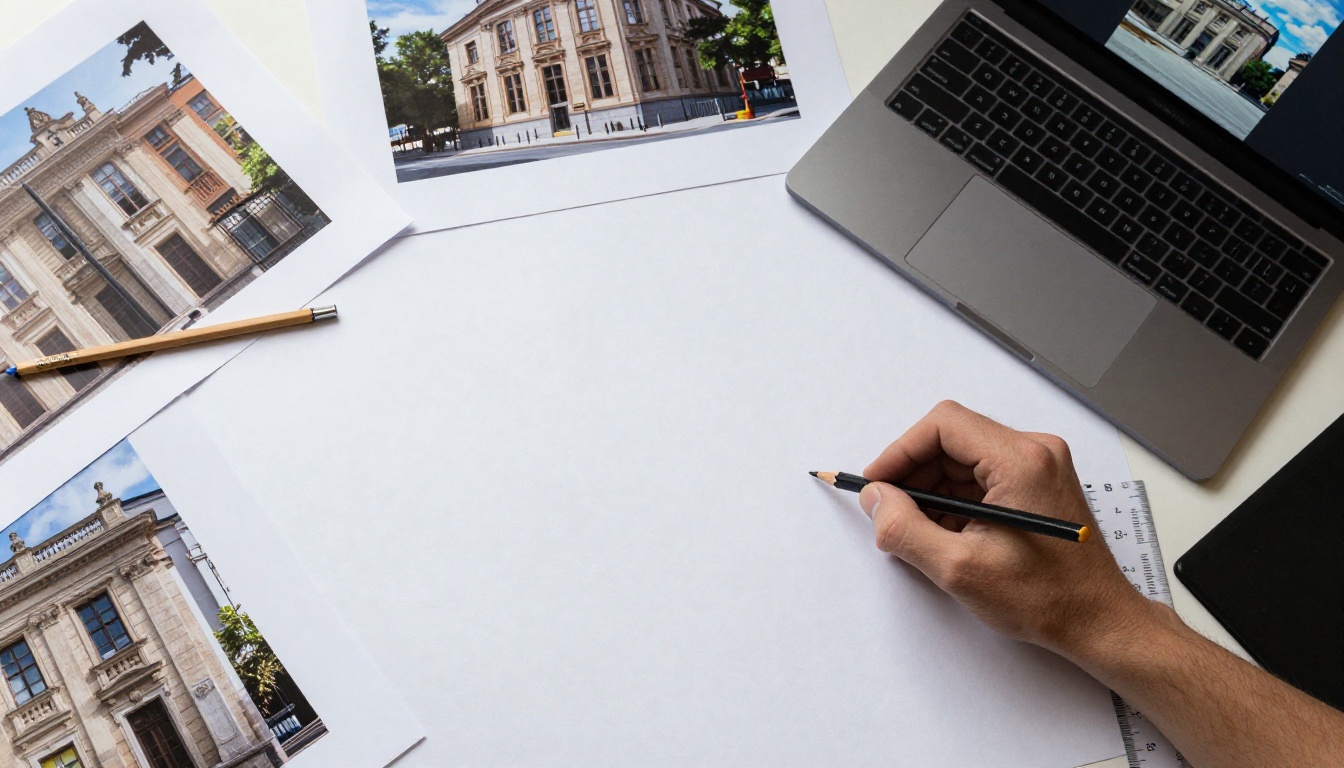
Architects use single-image reconstruction to quickly produce rough massing models from reference photos of existing buildings. Real estate platforms use it to create 3D property thumbnails from standard listing photos. The accuracy is not engineering-grade, but for visualization and marketing purposes it is more than sufficient.
Heritage and Museum Digitization
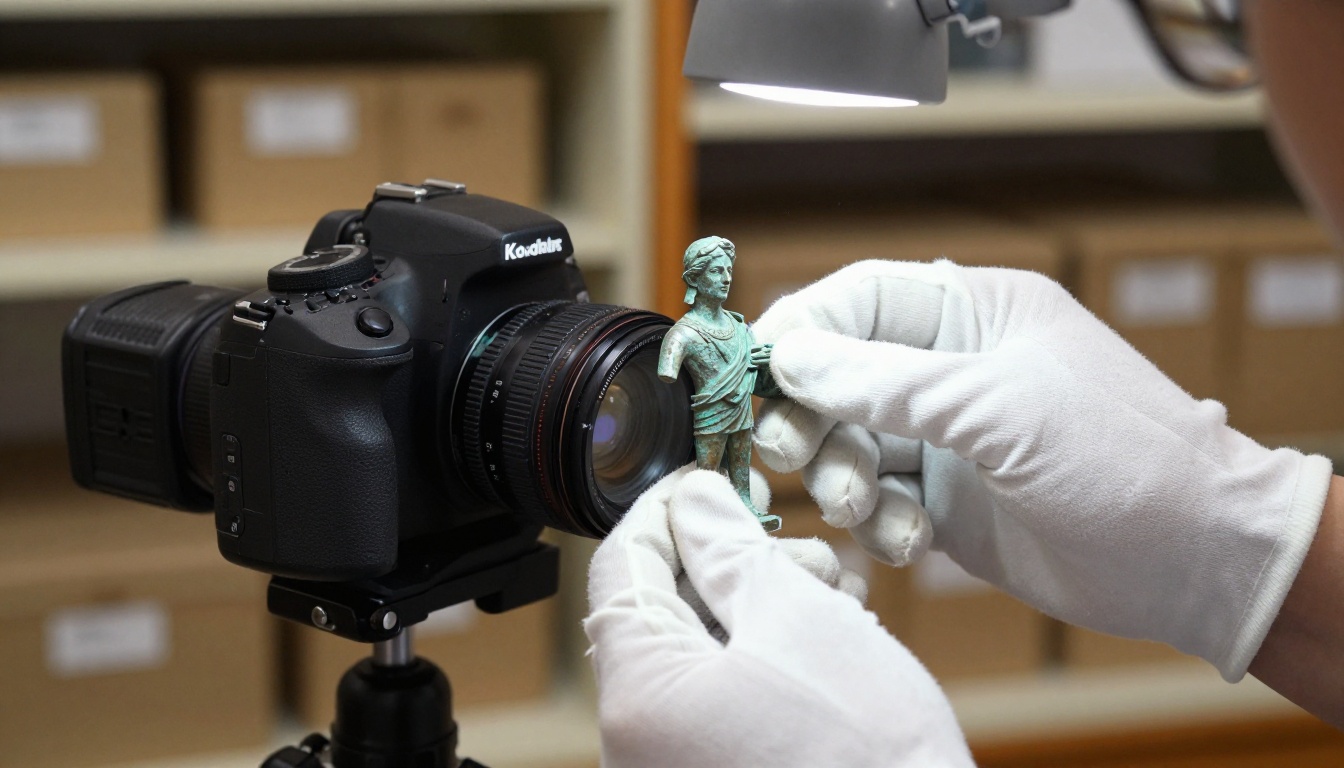
This is one of the most impactful applications. Museums and conservation institutions use AI-based reconstruction to digitize fragile artifacts that cannot be physically handled for extended traditional photogrammetry sessions. A single photograph taken during routine documentation can now produce a usable 3D record.
Preparing Your Photos Before Reconstruction
The fastest way to improve 3D output quality is to improve input image quality before reconstruction begins. AI upscaling tools are the most effective intervention at this stage.
Why Upscaling Changes the Output
Most reconstruction models produce better meshes when fed higher-resolution inputs. Surface detail in a 3D mesh is limited by the pixel density of the source image. A photograph that looks sharp on screen may contain less information than it appears to when processed at full reconstruction fidelity.
Real ESRGAN on PicassoIA upscales images up to 4x while preserving natural texture and edge sharpness, making it a reliable preprocessing step. For even higher fidelity, Topaz Image Upscale reaches 6x magnification without introducing artificial smoothing or haloing artifacts.
Cleaning Up the Source Image
Before reconstruction, removing background noise, correcting exposure, and eliminating lens distortion all improve the accuracy of the resulting 3D geometry. PicassoIA Image Editor Pro lets you make targeted corrections to a source photo without requiring Photoshop expertise.
💡 Checklist before reconstruction: ✓ Upscaled to 2K+ ✓ Background removed or simplified ✓ Exposure corrected ✓ Lens distortion minimal ✓ Subject occupies at least 60% of frame
Generating Your Source Image with AI First
Here is a workflow many professionals overlook: instead of searching for or shooting a physical source photo, use AI image generation to create the perfect input image, then feed it into a 3D reconstruction tool.
This approach gives you complete control over lighting, angle, background, and subject detail before the reconstruction even begins.
Using PicassoIA to Build the Input
PicassoIA Image generates photorealistic images at high resolution that work directly as 3D reconstruction inputs. You can describe the object you want, specify the lighting direction, background color, and camera angle, and receive a production-ready source image in seconds.
For objects where you need multiple variations to test which input produces the best 3D output, Flux Redux Dev generates image variations from a single reference, letting you test different lighting conditions of the same subject without re-shooting.
Practical example for a product designer:
| Step | Tool | Action |
|---|
| 1 | PicassoIA Image | Generate product photo at 45-degree angle |
| 2 | Clarity Pro Upscaler | Upscale to 4K resolution |
| 3 | PicassoIA Image Editor Pro | Remove background and correct exposure |
| 4 | Reconstruction Tool | Convert to 3D mesh |
| 5 | 3D Software | Refine and export |
Real Limitations to Know
Single-image 3D reconstruction is powerful, but honest evaluation requires acknowledging what it cannot do.
Occlusions and Hidden Geometry
The AI can only reconstruct what it can see. The back of an object is always absent from a single front-facing photograph. Reconstruction models fill in occluded geometry using learned priors, which means they produce plausible estimates, not accurate measurements. For any application requiring dimensional precision, this is a hard limitation.
Workaround: Capture two or three photographs from different angles and use a small-set reconstruction pipeline. Most modern tools accept 3 to 10 images rather than requiring the full 50 to 200 images of traditional photogrammetry.
Transparent and Reflective Surfaces
AI reconstruction models struggle with glass, polished metal, water, and other highly reflective or transparent materials. These surfaces produce inconsistent depth cues that confuse even the best neural networks. Spraying a light matte coating on a reflective object before photographing it remains the most reliable fix for this problem.
Scale Without a Reference Point
A single photograph contains no information about absolute scale. An AI reconstruction cannot distinguish between a miniature toy car and a full-size vehicle without a reference object in frame. Always include a known-size object, such as a ruler or a standard credit card, in at least one reference photo if scale accuracy matters for your use case.
The Numbers Behind This Technology
For context on how AI-based reconstruction performs across different tool categories today:
| Capability | Approximate Time | Quality Level | Primary Use |
|---|
| Depth map from photo | Under 5 seconds | Good | Background assets |
| Single-view NeRF | 2 to 10 minutes | Very Good | Props, products |
| Diffusion-based mesh | 1 to 3 minutes | Excellent | Characters, organic forms |
| AI-assisted texturing | 30 seconds | Very Good | Any mesh |
| Upscaling preprocessing | Under 10 seconds | Excellent | Any workflow |
The speed numbers matter enormously in production contexts. An individual game studio or product team can now iterate through dozens of asset variants in an afternoon, where previously they might have committed weeks of work to a single model. The combination of fast upscaling and rapid reconstruction has removed the single biggest bottleneck in asset production pipelines.
Try It on Your First Photo
The gap between "I have a photo" and "I have a 3D model" has narrowed to a matter of minutes. Whether you are a product designer wanting to visualize unreleased inventory, a game developer prototyping character assets, or a heritage professional racing to digitize fragile objects, the workflow is within reach without specialist equipment or expensive outsourcing.
PicassoIA provides every image preparation tool this process requires. Upscaling from Real ESRGAN, Topaz Image Upscale, and Clarity Pro Upscaler delivers maximum input detail. Image generation from PicassoIA Image and editing from PicassoIA Image Editor Pro covers every step from source creation to reconstruction-ready output. For quick image variations to test different angles, Flux Redux Dev generates alternatives in seconds.
Pick up your camera, or open PicassoIA and generate the perfect source image. The geometry you need is already inside that single photograph, waiting for the right AI to read it out.