If you have ever tried to make a comic strip without knowing how to draw, you already know the problem. The story is there, the characters are in your head, but the page stays blank. AI image generators solved that in a way no other tool has before: you describe what you want, and the model renders it. But "generating some images" is not the same as "making a comic." Sequential art has specific needs, and every one of them is solvable with the right workflow.
What Traditional Comic Panels Actually Demand
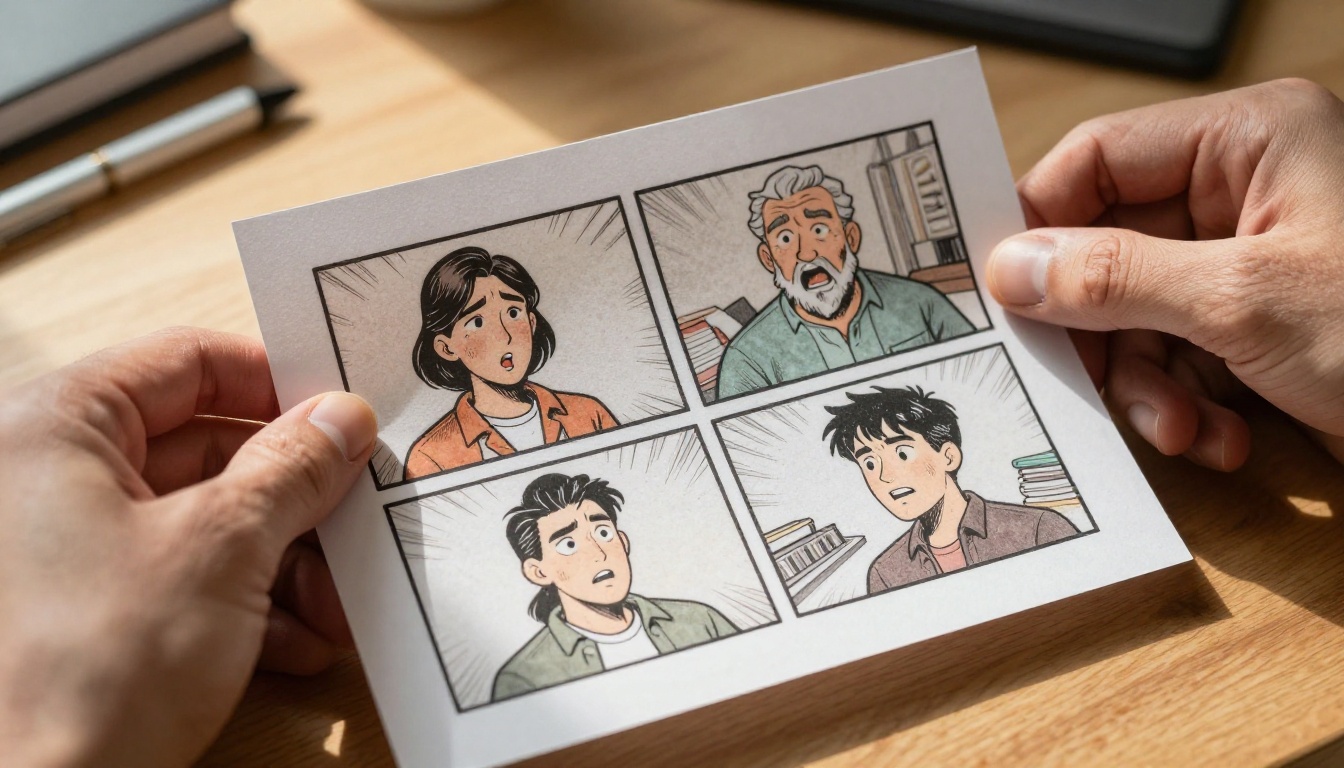
Comics are not pretty pictures placed in a row. Each panel carries a dramatic function: establishing where we are, showing who reacts to what, pushing the action forward. When you create comic panels with AI images, you need to think the same way a storyboard artist does. That means shot types, camera angles, character consistency, and emotional continuity across every frame.
The Consistency Problem
The biggest obstacle in AI comic creation is not image quality. It is that every new generation produces a completely different character. Your hero has brown hair in panel one and black hair in panel three. The villain's scar switches sides. The background city changes architecture between cuts. This breaks the reader's immersion immediately, and it is the main reason first attempts at AI comic strips fall apart.
The Composition Problem
A random beautiful image is not a comic panel. Panels have intentional framing: close-ups for emotion, wide shots for context, low angles for power, over-the-shoulder shots for conversation. Without that thinking built into your prompts, you end up with a gallery of unrelated scenes instead of a story that moves.
Picking the Right Model for Your Comic Style
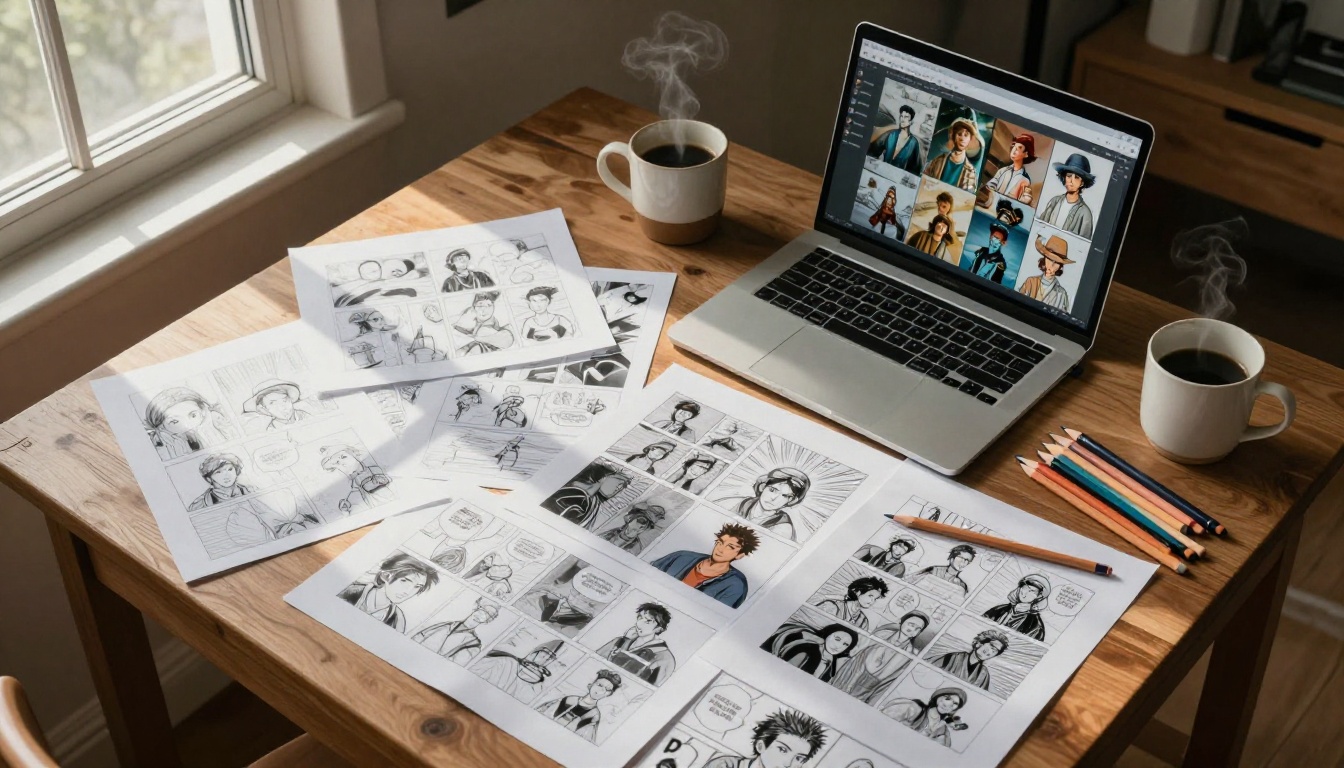
The model you choose shapes everything: resolution, realism, speed, and the visual tone of your panels. Here is how the main text-to-image models compare for sequential art work:
| Model | Best For | Speed | Panel Control |
|---|
| Flux 1.1 Pro | High-fidelity photorealistic panels | Fast | Strong seed anchoring |
| Flux Dev | Img2img character continuity | Standard | Excellent with seed |
| Flux Schnell | Fast concept drafting, iteration | Very fast | Good for rapid testing |
| SDXL | Illustrated style panels with LoRA | Standard | Strong with inpainting |
For Photorealistic Panels
If your comic has a gritty, cinematic tone, a crime drama, war story, or noir thriller, Flux 1.1 Pro delivers the sharpest, most detailed output. It reads complex prompts precisely: lighting direction, camera lens specs, character detail, and scene atmosphere all come through clearly. The seed control means you can generate the same character across 20 panels with consistent facial features and costume.
For Illustrated and Stylized Panels
SDXL is the model to reach for when you want something that looks drawn rather than photographed. Its LoRA weight support lets you load a consistent art style and apply it across every generation in your comic. The inpainting feature is especially powerful: draw a mask over one region of a panel and regenerate just that section without touching the rest of your composition.
💡 For manga-style or Western comics aesthetics, SDXL with a matching LoRA weight is your fastest path to visual consistency across a full page.
How to Use Flux Dev for Comic Panels
Flux Dev is the strongest choice for a panel-by-panel workflow because of one feature: img2img mode. You generate a base character image, feed that image back into the model with a new prompt describing the next panel's action, and the model keeps the core visual while changing pose, expression, and environment. That is character consistency without any complicated setup.
Step 1: Set Your Aspect Ratio First
Before typing a single word, choose your aspect ratio. Standard horizontal comic panels sit at 3:2 or 16:9. Vertical manga panels use 2:3 or 9:16. Square panels work for social media comics at 1:1. Setting this before generation means every image fits your grid without cropping, and your page assembly becomes a simple drag-and-drop.
Step 2: Write a Panel-Consistent Prompt
Your prompt is doing three jobs at once: describing the character, setting the scene, and calling out the camera angle. Structure every panel prompt using this format:
[Character description] + [Action and Pose] + [Environment] + [Lighting] + [Camera angle and lens]
Example for an action panel: "Tall muscular man in a torn leather jacket, mid-air kick against a rain-soaked concrete wall, wet alley with neon reflections on puddles, dramatic side lighting from the left, low-angle shot looking up, 35mm wide lens, photorealistic, film grain, 8K"
The character description block must stay word-for-word identical across every panel. Copy-paste it into each new prompt and only change the action, pose, and setting.
Step 3: Lock Your Character with a Seed
This is the single most important parameter in AI comic creation. In Flux Dev, run your character prompt 10 times with random seeds. Find the result that best matches your vision. Note the Seed number. Use that number for every subsequent panel. The model produces the same base character anatomy while applying your new scene description on top. Without a fixed seed, every generation is a stranger wearing your character's clothes.
💡 Write the seed number at the top of your working document before starting panel one. Losing it mid-project means starting your character over from scratch.
Step 4: Use Img2img for Dramatic Panel Variations
For panels where the action changes dramatically, upload your best character reference into the img2img input field. Set Prompt Strength between 0.6 and 0.7: low enough to preserve the character's facial features and build, high enough to produce a genuinely new pose and expression. Describe the new action in the prompt. The model blends your reference with the new description, giving you the same character in a completely different moment.
Writing Prompts That Build a Story
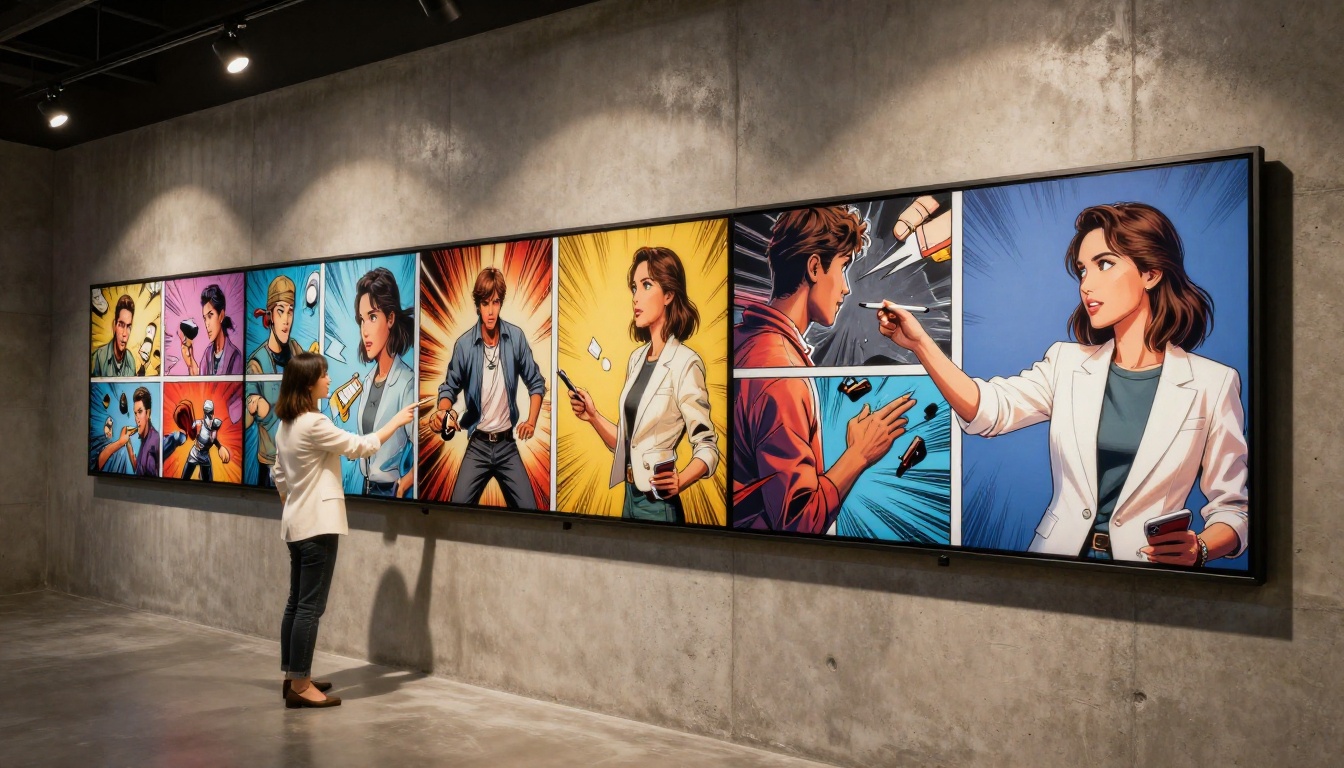
A random image prompt and a comic panel prompt are different documents entirely. Comic panels need three layers of information baked in: what is happening right now, who is in frame, and how the reader should feel about it.
The Anatomy of a Strong Panel Prompt
Every effective panel prompt contains these five components:
- Subject: Who is in frame and what are they doing at this exact moment
- Environment: Where the scene is set, with enough physical detail to feel real
- Lighting: The emotional mood comes from light. "Harsh overhead fluorescent" and "warm candlelight from below" are opposite emotional registers
- Shot type: Wide, medium, close-up, extreme close-up, or over-the-shoulder
- Lens and angle: 24mm for establishing shots, 85mm for emotional portraits, low angle for power, high angle for vulnerability or overview
Shot Types That Drive the Story
| Shot Type | When to Use It | Prompt Phrase |
|---|
| Wide / Establishing | Opening panel of a new scene | "wide establishing shot, full environment visible" |
| Medium | Dialogue and reaction panels | "medium shot, waist-up framing" |
| Close-Up | Emotional beats, tension moments | "extreme close-up portrait, facial detail" |
| Over-the-Shoulder | Conversation between two characters | "over-the-shoulder shot toward second character" |
| Low Angle | Power, threat, dominance | "low angle looking up, subject towers above" |
| High Angle | Vulnerability, scale, overview | "high angle bird's eye view looking down" |
Mixing shot types across your panels creates visual rhythm. Six medium shots in a row reads like a slideshow. Vary the distance deliberately with each beat of your story.
Keeping Characters Consistent Across Panels
Character consistency is the hardest part of AI comic creation. It is also the most solvable once you know the specific tools.
The Character Bible Block
Before generating a single panel, write a fixed 50-word character description. This is your character Bible block. Include: gender, approximate age, hair color, eye color, skin tone, body type, and every item of clothing with specific color and detail. Paste this exact block, unchanged, at the start of every panel prompt. Nothing in this block ever varies between panels.
The Reference Sheet Approach
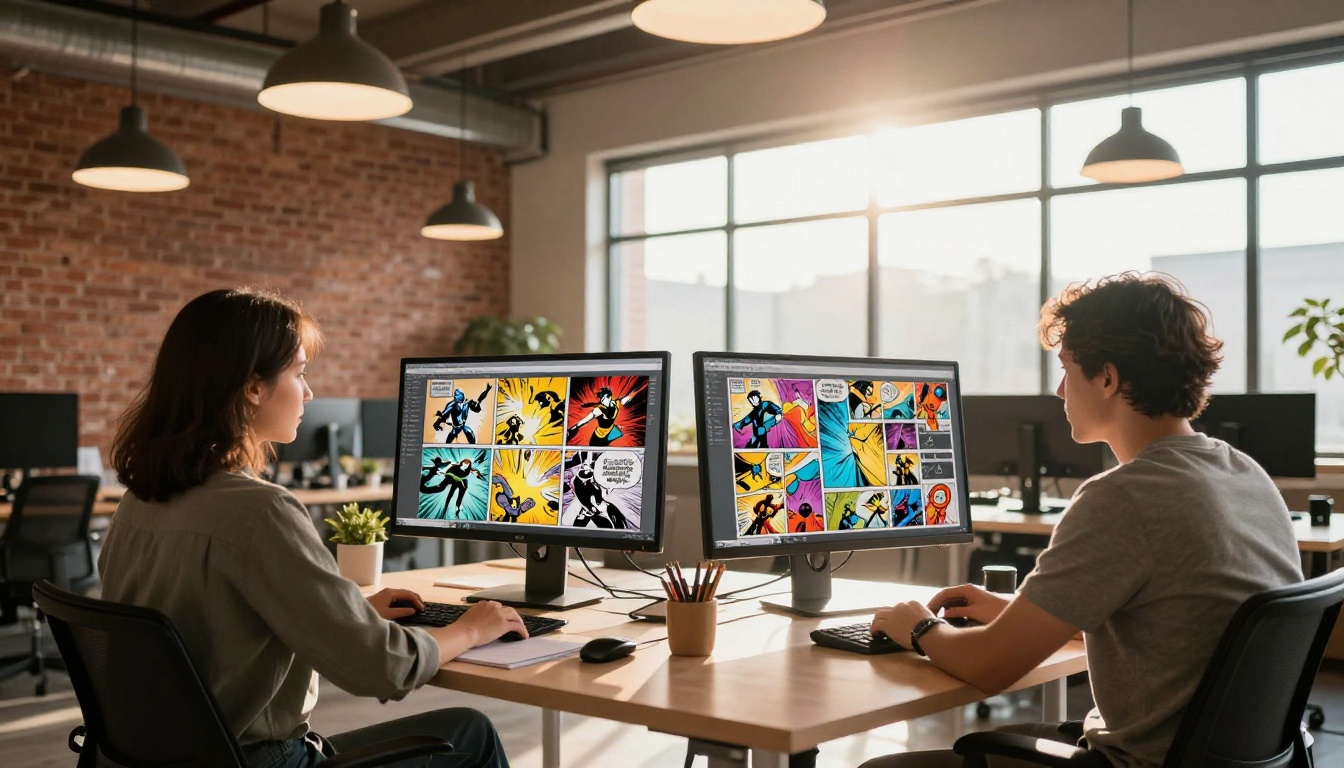
Generate three reference images for each main character before starting the comic: a front-facing portrait, a 3/4 profile view, and a full-body standing shot. Keep these images open on a second monitor as you work. When a panel drifts visually, compare it to the reference sheet. If the gap is too wide, feed one of your reference images into img2img at a prompt strength of 0.5 to pull the character back to their correct appearance.
Inpainting for Targeted Fixes
SDXL's inpainting mode is invaluable when one element in a panel is wrong but everything else is right. Draw a mask over just the face, the background, or a costume detail. Regenerate only that masked region. The rest of your carefully composed panel remains exactly as it was.
💡 Use Flux Schnell for rapid character iteration when you are still building your reference sheet. Its speed means you can test 30 seed variations in the time it takes Flux Dev to run 10.

Turning Single Images into a Page Layout
Individual panels are ingredients. The page is the recipe. How you arrange your frames controls pacing, drama, and where the reader's eye moves.
Panel Grid Basics
The three most common grids in sequential art:
- 3x3 grid: Nine equal panels per page. Produces steady, even pacing. Classic for superhero action and procedural stories.
- 2x3 grid: Six panels with more breathing room per frame. Works well for dialogue-heavy scenes and character moments.
- Varied grid: A mix of large and small panels on the same page. Use one large panel for the climactic beat and smaller panels for quick cuts around it. This is where AI comics can look genuinely professional.
Generate each panel at the correct aspect ratio for its grid slot. A wide panel needs 16:9. A tall panel needs 9:16. A square needs 1:1. Assemble them in any layout tool after generation: Canva, Adobe Express, Photoshop, or dedicated comic apps like Clip Studio Paint all work.
Adding Speech Bubbles and Text
AI models handle in-image text unreliably. Generate your panels clean, then add speech bubbles in post. Every major design tool has speech bubble shapes. Add them as a separate layer over the panel, type the dialogue, and keep the balloon tail pointing toward the speaker's mouth area.
The rule to write on your wall: panels show what happens, text confirms what characters think or say. If a speech bubble is explaining the action in the image, the image is not doing its job. Revise the panel.
Upscaling Panels to Print Quality
Images generated at 1 megapixel look sharp on screen but fall short at print resolution. If your comic is going anywhere beyond a digital PDF, you need to run your panels through an upscaler.
When to Upscale
Upscale whenever your panels will be:
- Printed in any format, from a home-printed zine to a professional book run
- Displayed larger than 1200px wide on screen
- Exported for high-resolution social sharing or portfolio presentation
Which Upscaler to Use
Three strong options cover different use cases:
- Clarity Pro Upscaler: Best choice for photorealistic panels. Adds genuine texture and fine detail during upscaling, not just pixel interpolation. Skin, fabric, and environment details sharpen noticeably.
- Real ESRGAN: Reliable 4x upscale that handles illustrated and stylized panels cleanly. Fast turnaround.
- Image Upscale by Topaz: Up to 6x enlargement. The right call when you need maximum output resolution for large-format printing or high-DPI displays.
💡 Upscale after your comic is finalized. Running upscalers on panels you might still revise wastes time and storage.
5 Mistakes That Kill AI Comics
1. Generating every panel without a fixed seed.
Without a seed, each generation is a different character. This is not optional for sequential art. Set the seed before panel one.
2. Using the same shot type across the entire page.
Six medium shots in a row produces a flat, lifeless layout. Vary shot type and camera angle with every dramatic beat.
3. Packing prompts with style adjectives instead of action descriptions.
Words like "cinematic, dramatic, stunning, epic" take up space without doing work. Use those tokens to describe what is literally happening in the panel.
4. Skipping the reference sheet.
Without a front-facing reference image for each character, visual drift is inevitable. Spending 10 minutes on reference sheets before starting saves hours of corrections later.
5. Trying to generate speech bubble text inside the image.
AI text generation inside images is inconsistent and often illegible. Always generate panels clean and add all lettering in post-production.
Start Your Comic Page Right Now
Everything required to create comic panels with AI images is available. Start with Flux Dev to build your character reference sheet. Lock in a seed that gives you the right face and build. Write your first panel prompt with a clear shot type, a fixed character Bible block, and a specific lighting description. If you need an illustrated style, switch to SDXL with a LoRA weight that matches your visual target. For rapid concept testing between scenes, Flux Schnell lets you iterate through shot ideas in seconds. When your panels are final, run them through Clarity Pro Upscaler or Image Upscale by Topaz for print-ready resolution.
The story already exists in your head. The only thing between that story and a finished comic page is the prompt you write next.


