Five years ago, producing a single two-minute explainer video cost anywhere from $3,000 to $15,000. You needed a scriptwriter, a voiceover artist, a motion designer, an editor, and a project manager to keep them all from missing deadlines. Today, anyone with a browser and a decent prompt can produce a professional-quality explainer video in under an hour. That is not hyperbole. It is the current state of AI video generation, and this article covers exactly how to make it work.
What Makes an Explainer Video Actually Work
Before touching any AI tool, you need to understand what separates a forgettable explainer from one people actually watch to the end.
The 3 components that matter most
Every effective explainer video shares three things: a clear hook in the first five seconds, a single focused message, and a specific call to action at the end. Everything else, animation style, voiceover accent, background music, is window dressing. AI tools handle the window dressing with stunning quality now. Your job is still the strategy. A two-minute video that tries to explain five different product features will lose people at feature two. Pick one problem, show one solution, make one ask.
Why solo creators were locked out
Traditional explainer video production required specialized software like After Effects, a team with complementary skills, and a budget most small businesses did not have. AI has collapsed all of that into a single text prompt. You describe what you want, the model renders it. No timeline scrubbing, no keyframe hell, no version six of a file called "FINAL_FINAL_v3." The only skill that transfers from traditional production into AI video is knowing what a good scene looks like, and that is something anyone can develop by watching ten explainer videos critically.
How AI Rewrites the Production Playbook
The shift is not just about speed. It is about who can create, and what they can create with limited resources.
From script to screen in minutes
The workflow is straightforward. You write a script, or have an AI write one for you. You break the script into scenes. You feed each scene as a prompt into a text-to-video model. You stitch the clips together in a free editor like CapCut or DaVinci Resolve. Total time for a 60-second explainer: roughly 45 to 90 minutes for a first draft. That first draft will need iteration, but you are iterating on something real rather than waiting three weeks for an agency to deliver a first version.
💡 Pro tip: Write your script in present tense, active voice. AI video models respond better to direct, scene-descriptive language than vague concepts. "A woman opens her laptop" generates better results than "showing how easy the product is to use."
The real cost breakdown
| Production Method | Cost (2-min video) | Time to Delivery |
|---|
| Traditional agency | $5,000 to $15,000 | 3 to 6 weeks |
| Freelance team | $1,500 to $4,000 | 1 to 3 weeks |
| AI tools (DIY) | $0 to $50 | 1 to 2 hours |
| AI tools (pro tier) | $50 to $200 | 2 to 4 hours |
The numbers are not close. AI does not just compete on price, it competes on iteration speed. Want to change the color scheme? Regenerate. Want a different narrator tone? Swap the voiceover model. Want to test two different hooks? Run both in 20 minutes. That kind of creative agility simply did not exist before.
The Best AI Models for Explainer Videos Right Now
Not all text-to-video models are built the same. Some prioritize cinematic realism. Others prioritize speed. Knowing which to use for which type of explainer changes everything about your output quality and production speed.
For narrative-driven, premium output
Kling v3 Video is the current benchmark for cinematic motion with consistent character rendering across clips. If your explainer features a recurring presenter or brand mascot, Kling v3 keeps the visual identity stable from shot to shot better than most competitors. The motion physics feel natural, and the model handles close-up facial expressions with a level of realism that earlier models struggled with.
Seedance 2.0 from ByteDance adds built-in audio generation, which is a significant advantage for explainer videos where you want ambient sound or background music synced to visuals without a separate audio pass. The model also handles 1080p output with strong temporal consistency across scene cuts.
Veo 3 from Google produces native audio alongside video, making it one of the most complete outputs for explainer content that needs to feel production-ready immediately. The audio-visual synchronization is one of the tightest available in any model right now.
For speed and budget-conscious projects
Hailuo 02 from Minimax delivers 1080p output at significantly faster generation speeds than premium cinematic models. For social media explainers where upload cadence matters more than cinematic perfection, this is the right tool. It handles motion well and produces clean, professional-looking output without long wait times.
Wan 2.7 T2V is a strong open-weight option that runs at high resolution without the premium pricing of closed models. It handles text prompts with solid scene composition and is particularly good at office, professional, and product-focused environments, which happen to be exactly what most explainer videos need.
Pixverse v5.6 handles fast-paced visual explainers well, especially for product demos where you need clean transitions and saturated, punchy visuals. The model's motion style works well for tech product and SaaS explainer formats.
How to Use Kling v3 on PicassoIA
Kling v3 Video is one of the most capable models available for creating explainer video clips with coherent motion and cinematic framing. Here is how to use it on PicassoIA from zero to first clip.
Step 1: Write a scene-level prompt
Do not prompt the full video in one go. Break your script into 5 to 10 second scenes and write a separate prompt for each. For an explainer about a project management app, a single scene prompt might look like:
"A professional woman at a clean desk clicks a button on her laptop, a satisfying notification appears on screen, she smiles and nods. Office environment, natural daylight, close-up on face and hands, cinematic depth of field."
That is one scene. One action. One environment. One emotional beat. That specificity is what separates a clip that looks intentional from one that looks randomly generated.
Step 2: Set your parameters
On the PicassoIA model page for Kling v3 Video:
- Duration: 5 seconds per scene for tight explainers; 10 seconds for slower, documentary-style content
- Aspect ratio: 16:9 for YouTube and websites; 9:16 for Instagram Reels or TikTok
- Negative prompt: Add "cartoon, illustrated, blurry, low quality" to force photorealistic output consistently
Step 3: Iterate fast, not perfectly
Your first output will not be perfect. That is expected and normal. Adjust the prompt based on what the model gave you, not based on what you imagined. If the character moved too fast, specify "slow deliberate movement" in the next prompt. If the framing felt too wide, add "medium close-up" to the scene description. Each iteration takes minutes. A polished five-scene explainer draft can be ready in two to three hours of active iteration.
💡 Consistency tip: Use the same character description phrase in every scene prompt. Kling v3's motion control features help maintain visual continuity when your prompts share a consistent subject description across all clips.
Writing Prompts That Get Real Results
The quality gap between an average AI explainer and a great one comes down almost entirely to prompt writing. Most people under-describe the scene and over-describe the concept. AI video models are not idea readers. They are scene renderers. Tell them what to show, not what to mean.
The anatomy of a strong video prompt
Every prompt for an explainer video clip should contain four elements:
- Subject: Who or what is in the frame, with specific physical descriptors
- Action: What the subject is doing, in present tense, with motion detail
- Environment: The setting, lighting conditions, and background elements
- Camera: Angle, lens feel (wide, telephoto), and movement (static, slow push-in)
Leave any of these out and the model fills in the gap with whatever its training data suggests. That is how you get an office that looks like a stock photo set from 2009.
5 prompt structures that work
Structure 1 (Product demo):
"[Product/device] displayed on a clean white desk, [specific feature] highlighted with a subtle glow, a hand enters frame from the right and interacts with it, overhead softbox lighting, macro lens close-up, slow motion, photorealistic."
Structure 2 (Problem-solution):
"A frustrated professional stares at a pile of paperwork, then looks up as the paperwork digitally transforms into a clean organized dashboard on their screen. Office setting, mixed natural and monitor light, mid-shot, smooth camera pull-back."
Structure 3 (Testimonial-style):
"Mid-shot of a confident professional speaking directly to camera in a minimal home office background, warm directional light from left, slight smile, professional but relaxed posture, 85mm lens, shallow depth of field."
Structure 4 (Data visualization):
"Abstract flowing data streams converge into a single organized interface on a monitor. A professional's hands type a final command. Screen glow is the primary light source. Close-up on hands and screen, macro detail, cinematic."
Structure 5 (Brand story):
"Time-lapse of a solo creator's workspace as they build something on screen, natural day-to-evening light transition visible through a window in background, camera slowly zooms in from wide to close-up over the clip duration."

Audio, Voice, and Lipsync
A silent explainer video is a slideshow. Audio separates the amateur output from the professional one, and AI has made high-quality audio almost as accessible as the video itself.
AI voiceover in explainer videos
Models like Veo 3 and Seedance 2.0 generate audio natively alongside video, which works well for ambient sound and background music that feels matched to the scene. For narration-specific voiceover, PicassoIA's text-to-speech collection gives you access to high-quality voice synthesis that you can layer over your generated clips. This is the fastest way to get a professional-sounding narration without hiring a voice actor or renting a recording booth.
Lipsync for talking-head explainers
If your explainer uses a real presenter or an AI-generated avatar, lipsync models synchronize mouth movement to your audio track with high accuracy. For avatar-based explainers, Avatar IV and Video Agent from HeyGen are purpose-built for exactly this use case. You provide your script and choose an avatar, and the model handles the full talking-head explainer video from end to end, including lip movement, gestures, and natural blink patterns.
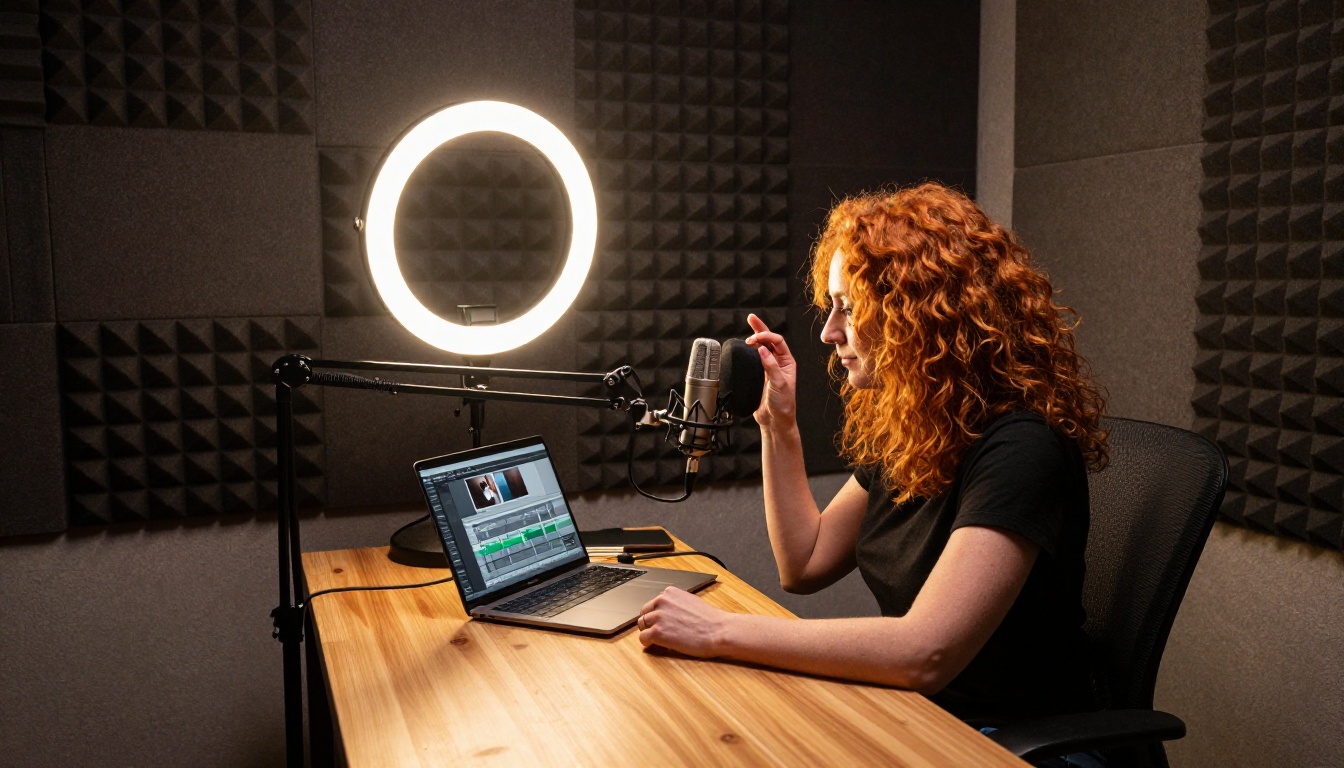
💡 Workflow tip: Generate your visuals first, then add narration last. Trying to sync audio and video during generation adds complexity without adding quality. Separate the visual pass from the audio pass and your results will be cleaner.
3 Mistakes That Ruin AI Explainer Videos
Most people make the same three errors when they first start creating explainer videos with AI. These are fixable the moment you recognize them.
Mistake 1: One prompt for the whole video
AI video models generate short clips, typically 5 to 10 seconds. Trying to describe a two-minute video in a single prompt produces incoherent output where scenes blend into each other with no narrative logic. Break your video into discrete scenes. Each scene gets its own prompt. Each prompt describes exactly one thing happening in exactly one setting. This is not a limitation of the technology. It is how professional video production works anyway, one shot at a time.
Mistake 2: Skipping the script phase
The most common reason AI explainer videos feel vague or unfocused is that the creator skipped the script and went straight to prompting. The script is not just for narration. It is the blueprint that tells you how many scenes you need, what each scene must communicate, and how the visuals should support the message. Without a script, you are generating random clips and hoping they connect into a coherent story. They will not. Write the script first, even if it is rough. The prompts follow naturally from it.
Mistake 3: Using the wrong model for the job
Kling v3 is excellent for character-consistent, cinematic output but may be overkill for a quick product screenshot walkthrough. Hailuo 02 is fast and capable but may not maintain the visual fidelity needed for a premium brand presentation. Matching the model to the explainer type is as important as writing a good prompt, and it directly affects how much time you spend on iteration.
The Right Model for Each Use Case
Not every explainer video needs the same tool, and reaching for the most powerful model every time wastes both time and budget.
When you need cinematic quality
For explainer videos that will appear on a company homepage, in a sales deck, or at a product launch event, use Kling v3 Video, Veo 3, or Sora 2. These models produce output that stands next to professionally produced video without looking out of place.
Sora 2 from OpenAI is particularly strong at maintaining visual coherence across longer generation windows, with native audio synchronization that makes the final output feel integrated rather than assembled from separate pieces.
LTX 2 Pro generates at 4K resolution, which matters when the final video will be displayed on large conference screens, in trade show booths, or in broadcast contexts where pixel density is visible.
When you need speed
For social media content, internal training videos, or rapid iteration testing where you need to validate a concept before investing in premium generation, Hailuo 02, Ray from Luma, and Wan 2.7 T2V offer the best balance of speed and output quality. You can generate, review, and re-generate in minutes rather than waiting for high-compute models to process.
Start Making Your First Explainer Video
You do not need a production budget, a video editing background, or a team to produce a compelling explainer video anymore. You need a clear message, a scene-by-scene script, and access to the right AI video models.
PicassoIA brings together over 100 text-to-video models in one place, from fast generators like Hailuo 02 for rapid prototyping to cinematic powerhouses like Kling v3 Video and Veo 3 for premium output. You can mix and match models in a single project, using a fast model for B-roll and a high-fidelity model for your hero clips. The platform also gives you access to voiceover, lipsync, and audio tools so you can handle the full production stack without switching between a dozen different services.
The best time to start was when explainer videos cost $10,000 and took six weeks. The second best time is right now, with a single prompt and a blank script.
💡 Pick one model, write a three-scene script, and generate your first draft today. The gap between "I want to make videos" and "I made a video" is smaller than it has ever been.